Anaconda下安装 TensorFlow 和 keras
Posted phoenix-blog
tags:
篇首语:本文由小常识网(cha138.com)小编为大家整理,主要介绍了Anaconda下安装 TensorFlow 和 keras相关的知识,希望对你有一定的参考价值。
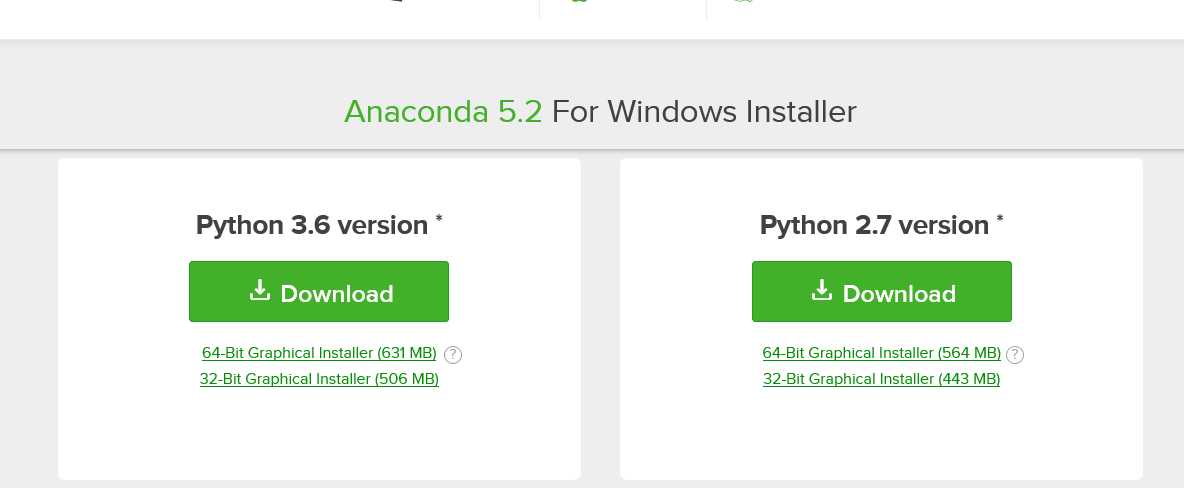
首先在官网下载Anaconda
https://www.anaconda.com/download/
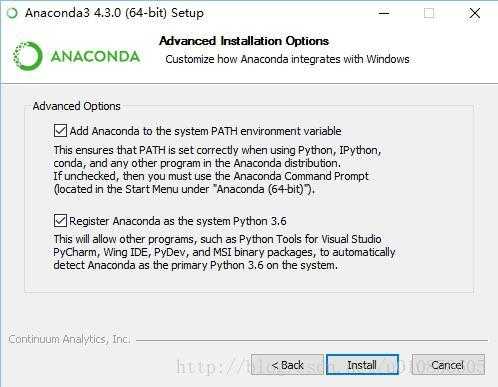
安装时注意

勾选第一个,增加环境变量
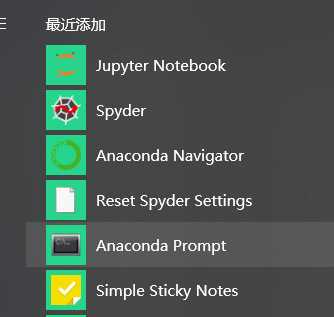
安装好后再windows界面打开Anaconda Prompt


conda config --add channels https://mirrors.tuna.tsinghua.edu.cn/anaconda/pkgs/free/
conda config --set show_channel_urls yes
设置清华镜像,下载更快一点
之后
conda create -n tensorflow python=3.5
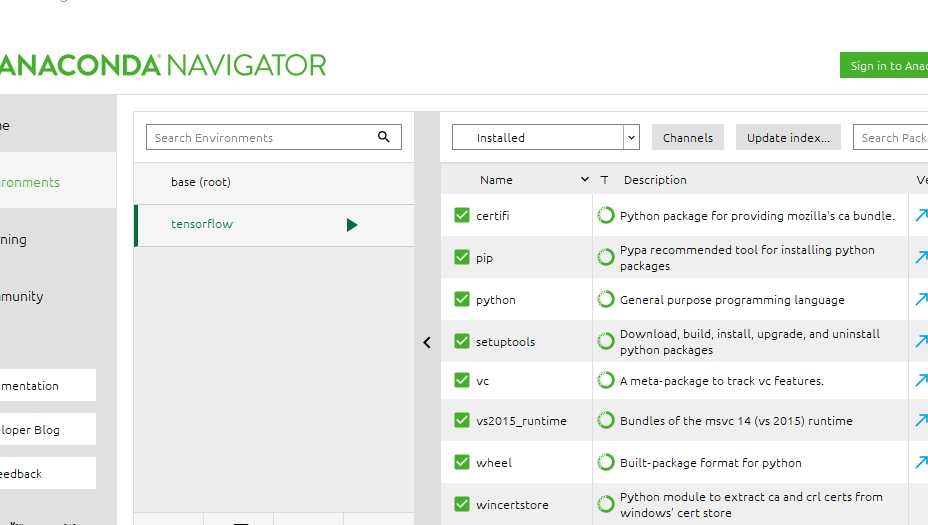
创建TensorFlow的虚拟环境,创建后可在Anaconda Navigator 中看到,刚刚找到prompt的地方

回到prompt 使用
activate tensorflow
激活环境

然后在该环境下安装TensorFlow
命令
pip install --upgrade --ignore-installed tensorflow

下一步笔者将他连接pycharm,在pycharm 中打开setting后点击小齿轮就可以看到

然后连接即可
为了防止后期出现各种因为源的问题而导致的http error ,笔者建议更换下载源
打开路径 C:Usersxxxxx.condarc, xxxxx是你的windows用户名
这是conda的下载设置,将其中的channels换为
channels:
  - https://mirrors.tuna.tsinghua.edu.cn/anaconda/pkgs/free/
  - https://mirrors.ustc.edu.cn/anaconda/pkgs/free/
  - https://mirrors.tuna.tsinghua.edu.cn/anaconda/cloud/conda-forge/
  - https://mirrors.tuna.tsinghua.edu.cn/anaconda/pkgs/free
这些是网上收集的清华下载镜像源。
接下去打算下载theano
conda install theano
遇到需要输入的都是y
下载好后输入
conda install keras
下载过程中如果遇到和笔者一样的有关utf8的问题,可以参考该博客,找了很久才发现这篇博客,顺利解决
https://blog.csdn.net/u013473520/article/details/54236963
接下去就可以顺利下载完成了
作为一种虚拟环境,conda还是蛮好用的
以上是关于Anaconda下安装 TensorFlow 和 keras的主要内容,如果未能解决你的问题,请参考以下文章
Windows下Anaconda安装 python + tensorflow GPU版
Windows下Anaconda安装 python + tensorflow