NH.A.0001__zabbix_lamp+zabbxix.server/zabbix.agent.yum源安装_V2020.10.22
Posted yanqivip
tags:
篇首语:本文由小常识网(cha138.com)小编为大家整理,主要介绍了NH.A.0001__zabbix_lamp+zabbxix.server/zabbix.agent.yum源安装_V2020.10.22相关的知识,希望对你有一定的参考价值。
ZABBIX监控平台部署(LAMP+ZABBIX.Server.YUM源安装部署)
1、Zabbix Server端和Zabbix Agent执行如下代码:
Zabbix监控平台部署,至少需要安装四个组件,分别是Zabbix_Server、Zabbix_Web、Databases、Zabbix_Agent,如下为Zabbix监控平台安装配置详细步骤:
2、部署环境:
Server端      ————>192.168.1.59
Agent端       ————>192.168.1.60
CentOS版本    ————>CentOS 7.6.1810
ZABBIX版本    ————>Zabbix 4.0.19
3、YUM源安装步骤如下
// 安装LAMP环境:
[root@localhost ~]# yum install -y httpd httpd-devel mariadb mariadb-server mariadb-devel
> php-common php-gd php-mbstring php-xml php-bcmath php-mysql php-cli php-devel php-pear
// 添加ZABBIX扩展源:
[root@localhost ~]#
rpm -i http://repo.zabbix.com/zabbix/4.0/rhel/7/x86_64/zabbix-release-4.0-2.el7.noarch.rpm
OR
[root@localhost~]# rpm -i https://mirrors.tuna.tsinghua.edu.cn/
> zabbix/zabbix/4.0/rhel/7/x86_64/zabbix-release-4.0-2.el7.noarch.rpm
// 修改/etc/yum.repos.d/zabbix.repo内容如下:
[root@localhost ~]#  cat>/etc/yum.repos.d/zabbix.repo<<EOF
[zabbix]
name=Zabbix Official Repository - $basearch
baseurl=https://mirrors.tuna.tsinghua.edu.cn/zabbix/zabbix/4.0/rhel/7/$basearch/
enabled=1
gpgcheck=1
gpgkey=https://mirrors.tuna.tsinghua.edu.cn/zabbix/RPM-GPG-KEY-ZABBIX-A14FE591
[zabbix-non-supported]
name=Zabbix Official Repository non-supported - $basearch
baseurl=https://mirrors.tuna.tsinghua.edu.cn/zabbix/non-supported/rhel/7/$basearch/
enabled=1
gpgkey=https://mirrors.tuna.tsinghua.edu.cn/zabbix/RPM-GPG-KEY-ZABBIX
gpgcheck=1
EOF
// 安装Zabbix相关软件包:
[root@localhost ~]# yum -y install zabbix-server-mysql zabbix-web-mysql zabbix-agent
[root@localhost ~]# sed -i ‘/date.timezone/i date.timezone = PRC‘ /etc/php.ini
#启动相关服务;
[root@localhost ~]# systemctl restart httpd.service
[root@localhost ~]# systemctl restart mariadb.service
[root@localhost ~]# mysql_secure_installation //设置Mariadbroot初始化密码
#创建数据库&密码授权,设置字符编码UTF8;
[root@localhost ~]# mysql -uroot -p123456
MariaDB [(none)]> create database zabbix character set utf8 collate utf8_bin;
MariaDB [(none)]> grant all on zabbix.* to zabbix@localhost identified by ‘123456‘;
MariaDB [(none)]> flush privileges;
导入基础数据库:
[root@localhost ~]#
 zcat /usr/share/doc/zabbix-server-mysql*/create.sql.gz|mysql -uzabbix -p123456 zabbix
OR
[root@localhost ~]# cd /usr/share/doc/zabbix-server-mysql4.0.25
[root@localhost ~]# gunzip create.sql.gz
[root@localhost ~]# mysql -uzabbix -p123456 zabbix
MariaDB [zabbix]> source create.sql
配置zabbix server
[root@localhost ~]# cp /etc/zabbix/zabbix_server.conf zabbix_server.conf.bak
[root@localhost zabbix]# vim  zabbix_server.conf
    LogFile=/var/log/zabbix/zabbix_server.log
    DBHost=localhost        //若发现web界面zabbix-server的运行值为NO,把DBHost=127.0.0.1即可
    DBName=zabbix
    DBUser=zabbix
    DBPassword=123456
    DBSocket=/var/lib/mysql/mysql.sock
//启动zabbix服务:
[root@localhost ~]#  systemctl restart zabbix-server.service
配置PHP:
[root@localhost ~]# cd /etc/httpd/conf.d
[root@localhost conf.d]# vim zabbix.conf
    # php_value date.timezone Europe/Riga
      php_value date.timezone Asia/Shanghai
[root@localhost ~]# systemctl restart httpd.service //重启httpd服务
重启所有服务;并添加到开机自启动
[root@localhost ~]# systemctl enable httpd.service
[root@localhost ~]# systemctl enable mariadb.service
[root@localhost ~]# systemctl enable zabbix-server.service
[root@localhost ~]# systemctl enable zabbix-agent.service
[root@localhost ~]# systemctl restart httpd.service
[root@localhost ~]# systemctl restart mariadb.service
[root@localhost ~]# systemctl restart zabbix-servier.service
[root@localhost ~]# systemctl restart zabbix-agent.service YUM方式安装简单、快捷,但如果需要可以添加扩展的功能和模块。
4、Zabbix WEB GUI安装配置
通过浏览器Zabbix_WEB验证,通过浏览器访问http://192.168.1.59/zabbix/
单击Next step,如果有错误提示,需要把错误依赖解决完,方可进行Next step操作。
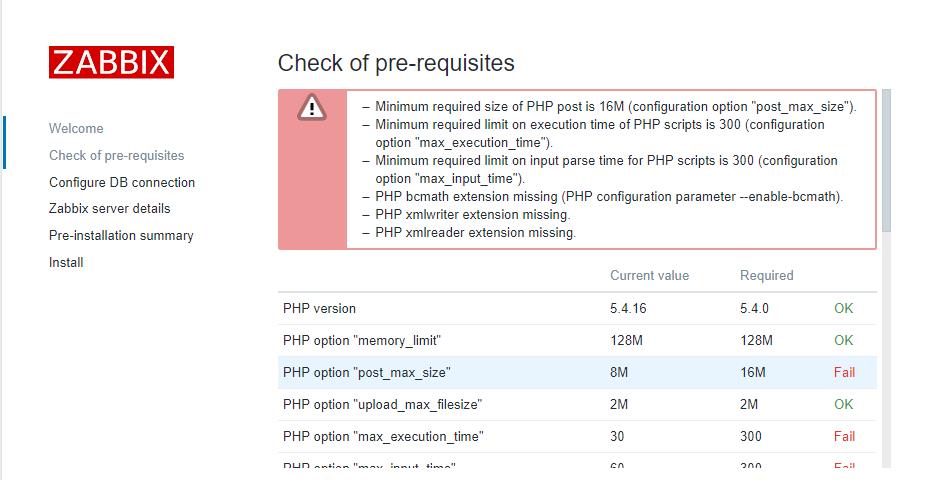
如上异常错误解决方法代码如下,安装缺失的软包,并修改php.ini对应参数的值即可,
yum  install  php-mbstring  php-bcmath  php-gd  php-xml  -y
yum  install  gd  gd-devel  -y
sed   -i ‘/post_max_size/s/8/16/g;/max_execution_time/s/30/300/g;/max_input_time/s/60/300/g;
> s/;date.timezone.*/date.timezone = PRC/g;s/;always_populate_raw_post_data/
> always_populate_raw_post_data/g‘  /etc/php.ini

service  httpd  restart		//重启httpd服务: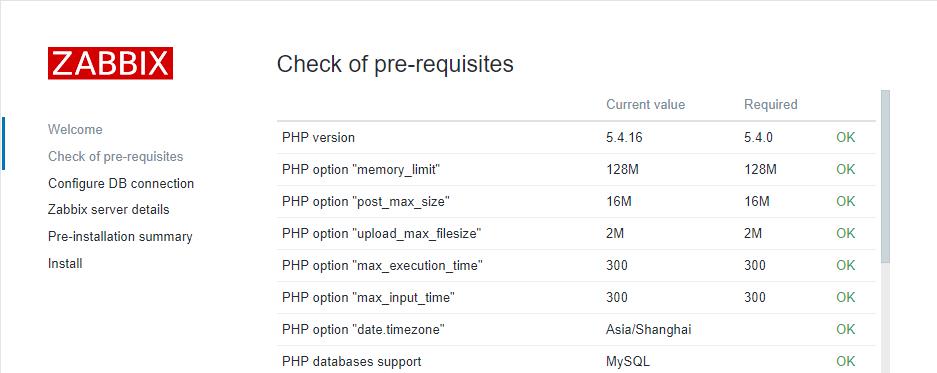
单击Next step,配置数据库连接,输入数据库名、用户、密码,单击Test
connection,显示OK,单击Next step即可。

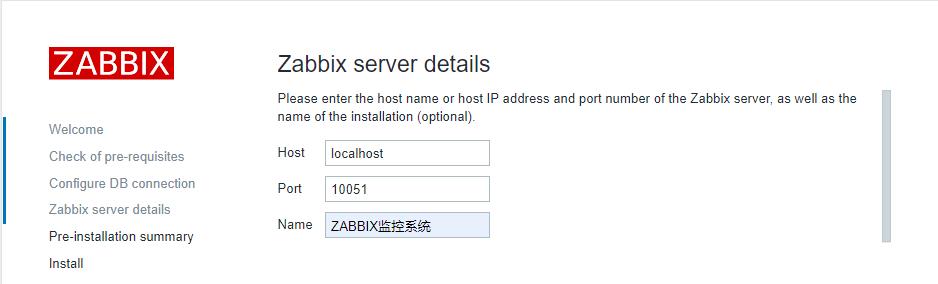
继续单击Next step出现如图所示,填写Zabbix Title显示,可以为空,可以输入自定义的名称。
单击下一步,需修创建zabbix.conf.php文件,执行如下命令,或者单击“Download
the configuration file”下载zabbix.conf.php文件,并将该文件上传至/var/www/html/conf/,并设置可写权限,刷新WEB页面,zabbix.conf.php内容代码如下,最后单击Finish即可:
<?php
// Zabbix GUI configuration file.
global $DB;

$DB[‘TYPE‘]     = ‘MYSQL‘;
$DB[‘SERVER‘]   = ‘localhost‘;
$DB[‘PORT‘]     = ‘0‘;
$DB[‘DATABASE‘] = ‘zabbix‘;
$DB[‘USER‘]     = ‘zabbix‘;
$DB[‘PASSWORD‘] = ‘123456‘;

// Schema name. Used for IBM DB2 and PostgreSQL.
$DB[‘SCHEMA‘] = ‘‘;

$ZBX_SERVER      = ‘localhost‘;
$ZBX_SERVER_PORT = ‘10051‘;
$ZBX_SERVER_NAME = ‘ZABBIX监控系统‘;
$IMAGE_FORMAT_DEFAULT = IMAGE_FORMAT_PNG;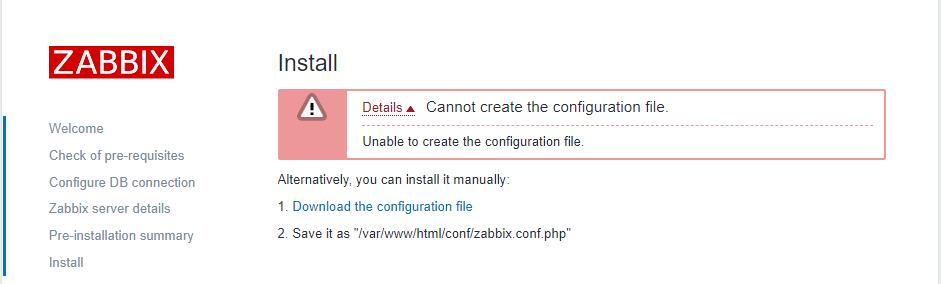
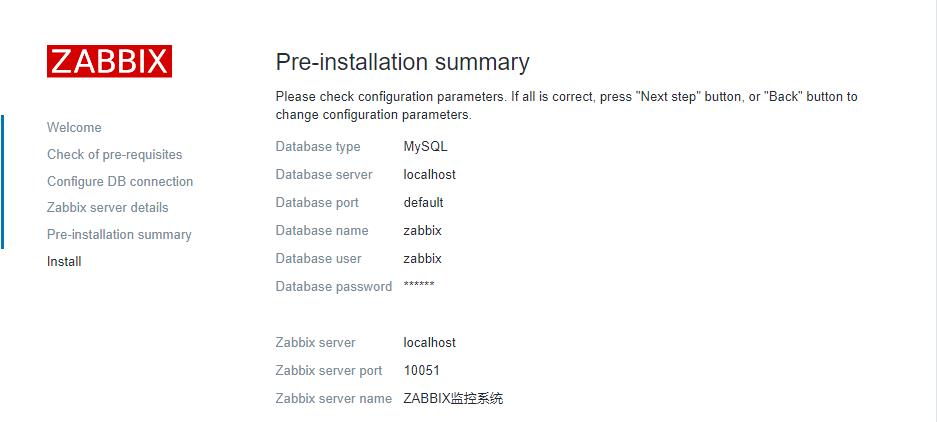
安装前摘要,若一切正常,直接单击Next step
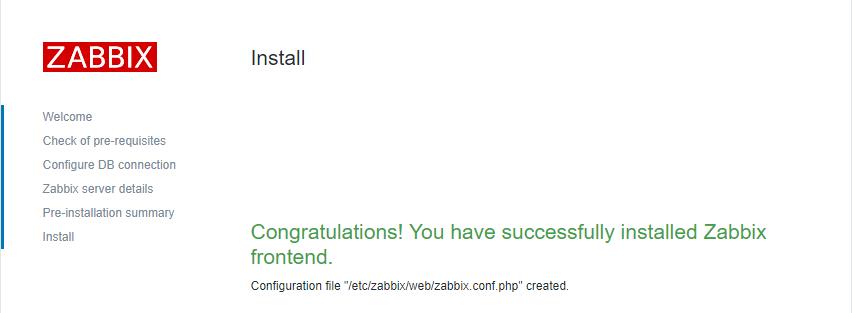
恭喜你!你已安装ZABBIX前端;单击Finish
登录Zabbix WEB界面,默认用户名和密码为:Admin/zabbix,
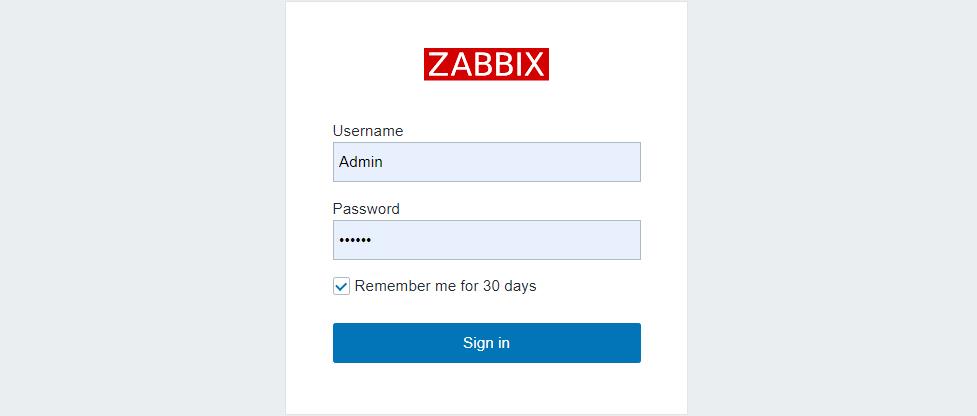
ZABBIX WEB后台管理界面

Walter Savage Landor:strove with none,for none was worth my strife.Nature I loved and, next to Nature, Art:I warm‘d both hands before the fire of life.It sinks, and I am ready to depart
——W.S.Landor
以上是关于NH.A.0001__zabbix_lamp+zabbxix.server/zabbix.agent.yum源安装_V2020.10.22的主要内容,如果未能解决你的问题,请参考以下文章
以下标记模式匹配是什么:[A-Za-z0-9 _] +(?= \ s +)