QMLHelloWorld
Posted jixiaohua
tags:
篇首语:本文由小常识网(cha138.com)小编为大家整理,主要介绍了QMLHelloWorld相关的知识,希望对你有一定的参考价值。
一、Qt Widgets、QML、Qt Quick 的区别
参考:
1. Qt Widgets、QML、Qt Quick 的区别
2. Qt Widgets 和 Qt Quick / QML
二、基础教程
参考:
1. 使用QML进行界面开发
2. QML 三言两语
三、HelloWorld
使用Qt Creator直接新建工程,有如下选项(我的没有Canvas 3D,应该时没有安装)
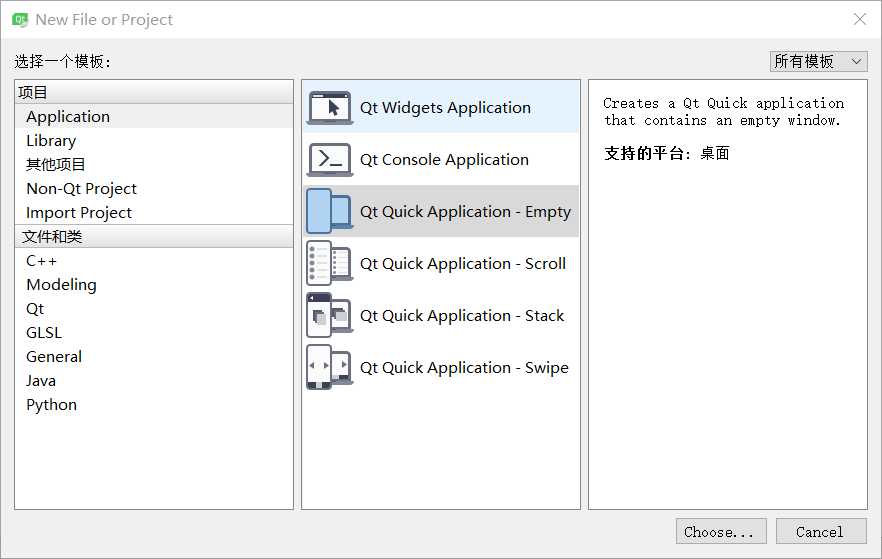
按照这里介绍,第一个Qt Quick Application - Empty 为空白窗体模板工程,Scroll 为带滚动条的窗体模板工程,Stack 为带分页的窗体模板工程, Swipe 为滑动窗体模板工程,(Canvas 3D 为3D动态模板工程)
一路默认创建完成只有运行分别长这样
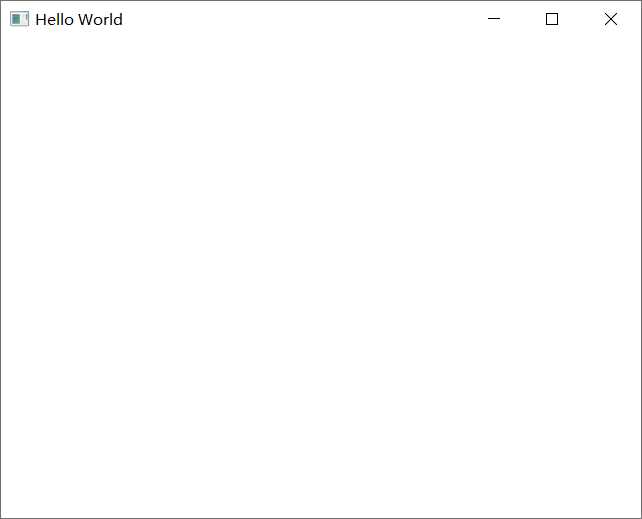
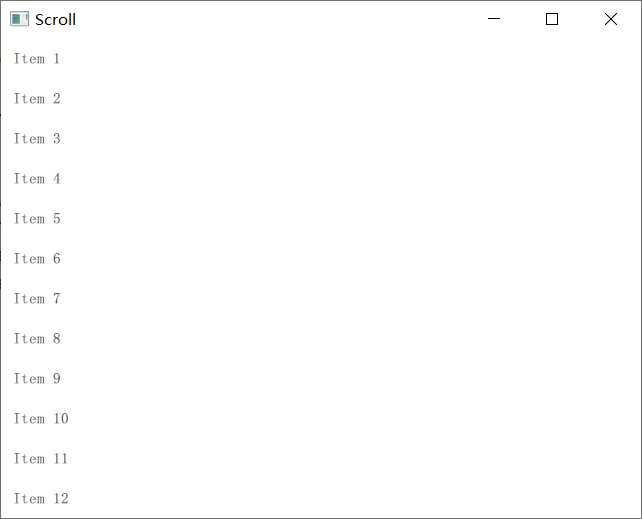
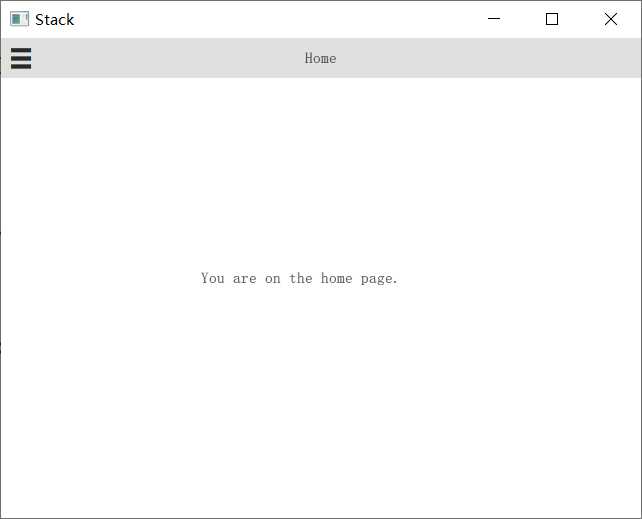
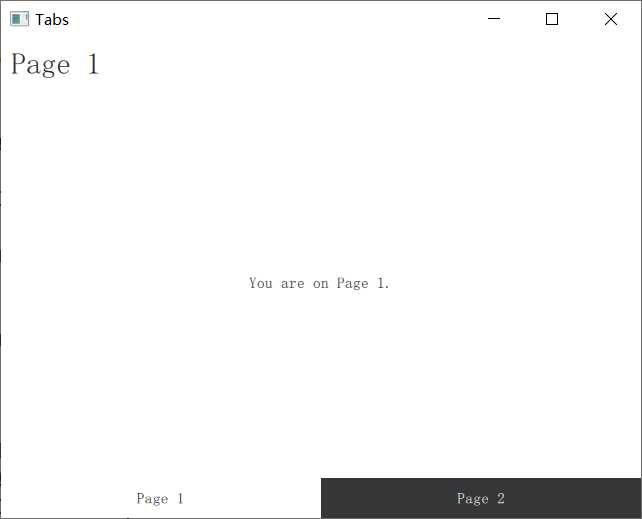
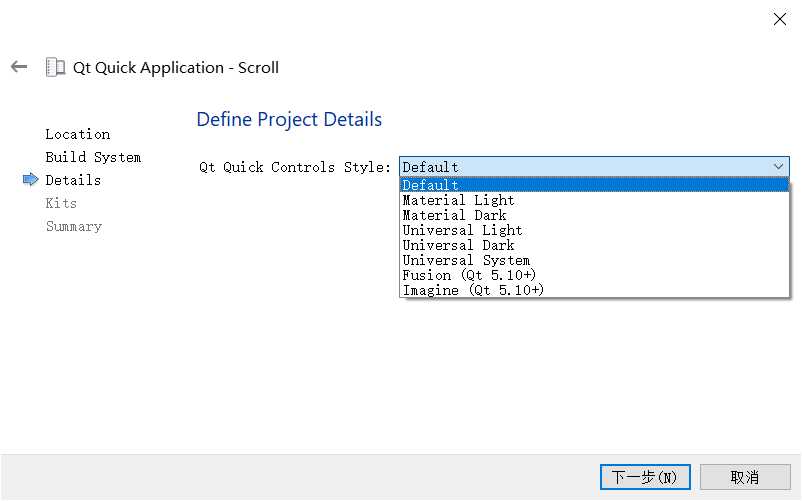
注意:从Scroll工程开始有一步选择Qt Quick Controls Styls的步骤,有如下几种样式:
第一个空项目只有main.cpp与main.qml两个文件
main.cpp
#include <QGuiApplication>
#include <QQmlApplicationEngine>

int main(int argc, char *argv[])
{
    QCoreApplication::setAttribute(Qt::AA_EnableHighDpiScaling); //使能高分屏(High-DPI),Qt从5.6.0开始支持

    QGuiApplication app(argc, argv);

    QQmlApplicationEngine engine; //实现C++与QML混合编程
    engine.load(QUrl(QStringLiteral("qrc:/main.qml")));
    if (engine.rootObjects().isEmpty())
        return -1;

    return app.exec();
}
main.qml
import QtQuick 2.9
import QtQuick.Window 2.2

Window {
    visible: true // 是否显示
    width: 640 // 宽
    height: 480 // 高
    title: qsTr("Hello World") // 窗口标题
}
main.qml就像js一样,首先import核心的Qt Quick,然后要使用Window对象,再import Qt Quick.Window模块,下面定义了一个Window窗口对象
然后第二个Scroll项目,main.cpp是一样的,都是加载main.qml文件,其main.qml文件如下:
import QtQuick 2.9
import QtQuick.Controls 2.2

ApplicationWindow {
    visible: true
    width: 640
    height: 480
    title: qsTr("Scroll")

    // 滚动条对象
    ScrollView {
        anchors.fill: parent

        ListView {
            width: parent.width // 宽度等于父对象,也就是Window的宽度
            model: 20 // 元素数量
            delegate: ItemDelegate { // 每一个元素对象
                text: "Item " + (index + 1)
                width: parent.width
            }
        }
    }
}
为了使用 ScrollView 类,import了 QtQuick.Controls 模块,窗口对象由 ApplicationWindow 类定义,除了窗口属性之外多了一个 ScrollView对象,该对象定义了一个滚动条视图,当item数量超出屏幕显示范围时会出现滚动条,但是这里的宽度好像并没有什么用。
此外还有个qtquickcontrols2.conf配置文件,其中定义了上面建项目时选的Qt Quick Controls Styls样式。
第三个Stack分屏项目,每个弹出页面分别定义了一个ui文件,然后在qml文件点击事件中加载
import QtQuick 2.9
import QtQuick.Controls 2.2

ApplicationWindow {
    id: window
    visible: true
    width: 640
    height: 480
    title: qsTr("Stack")

    // 头部工具栏
    header: ToolBar {
        contentHeight: toolButton.implicitHeight

        // 页面切换按钮
        ToolButton {
            id: toolButton // 按钮id
            text: stackView.depth > 1 ? "u25C0" : "u2630" // 按钮样式,三个横杠还是小三角形
            font.pixelSize: Qt.application.font.pixelSize * 1.6 // 字体大小
            onClicked: { // 点击事件
                if (stackView.depth > 1) {
                    stackView.pop() // 页面深度大于1则返回主页
                } else {
                    drawer.open() // 否则打开新特面
                }
            }
        }

        // 工具栏标签
        Label {
            text: stackView.currentItem.title // 工具栏标题为当前页面标题
            anchors.centerIn: parent // 固定于父对象
        }
    }

    // 弹出式页面选项遮罩层
    Drawer {
        id: drawer
        width: window.width * 0.66 // 选项卡宽度
        height: window.height // 高度

        // 子页面选项元素定义
        Column {
            anchors.fill: parent

            ItemDelegate {
                text: qsTr("Page 1")
                width: parent.width
                onClicked: {
                    stackView.push("Page1Form.ui.qml") // 点击的时候加载新的ui文件
                    drawer.close() // 然后关闭选项卡
                }
            }
            ItemDelegate {
                text: qsTr("Page 2")
                width: parent.width
                onClicked: {
                    stackView.push("Page2Form.ui.qml")
                    drawer.close()
                }
            }
        }
    }

    // 当前弹出页面对象
    StackView {
        id: stackView
        initialItem: "HomeForm.ui.qml"
        anchors.fill: parent
    }
}
第四个Swipe项目,和Stack页面一样,不过由弹出式的StackView对象变成了滑动式的SwipeView对象
import QtQuick 2.9
import QtQuick.Controls 2.2

ApplicationWindow {
    visible: true
    width: 640
    height: 480
    title: qsTr("Tabs")

    // 滑动页面对象
    SwipeView {
        id: swipeView
        anchors.fill: parent
        currentIndex: tabBar.currentIndex

        // 两个可滑动页面元素,对象名就是对应的ui文件名
        Page1Form {
        }

        Page2Form {
        }
    }

    // 没有头部工具栏,而是页脚,定义了两个按钮,没有页脚也可以滑动页面
    footer: TabBar {
        id: tabBar
        currentIndex: swipeView.currentIndex

        TabButton {
            text: qsTr("Page 1")
        }
        TabButton {
            text: qsTr("Page 2")
        }
    }
}
以上是关于QMLHelloWorld的主要内容,如果未能解决你的问题,请参考以下文章