windows 下搭建 MQTT 服务
Posted greenteaone
tags:
篇首语:本文由小常识网(cha138.com)小编为大家整理,主要介绍了windows 下搭建 MQTT 服务相关的知识,希望对你有一定的参考价值。
1.首先搭建起MQTT服务
1.1安装mosquitto,mosquitto是开源的MQTT代理服务器,它的Windows安装包地址:https://mosquitto.org/download/

1.2 安装、配置ActiveMQ
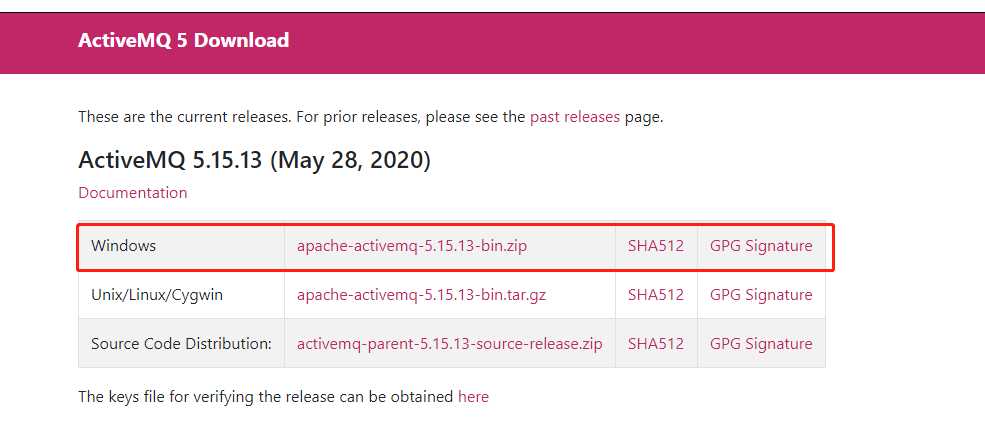
ActiveMQ 下载地址:http://activemq.apache.org/components/classic/download/
ActiveMQ操作手册:http://activemq.apache.org/getting-started#StartingActiveMQStartingActiveMQ
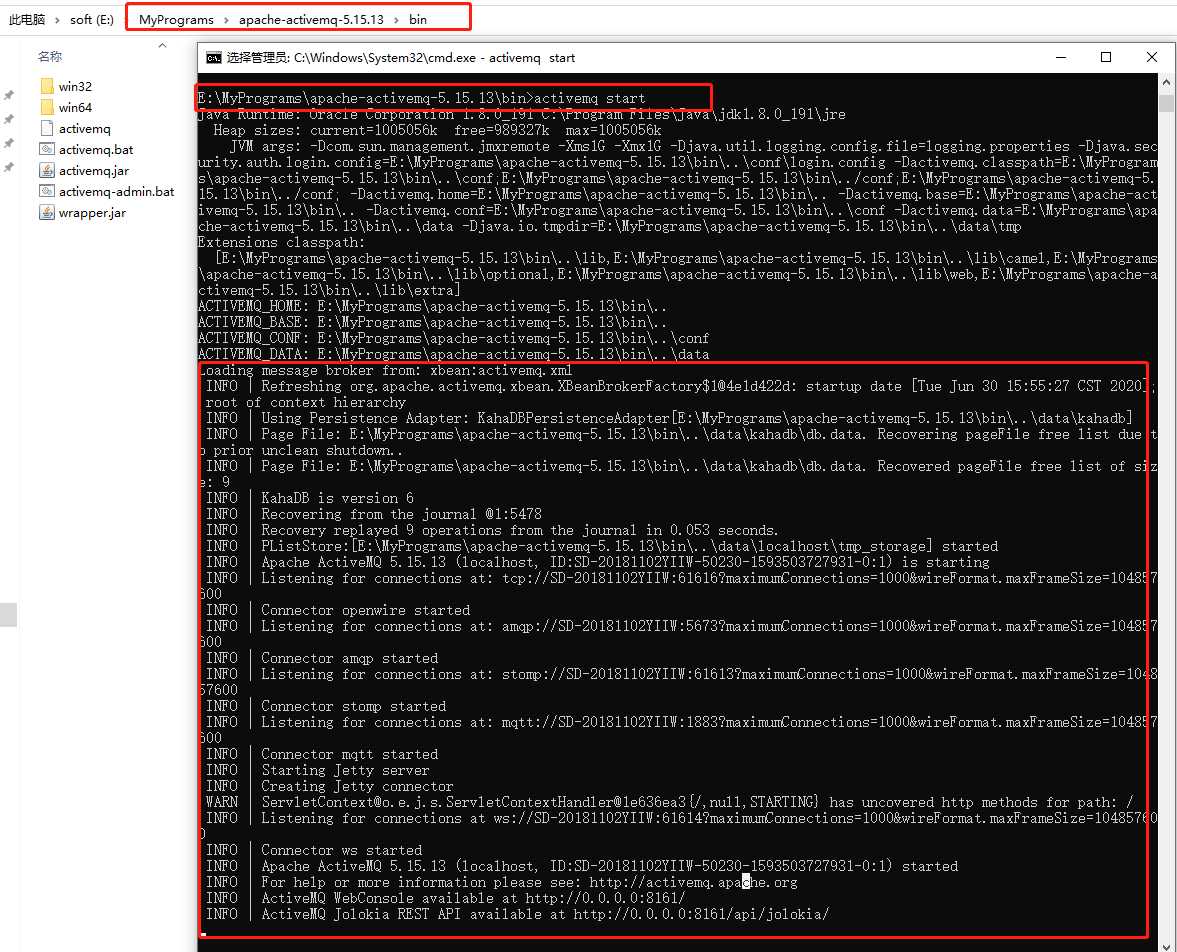
把下载的压缩包解压以后,放到自己可以方便找到的目录。在这个目录下,进入解压文件包的bin目录,在这个目录下打开cmd窗口,输入activemq start ,按回车MQTT服务启动成功如下
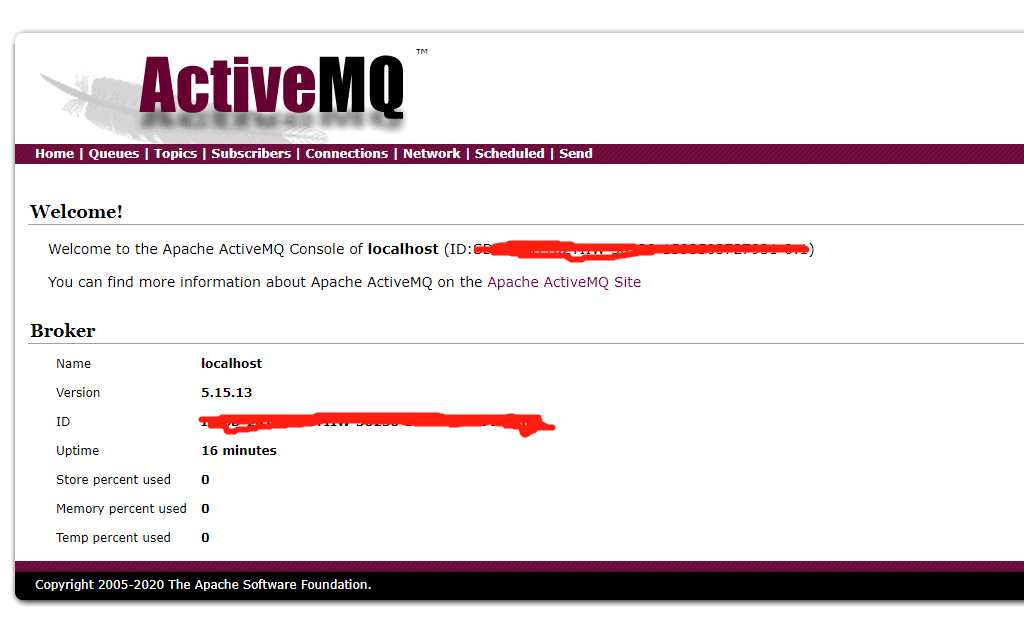
打开ActiveMQ的查看页面: http://127.0.0.1:8161/admin/,输入用户名:admin 密码 :admin,进入查看页面,如下图。
2.用java 实现一个MQTT客户端,并发布消息 ,测试MQTT服务端
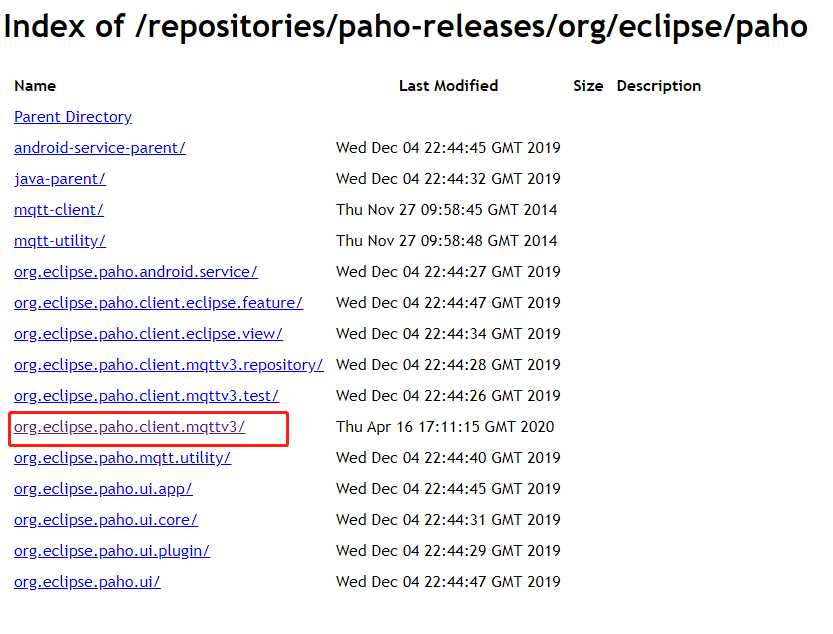
2.1 下载mqtt的jar包
地址如下:https://repo.eclipse.org/content/repositories/paho-releases/org/eclipse/paho/
2.2 引用官方示例测试,官方示例代码如下:
package com.mqtttest;
import org.eclipse.paho.client.mqttv3.IMqttDeliveryToken;
import org.eclipse.paho.client.mqttv3.MqttCallback;
import org.eclipse.paho.client.mqttv3.MqttClient;
import org.eclipse.paho.client.mqttv3.MqttConnectOptions;
import org.eclipse.paho.client.mqttv3.MqttDeliveryToken;
import org.eclipse.paho.client.mqttv3.MqttException;
import org.eclipse.paho.client.mqttv3.MqttMessage;
import org.eclipse.paho.client.mqttv3.MqttPersistenceException;
import org.eclipse.paho.client.mqttv3.MqttTopic;
import org.eclipse.paho.client.mqttv3.persist.MemoryPersistence;
public class Main {

    public static void main(String[] args) {
        String topic        = "MQTT Examples";
        String content      = "Message from MqttPublishSample";
        int qos             = 2;
        String broker       = "tcp://127.0.0.1:1883";
        String clientId     = "JavaSample";
        MemoryPersistence persistence = new MemoryPersistence();

        try {
            MqttClient sampleClient = new MqttClient(broker, clientId, persistence);
            MqttConnectOptions connOpts = new MqttConnectOptions();
            connOpts.setCleanSession(true);
            System.out.println("Connecting to broker: "+broker);
            sampleClient.connect(connOpts);
            System.out.println("Connected");
            System.out.println("Publishing message: "+content);
            MqttMessage message = new MqttMessage(content.getBytes());
            message.setQos(qos);
            sampleClient.publish(topic, message);
            System.out.println("Message published");
            sampleClient.disconnect();
            System.out.println("Disconnected");
            System.exit(0);
        } catch(MqttException me) {
            System.out.println("reason "+me.getReasonCode());
            System.out.println("msg "+me.getMessage());
            System.out.println("loc "+me.getLocalizedMessage());
            System.out.println("cause "+me.getCause());
            System.out.println("excep "+me);
            me.printStackTrace();
        }
    }
}
运行完毕上面的程序,进入http://localhost:8161/admin/topics.jsp,点击Topics,就可以看到我们发布的消息了,如下图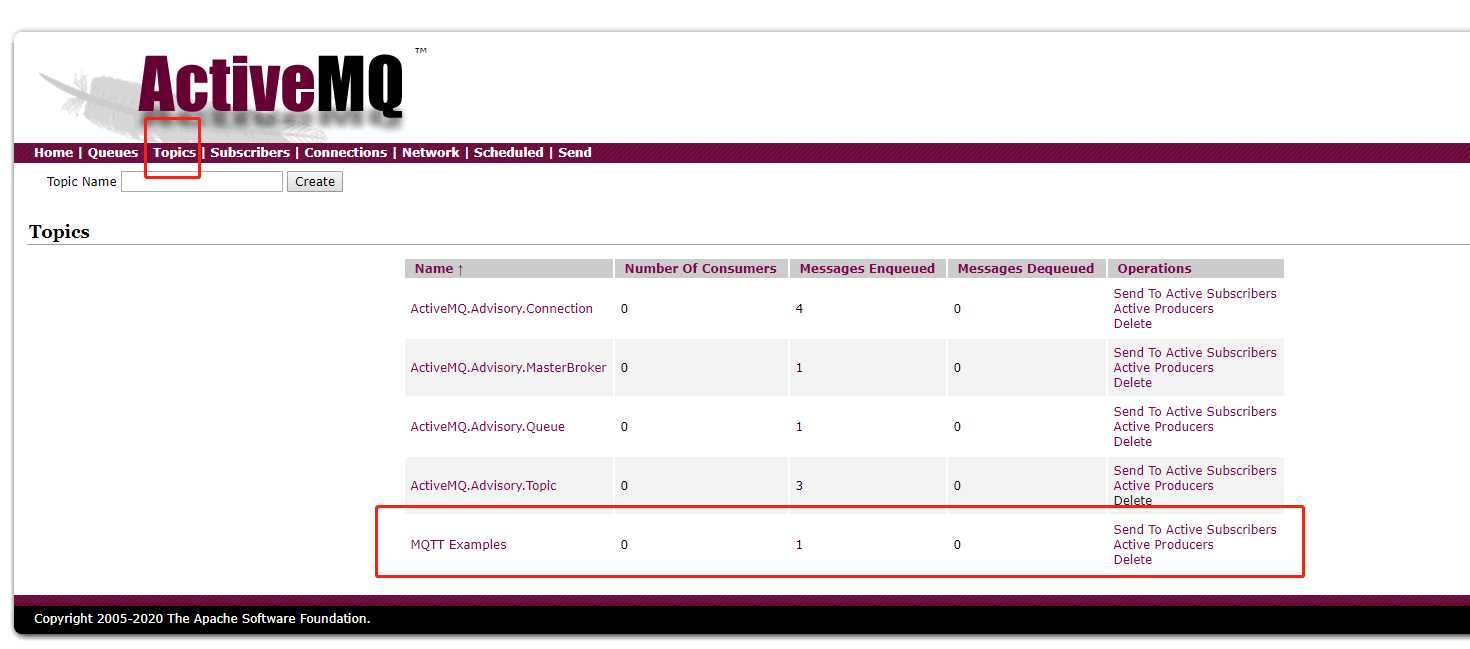
至此,windows下的 MQTT服务 环境搭建完毕。
以上是关于windows 下搭建 MQTT 服务的主要内容,如果未能解决你的问题,请参考以下文章