GJM : Unity3D - UI - UI边缘流光特效小技巧
Posted
tags:
篇首语:本文由小常识网(cha138.com)小编为大家整理,主要介绍了GJM : Unity3D - UI - UI边缘流光特效小技巧 相关的知识,希望对你有一定的参考价值。
今天给大家说一个做UI特效的小技巧,先来看看效果吧
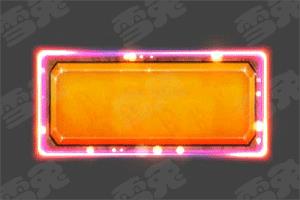
首先找你们UI组要一个需要制作特效的UI
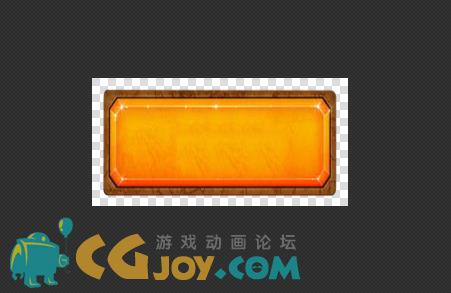
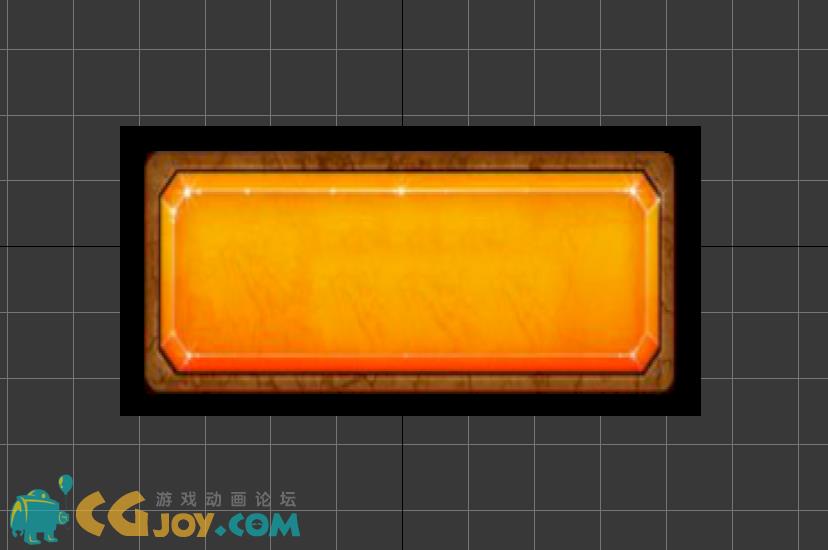
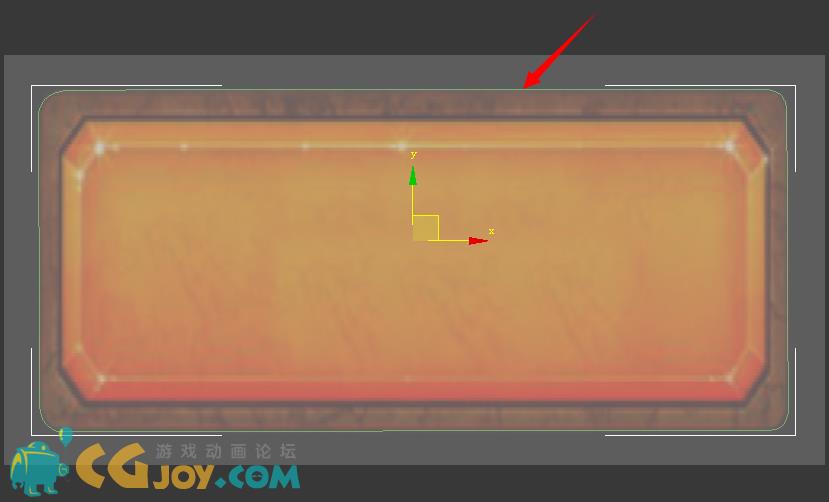
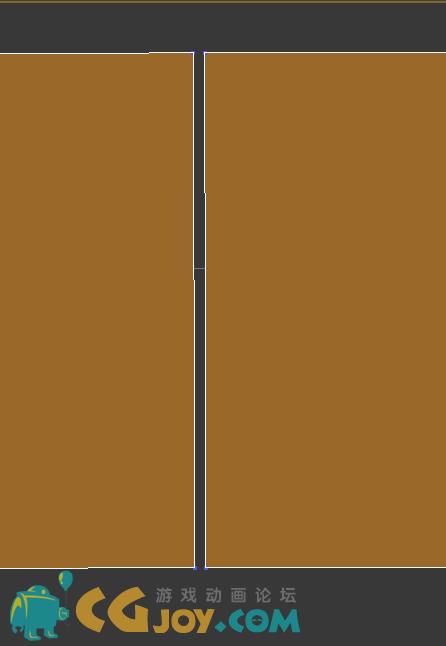
然后在max里按照UI尺寸创建一个面片 然后UI当作贴图帖上去
<ignore_js_op>
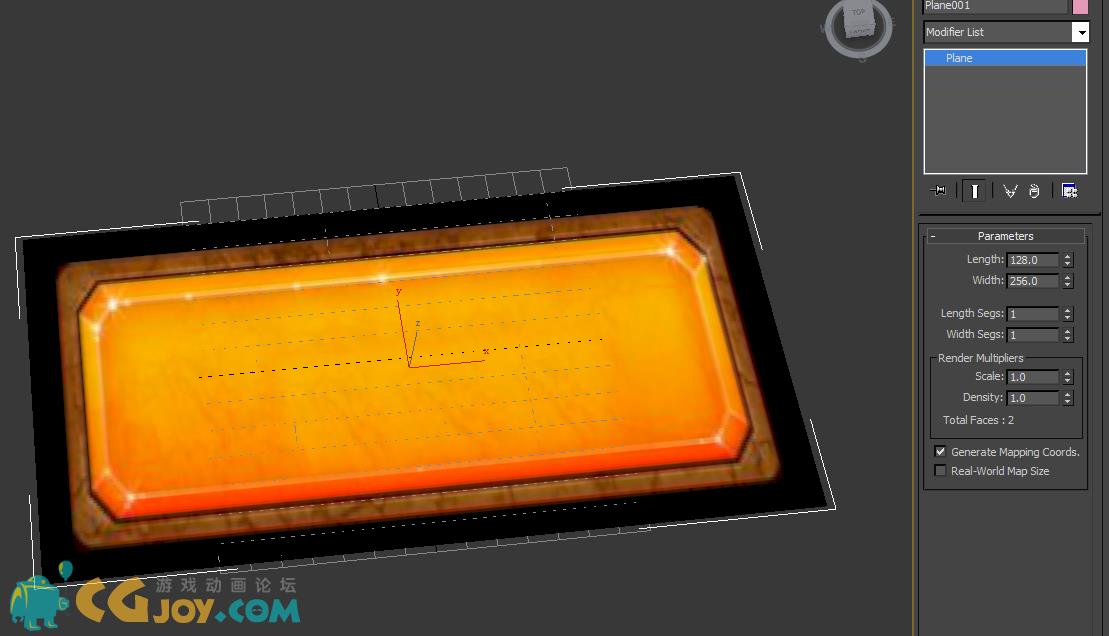
切换到顶视图,然后在UI的边框画一条曲线(注意要用Line自己画出来)
<ignore_js_op>
<ignore_js_op>
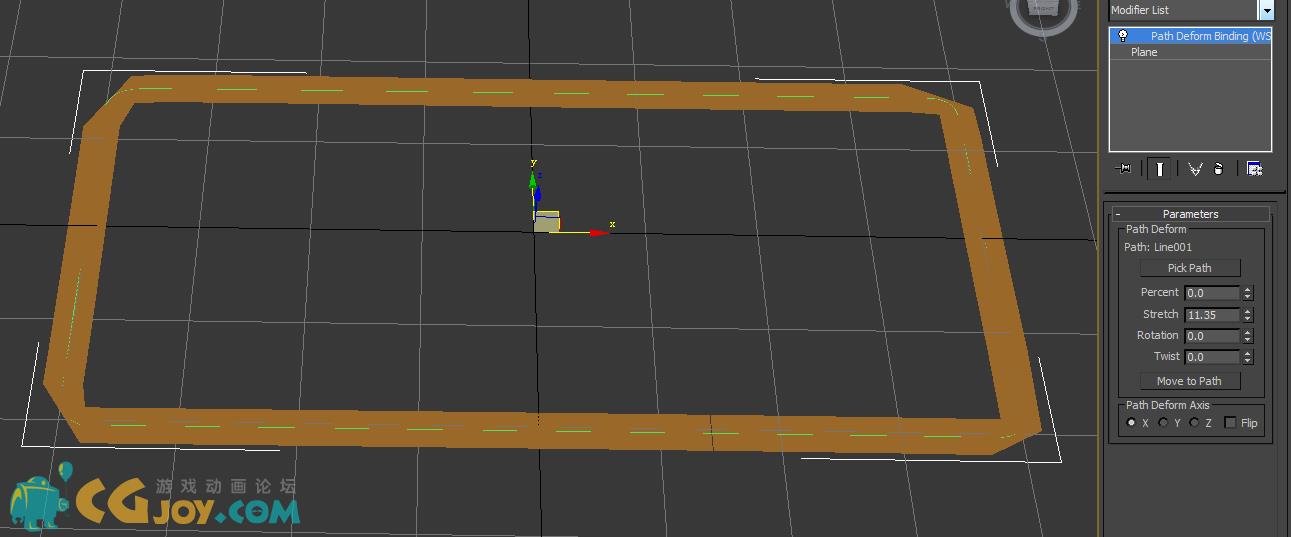
然后创建一个面片 在这条曲线上走一个路径动画,要把这条曲线走完(面片的面数不用太高)
<ignore_js_op>
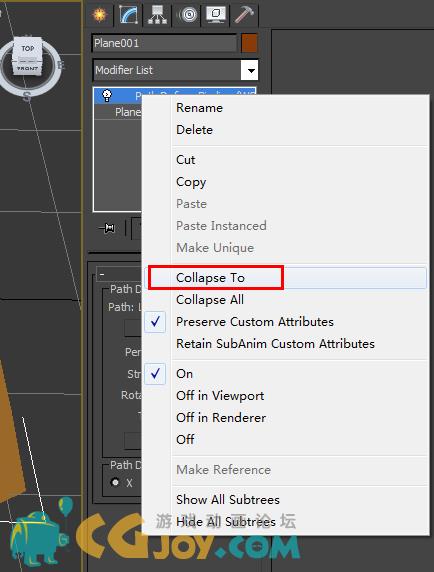
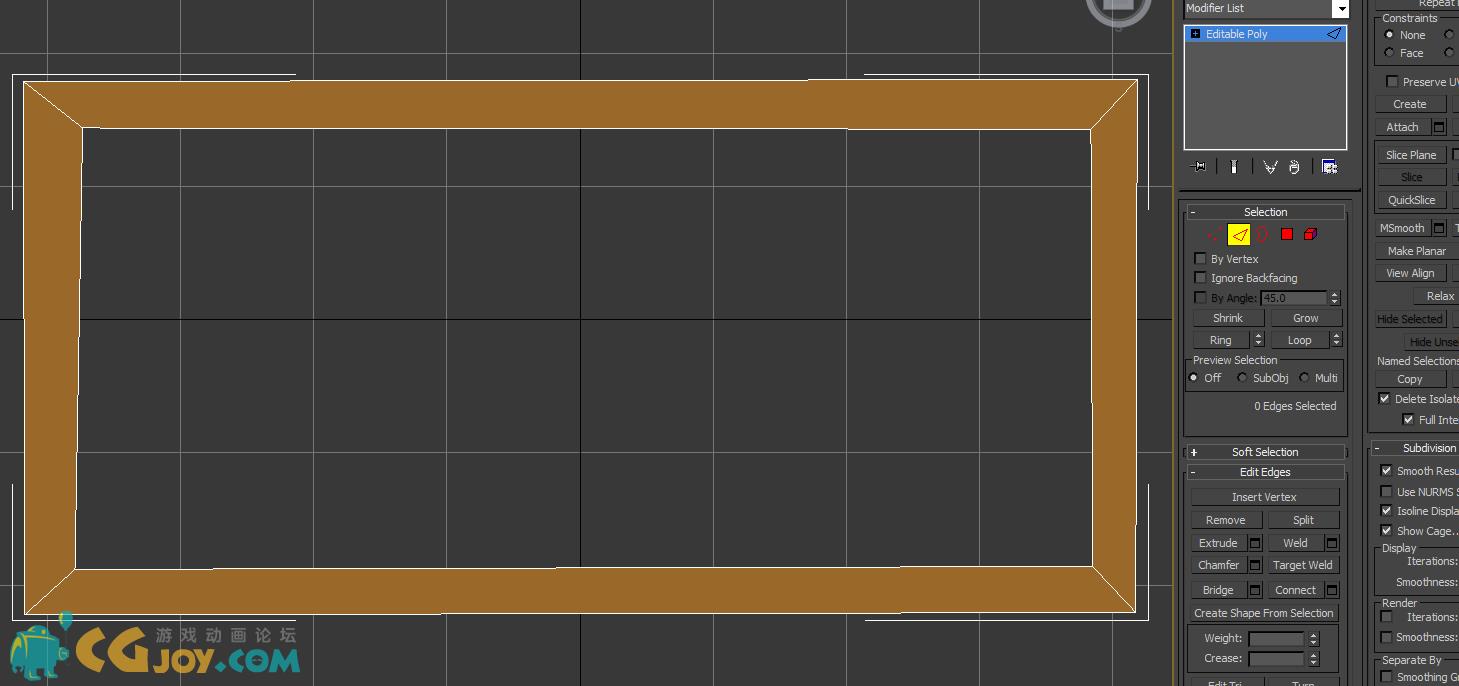
然后选中面片转换成不受曲线影响的模型
<ignore_js_op>
然后把这个模型四个角的点修整一下
<ignore_js_op>
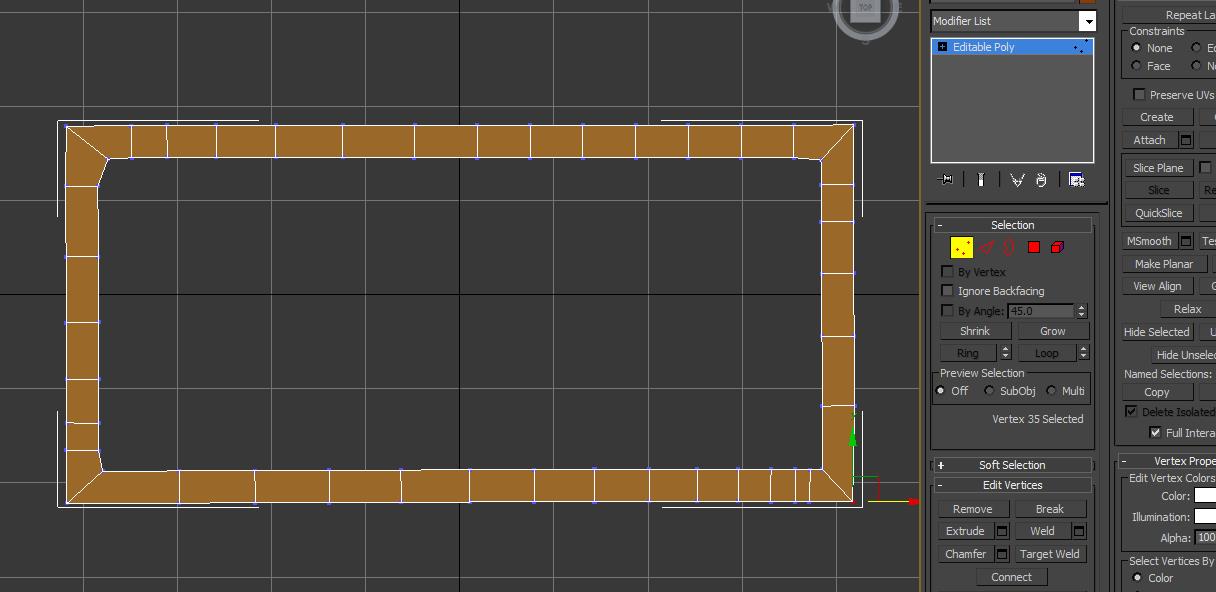
然后把这个模型转换成poly模式 再把断边的点合并
<ignore_js_op>
然后删掉模型多余的线
<ignore_js_op>
本帖隐藏的内容
再然后选择四条边角线 做一个倒角<ignore_js_op>
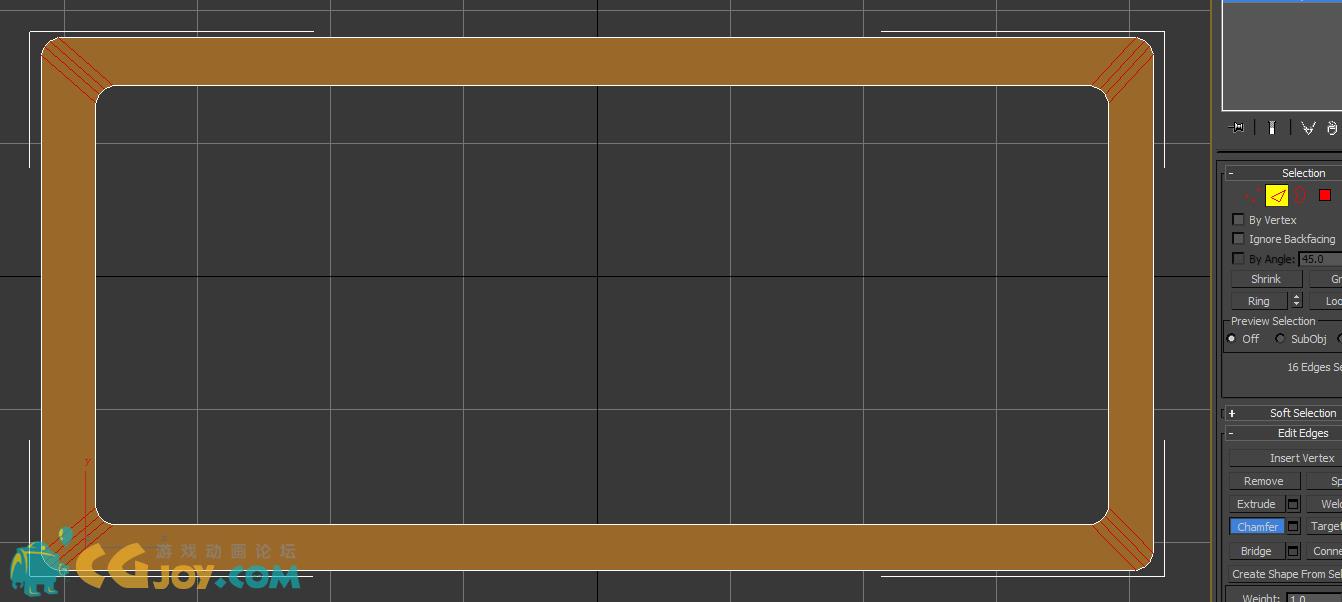
然后再添加一个分UV的命令 稍微调整一下UV
<ignore_js_op>
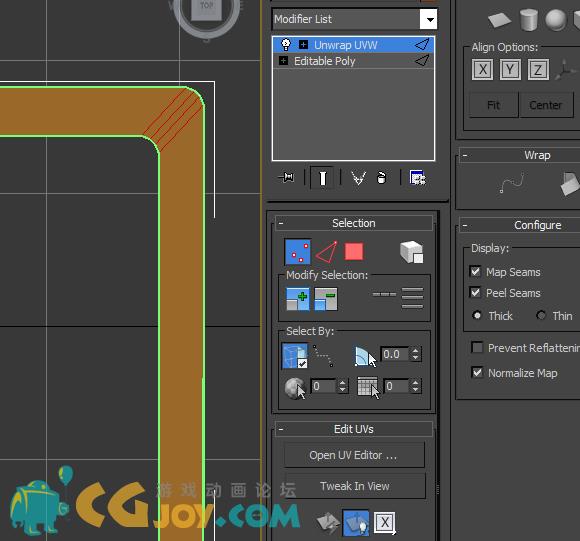
UV如下图所示(UV分好后导出FBX格式的模型放入你的工程文件里)
<ignore_js_op>
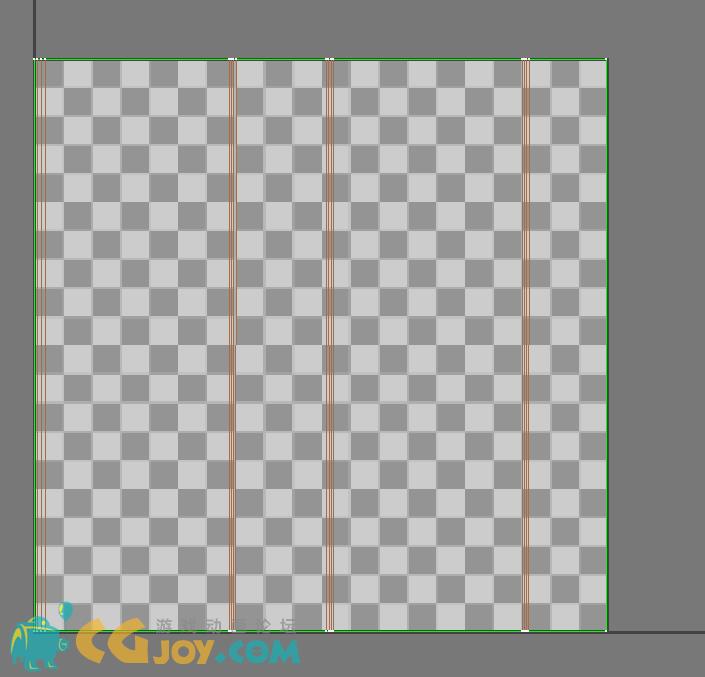
然后打开你们的U3D把UI放进去 (大小什么的要问你们的程序要一个GUI)
<ignore_js_op>
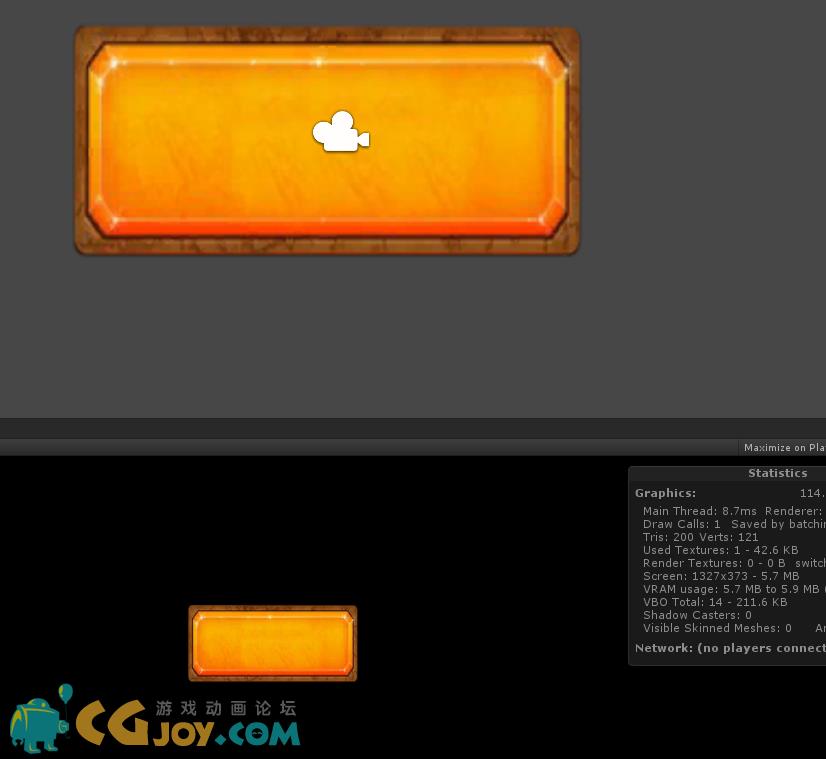
然后选一个比较合适的贴图(这里贴图自己弄,我的GIF效果用的不是这个图,只是为了说明一下)
<ignore_js_op>

然后把你们的FBX格式模型放到U3D里面,然后把选好的贴图帖上去,再按ctrl+6打开动画面板(应该需要稍微做下调整)
<ignore_js_op>
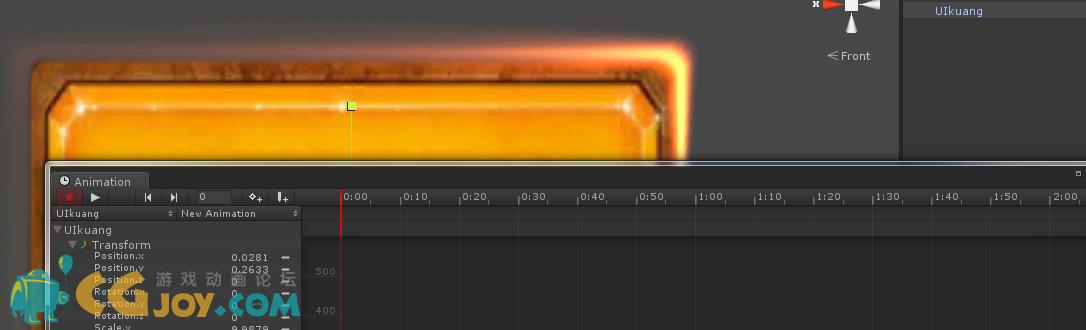
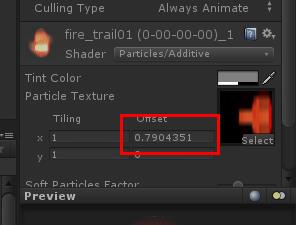
接着就是给你的模型材质球上面K针,就是UV动画。
<ignore_js_op>
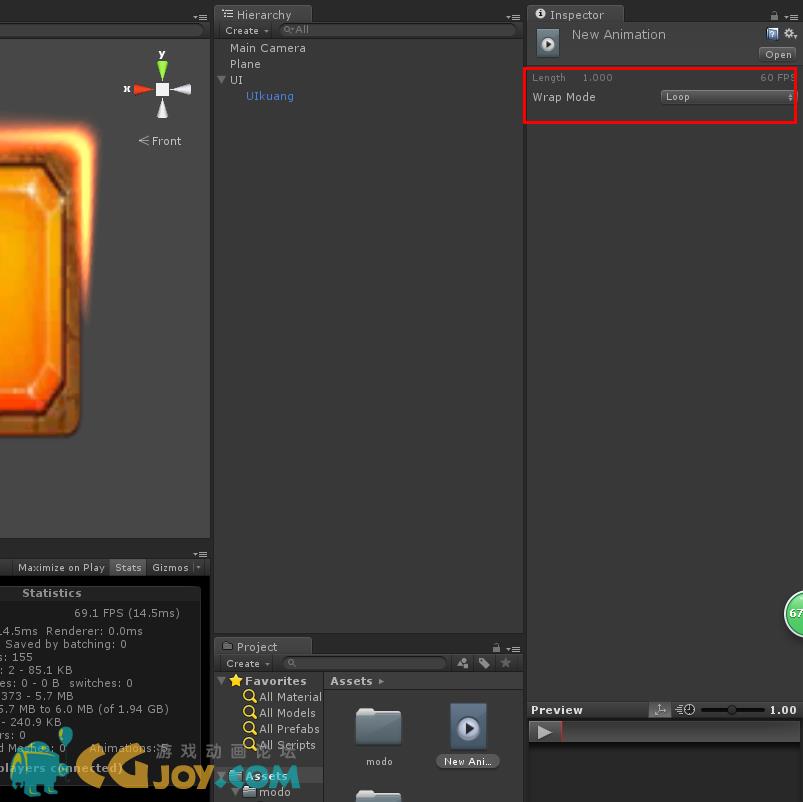
再然后就是把你K好的这个动画文件勾上循环
<ignore_js_op>
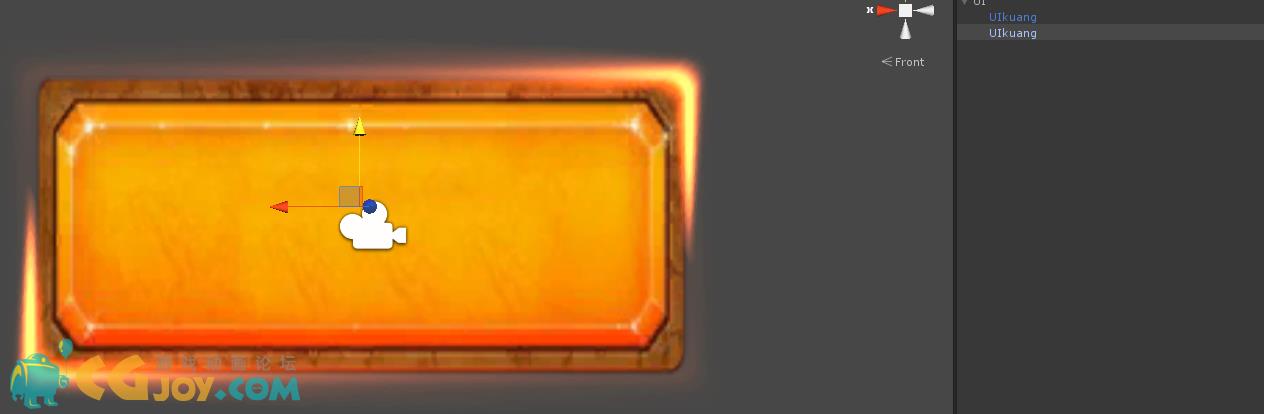
接着再复制一个旋转一下角度
<ignore_js_op>
以上是关于GJM : Unity3D - UI - UI边缘流光特效小技巧 的主要内容,如果未能解决你的问题,请参考以下文章
GJM : Unity3D HIAR - 快速入门 导出 iOS 工程
GJM : Unity3D HIAR - 快速入门 搭建开发环境