StanfordCoreNLP + Python
Posted vhow
tags:
篇首语:本文由小常识网(cha138.com)小编为大家整理,主要介绍了StanfordCoreNLP + Python相关的知识,希望对你有一定的参考价值。
在PC上搭建 StanfordCoreNLP + Python 开发环境,步骤如下:
1. 下载NLP工具包
下载地址: https://share.weiyun.com/5UJ1Gdi
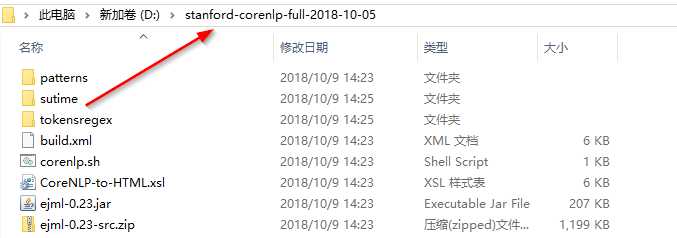
将下载好的stanford-corenlp-full-2018-10-05.zip放置于电脑的D盘
2. 安装 stanfordcorenlp (Python版接口)
使用清华的镜像安装stanfordcorenlp,速度会快些。
pip install stanfordcorenlp -i https://pypi.tuna.tsinghua.edu.cn/simple 
3. 下载JDK
下载地址:https://share.weiyun.com/5HRNRDK
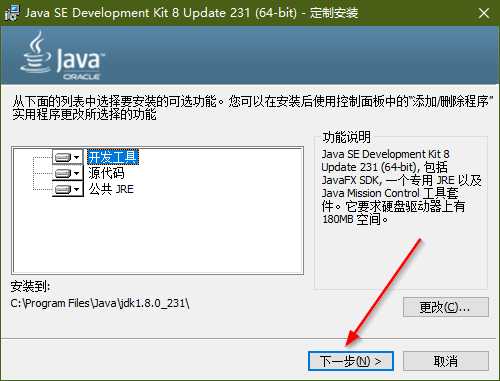
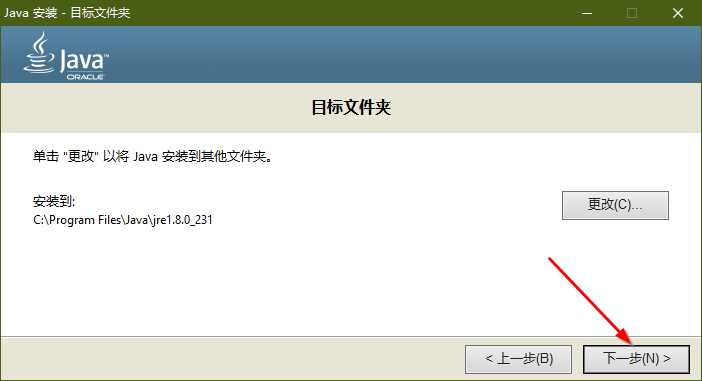
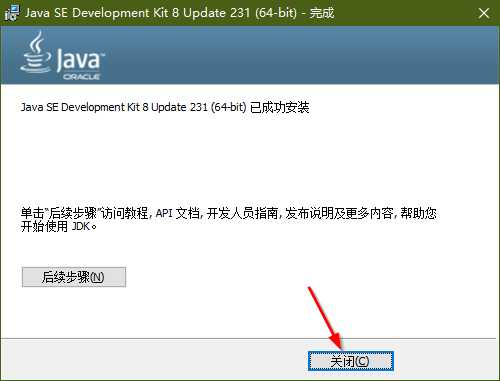
安装下载好的jdk-8u231-windows-x64.exe,一直都选择默认的下一步

4. 编写Python脚本
# 导入NLP类
from stanfordcorenlp import StanfordCoreNLP

# 生成nlp对象
nlp = StanfordCoreNLP(r'D:stanford-corenlp-full-2018-10-05')

# 待分析的句子
sentence = 'Stanford CoreNLP provides a set of human language technology tools.'

# 分词,将句子打散
print('Tokenize:
', nlp.word_tokenize(sentence))

print('-' * 60)

# 生成语法树
print('Constituency Parsing:
', nlp.parse(sentence))

print('-' * 60)

# 显示依存关系
print('Dependency Parsing:
', nlp.dependency_parse(sentence))

nlp.close()
也可以在IDLE中逐行输入代码:

5. 结果分析
Python输出的结果和在线版本是一致的。
在线版给出的是可视化的结果:
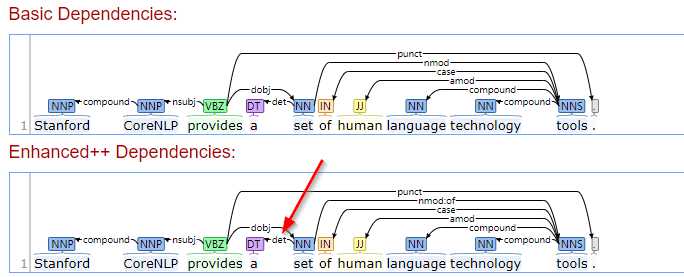
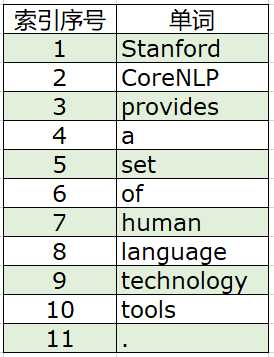
Python代码给出的是文本格式的结果,例如(‘det‘, 5, 4),5是set的索引,4是a的索引。
相关链接
CoreNLP主页:https://stanfordnlp.github.io/CoreNLP/
以上是关于StanfordCoreNLP + Python的主要内容,如果未能解决你的问题,请参考以下文章