《用Python写网络爬虫》示例网站搭建(框架+本书pdf+章节代码)
Posted
tags:
篇首语:本文由小常识网(cha138.com)小编为大家整理,主要介绍了《用Python写网络爬虫》示例网站搭建(框架+本书pdf+章节代码)相关的知识,希望对你有一定的参考价值。

所用到的代码及工具
示例网站源码+框架+本书pdf+章节代码
链接: https://pan.baidu.com/s/1miHjIYk 密码: af35
环境
python2.7
win7x64
示例网站搭建
wswp-places.zip 书中站点源码
web2py_src.zip 站点所使用的框架
1 解压web2py_src.zip
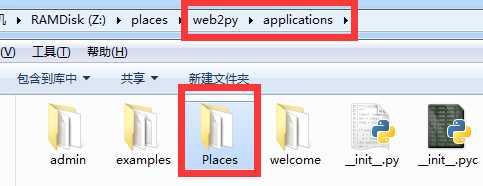
2 然后到web2py/applications目录下
3 将wswp-places.zip解压到applications目录下
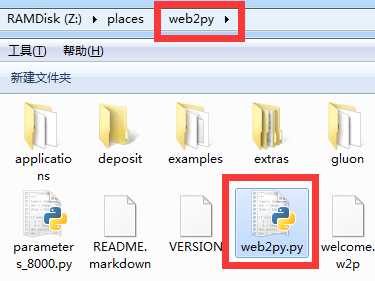
4 返回上一层目录,到web2py目录下,双击web2py.py,或者 执行命令python web2py.py
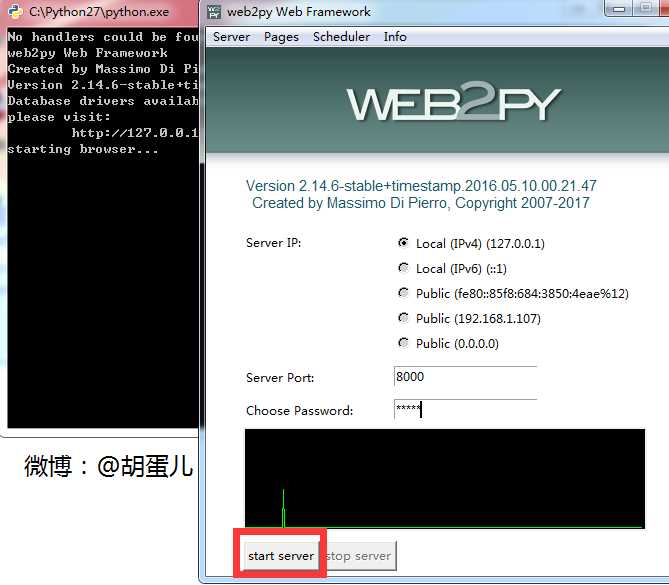
如果设置了admin密码,使用命令python web2py.py --password=<password>,没有设置密码默认空
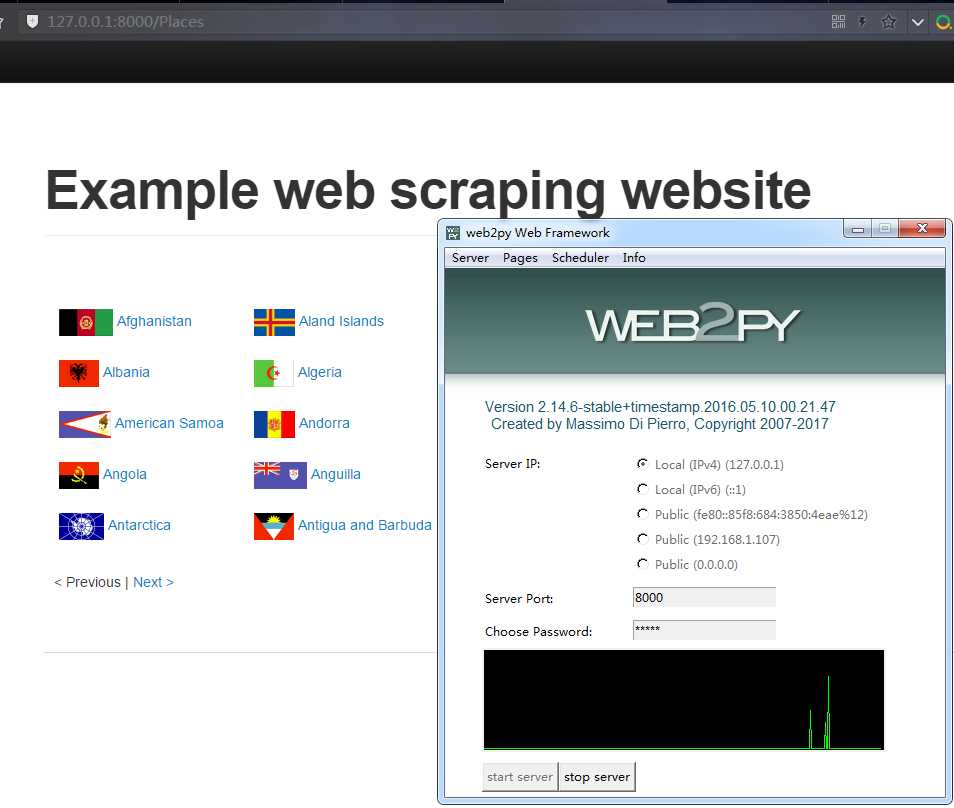
5 浏览器访问 http://127.0.0.1:8000/places
书上的正经途径
网站源代码托管在 https://bitbucket.org/wswp/places
(注册时,需要翻,用到Google账号。需要安装sourceTree)
代码使用web2py框架搭架
This app relies on the web2py framework, which can be downloaded here and is documented here.
http://web2py.com/init/default/download
http://web2py.com/book
安装步骤
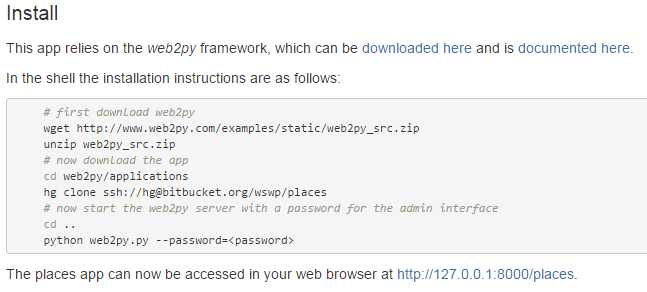
文字版,方便复制
In the shell the installation instructions are as follows:
# first download web2py
wget http://www.web2py.com/examples/static/web2py_src.zip
unzip web2py_src.zip
# now download the app
cd web2py/applications
hg clone ssh://[email protected]/wswp/places
# now start the web2py server with a password for the admin interface
cd ..
python web2py.py --password=<password>
The places app can now be accessed in your web browser at http://127.0.0.1:8000/places
以上是关于《用Python写网络爬虫》示例网站搭建(框架+本书pdf+章节代码)的主要内容,如果未能解决你的问题,请参考以下文章