Yolov8 根据需要自定义颜色
Posted ~逍遥子~
tags:
篇首语:本文由小常识网(cha138.com)小编为大家整理,主要介绍了Yolov8 根据需要自定义颜色相关的知识,希望对你有一定的参考价值。
1、找到系统文件 plotting.py,加一个类 Color
class Colors:
    # Ultralytics color palette https://ultralytics.com/
    def __init__(self):
        # hex = matplotlib.colors.TABLEAU_COLORS.values()
        hexs = (\'FF3838\', \'FF9D97\', \'FF701F\', \'FFB21D\', \'CFD231\', \'48F90A\', \'92CC17\', \'3DDB86\', \'1A9334\', \'00D4BB\',
                \'2C99A8\', \'00C2FF\', \'344593\', \'6473FF\', \'0018EC\', \'8438FF\', \'520085\', \'CB38FF\', \'FF95C8\', \'FF37C7\')
        self.palette = [self.hex2rgb(f\'#c\') for c in hexs]
        self.n = len(self.palette)
        self.pose_palette = np.array([[255, 128, 0], [255, 153, 51], [255, 178, 102], [230, 230, 0], [255, 153, 255],
                                      [153, 204, 255], [255, 102, 255], [255, 51, 255], [102, 178, 255], [51, 153, 255],
                                      [255, 153, 153], [255, 102, 102], [255, 51, 51], [153, 255, 153], [102, 255, 102],
                                      [51, 255, 51], [0, 255, 0], [0, 0, 255], [255, 0, 0], [255, 255, 255]],
                                     dtype=np.uint8)

    def __call__(self, i, bgr=False):
        c = self.palette[int(i) % self.n]
        return (c[2], c[1], c[0]) if bgr else c

    @staticmethod
    def hex2rgb(h):  # rgb order (PIL)
        return tuple(int(h[1 + i:1 + i + 2], 16) for i in (0, 2, 4))

class Color:
    def __init__(self):
        self.red = (255, 0, 0) # 深红色
        self.green = (0, 255, 0) # 绿色

    def __call__(self, i, bgr=False):
        if i == 1:
            return self.red if not bgr else self.red[::-1]
        elif i == 0:
            return self.green if not bgr else self.green[::-1]
        else:
            raise ValueError("i 暂时只能取 0 或 1")

colors = Colors()  # create instance for \'from utils.plots import colors\'
color = Color()

2、找到 results.py ,先导入函数

from ultralytics.yolo.utils.plotting import Annotator, colors, save_one_box, color # 我这个在第17行,主要是加一个 color

# 然后是在212行,更改如下
annotator.masks(pred_masks.data, colors=[color(1, True)], im_gpu=img_gpu) # 红色
# 最后是219行,更改如下
annotator.box_label(d.xyxy.squeeze(), label, color=color(0, True)) # 绿色
# 可能由于版本不一样导致行数不一样,需要自己找一下

3、最后运行 model.predict() 即可
YOLOv8进行改进并训练自定义的数据集
一.训练数据集准备
YOLOv8的训练数据格式与YOLOv5的训练数据格式一致,这一部分可以进行沿用。之前博文有发布VOC标注格式转YOLO标注格式的脚本,有需要可以查看。
二.项目克隆
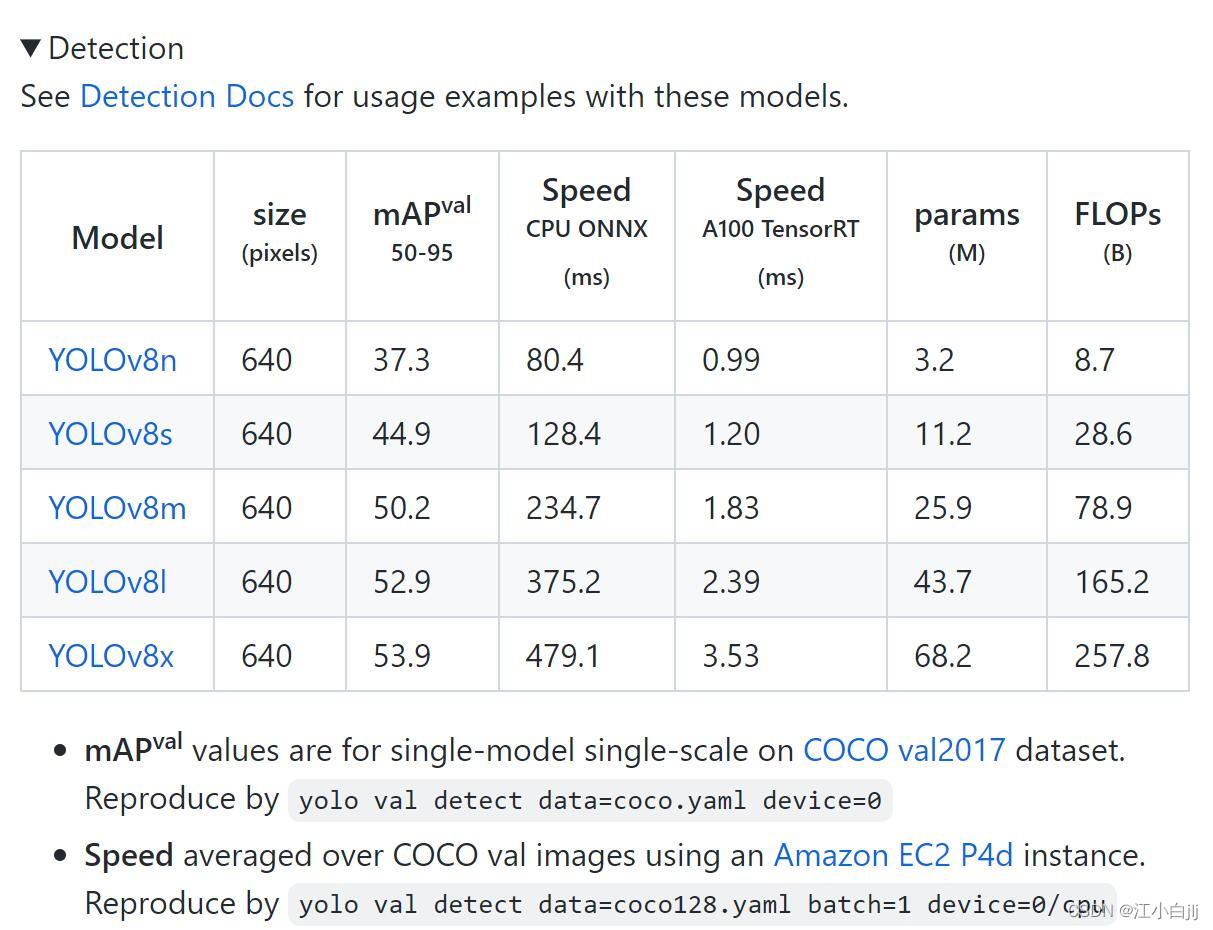
YOLOv8项目文件可以直接去github上下载zip文件然后解压,也可以直接Git克隆。项目官方地址
三.训练前准备
这一部分首先保证机子上安装好了深度学习环境(可以跑YOLOv5就行)。
下一步用Pycharm打开YOLOv8项目,打开项目的终端,输入
pip install -r requirements.txt
到这里。如果按照官方的操作指南需安装ultralytics这个包(我认为,这也是YOLOv8相较于YOLOv5区别最大的地方),但是如果大家要对YOLOv8做出改进,这里可能会出现问题。因此,我推荐大家不要执行这一步操作(如果不需要对YOLOv8做出改进,可以按照官方的指南进行操作)。
四.模型训练
第一、需要创建数据集的yanl文件

NWPU VHR-10 dataset/split_data
train
images
000001.jpg
000002.jpg
000003.jpg
......
labels
000001.txt
000002.txt
000003.txt
......
val
images
......
labels
......
test
images
......
labels
......
第二、下载YOLOv8的预训练权重文件(这一步也可以不需要)
链接地址

第三、添加自定义模块(这里如果不对YOLOv8进行改进可以直接看第五步)
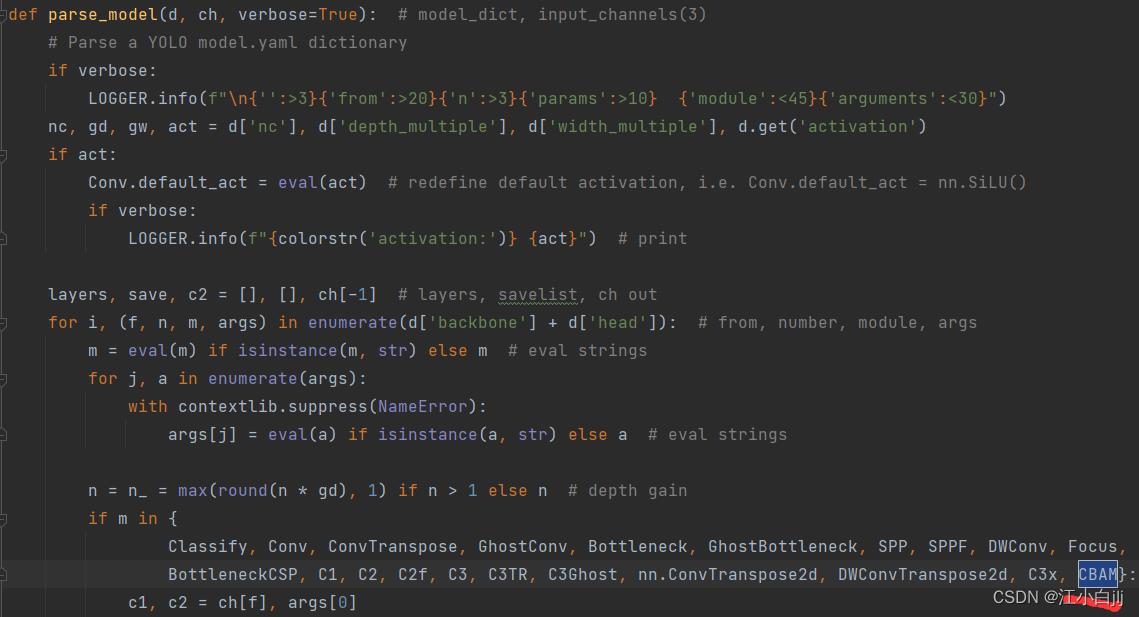
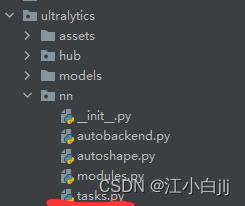
比如这里我要在YOLOv8的基础上添加CBAM注意力模块,首先打开modules.py,在下方添加CBAM注意力模块的代码实现。


再打开task.py,在对应位置添加CBAM模块的声明


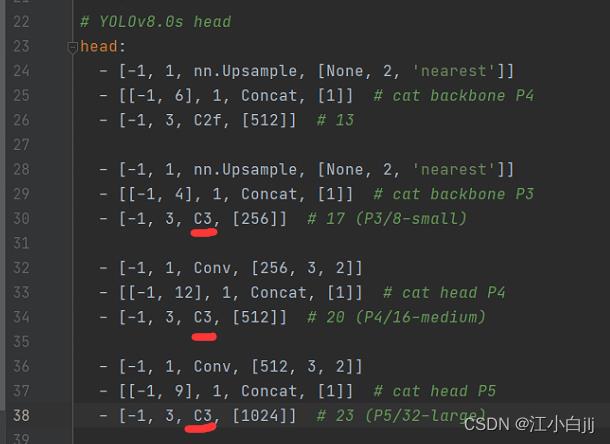
第四、根据自己设计的网络结构修改yaml文件
比如这里我将YOLOv8中部分的C2f模块替换为C3模块。

第五、开始训练
这里也是和YOLOv5有着较大的差别,在YOLOv8中train、val和test的参数设置都是依赖于default.yaml这个文件,因此在对参数设置进行修改前,建议先对该文件进行备份。
这里进行切换任务与模式。

这里需要注意,在YOLOv5中是同时包含--weights预训练权重文件和--cfg模型文件,预训练权重(.pt)是由官方提供,模型文件(.yaml)是自己修改的文件,并在训练中导入相同层的权重信息。而在YOLOv8中,只有--model这一个参数设置,且同时允许.pt文件与.yaml文件的接受处理。因此,这里的话,我建议用yaml文件,因为这样我们才能载入我们自己设计的网络结构(注:从目前的实验来看,只导入yaml文件也能进行迁移学习,载入预训练权重文件)。--data存放我们数据集的yaml文件。其他参数可以根据自己的需求自己设定(注:这里发现YOLOv8在训练时GPU的内存占用比YOLOv5的大许多,有bug。部分博主说可通过减少workers来缓解此类现象)。
# Train settings -------------------------------------------------------------------------------------------------------
model:  # path to model file, i.e. yolov8n.pt, yolov8n.yaml
data:  # path to data file, i.e. i.e. coco128.yaml
epochs: 100  # number of epochs to train for
patience: 50  # epochs to wait for no observable improvement for early stopping of training
batch: 16  # number of images per batch (-1 for AutoBatch)
imgsz: 640  # size of input images as integer or w,h
save: True  # save train checkpoints and predict results
cache: False  # True/ram, disk or False. Use cache for data loading
device:  # device to run on, i.e. cuda device=0 or device=0,1,2,3 or device=cpu
workers: 8  # number of worker threads for data loading (per RANK if DDP)
project:  # project name
name:  # experiment name
exist_ok: False  # whether to overwrite existing experiment
pretrained: False  # whether to use a pretrained model
optimizer: SGD  # optimizer to use, choices=['SGD', 'Adam', 'AdamW', 'RMSProp']
verbose: True  # whether to print verbose output
seed: 0  # random seed for reproducibility
deterministic: True  # whether to enable deterministic mode
single_cls: False  # train multi-class data as single-class
image_weights: False  # use weighted image selection for training
rect: False  # support rectangular training if mode='train', support rectangular evaluation if mode='val'
cos_lr: False  # use cosine learning rate scheduler
close_mosaic: 10  # disable mosaic augmentation for final 10 epochs
resume: False  # resume training from last checkpoint
min_memory: False  # minimize memory footprint loss function, choices=[False, True, <roll_out_thr>]
最后,运行train.py即可。
python train.py五.模型验证与测试
模型的验证与测试步骤基本和训练一样,先修改验证/测试的设置,也是在default.yaml中,然后执行val.py和predict.py即可
以上是关于Yolov8 根据需要自定义颜色的主要内容,如果未能解决你的问题,请参考以下文章
