python 实现发送邮件的两种方式(send_mail模块发送,smtplib模块发送)
Posted xinxi2010
tags:
篇首语:本文由小常识网(cha138.com)小编为大家整理,主要介绍了python 实现发送邮件的两种方式(send_mail模块发送,smtplib模块发送)相关的知识,希望对你有一定的参考价值。
python 实现发送邮件的两种方式(send_mail模块发送,smtplib模块发送)
https://www.yiibai.com/python/python_sending_email.html
目录
 View Code
addr_from = "测试邮件发送地址"< mymail@gmail.com >"
正文
settings里配置
# EMAIL_BACKEND = \'django.core.mail.backends.smtp.EmailBackend\'

EMAIL_HOST = \'smtp.qq.com\'  # 如果是 163 改成 smtp.163.com
EMAIL_PORT = 465    # 端口号
EMAIL_HOST_USER = \'306334678@qq.com\'  # 发送者的邮箱帐号
EMAIL_HOST_PASSWORD = \'***\'  #   发送者的邮箱授权
DEFAULT_FROM_EMAIL = EMAIL_HOST_USER
#这样收到的邮件,收件人处就会这样显示
#DEFAULT_FROM_EMAIL = \'lqz<\'306334678@qq.com>\'

EMAIL_USE_SSL = True   #使用ssl


#EMAIL_USE_TLS = False # 使用tls
#EMAIL_USE_SSL 和 EMAIL_USE_TLS 是互斥的,即只能有一个为 True
views视图函数
from django.core.mail import send_mail   # 导入邮箱模块
from threading import Thread     # 导入线程模块
from threading import Thread
  t1 = Thread(target=send_mail,args=(
  \'您的%s文章被%s评论了\'%(article_name,user_name),
  \'这个人评论了:%s\'%(content),
  settings.EMAIL_HOST_USER,
  [\'1670874977@qq.com\'] )) t1.start()
一次性发多封邮件
from django.core.mail import send_mass_mail

message1 = (\'第一封邮件标题\', \'这是邮件内容\', \'from@example.com\', [\'first@example.com\', \'other@example.com\'])
message2 = (\'第二封邮件标题\', \'这是邮件内容\', \'from@example.com\', [\'second@test.com\'])
\'\'\'
fail_silently: (可选)布尔值。为 False 时, send_mail 会抛出 smtplib.SMTPException 异常。smtplib 文档列出了所有可能的异常。 这些异常都是 SMTPException 的子类
\'\'\'
send_mass_mail((message1, message2), fail_silently=False)   # 开始发送多封邮件
\'\'\'
send_mail 每次发邮件都会建立一个连接,发多封邮件时建立多个连接。而 send_mass_mail 是建立单个连接发送多封邮件,所以一次性发送多封邮件时 send_mass_mail 要优于 send_mail。
\'\'\'
携带附件或发送html文件
from django.core.mail import EmailMultiAlternatives
# subject 主题 content 内容 to_addr 是一个列表,发送给哪些人
msg = EmailMultiAlternatives(\'邮件标题\', \'邮件内容\', \'发送方\', [\'接收方\'])
msg.content_subtype = "html"
# 添加附件(可选)
msg.attach_file(\'test.txt\')
# 发送
msg.send()
各大邮箱smtp服务器及端口

新浪邮箱smtp服务器
外发服务器:smtp.vip.sina.com
收件服务器:pop3.vip.sina.com
新浪免费邮件
外发服务器:smtp.sina.com.cn
收件服务器:pop3.sina.com.cn
163邮箱smtp服务器
pop: pop.163.com
smtp: smtp.163.com
QQ邮箱smtp服务器及端口
接收邮件服务器:imap.exmail.qq.com,使用SSL,端口号993
发送邮件服务器:smtp.exmail.qq.com,使用SSL,端口号465或587
yahoo邮箱smtp服务器
接:pop.mail.yahoo.com.cn
发:smtp.mail.yahoo.com
126邮箱smtp服务器
pop: pop.126.com
smtp: smtp.126.com
新浪免费邮箱
POP3:pop.sina.com
SMTP:smtp.sina.com
SMTP端口号:25
新浪VIP邮箱
POP3:pop3.vip.sina.com
SMTP:smtp.vip.sina.com
SMTP端口号:25
新浪企业邮箱
POP3:pop.sina.com
SMTP:smtp.sina.com
SMTP端口号:25
雅虎邮箱
POP3:pop.mail.yahoo.cn
SMTP:smtp.mail.yahoo.cn
SMTP端口号:25
搜狐邮箱
POP3:pop3.sohu.com
SMTP:smtp.sohu.com
SMTP端口号:25
TOM邮箱
POP3:pop.tom.com
SMTP:smtp.tom.com
SMTP端口号:25
Gmail邮箱
POP3:pop.gmail.com
SMTP:smtp.gmail.com
SMTP端口号:587 或 25
QQ邮箱
POP3:pop.exmail.qq.com
SMTP:smtp.exmail.qq.com
SMTP端口号:25
263邮箱
域名:263.net
POP3:263.net
SMTP:smtp.263.net
SMTP端口号:25
域名:x263.net
POP3:pop.x263.net
SMTP:smtp.x263.net
SMTP端口号:25
域名:263.net.cn
POP3:263.net.cn
SMTP:263.net.cn
SMTP端口号:25
域名:炫我型
POP3:pop.263xmail.com
SMTP:smtp.263xmail.com
SMTP端口号:25
21CN 免费邮箱
POP3:pop.21cn.com
SMTP:smtp.21cn.com
IMAP:imap.21cn.com
SMTP端口号:25
21CN 经济邮邮箱
POP3:pop.21cn.com
SMTP:smtp.21cn.com
SMTP端口号:25
21CN 商务邮邮箱
POP3:pop.21cn.net
SMTP:smtp.21cn.net
SMTP端口号:25
21CN 快感邮箱
POP3:vip.21cn.com
SMTP:vip.21cn.com
SMTP端口号:25
21CN Y邮箱
POP3:pop.y.vip.21cn.com
SMTP:smtp.y.vip.21cn.com
SMTP端口号:25
中华网任我邮邮箱
POP3:rwpop.china.com
SMTP:rwsmtp.china.com
SMTP端口号:25
中华网时尚、商务邮箱
POP3:pop.china.com
SMTP:smtp.china.com
SMTP端口号:25
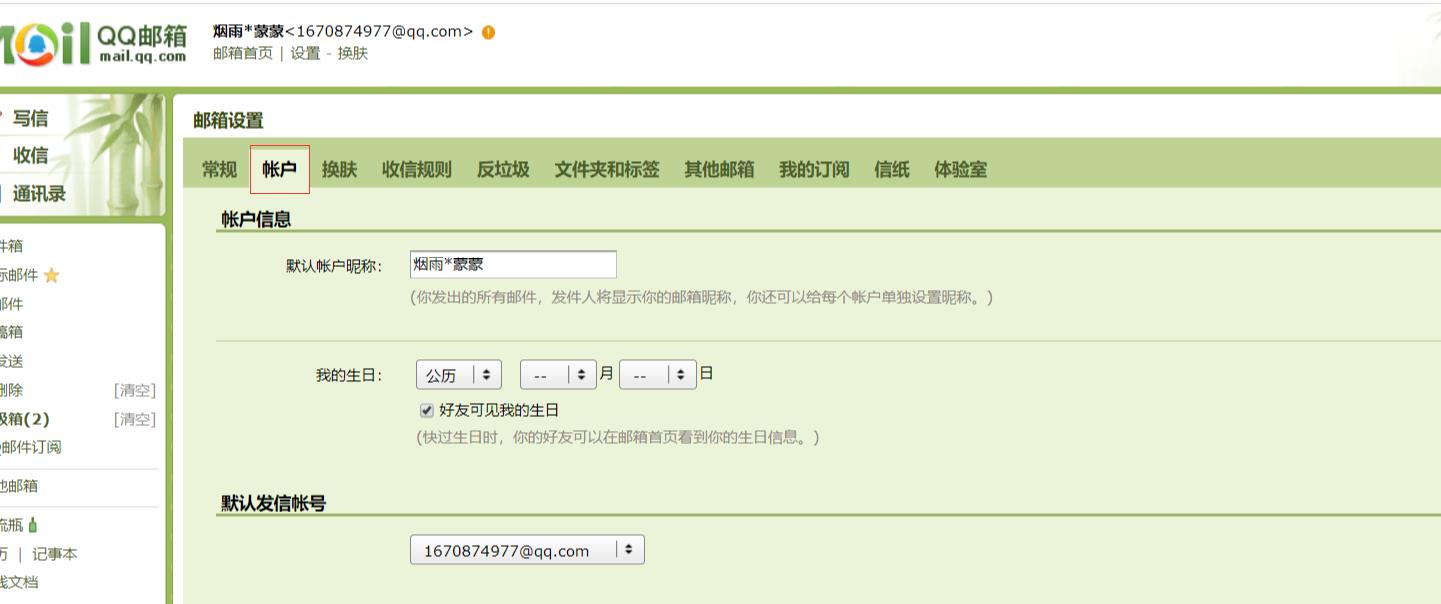
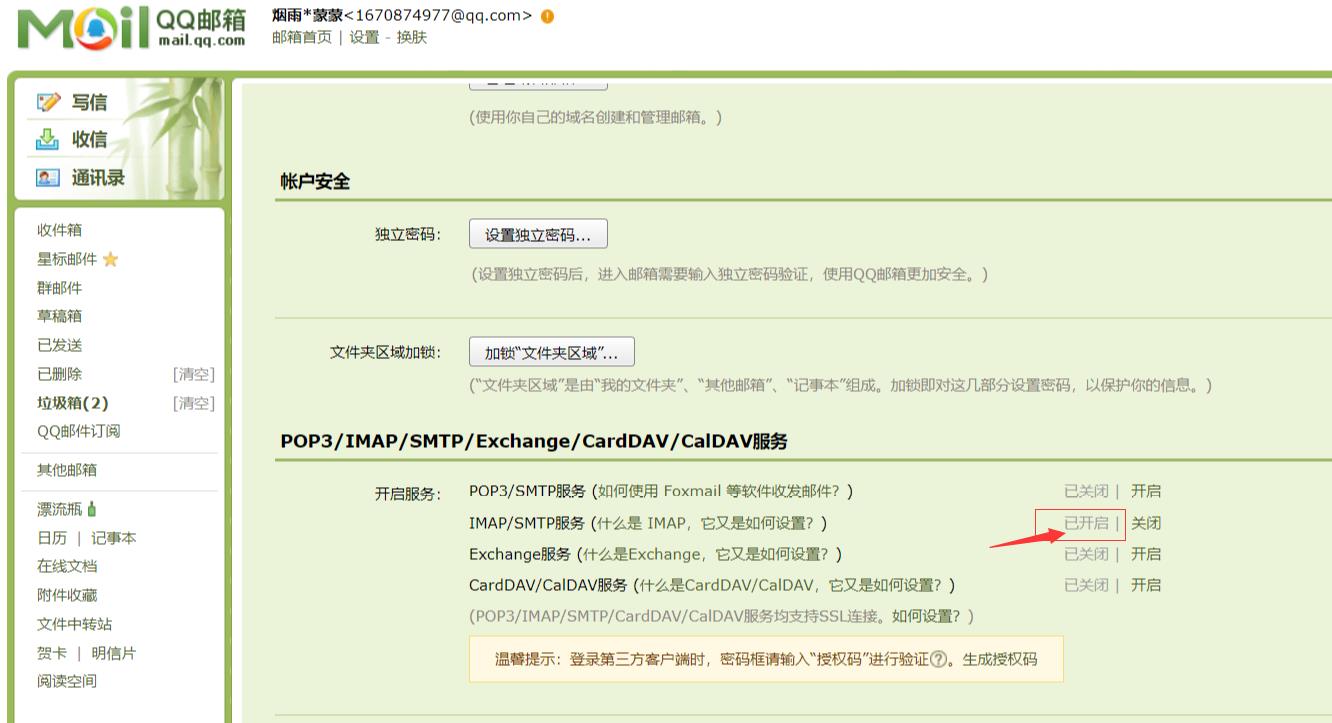
qq邮箱获取授权码


smtplib模块发送邮件
import smtplib
from email.mime.text import MIMEText

msg_from = \'306334678@qq.com\'  # 发送方邮箱
passwd = \'****\'  # 填入发送方邮箱的授权码(填入自己的授权码,相当于邮箱密码)
msg_to = [\'****@qq.com\',\'**@163.com\',\'*****@163.com\']  # 收件人邮箱

subject = "邮件标题"  # 主题
content = "邮件内容,我是邮件内容,哈哈哈"
# 生成一个MIMEText对象(还有一些其它参数)
# _text_:邮件内容
msg = MIMEText(content)
# 放入邮件主题
msg[\'Subject\'] = subject
# 也可以这样传参
# msg[\'Subject\'] = Header(subject, \'utf-8\')
# 放入发件人
msg[\'From\'] = msg_from
# 放入收件人
msg[\'To\'] = \'616564099@qq.com\'
# msg[\'To\'] = \'发给你的邮件啊\'
try:
    # 通过ssl方式发送,服务器地址,端口
    s = smtplib.SMTP_SSL("smtp.qq.com", 465)
    # 登录到邮箱
    s.login(msg_from, passwd)
    # 发送邮件:发送方,收件方,要发送的消息
    s.sendmail(msg_from, msg_to, msg.as_string())
    print(\'成功\')
except s.SMTPException as e:
    print(e)
finally:
    s.quit()
pyhon使用http代理服务器和POP3、SMTP邮件服务器
python标准库已包含对http的支持,通过很简单的办法就可以直接使用http代理服务器获取网页数据:
import httplib
host,port = "192.168.131.54" , "8086" #http proxy server ip and port
url = " http://blog.csdn.net "
conn = httplib.HTTPConnection(host, port)
conn.request(method,url)
print(r.status,r.reason)
print r.read()
python自带的库文件python/lib/poplib.py支持通过pop3接收邮件
该文件末尾自带测试函数,可以直接运行poplib.py:
poplib pop.126.com yourname yourpassword
值得学习的是,在python的库文件中,很多都是自带测试程序,一般在文件末尾,形式如下:
if __name__ == "__main__":
a = POP3("10.3.4.3","3128")
print ="this is a test"
a = POP3("10.3.4.3","3128")
print ="this is a test"
这样,直接运行库文件就可以看到测试效果,同时也不干扰正常的import使用。
如果需要通过代理来访问pop,则需要做一点额外的工作,简单起见,直接在poplib.py上面修改,首先复制一份到自己的工作目录,然后修改 class POP3 的 __init__函数:
def __init__(self, host, port = POP3_PORT):
self.host = "10.3.4.3"
self.port = "3128"
msg = "getaddrinfo returns an empty list"
self.sock = None
for res in socket.getaddrinfo(self.host, self.port, 0, socket.SOCK_STREAM):
af, socktype, proto, canonname, sa = res
try:
self.sock = socket.socket(af, socktype, proto)
self.sock.connect(sa)
except socket.error, msg:
if self.sock:
self.sock.close()
self.sock = None
continue
break
if not self.sock:
raise socket.error, msg
self.file = self.sock.makefile(\'rb\')
self._debugging = 0
self._putline("CONNECT 220.181.15.121:110 HTTP/1.0/r/n") #pop.126.com的ip地址
msg_proxy = self._getline()
msg_proxy = self._getline()
self.welcome = self._getresp()
简单起见,上面的代理服务器和pop服务器的ip地址是直接添上去的,实际使用用时需要适当修改成方便应用的形式。
python通过smtp认证服务器发邮件的操作也是相当简单:
(如需要支持中文,注意指明编码,并保持所有编码一致)
# -*- coding: GB2312 -*-
import smtplib
import smtplib
addr_from = "测试邮件发送地址"< mymail@gmail.com >"
addr_to = "测试邮件接收地址"< mymail@gmail.com >"
smtp = "smtp.gamil.com"
head_format = """To: %s/nFrom: %s/nContent-Type: text/plain;/ncharset="gb2312"/nSubject: Test mail from python/n/n"""
smtp = "smtp.gamil.com"
head_format = """To: %s/nFrom: %s/nContent-Type: text/plain;/ncharset="gb2312"/nSubject: Test mail from python/n/n"""
body = "This is a test mail./nSecond line./n3rd line."
server = smtplib.SMTP(\'smtp.changhong.com\')
server.login("name","password")
server = smtplib.SMTP(\'smtp.changhong.com\')
server.login("name","password")
head = head_format%(addr_to,self.addr_from)
msg = head + body
server.sendmail(self.addr_from,addr_to ,msg)
msg = head + body
server.sendmail(self.addr_from,addr_to ,msg)
server.quit()
另外如果需要发送html格式的邮件则又要额外多费一点功夫了,一下是一个简单的发送html格式邮件的py文件,我已经把编码固定成了GB2312:
# -*- coding: GB2312 -*-
class smtp_server:
server = None
subject = "Python mail sender"
addr_from = """PythonMail< abc@126.com >"""
addr_to = """PythonMail< abc@126.com >"""
charset = \'GB2312\'
def __init__(self):
import smtplib
self.server = smtplib.SMTP("smtp.126.com")
self.server.login("user_name","mypass")
return
def __del__(self):
if(self.server != ""):
self.server.quit()
return
def send(self, addr_from , addr_to ,msg):
self.server.sendmail(addr_from , addr_to , msg)
return
def send_html(self, addr_from , addr_to ,html , subject):
msg = self.create_html_mail(html,None,subject,addr_from,addr_to)
self.send(addr_from,addr_to,msg)
return
def create_html_mail(self,html, text=None ,subject=None, addr_from=None , addr_to=None):
"Create a mime-message that will render as HTML or text, as appropriate"
import MimeWriter
import mimetools
import cStringIO
import base64
charset = self.charset
if subject is None:
subject=self.subject
if addr_from is None:
addr_from=self.addr_from
if addr_to is None:
addr_to=self.addr_to
if text is None:
# Produce an approximate textual rendering of the HTML string,
# unless you have been given a better version as an argument
import htmllib, formatter
textout = cStringIO.StringIO( )
formtext = formatter.AbstractFormatter(formatter.DumbWriter(textout))
parser = htmllib.HTMLParser(formtext)
parser.feed(html)
parser.close( )
text = textout.getvalue( )
del textout, formtext, parser
out = cStringIO.StringIO( ) # output buffer for our message
htmlin = cStringIO.StringIO(html)
txtin = cStringIO.StringIO(text)
writer = MimeWriter.MimeWriter(out)
# Set up some basic headers. Place subject here
# because smtplib.sendmail expects it to be in the
# message body, as relevant RFCs prescribe.
writer.addheader("From",addr_from)
writer.addheader("To",addr_to)
writer.addheader("Subject", subject)
writer.addheader("MIME-Version", "1.0")
# Start the multipart section of the message.
# Multipart/alternative seems to work better
# on some MUAs than multipart/mixed.
writer.startmultipartbody("alternative")
writer.flushheaders( )
# the plain-text section: just copied through, assuming iso-8859-1
subpart = writer.nextpart( )
pout = subpart.startbody("text/plain", [("charset", charset)])
pout.write(txtin.read( ))
txtin.close( )
# the HTML subpart of the message: quoted-printable, just in case
subpart = writer.nextpart( )
subpart.addheader("Content-Transfer-Encoding", "quoted-printable")
pout = subpart.startbody("text/html", [("charset", charset)])
mimetools.encode(htmlin, pout, \'quoted-printable\')
htmlin.close( )
# You\'re done; close your writer and return the message body
writer.lastpart( )
msg = out.getvalue( )
out.close( )
return msg
if __name__=="__main__":
f = open("test.html", \'r\')
html = f.read( )
f.close( )
fromAddr = """PythonMail< abc@126.com >"""
toAddr = """PythonMail< abc@126.com >"""
server = smtp_server()
#message = server.create_html_mail(html)
#server.send(fromAddr, toAddr, message)
server.send_html(fromAddr, toAddr,html,"subject")
f = open("test.html", \'r\')
html = f.read( )
f.close( )
fromAddr = """PythonMail< abc@126.com >"""
toAddr = """PythonMail< abc@126.com >"""
server = smtp_server()
#message = server.create_html_mail(html)
#server.send(fromAddr, toAddr, message)
server.send_html(fromAddr, toAddr,html,"subject")
相应修改smtp服务器的地址和认证信息,保存为"html_smtp.py"文件,直接运行即可发送内容为当前目录下名为:“test.html”的html格式邮件
版权声明:本文为博主原创文章,未经博主允许不得转载。
以上是关于python 实现发送邮件的两种方式(send_mail模块发送,smtplib模块发送)的主要内容,如果未能解决你的问题,请参考以下文章

