Gitblit在Windows服务器下搭建及使用
Posted dysjwang
tags:
篇首语:本文由小常识网(cha138.com)小编为大家整理,主要介绍了Gitblit在Windows服务器下搭建及使用相关的知识,希望对你有一定的参考价值。
介绍
Gitblit是一个纯Java库用来管理、查看和处理Git资料库。小团队用来管理代码非常合适,既满足私有库的要求,绑定域名后又可基于互联网进行管理。
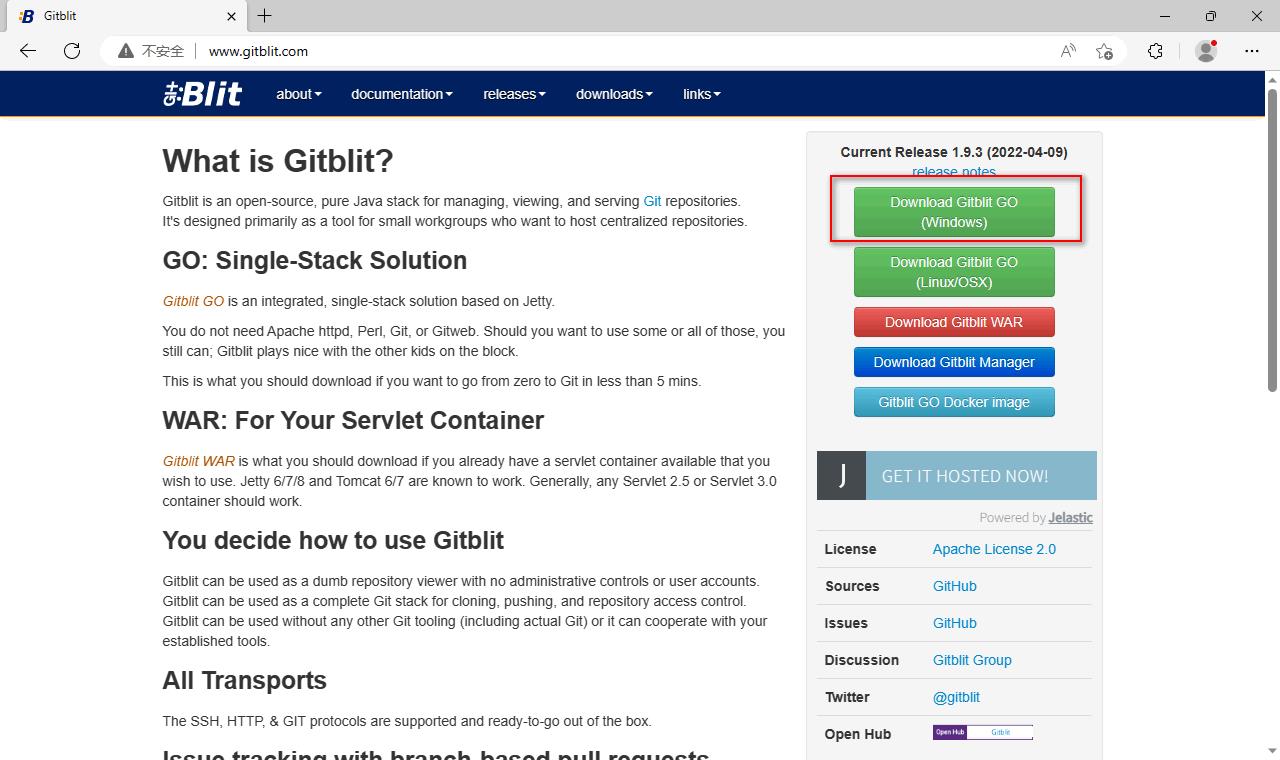
一、下载
官网地址:http://www.gitblit.com/
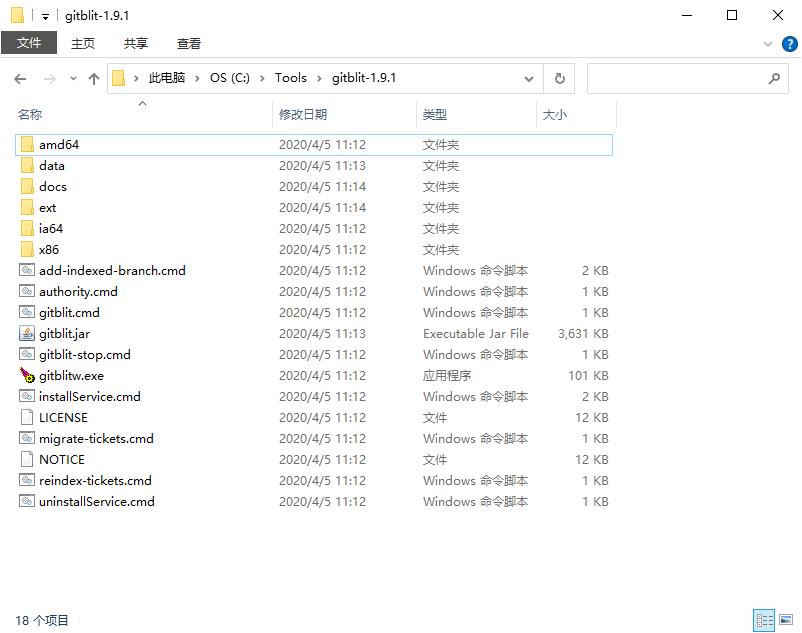
二、安装
1)配置,进入目录:“C:\\Tools\\gitblit-1.9.1\\data”
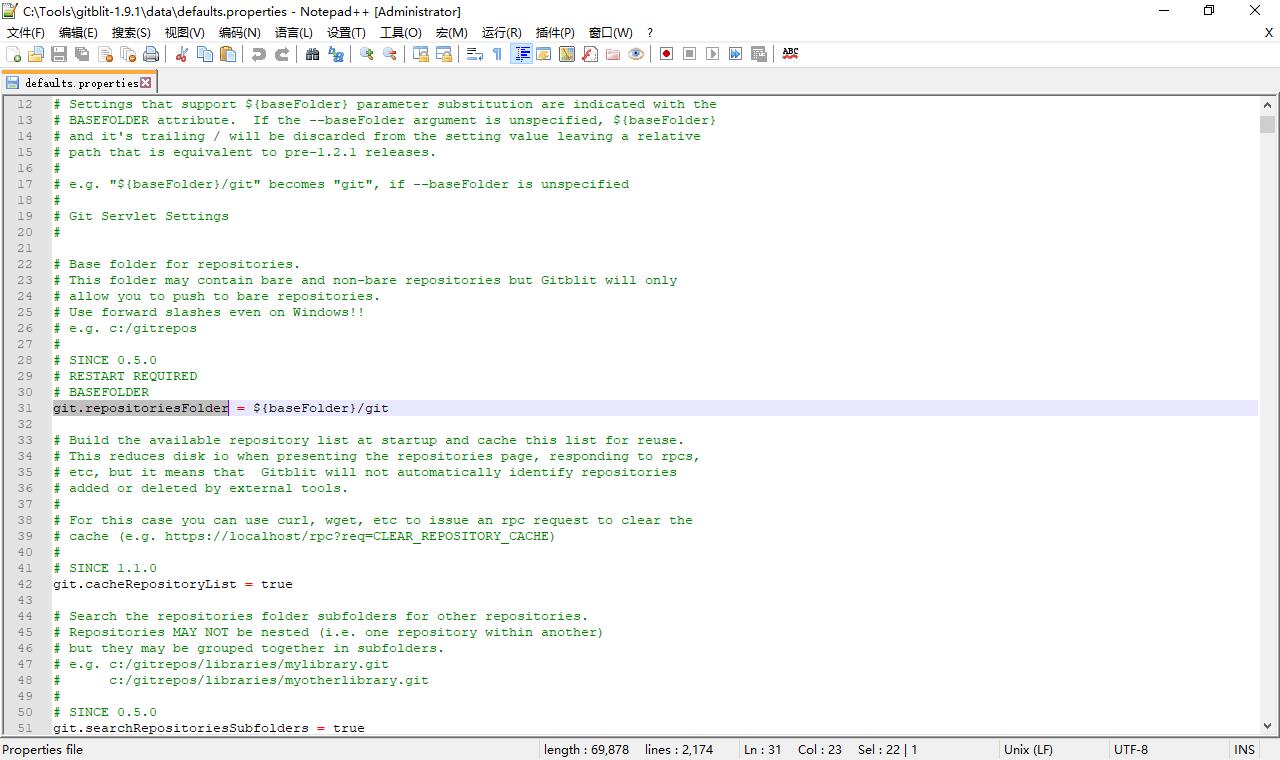
2)打开defaults.properties,三个关键项,可根据需要修改
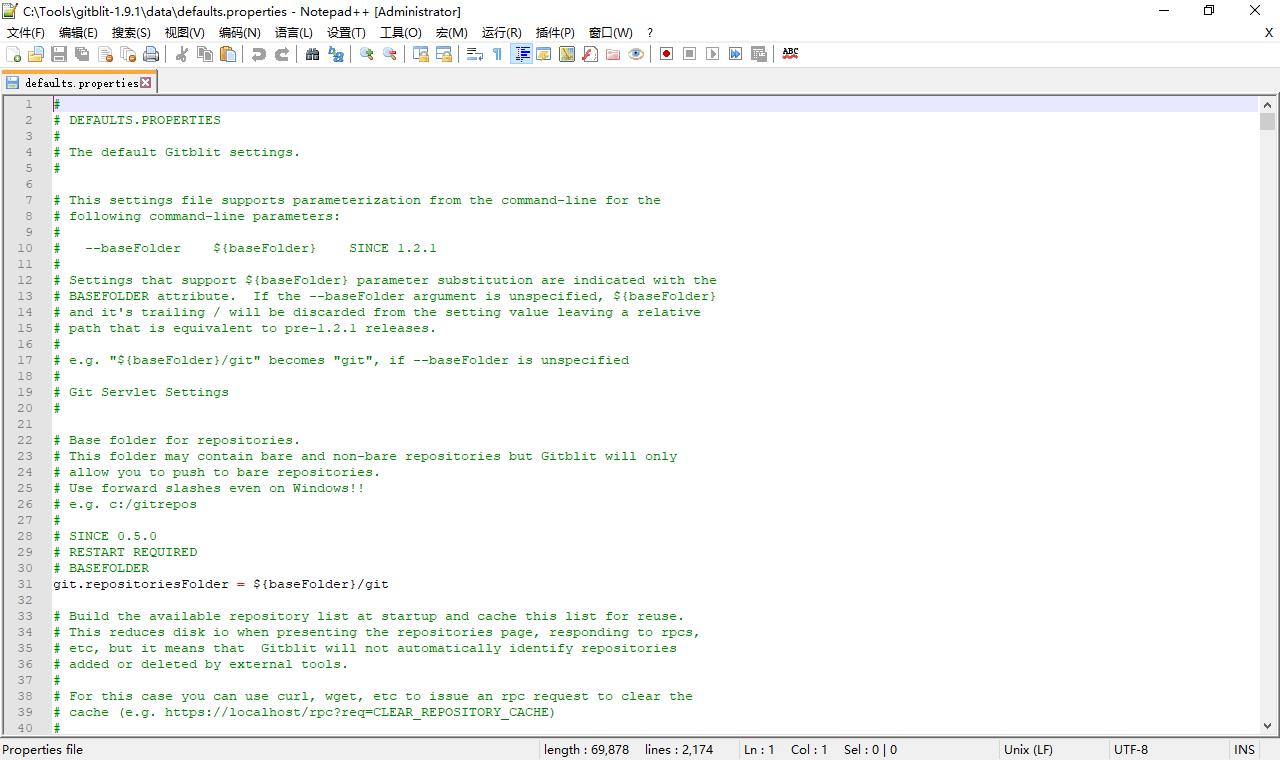
server.httpPort = http协议的端口
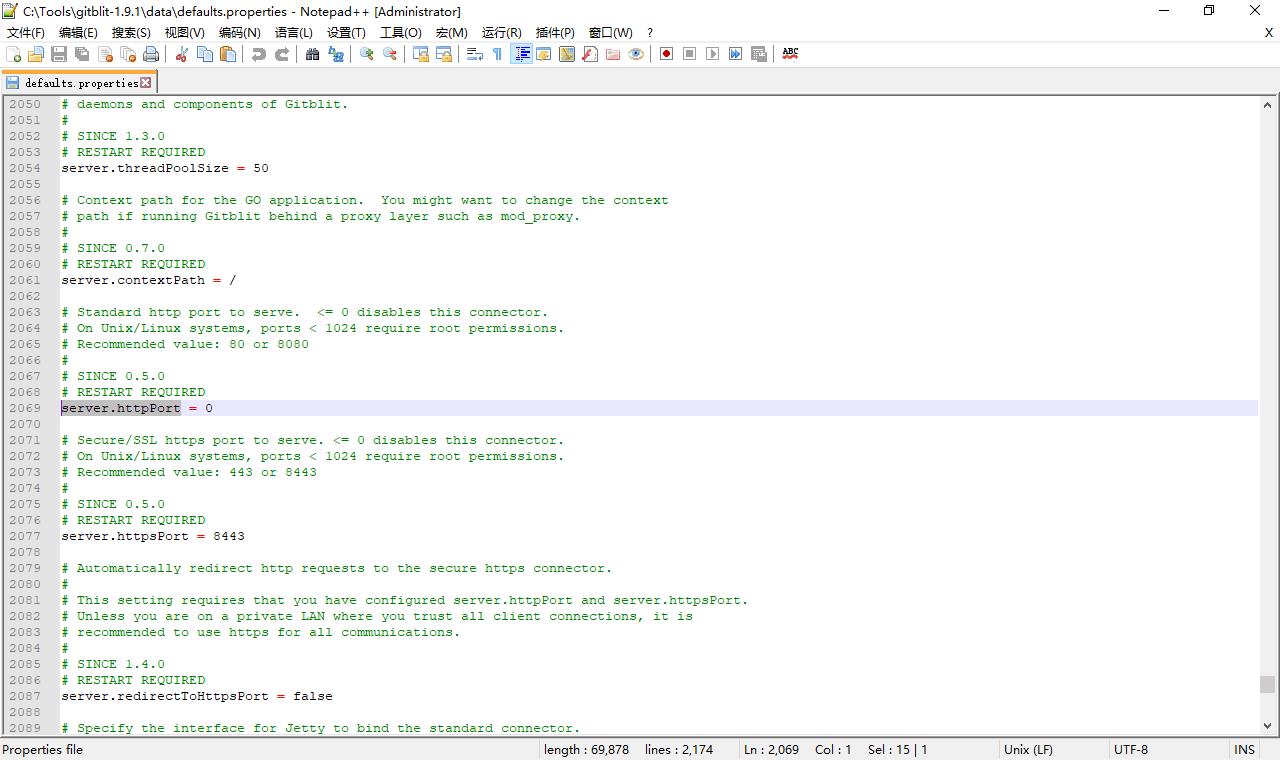
server.httpBindInterface = http协议下的IP
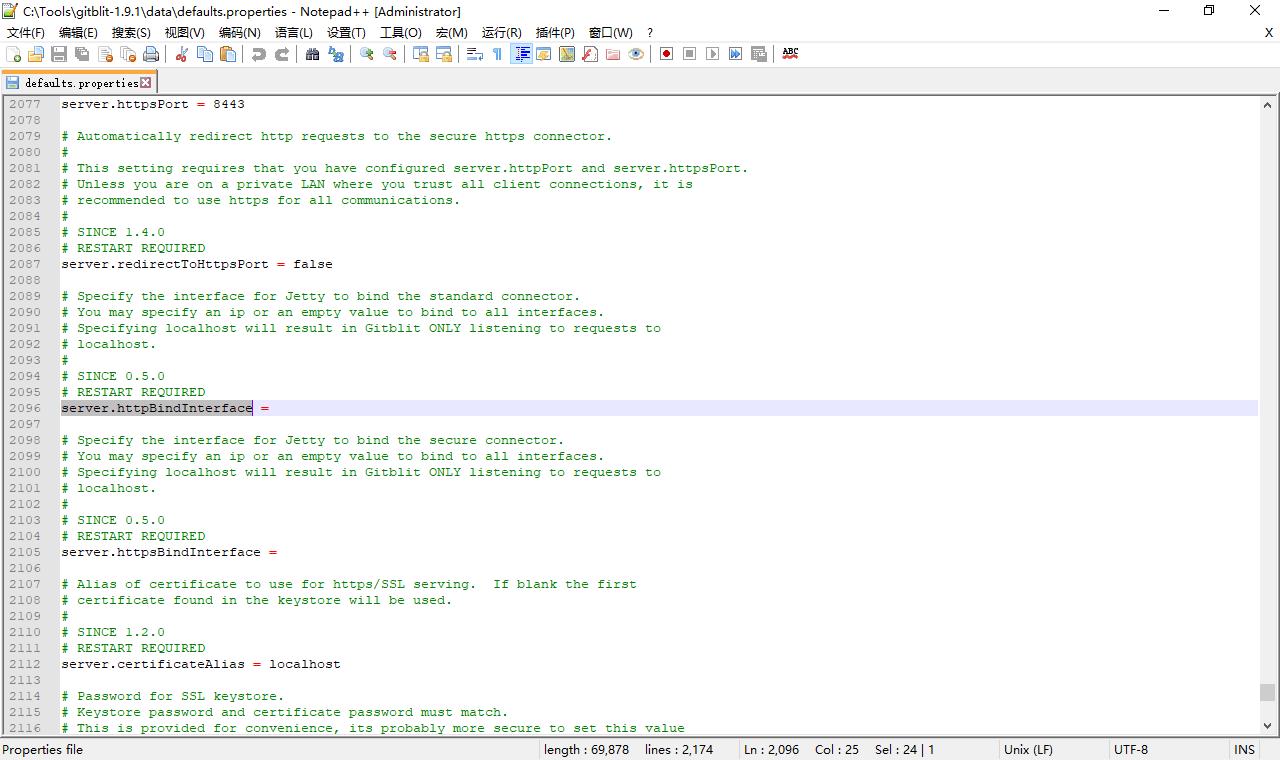
git.repositoriesFolder = 资源文件夹名称
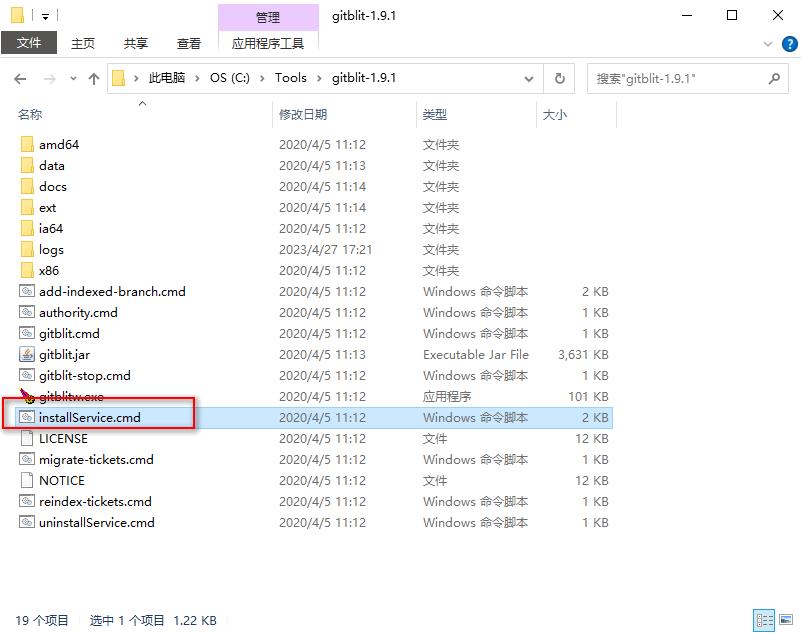
3)安装服务
运行“C:\\Tools\\gitblit-1.9.1\\installService.cmd”

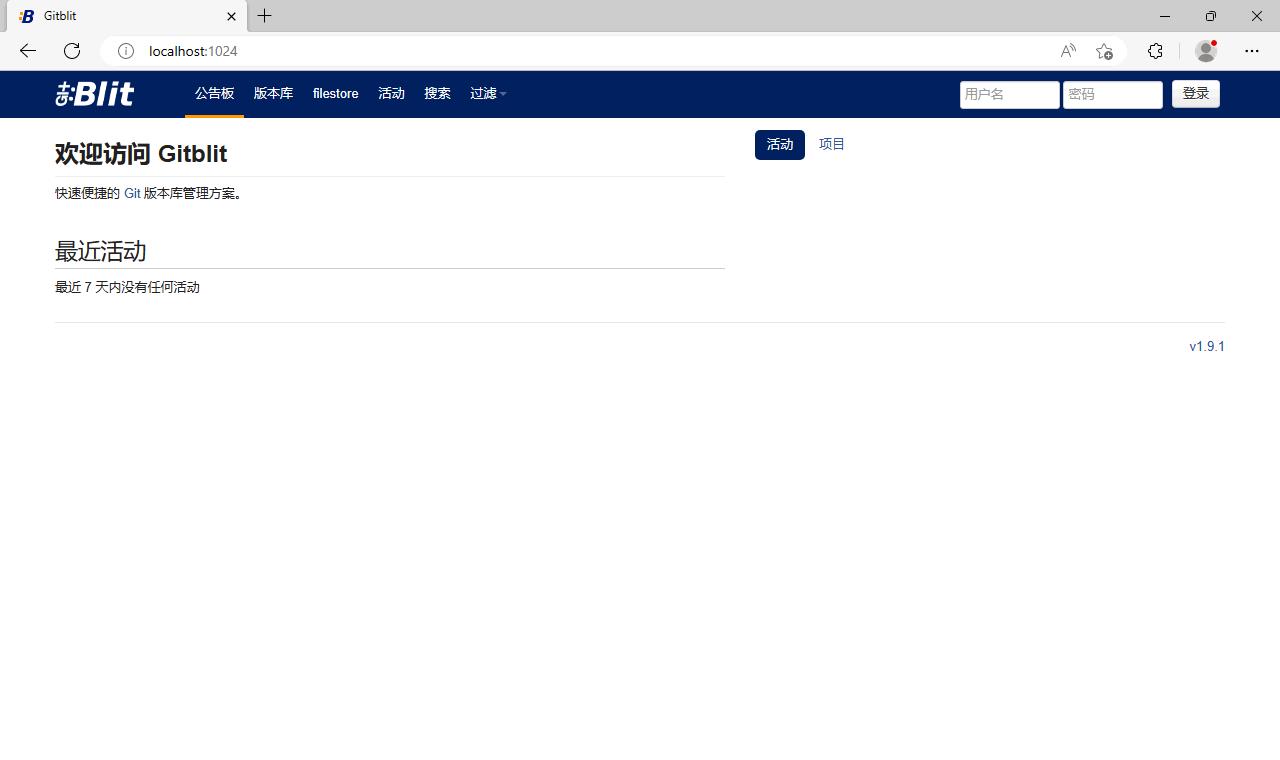
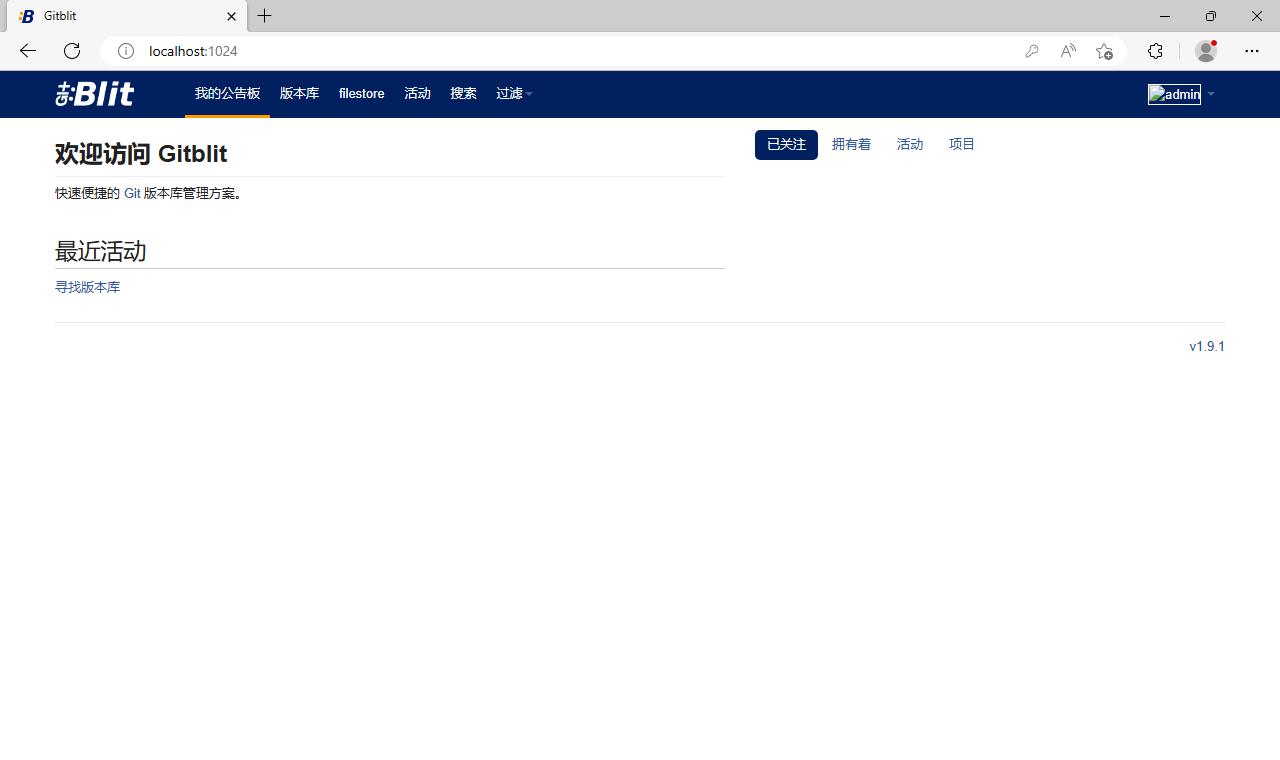
4)访问,http://localhost:1024/
5)管理员登录
账号:admin
密码:admin
登录后可修改。
另外,这个后台不仅仅是管理员可使用,团队内成员均可登录此后台。
三、使用
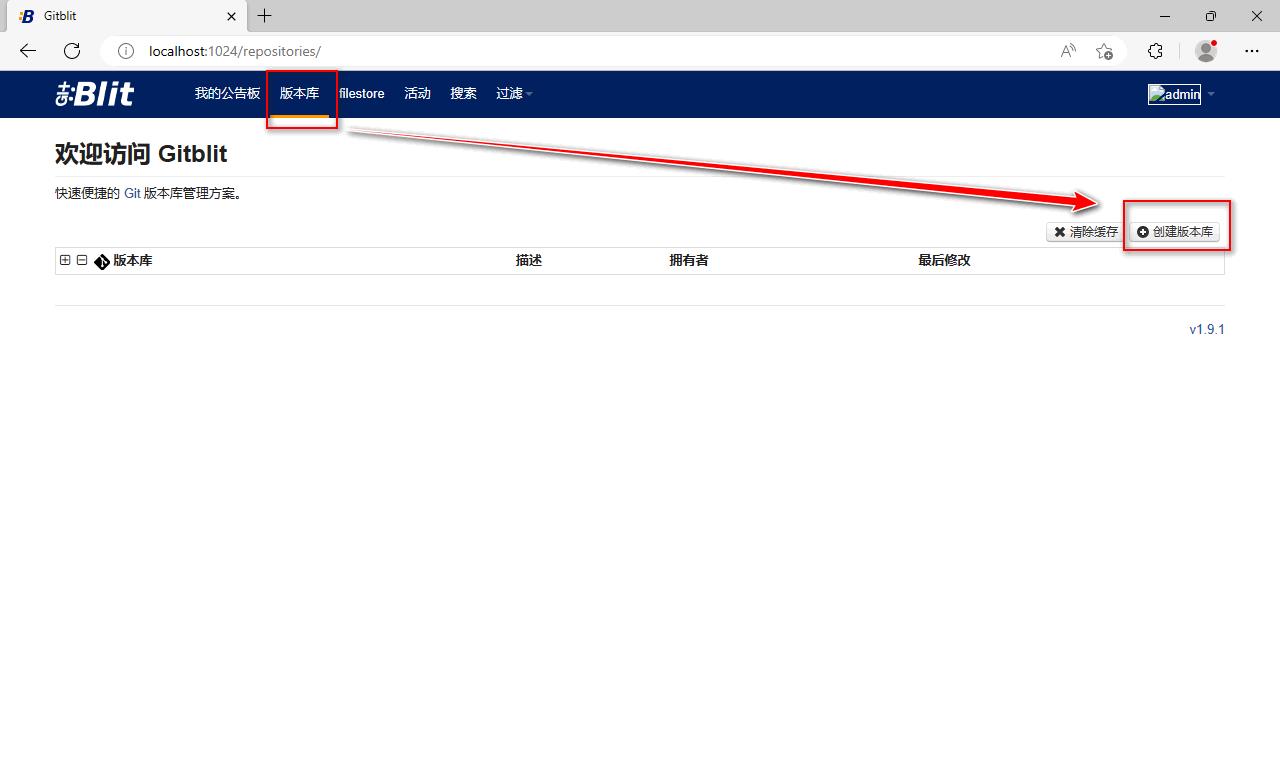
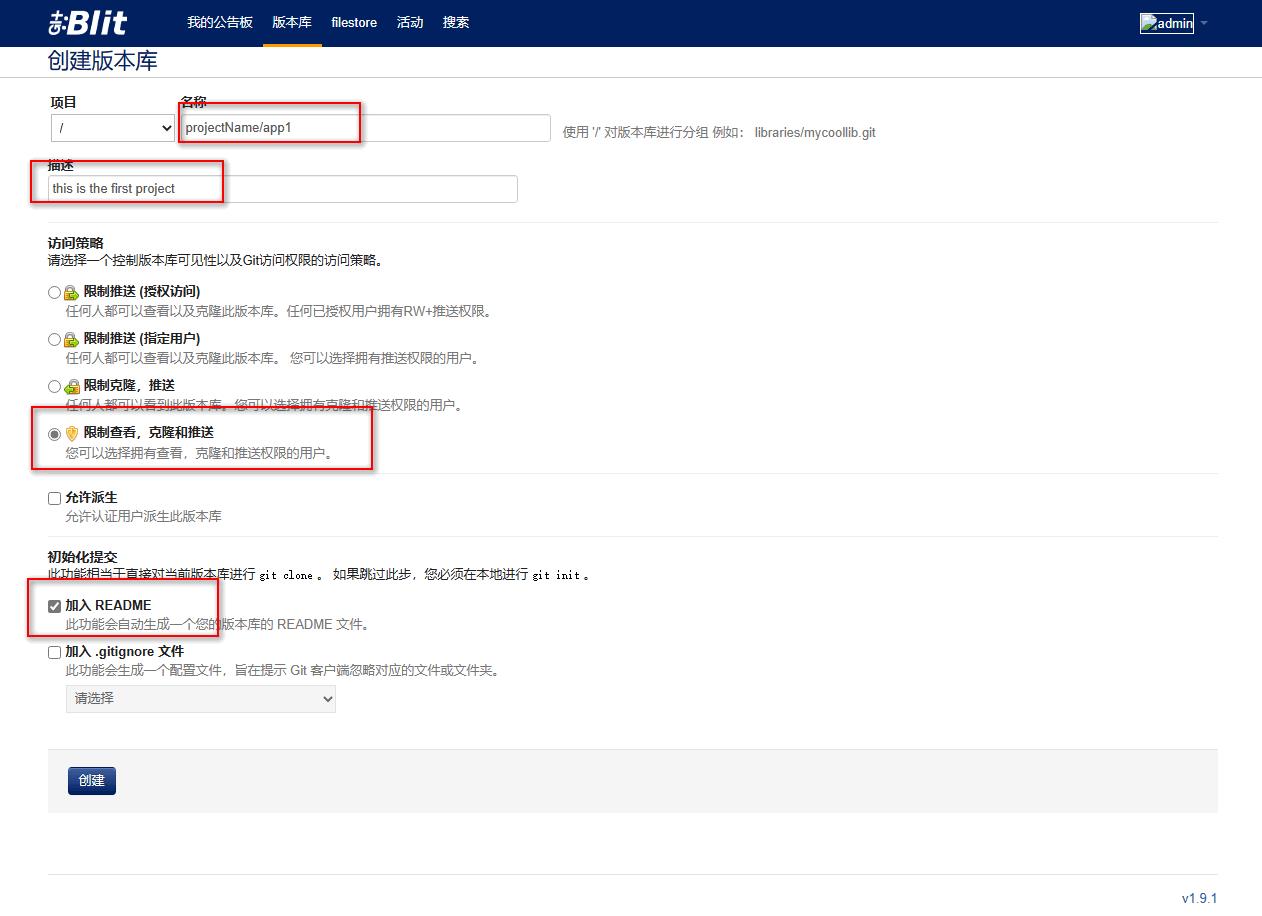
1)创建版本库
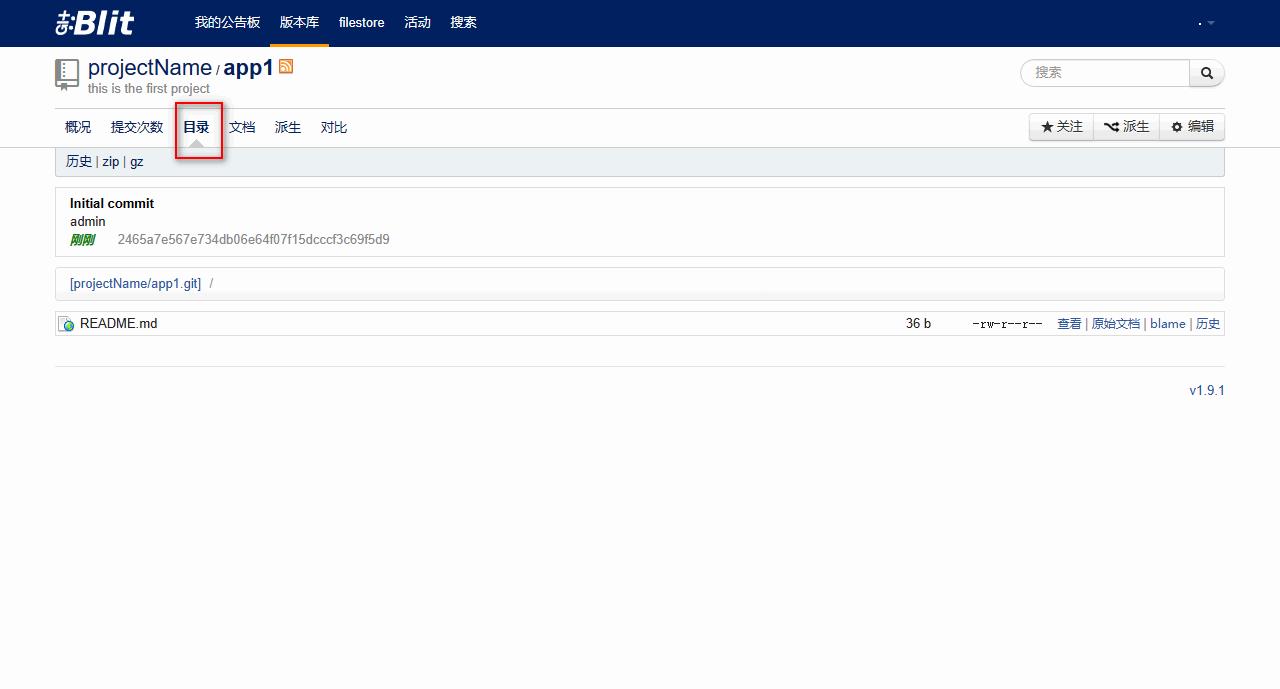
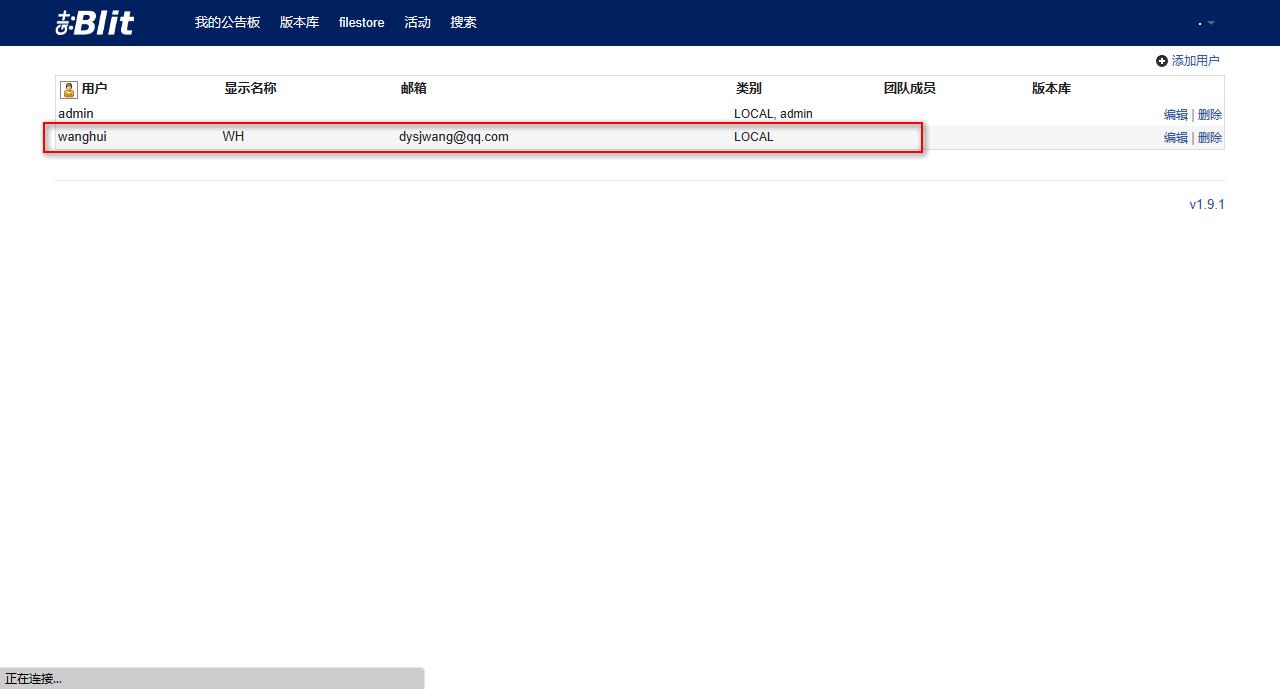
2)新建用户
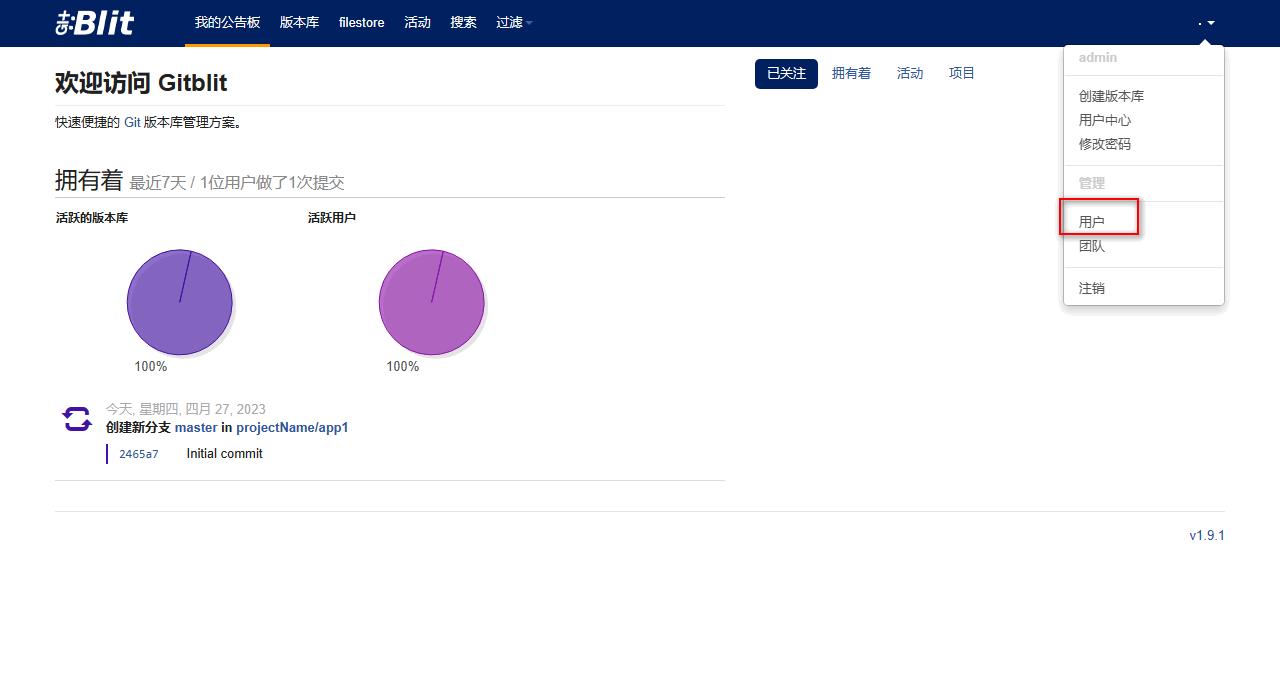
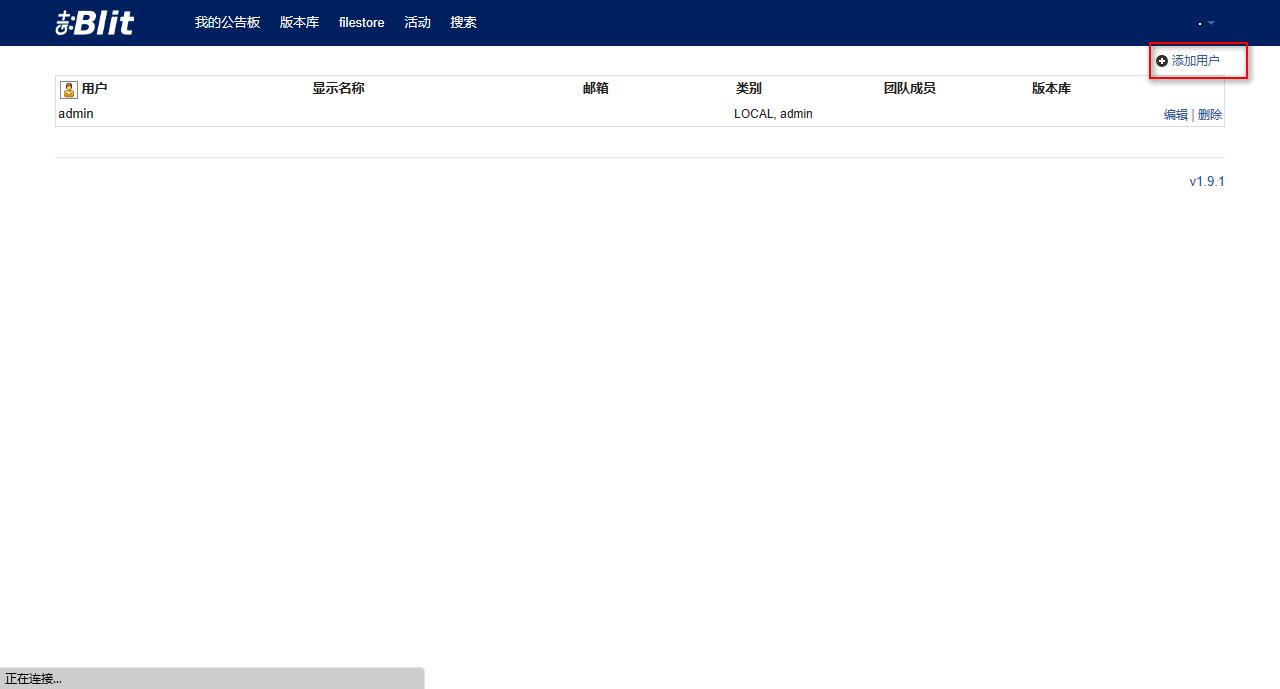
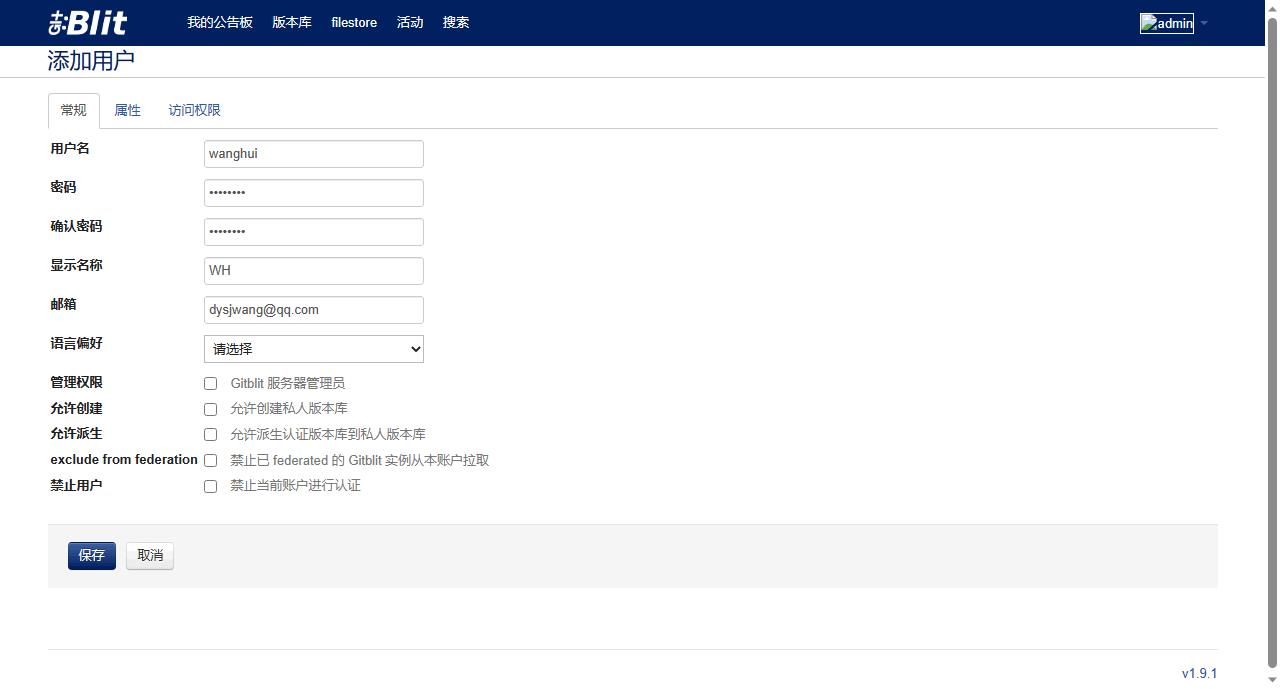
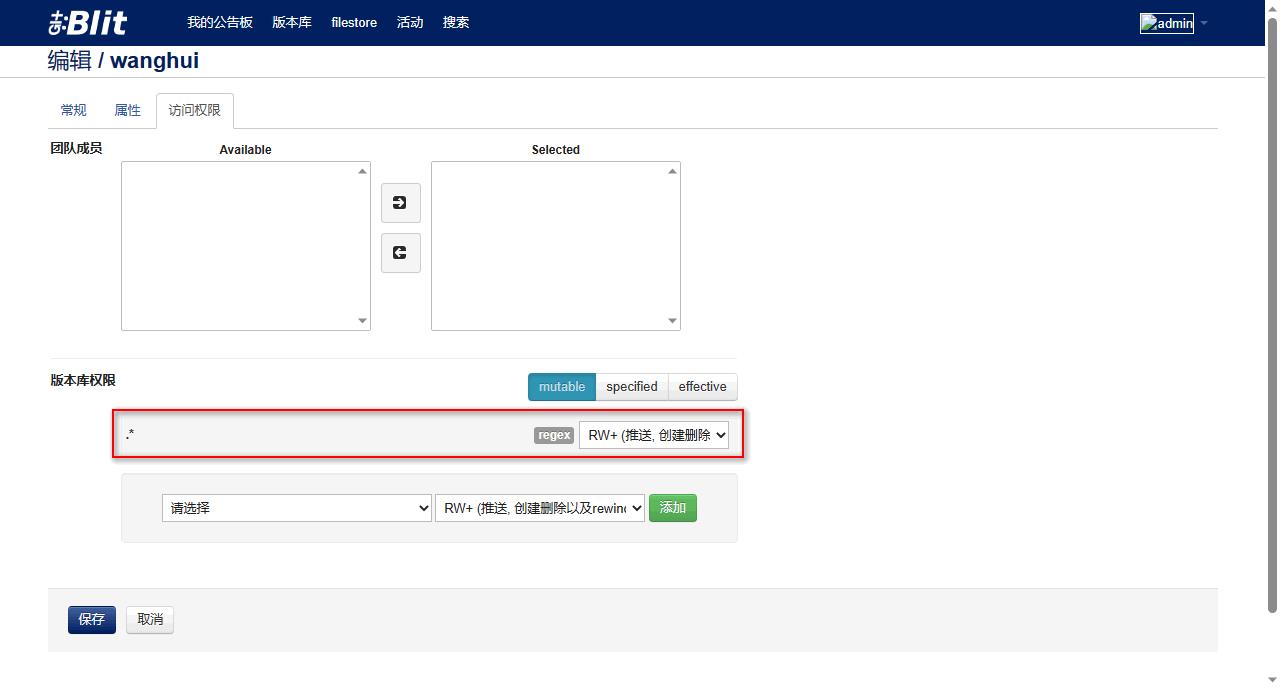
添加权限
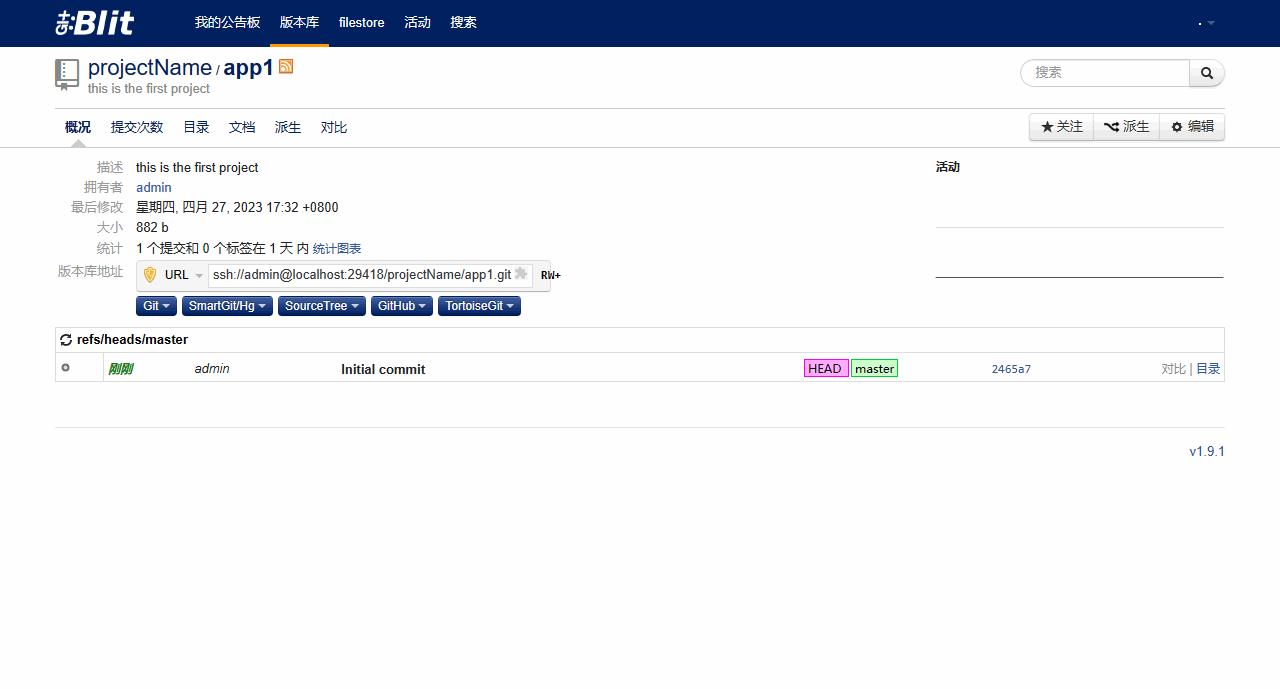
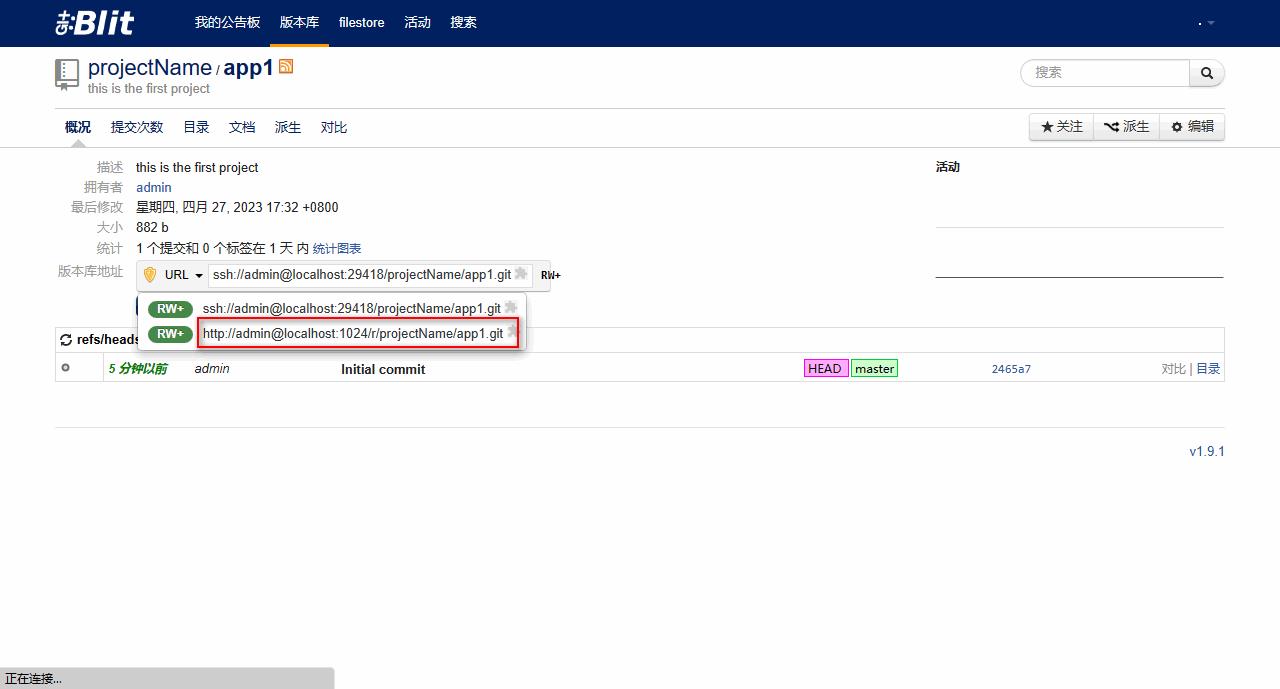
3)git地址,供客户端使用(换成服务器IP即可,有防火墙需要开通防火墙端口)
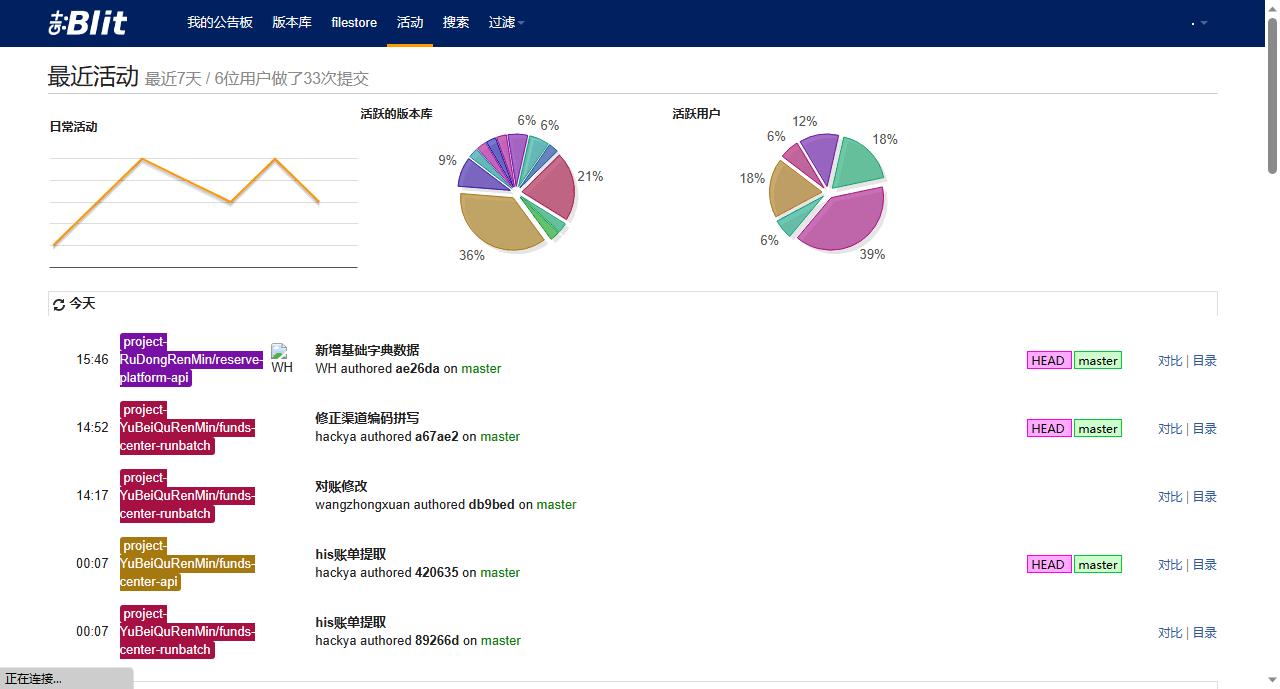
4)活动
Done.
Windows 搭建 GitBlit 服务器及 Git 仓库初始化
1、GitBlit 下载及配置
- GitBlit 官网下载地址:http://gitblit.github.io/gitblit/
- 当前下载的最新版本为:gitblit-1.9.1.zip
- 解压缩下载的压缩包到安装目录,无需安装
- 创建 Git 仓库目录:H:\\GitRepositories
- 修改 E:\\Program Files (x86)\\gitblit-1.9.1\\data\\gitblit.properties 文件,定义仓库本地存放目录:
git.repositories = H:/GitRepositories
- 修改 Http 协议端口号:
server.httpPort = 8089
- 修改 Http 绑定服务器地址:
server.httpBindInterface = 192.168.1.108
- 修改 Https 绑定服务器地址:
server.httpsBindInterface = 192.168.1.108
- E:\\Program Files (x86)\\gitblit-1.9.1\\data\\gitblit.properties 文件全部内容如下:
## gitblit.properties

#
# GITBLIT.PROPERTIES
#
# Define your custom settings in this file and/or include settings defined in
# other properties files.
#

# Include Gitblit's 'defaults.properties' within your configuration.
#
# NOTE: Gitblit will not automatically reload "included" properties.  Gitblit
# only watches the 'gitblit.properties' file for modifications.
#
# Paths may be relative to the ${baseFolder} or they may be absolute.
#
# COMMA-DELIMITED
# SINCE 1.7.0
include = defaults.properties

#
# Define your overrides or custom settings below
#
git.repositoriesFolder = H:/GitRepositories
server.httpPort = 8089
server.httpBindInterface = 192.168.1.108
server.httpsBindInterface = 192.168.1.108
- 修改 installService.cmd 服务安装文件:
SET ARCH=amd64
SET CD=E:\\Program Files (x86)\\gitblit-1.9.1
--StartParams="" ^
- installService.cmd 服务安装文件全部内容如下:
@REM Install Gitblit as a Windows service.

@REM gitblitw.exe (prunmgr.exe) is a GUI application for monitoring
@REM and configuring the Gitblit procrun service.
@REM
@REM By default this tool launches the service properties dialog
@REM but it also has some other very useful functionality.
@REM
@REM http://commons.apache.org/daemon/procrun.html

@REM arch = x86, amd64, or ia32
SET ARCH=amd64
SET CD=E:\\Program Files (x86)\\gitblit-1.9.1

@REM Be careful not to introduce trailing whitespace after the ^ characters.
@REM Use ; or # to separate values in the --StartParams parameter.
"%CD%\\%ARCH%\\gitblit.exe"  //IS//gitblit ^
		 --DisplayName="gitblit" ^
		 --Description="a pure Java Git solution" ^
		 --Startup=auto ^
		 --LogPath="%CD%\\logs" ^
		 --LogLevel=INFO ^
		 --LogPrefix=gitblit ^
		 --StdOutput=auto ^
		 --StdError=auto ^
		 --StartPath="%CD%" ^
		 --StartClass=com.gitblit.GitBlitServer ^
		 --StartMethod=main ^
		 --StartParams="" ^
		 --StartMode=jvm ^
		 --StopPath="%CD%" ^
		 --StopClass=com.gitblit.GitBlitServer ^
		 --StopMethod=main ^
		 --StopParams="--stop;--baseFolder;%CD%\\data" ^
		 --StopMode=jvm ^
		 --Classpath="%CD%\\gitblit.jar;%CD%\\ext\\*" ^
		 --Jvm=auto ^
		 --JvmMx=1024
- 以管理员身份运行 gitblit.cmd,GitBlit 即可成功启动。
- 以管理员身份运行 installService.cmd,GitBlit 即可以服务方式启动,在“服务”管理控制台可以查看到 gitblit 服务,设置为自动启动,即可以在服务器上持续运行。
2、Git 仓库初始化
- 浏览器打开网址:http://192.168.1.108:8089
- 以 admin 用户登录 GitBlit 网页端(密码 admin),点击“用户”可以添加、编辑或删除用户,并更改用户权限和用户密码。
- 生成 SSH 密钥,在 Windows 控制台中输入:
C:\\Users\\Administrator>ssh-keygen -t rsa -C "i_believe_myself01@163.com"
- 密钥类型用 -t 选项指定,这里使用的是 RSA。-C 选项用于指定注释字段,方便用户标识,指出密钥的用途或其他有用的信息,在这里可以输入自己的邮箱。密钥生成完成即可在 C:\\Users\\Administrator.ssh\\ 目录下找到生成的公钥 id_rsa.pub 和私钥 id_rsa,将公钥 id_rsa.pub 中的内容拷贝到普通用户的“用户中心>SSH Keys” 中,每次 push 和 pull 就不用输入密码了。
- 以 admin 用户或普通用户登录 GitBlit 网页端,点击“创建版本库”,填写版本库信息,即可创建版本库,本文以 bigdata-for-gis-platform 版本库为例。
- 版本库创建成功,出现以下页面:


用开发环境打开项目源代码,在 Terminal 中依次输入以下命令:
git init
git add .
git commit -m "first commit"
git remote add origin ssh://weixiaolei@192.168.1.108:29418/bigdata-for-gis-platform.git
git push -u origin master
即可在本地项目代码中创建初始化 Git 仓库,并将本地项目代码推送到刚才搭建的远程 GitBlit 服务器中。
3、GitBlit 版本库删除
- 进入版本库,点击“编辑>管理>删除”,此操作并没有从物理上删除版本库。
- 进入服务器 GitBlit 仓库存放位置,即上面配置的 H:\\GitRepositories,删除下面刚才点击“删除”的版本库.git 文件,即可从物理上删除 GitBlit 服务器上的版本库。
- 进入项目源代码目录,如果该项目源代码已经初始化了 Git 仓库,则删除“项目源代码目录.git\\”目录下的所有文件和 .idea 文件夹,用开发环境打开项目源代码,重新
git init初始化 Git 仓库即可。 - GitBlit 版本库删除完成,重启 GitBlit 服务。
4、GitBlit 启动报错
- 设置 GitBlit 服务自启动,一段时间后,GitBlit 服务不能启动,右击 GitBlit 服务“启动”,仍然不能启动服务,打开 E:\\Program Files (x86)\\gitblit-1.9.1\\logs\\ 下最近的日志文件,记录报错信息:
2021-06-09 12:38:22 [WARN] FAILED ServerConnector@45c8d09f{SSL-HTTP/1.1}{192.168.1.105:8089}:java.net.BindException: Cannot assign requested address: bind
经排查发现,服务器地址由 192.168.1.105 改为了 192.168.1.108,而之前在配置文件中绑定的是 192.168.1.105,改为 192.168.1.108,服务即可正常启动。
以上是关于Gitblit在Windows服务器下搭建及使用的主要内容,如果未能解决你的问题,请参考以下文章
Windows 搭建 GitBlit 服务器及 Git 仓库初始化
Windows 搭建 GitBlit 服务器及 Git 仓库初始化