Qemu仿真----创建并安装虚拟机
Posted __毛豆
tags:
篇首语:本文由小常识网(cha138.com)小编为大家整理,主要介绍了Qemu仿真----创建并安装虚拟机相关的知识,希望对你有一定的参考价值。
平台:ubuntu 22.04
对象:win10虚拟机、ubuntu虚拟机
文件:Windows.iso、ubuntu-22.04.2-live-server-amd64.iso、ubuntu-22.04.2-live-server-arm64.iso
1.安装Windows虚拟机
本过程以安装Windows 10虚拟机举例。
1.1 创建虚拟机
$ qemu-img create -f qcow2 win10.img 40G
$ du -sh win10.img
196K    win10.img
1.2 安装虚拟机
此步骤建议在断网条件下安装,不然可能会增加安装的时间(联网会下载更新等操作,会消耗时间)。
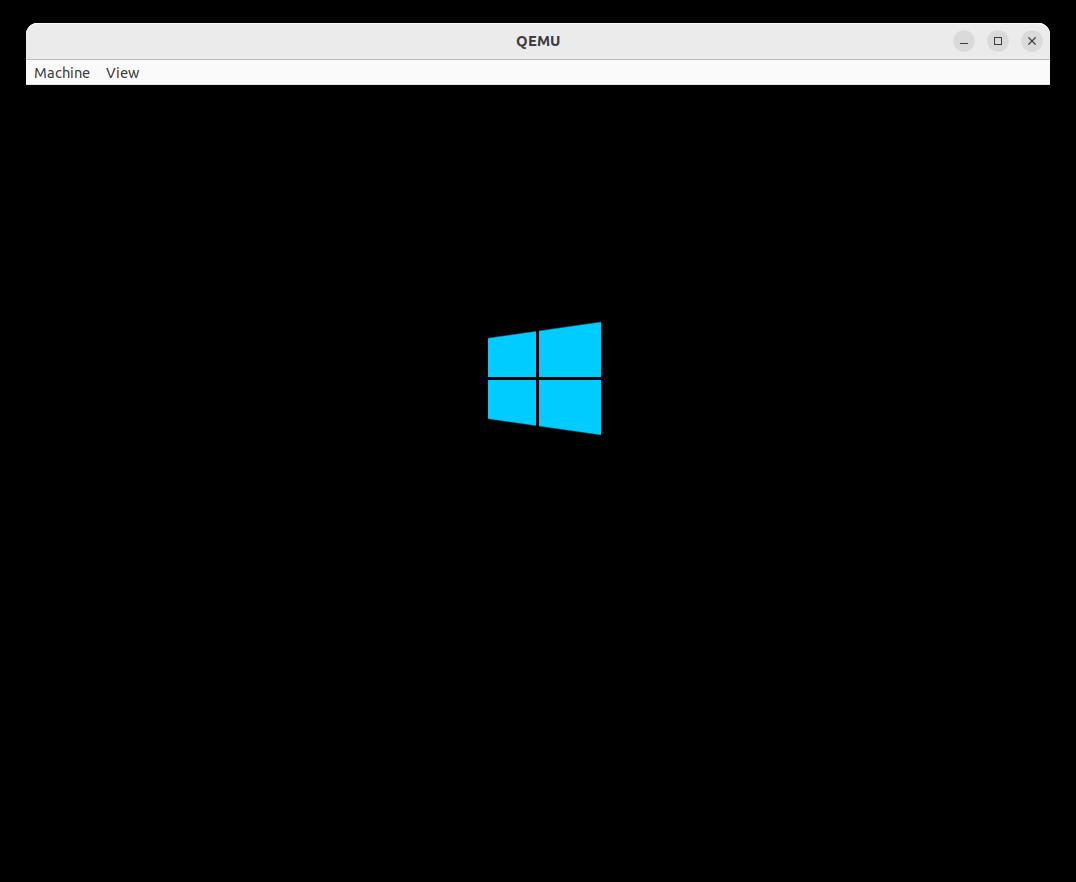
$ qemu-system-x86_64 -enable-kvm -m 4G -smp 2 -boot order=cd -hda win10.img -cdrom Windows.iso
启动后,就可以正常通过图形界面安装了:
安装过程省略,安装完成之后img文件增加很多:
$ du -sh win10.img
9.4G    win10.img
1.3 启动虚拟机
$ qemu-system-x86_64 -enable-kvm -m 4G -smp 2 -boot order=cd -hda win10.img -net nic,model=pcnet -net user
至此,Windows部分完成。
2.安装Ubuntu for x86_64
本过程以安装ubuntu-22.04.2-live-server-amd64虚拟机举例。
2.1 创建虚拟机
$ qemu-img create -f qcow2 ubuntu22-server.img 25G
$ du -sh ubuntu22-server.img
196K    ubuntu22-server.img
2.2 安装虚拟机
安装过程建议断网,联网可能会增加安装时间。
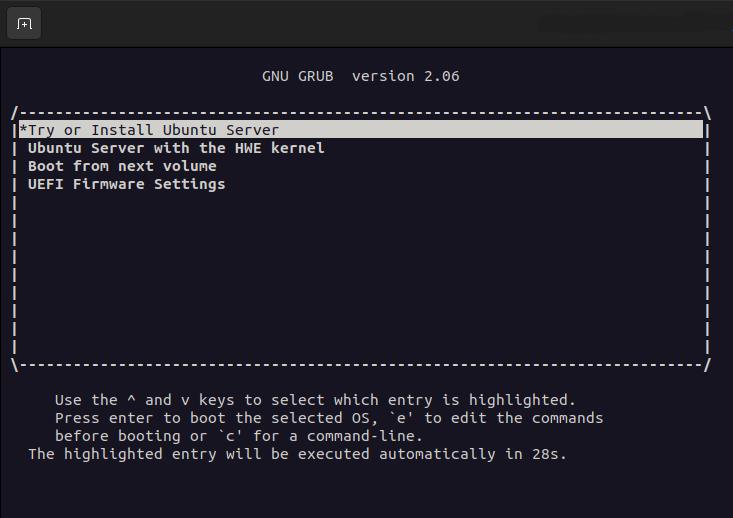
$ qemu-system-x86_64 -enable-kvm -m 2G -smp 2 -boot order=cd -hda ubuntu22-server.img -cdrom ubuntu-22.04.2-live-server-amd64.iso
启动后,就可以正常通过图形界面安装了:

安装过程省略,安装完成之后img文件增加很多:
$ du -sh ubuntu22-server.img
3.1G    ubuntu22-server.img
2.3 启动虚拟机
2.3.1 快速启动版本
$ qemu-system-x86_64 -enable-kvm -m 2G -smp 2 -boot order=cd -hda ubuntu22-server.img -net nic,model=virtio -net user
2.3.2 使用ssh版本
[待补充]
$ qemu-system-x86_64 -enable-kvm -m 2G -smp 2 -boot order=cd -hda ubuntu22-server.img -net nic,vlan=0 -net tap,vlan=0,ifname=tap0
[待补充]
至此Ubuntu 22.04 for x86_64部分完成。
3.安装Ubuntu for ARM64
本过程以安装ubuntu-22.04.2-live-server-arm64虚拟机举例。
下载如下文件:
[http://cdimage.ubuntu.com/releases/22.04/release/ubuntu-22.04.2-live-server-arm64.iso]
[http://releases.linaro.org/components/kernel/uefi-linaro/16.02/release/qemu64/QEMU_EFI.fd]
3.1 创建虚拟机
$ qemu-img create -f qcow2 ubuntu22s-arm64.img 25G
$ du -sh ubuntu22s-arm64.img
196K    ubuntu22s-arm64.img
3.2 安装虚拟机
安装过程建议断网,联网可能会增加安装时间。
$ qemu-system-aarch64 \\
    -M virt \\
    -m 2G \\
    -cpu cortex-a57 \\
    -smp 2 \\
    -nographic \\
    -bios QEMU_EFI.fd \\
    -drive if=none,file=ubuntu-22.04.2-live-server-arm64.iso,id=cdrom \\
    -device virtio-scsi-device \\
    -device scsi-cd,drive=cdrom \\
    -drive if=none,file=ubuntu22s-arm64.img,id=hd0 \\
    -device virtio-blk-device,drive=hd0
启动后,就可以通过文本安装了:
[备注:我在安装过程中,第一次选择基础文本(basic)安装,出现了Crash,就打开网络在网上查找原因,然后等待一会儿,它又自动进入重新安装,我选择富文本(rich)方式安装,没有出现Crash,但是因为联网导致安装过程多消耗了很多额外的时间]
安装过程省略,安装完成之后img文件增加很多:
$ du -sh ubuntu22s-arm64.img
3.4G    ubuntu22s-arm64.img
3.3 启动虚拟机
qemu-system-aarch64 \\
    -M virt \\
    -m 2G \\
    -cpu cortex-a57 \\
    -smp 2 \\
    -nographic \\
    -bios QEMU_EFI.fd \\
    -device virtio-scsi-device \\
    -drive if=none,file=ubuntu22s-arm64.img,id=hd0 \\
    -device virtio-blk-device,drive=hd0
至此Ubuntu 22.04 for ARM64部分完成。
安装kvm虚拟机并导入导出
参考技术A 1、确保支持cpu虚拟化cat /proc/cpuinfo | egrep 'svm|vmx'
2、安装qemu-kvm、libvirt、virt-install包
yum -y install qemu-kvm libvirt virt-install
3、开启libvirtd服务病开机自启
systemctl start libvirtd && systemctl enable libvirtd
4、创建一个磁盘文件
qemu-img create -f qcow2 ./centos7-kvm.qcow2 10G
5、创建虚拟机。类型为kvm,名称随意,内存1G,镜像文件指定位置,磁盘文件就是步骤4中的,网络默认,图形选择vnc
virt-install --virt-type kvm --name centos7-2020 --ram 1024 --cdrom=/home/kvm/CentOS-7-x86_64-Minimal-2003.iso --disk path=/home/kvm/centos7-kvm.qcow2 --network network=default --graphic vnc,listen=0.0.0.0 --noautoconsole
6、宿主机安装vnc server
yum -y install tigervnc-server tigervnc vnc vnc-server
systemctl daemon-reload
7、执行下述命令设置密码
vncserver
8、启动服务(我自己的环境这个服务没起来,但还是可以用的)
systemctl start vncserver@gao:1
9、关闭防火墙和selinux
10、vnc客户端连接宿主机5901,然后正常安装虚拟机
导出虚拟机
——本实验是将qcow2格式导出为qcow2
1、一条命令即可
-从表示压缩,-O表示导出格式,111.qcow2位导出后的文件
qemu-img convert -c -O qcow2 centos7-kvm.qcow2 111.qcow2
导入虚拟机
——使用virt-manager工具导入
1、安装virt-manager
yum -y install virt-manager
2、打开
virt-manager
3、新建虚拟机,选择镜像导入
选择对应的111.qcow2文件
配置cpu、内存、网络等信息
完成新的虚拟机创建
ok
以上是关于Qemu仿真----创建并安装虚拟机的主要内容,如果未能解决你的问题,请参考以下文章