ESP32-MicroPython基础操作
Posted 向往生
tags:
篇首语:本文由小常识网(cha138.com)小编为大家整理,主要介绍了ESP32-MicroPython基础操作相关的知识,希望对你有一定的参考价值。
用五篇文章,描述如何使用ESP32在MicroPython固件下,开发一个支持Modbus采集,MQTT上报,可OTA升级的IOT协议采集器。
这是第一篇,基础操作。
目录
1.下载固件到ESP32
esptool.py --chip esp32 --port /dev/ttyUSB0 erase_flash #擦除
esptool.py --chip esp32 --port /dev/ttyUSB1 --baud 460800 write_flash -z 0x1000 esp32-20220618-v1.19.1.bin #下载固件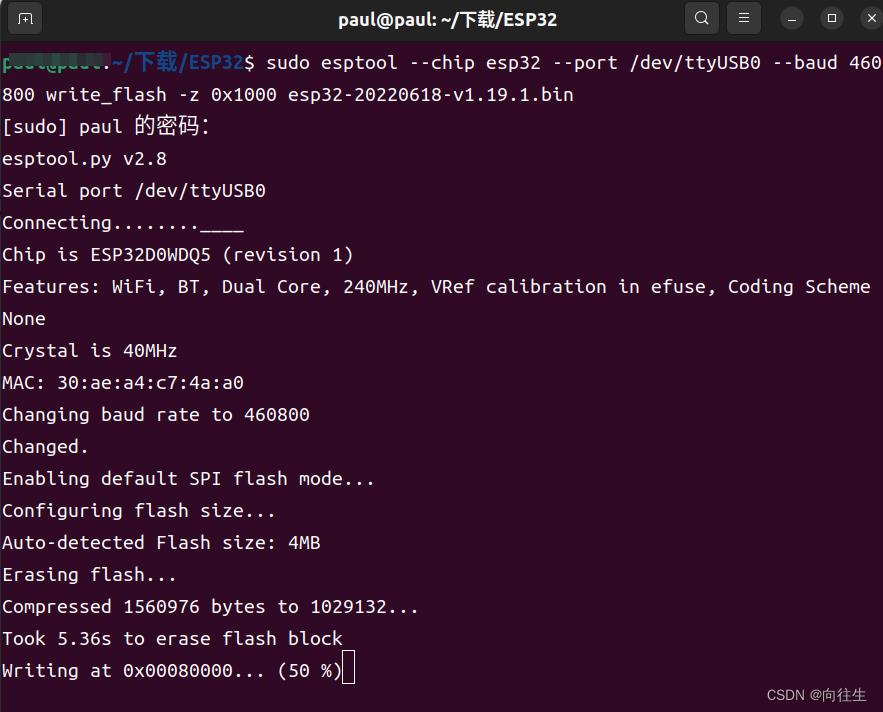
2.安装rshell
pip3 install rshell连接rshell
rshell --buffer-size 512 --port /dev/ttyUSB0进入ESP32的命令行:
repl3.打开自带教程
Welcome to MicroPython on the ESP32!
For generic online docs please visit http://docs.micropython.org/
For access to the hardware use the 'machine' module:
import machine
pin12 = machine.Pin(12, machine.Pin.OUT)
pin12.value(1)
pin13 = machine.Pin(13, machine.Pin.IN, machine.Pin.PULL_UP)
print(pin13.value())
i2c = machine.I2C(scl=machine.Pin(21), sda=machine.Pin(22))
i2c.scan()
i2c.writeto(addr, b'1234')
i2c.readfrom(addr, 4)
Basic WiFi configuration:
import network
sta_if = network.WLAN(network.STA_IF); sta_if.active(True)
sta_if.scan()                             # Scan for available access points
sta_if.connect("<AP_name>", "<password>") # Connect to an AP
sta_if.isconnected()                      # Check for successful connection
Control commands:
CTRL-A        -- on a blank line, enter raw REPL mode
CTRL-B        -- on a blank line, enter normal REPL mode
CTRL-C        -- interrupt a running program
CTRL-D        -- on a blank line, do a soft reset of the board
CTRL-E        -- on a blank line, enter paste mode
For further help on a specific object, type help(obj)
For a list of available modules, type help('modules')
4.支持的模块
>>> help('modules')
__main__          gc                ubluetooth        upysh
_boot             inisetup          ucollections      urandom
_onewire          math              ucryptolib        ure
_thread           micropython       uctypes           urequests
_uasyncio         neopixel          uerrno            uselect
_webrepl          network           uhashlib          usocket
apa106            ntptime           uheapq            ussl
btree             onewire           uio               ustruct
builtins          uarray            ujson             usys
cmath             uasyncio/__init__ umachine          utime
dht               uasyncio/core     umqtt/robust      utimeq
ds18x20           uasyncio/event    umqtt/simple      uwebsocket
esp               uasyncio/funcs    uos               uzlib
esp32             uasyncio/lock     upip              webrepl
flashbdev         uasyncio/stream   upip_utarfile     webrepl_setup
framebuf          ubinascii         uplatform         websocket_helper
5.WiFi模块
5.1 STA连接网络
import network
sta_if = network.WLAN(network.STA_IF); sta_if.active(True)
sta_if.scan()                             # Scan for available access points
sta_if.connect("612", "88888888") # Connect to an AP
sta_if.isconnected()                      # Check for successful connection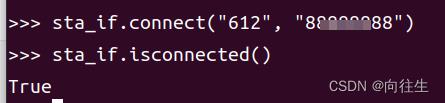
5.2 自身成为AP
import network                       #导入相应的库
ap_if=network.WLAN(network.AP_IF)    #创建对象
ap_if.active(True)                   #激活接口,开启网络
ap_if.config(essid='向往生')          #设置AP地点,你的名字
6.点灯
from machine import Pin
import time                   #导入相关的库
led=Pin(2,Pin.OUT)            #初始化
while True:
    led.on()                  #灯泡打开
    time.sleep(1)             #延时一秒
    led.off()                 #灯泡关闭
    time.sleep(1)             #延时一秒
7.串口通讯
from machine import UART,Pin
import utime                     #导入库

uart=UART(1,115200)  #一个普通的函数
led=Pin(25,Pin.OUT)                                                      #灯泡的初始化
uart.write("正在进行串口测试\\r\\n")
uart.write("请输入字符1或者0决定灯泡的开和关\\r\\n")
while True:
    if uart.any()==True:
        buf=uart.read(1)
        if buf=='1':
            led.on()
            print("\\r\\n")
            uart.write("\\r\\n")
        elif buf=='0':
            led.off()
            print("\\r\\n")
            uart.write("\\r\\n")
        else:
            print("\\r\\n")
            uart.write("\\r\\n")
    utime.sleep_ms(1)
8.PWM
from machine import Pin,PWM   #这里是是2号引脚,也就是那个小灯泡,亮度逐渐增加,再减少,循环
import utime

LED=PWM(Pin(2))

LED.freq(1000)       #设置他的频率为1000HZ

LED_duty=0
LED_direction=1

while True:
    LED_duty+=LED_direction
    if LED_duty>=100:
        LED_duty=100
        LED_direction=-1
    elif LED_duty<=0:
        LED_duty=0
        LED_direction=1
    LED.duty_u16(int(LED_duty*655.35))   #改变占空比
    if LED_duty%5==0:
        print(LED_duty)       #打印LED_duty的值
    utime.sleep(0.01)     #休息100ms
9.按键
from machine import Pin
import time
button=Pin(0,Pin.IN,Pin.PULL_UP)   #0号引脚按键,输入,上拉

led=Pin(2,Pin.OUT)    #2号引脚就是板子上的灯

while True:
    led.off()           #小灯亮起来
    if(button.value()==0):       #判断按键是否按下
        time.sleep_us(10)
        if(button.value()==0):
            led.on()
            print("button is pressed")
            while(button.value()==0):
                time.sleep_ms(10)
10.ADC
from machine import ADC,Pin                    #导入相应的库
adc=ADC(Pin(32),atten=ADC.ATTN_11DB)           #ADC是16位的可测电压0-3.6v,但电压不要过高,防止烧毁芯片
while True:
    adc_value=adc.read_u16()*3.55/65535
    print("".format(adc_value))               #打印电压
11.查看剩余内存
>>> import gc
>>> gc.mem_free() #查询空闲内存字节数
108944
>>> gc.collect() #内存垃圾回收
12.文件操作
先进入rshell模式
rshell --buffer-size 512 --port /dev/ttyUSB0显示目录下的文件
ls /pyboard/.就会看到里面的文件,使用cp和rm来复制和删除文件
/home/paul/下载/ESP32> ls /pyboard/.
boot.py
/home/paul/下载/ESP32> cp /pyboard/boot.py ./
Copying '/pyboard/boot.py' to '/home/paul/下载/ESP32/boot.py' ...
/home/paul/下载/ESP32> rm main.py /pyboard/
打开boot.py可以看见
# This file is executed on every boot (including wake-boot from deepsleep)
#import esp
#esp.osdebug(None)
#import webrepl
#webrepl.start()
以上是关于ESP32-MicroPython基础操作的主要内容,如果未能解决你的问题,请参考以下文章