centos7篇---centos7中安装mongodb
Posted 心惠天意
tags:
篇首语:本文由小常识网(cha138.com)小编为大家整理,主要介绍了centos7篇---centos7中安装mongodb相关的知识,希望对你有一定的参考价值。
centos7中安装mongodb
方式一:
1. 安装环境
系统:centos7
mongodb版本:mongodb-linux-x86_64-rhel70-6.0.0.tgz
2. 安装过程
(1)将安装包上传到 centos7系统中
(2)解压到 /opt 目录下,并重命名
tar zxvf mongodb-linux-x86_64-rhel70-6.0.0.tgz -C /opt

mv mongodb-linux-x86_64-rhel70-6.0.0 mongodb


(3)配置环境变量
在 /etc/profile 中加入下面一行:
export PATH=/opt/mongodb/bin:$PATH
然后 source /etc/profile 使之生效
(4)创建数据库目录和日志目录
mkdir -p /opt/mongodb/logs  # 日志目录
mkdir -p /opt/mongodb/db  # 数据库目录

touch /opt/mongodb/logs/mongodb.log  # 创建日志文件
chmod 777 /opt/mongodb/logs
chmod 777 /opt/mongodb/db

(5)创建配置文件
vim /opt/mongodb/mongodb.conf
port= 27017
dbpath=/opt/mongodb/db  # 指定数据库路径
logpath=/opt/mongodb/logs/mongodb.log # 指定日志文件路径
logappend=true  # 使用追加方式写日志
fork=true  # 以守护进程的方式运行
maxConns=100  # 最大同时连接数
noauth=true  # 不启用验证
journal=true  # 每次写入会记录一条操作日志
storageEngine=wiredTiger # 存储引擎
bind_ip=0.0.0.0 # 服务绑定地址

(6)启动mongodb
mongod --config /opt/mongodb/mongodb.conf

启用授权验证
mongod --config /opt/mongodb/mongodb.conf --auth
停止 mongodb:
mongod --config /opt/mongodb/mongodb.conf --shutdown
(7)配置开机启动
vim /etc/init.d/mongodb
#!/bin/sh
#
#chkconfig: 2345 80 90
#description: mongodb
start()
 /opt/mongodb/bin/mongod --config /opt/mongodb/mongodb.conf


stop()
  /opt/mongodb/bin/mongod --config /opt/mongodb/mongodb.conf --shutdown


case "$1" in
  start)
 start
 ;;
  stop)
 stop
 ;;
  restart)
 stop
 start
 ;;
  *)
 echo $"Usage: $0 start|stop|restart"
 exit 1
esac
cd /etc/init.d/

chkconfig --add mongodb
chmod +x  mongodb
chkconfig mongodb on
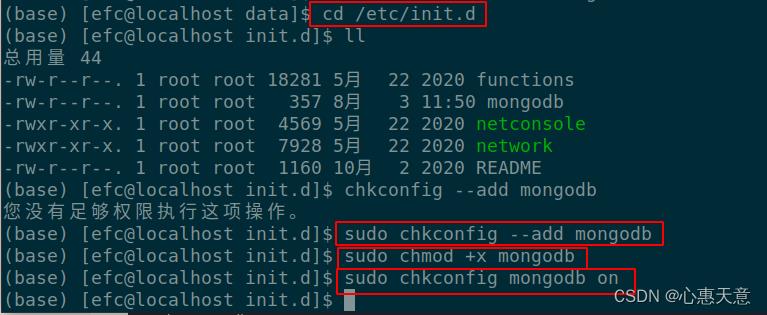
配置完成后可使用以下命令:
# 启动mongodb:
service mongodb start

# 停止mongodb:
service mongodb stop

(8)shell中登录mongodb
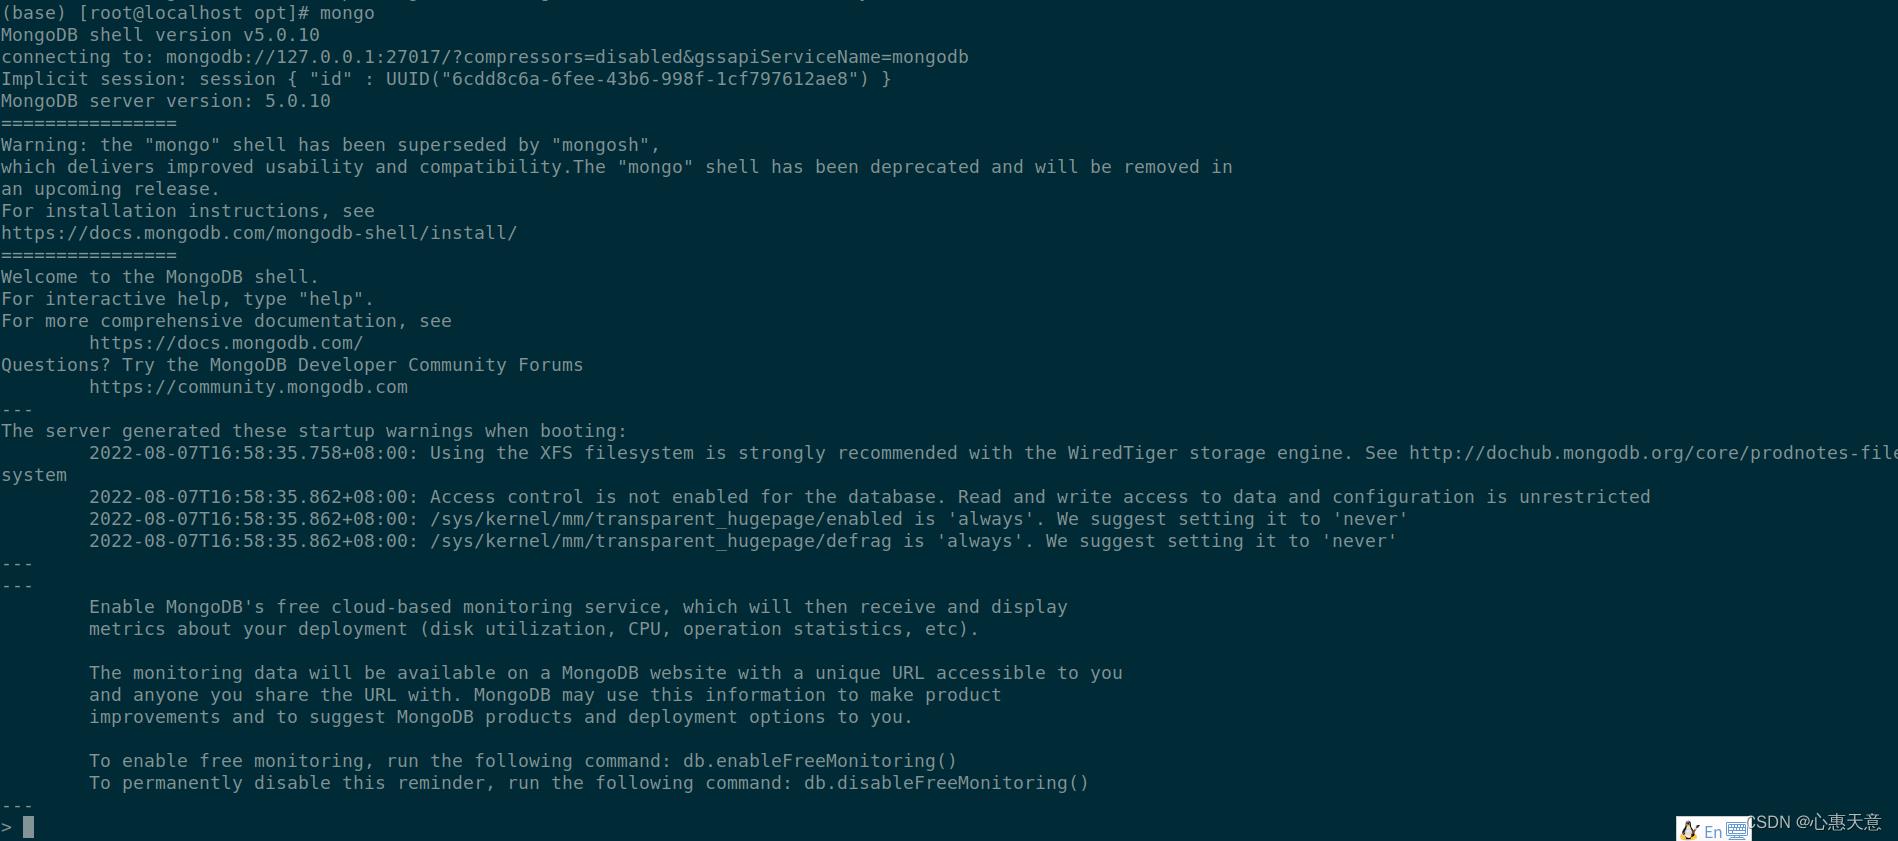
注意:上述启动为root账户启动,权限太大,如果需要启用验证,则需要将配置文件(/opt/mongodb/mongodb.conf)中的 noauth 设置为 false
方式二:
RHEL/CentOS 用户
新建 /etc/yum.repos.d/mongodb.repo,内容为
[mongodb-org]
name=MongoDB Repository
baseurl=https://mirrors.tuna.tsinghua.edu.cn/mongodb/yum/el$releasever/
gpgcheck=0
enabled=1

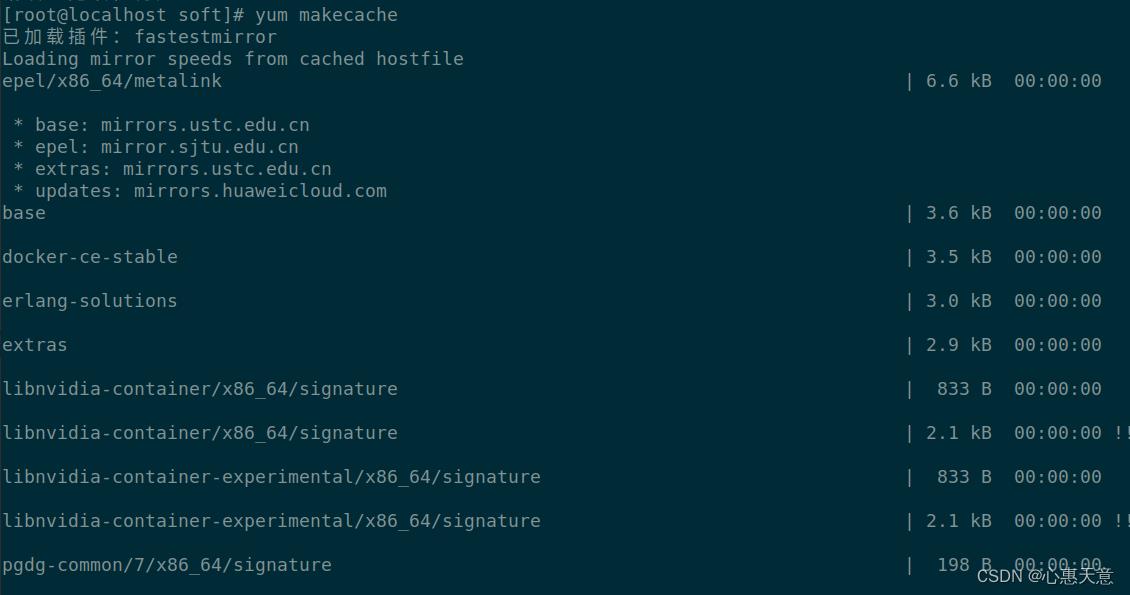
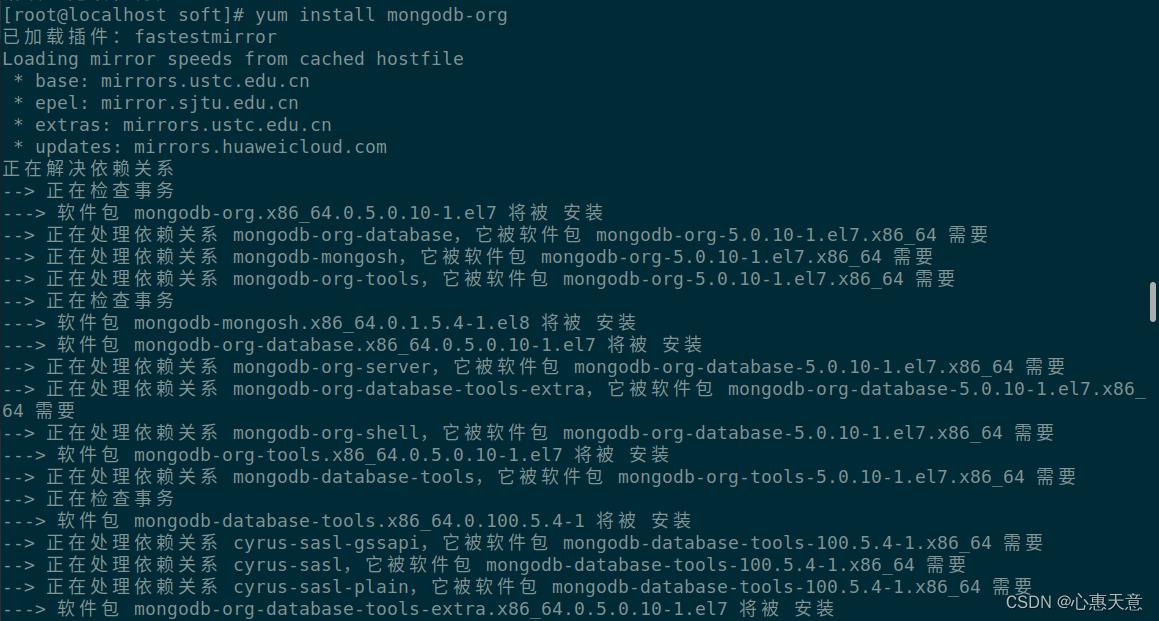
刷新缓存并安装 mongodb-org。
sudo yum makecache
sudo yum install mongodb-org
创建数据库目录和日志目录
mkdir -p /opt/mongodb/logs  # 日志目录
mkdir -p /opt/mongodb/db  # 数据库目录

touch /opt/mongodb/logs/mongodb.log  # 创建日志文件
chmod 777 /opt/mongodb/logs
chmod 777 /opt/mongodb/db
创建配置文件
vim /opt/mongodb/mongodb.conf
port= 27017
dbpath=/opt/mongodb/db  # 指定数据库路径
logpath=/opt/mongodb/logs/mongodb.log # 指定日志文件路径
logappend=true  # 使用追加方式写日志
fork=true  # 以守护进程的方式运行
maxConns=100  # 最大同时连接数
noauth=true  # 不启用验证
journal=true  # 每次写入会记录一条操作日志
storageEngine=wiredTiger # 存储引擎
bind_ip=0.0.0.0 # 服务绑定地址
启动mongodb
mongod --config /opt/mongodb/mongodb.conf

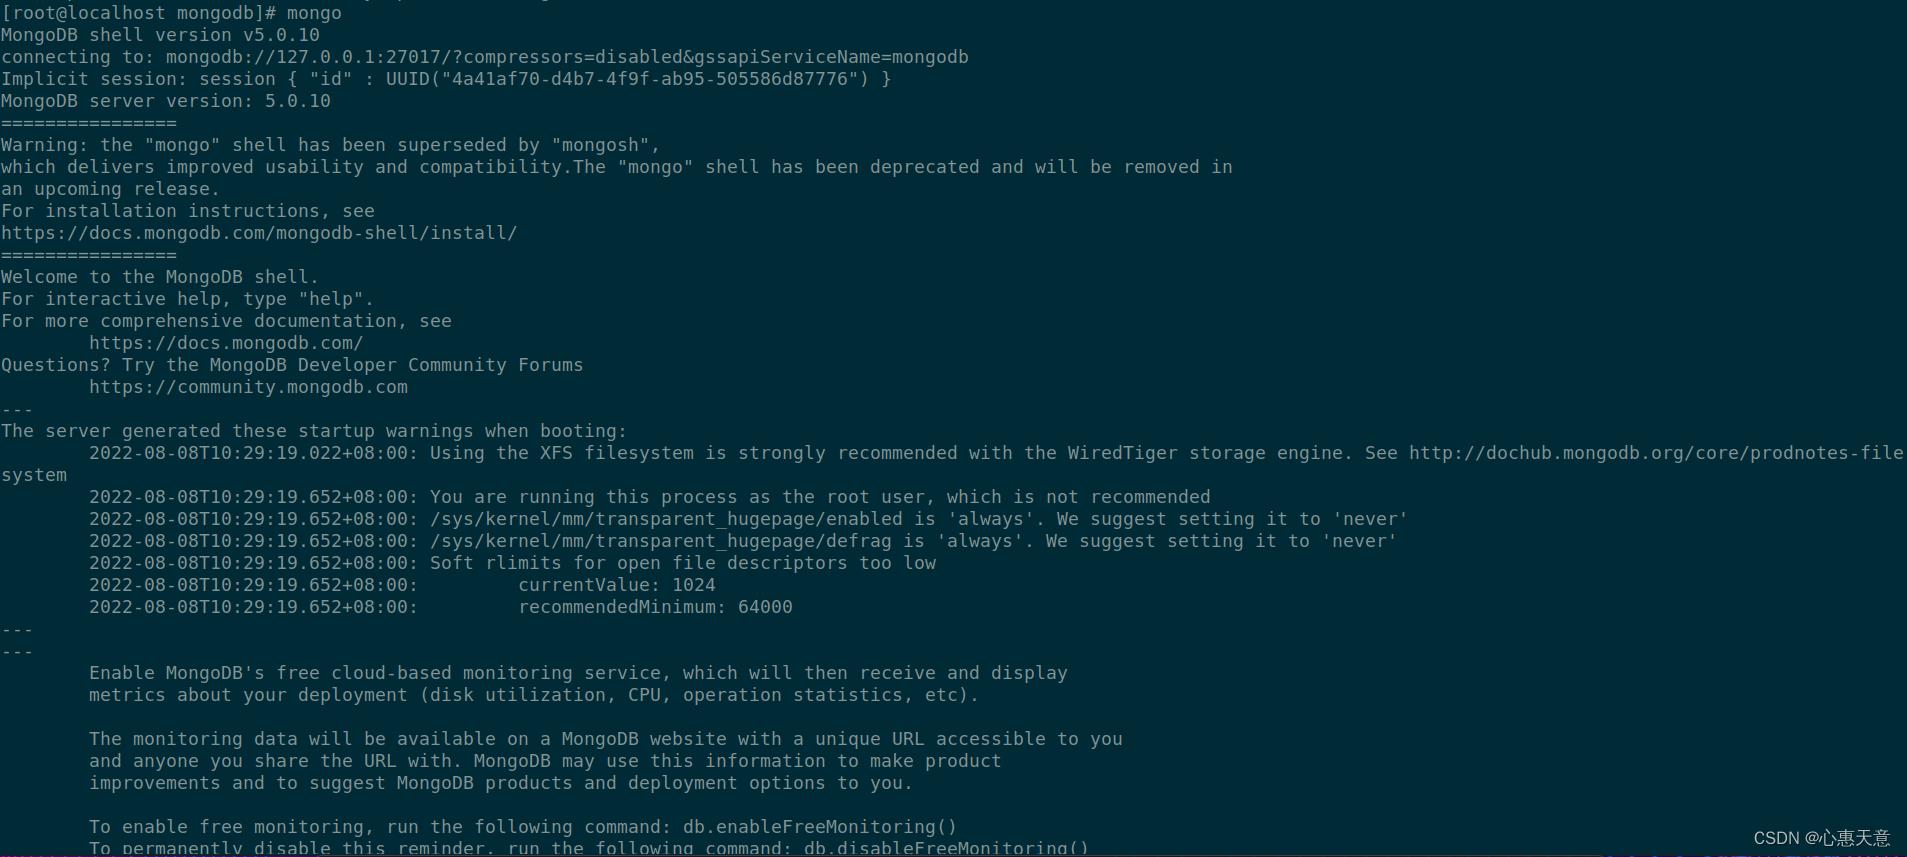
shell 连接进入 mongo
参考文献:
https://mirror.tuna.tsinghua.edu.cn/help/mongodb/
如何在CentOS 7中安装最新Git
Git是在今天的软件开发行业一个非常有用的版本控制工具。我一直使用Git。于是为Linux公社的读者写一篇如何在CentOS 7中安装Git教程
什么是Git?
如果你曾经使用过Github这样的网站或者在Bitbucket 购买过代码,把它展示给你的朋友,那么你可能知道Git是什么。至少,你肯定对它有过了解。
Git是软件开发中最广泛使用的版本控制系统,其最初发布于九年前的2005年4月7日,主要是为了保证一个大型的分布式开发项目的顺利进行。和客户端 - 服务器系统的开发不同,开发者独立于网络访问或中央服务器,因为每个Git的工作目录是一个全面的资料库。
创始人Linus Torvalds决定遵循GNU通用公共许可证第二版的协议条款,免费的发布Git。维基百科中可以了解到,有许多语言来正在开发这个版本控制系统,如Perl, Bash, C and Tcl。
在GentOS7上安装Git之前,我必须明确Git支持主流的操作系统,如Linux,POSIX,Windows和OS X.
--------------------------------------分割线 --------------------------------------
GitHub 教程系列文章:
GitHub 使用教程图文详解 http://www.linuxidc.com/Linux/2014-09/106230.htm
Git 标签管理详解 http://www.linuxidc.com/Linux/2014-09/106231.htm
Git 分支管理详解 http://www.linuxidc.com/Linux/2014-09/106232.htm
Git 远程仓库详解 http://www.linuxidc.com/Linux/2014-09/106233.htm
Git 本地仓库(Repository)详解 http://www.linuxidc.com/Linux/2014-09/106234.htm
Git 服务器搭建与客户端安装 http://www.linuxidc.com/Linux/2014-05/101830.htm
Git 概述 http://www.linuxidc.com/Linux/2014-05/101829.htm
分享实用的GitHub 使用教程 http://www.linuxidc.com/Linux/2014-04/100556.htm
--------------------------------------分割线 --------------------------------------
前期准备
请确保您的机器上安装有CentOS 7系统以及一个帐户具有root权限。因为我们需要在系统上安装软件。
安装Git - 从源代码编译
从源代码编译和安装软件并不是很难,但是可以肯定它需要一些知识,我强烈建议仔细地按照本教程的每个步骤,尤其是如果你之前还没有这样做过。
这个方法可以使我们获得包含最新的功能的最新的版本,但这种方法的缺点是,一旦安装完成正在被在CentOS系统中使用的yum包管理器不能更新
因为一些软件包之间有依赖关系,我们必须你必须以手动安装一些软件,才可以继续安装。于是我们可以打开CentOS7终端,运行以下命令。
拿到root权限
su root
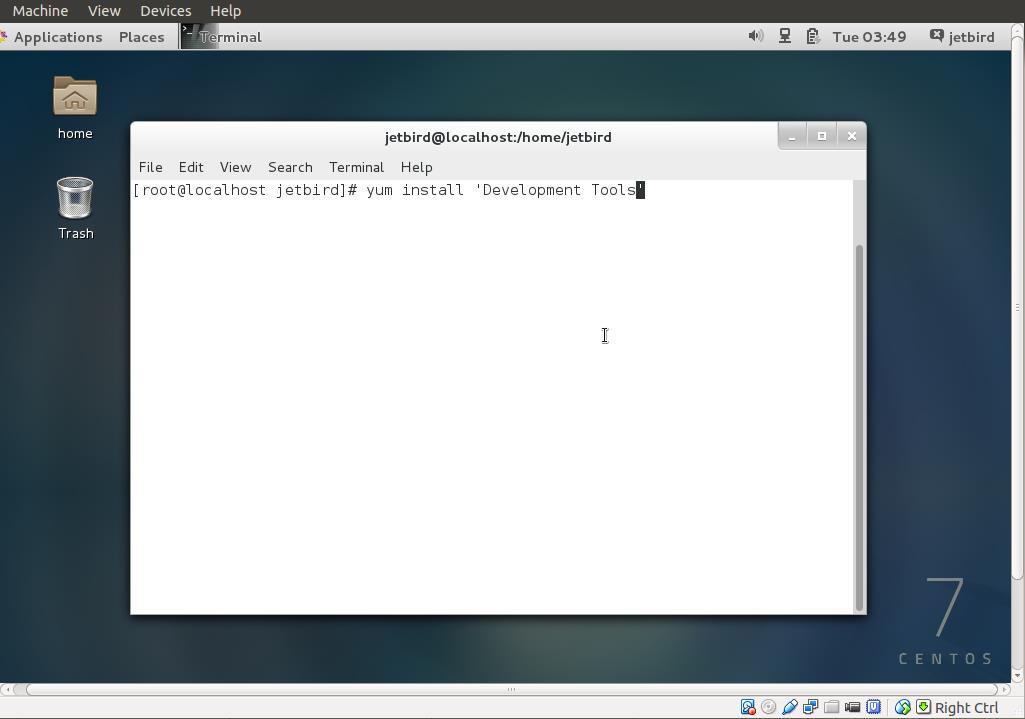
使用下面的命令
sudo yum install "Development Tools"
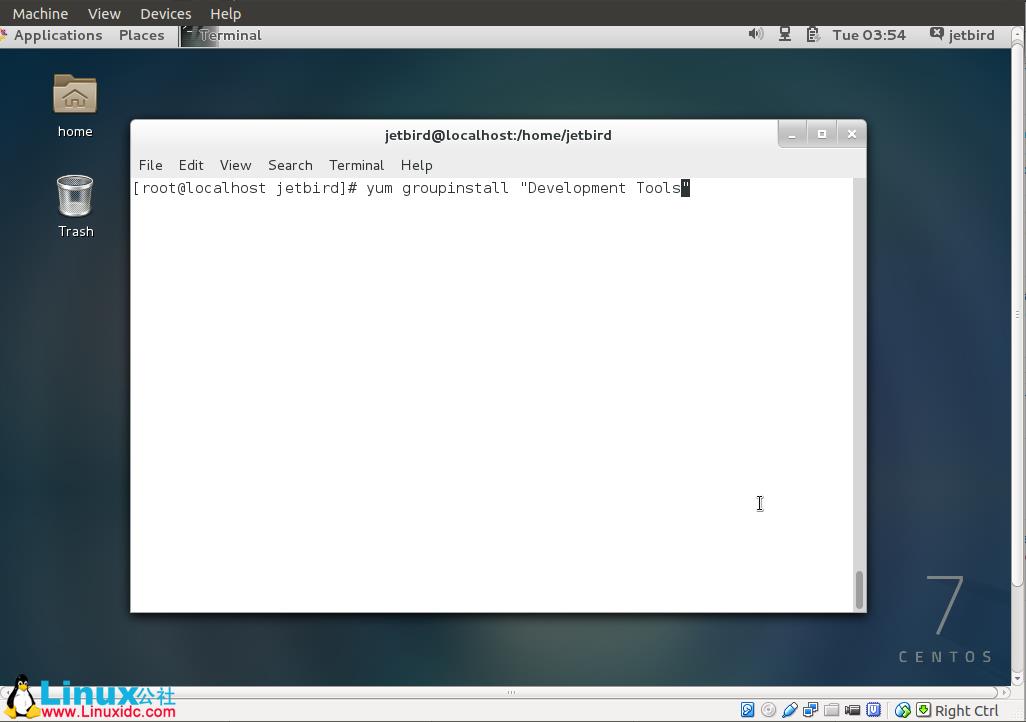
如果 上面的命令没有执行,也可以使用下面的命令来解决这个问题。
yum groupinstall "Development Tools"
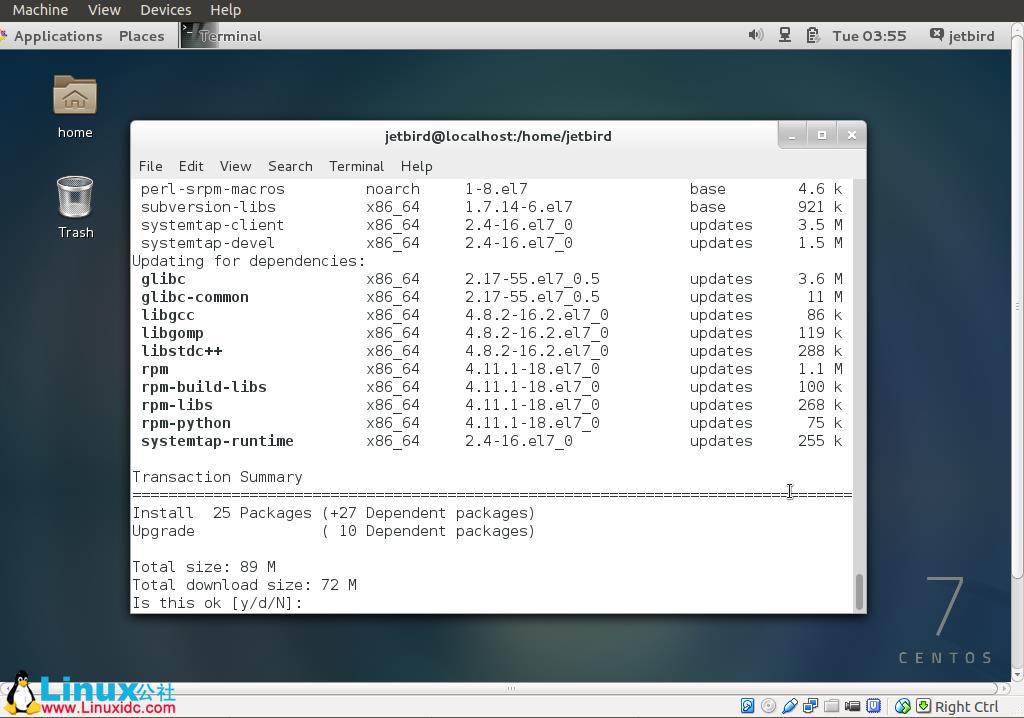
选择Y并按下回车键。
然后运行下面的命令来安装需要本教程的一些其他的包。
sudo yum install gettext-devel openssl-devel perl-CPAN perl-devel zlib-devel
一旦依赖已经安装那么,我们需要找出并下载的Git软件的最新版本。下面的截图显示,我们可以得到最新版本的页面信息。
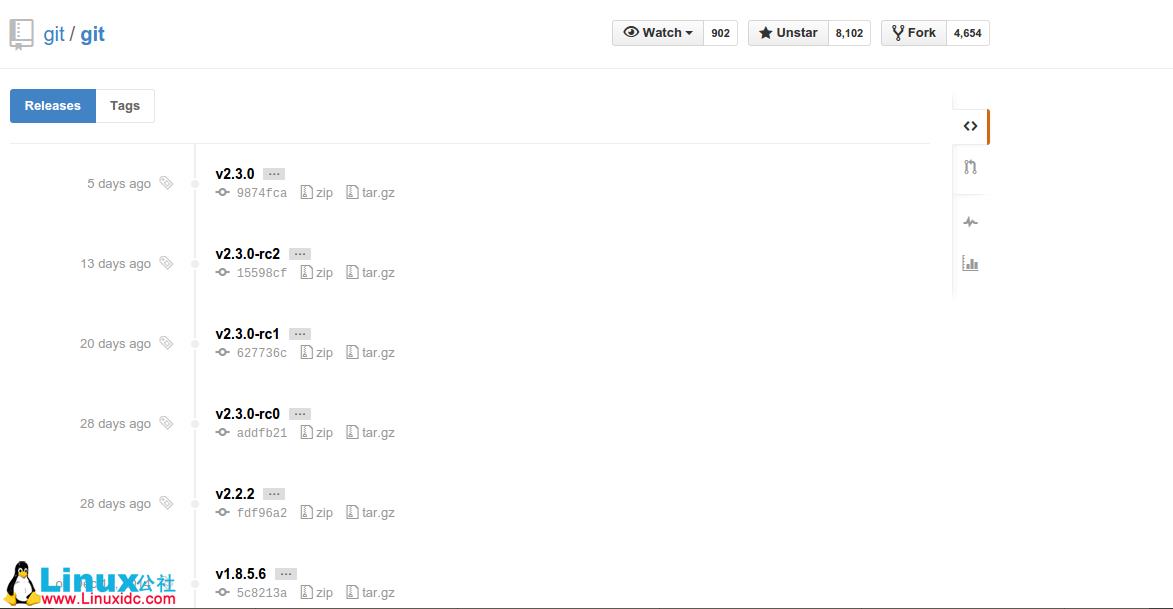
你可以从上面的截图看到最新的版本是V2.3.0。不要下载带有-rc的,因为它代表了一个候选发布版本。
通过使用wget的工具下载的Git的2.3.0版本。
wget https://Github.com/Git/Git/archive/v2.3.0.tar.gz
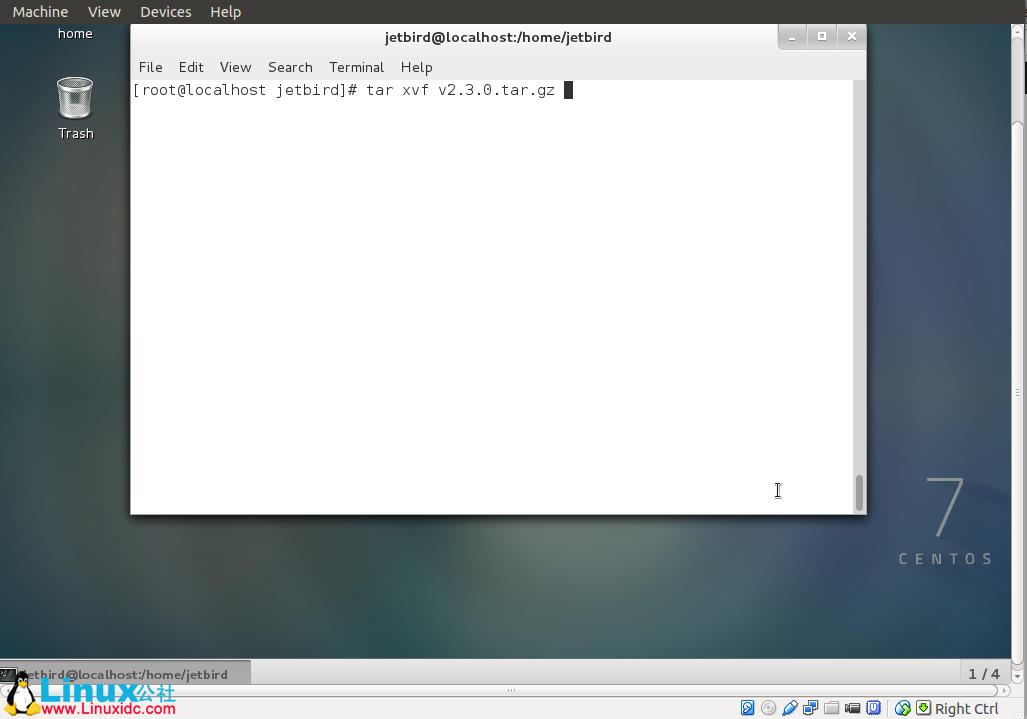
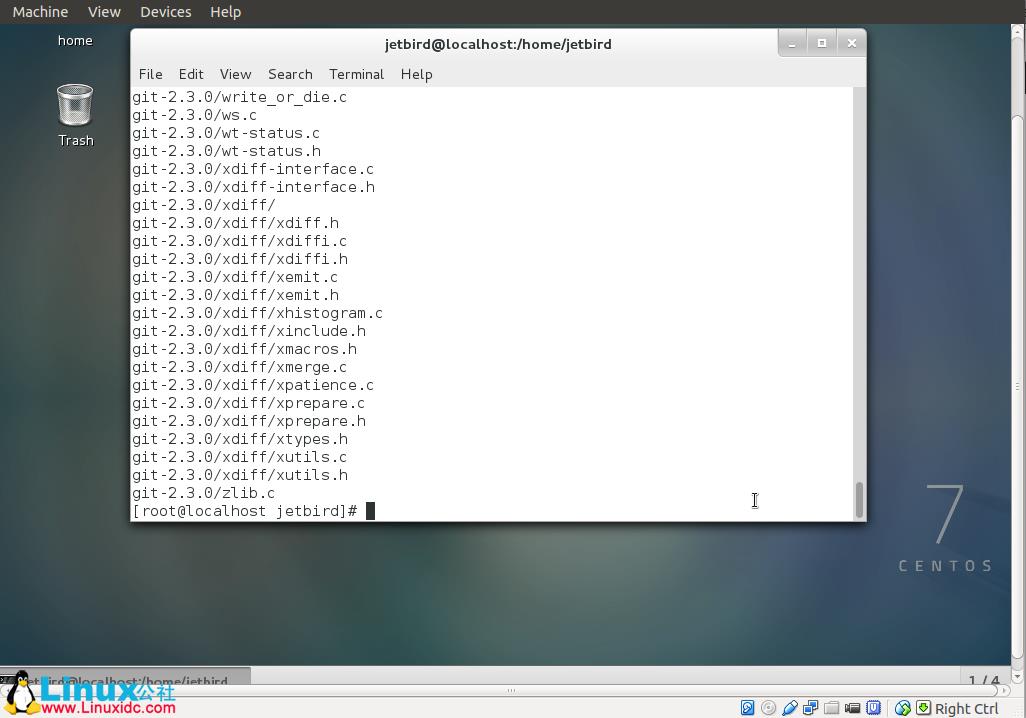
然后使用tar工具来解压您刚刚下载的.tar归档文件。
tar xvf v2.3.0.tar.gz
作者:zaixianliyun 想了解作者请访问linux公社
Linux公社原创翻译频道:http://www.linuxidc.com/topicnews.aspx?tid=15
更多详情见请继续阅读下一页的精彩内容: http://www.linuxidc.com/Linux/2015-02/113351p2.htm

以上是关于centos7篇---centos7中安装mongodb的主要内容,如果未能解决你的问题,请参考以下文章