python神经网络 画图神器graphviz安装
Posted 猫头丁
tags:
篇首语:本文由小常识网(cha138.com)小编为大家整理,主要介绍了python神经网络 画图神器graphviz安装相关的知识,希望对你有一定的参考价值。
相信大家一定看过这样的图,是不是感觉很厉害,甚至可以连的很长很长,看起来很高级,其实非常简单,我们只要安装一个graphviz就可以啦!人可以渣,但图一定得能唬得住人!
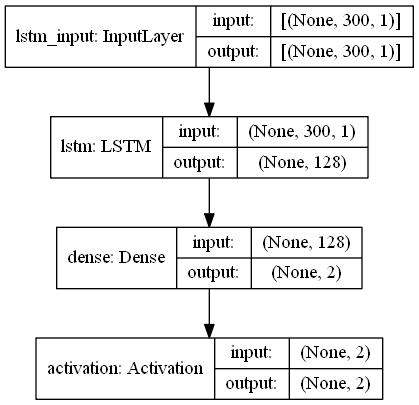 那我们就开始正式安装吧!

安装graphviz
首先下载graphviz,
官网链接:https://graphviz.org/download/
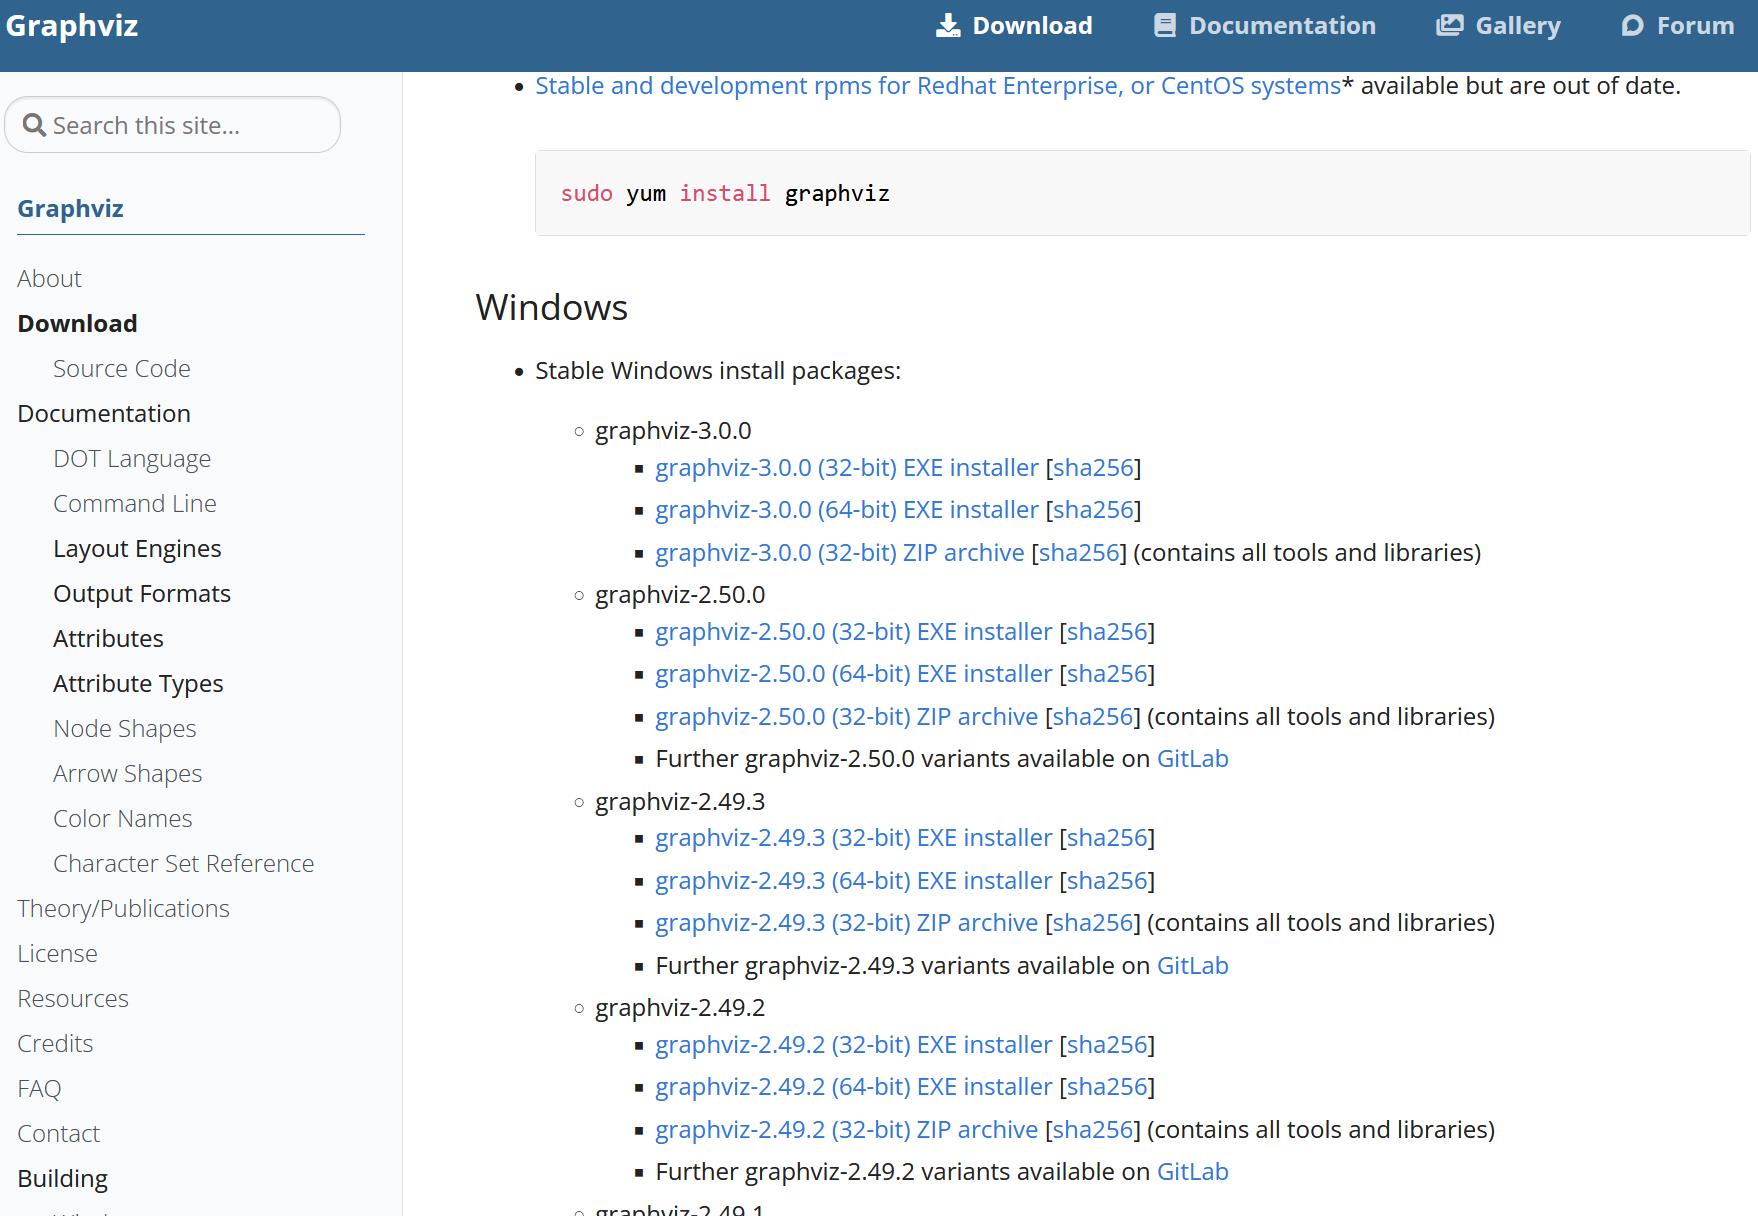 下载安装包到桌面后开始安装
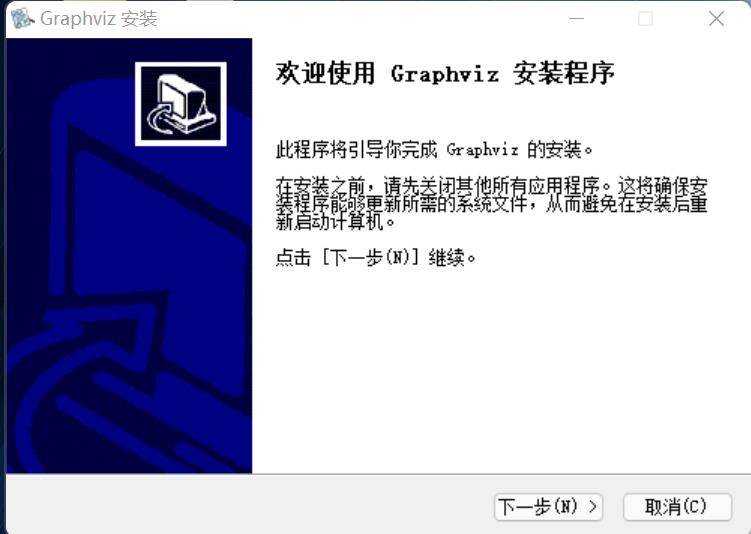 一路走
一路走
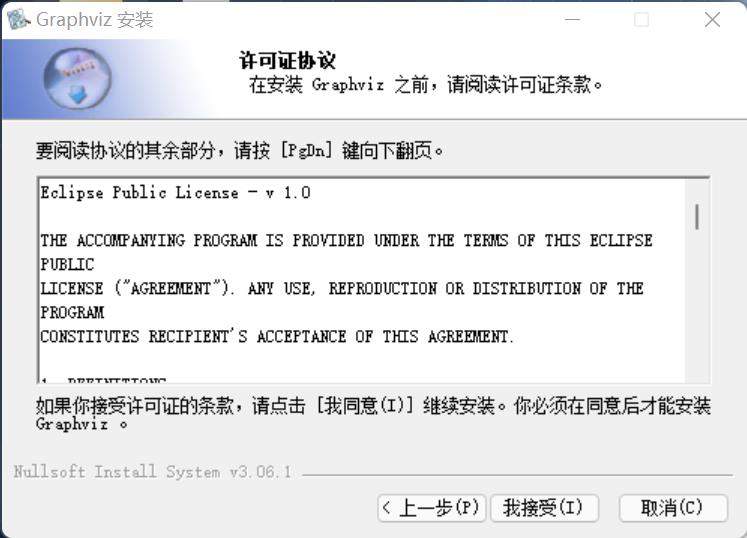 接着走
接着走
 接着走
接着走
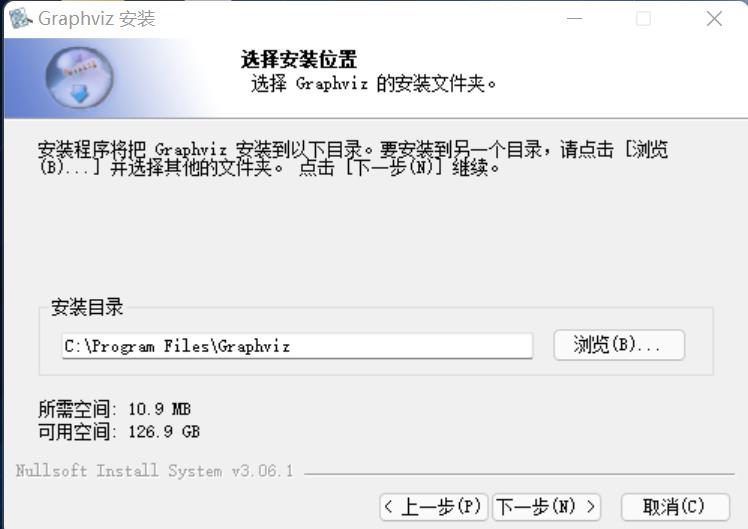
接着走
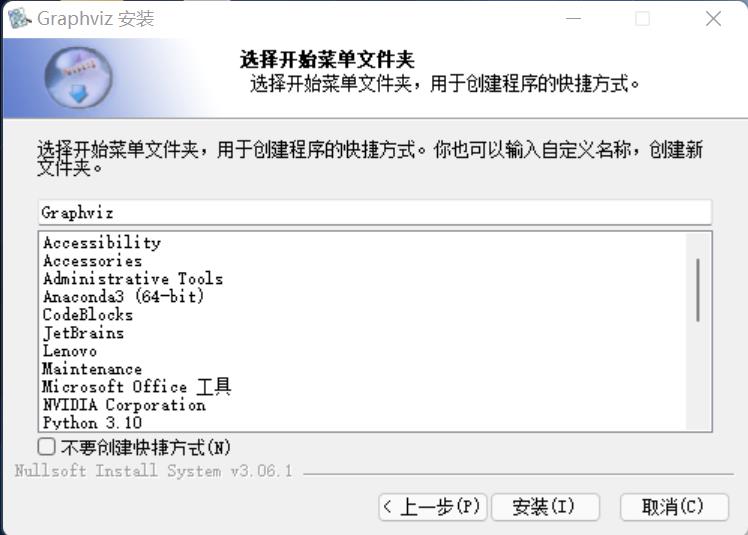 安装完成
安装完成
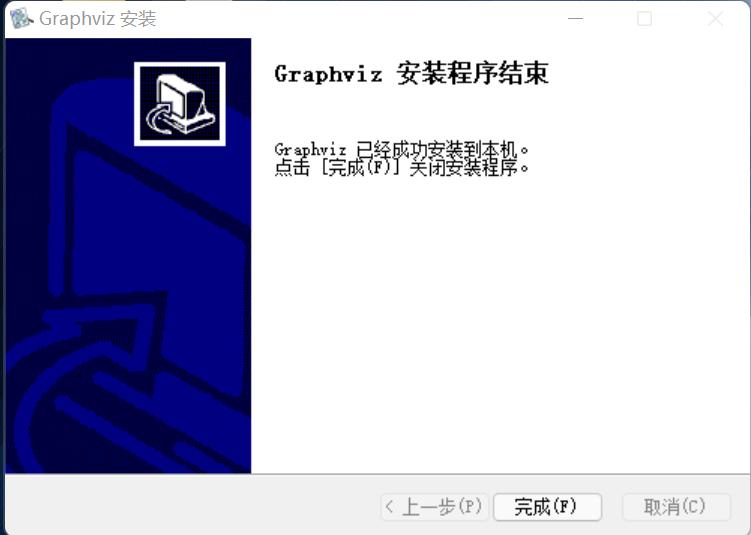
加入环境变量
接下来开始配置环境变量
搜索“高级系统设置”
 进入“高级系统设置”,选择“环境变量”
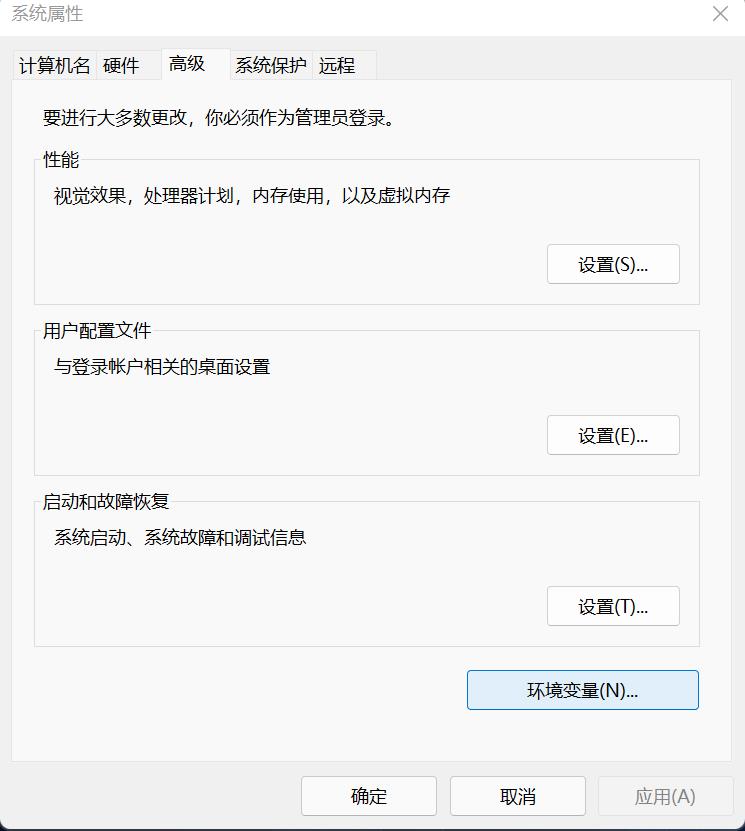
进入环境变量界面,选中“Path”,点击“新建”
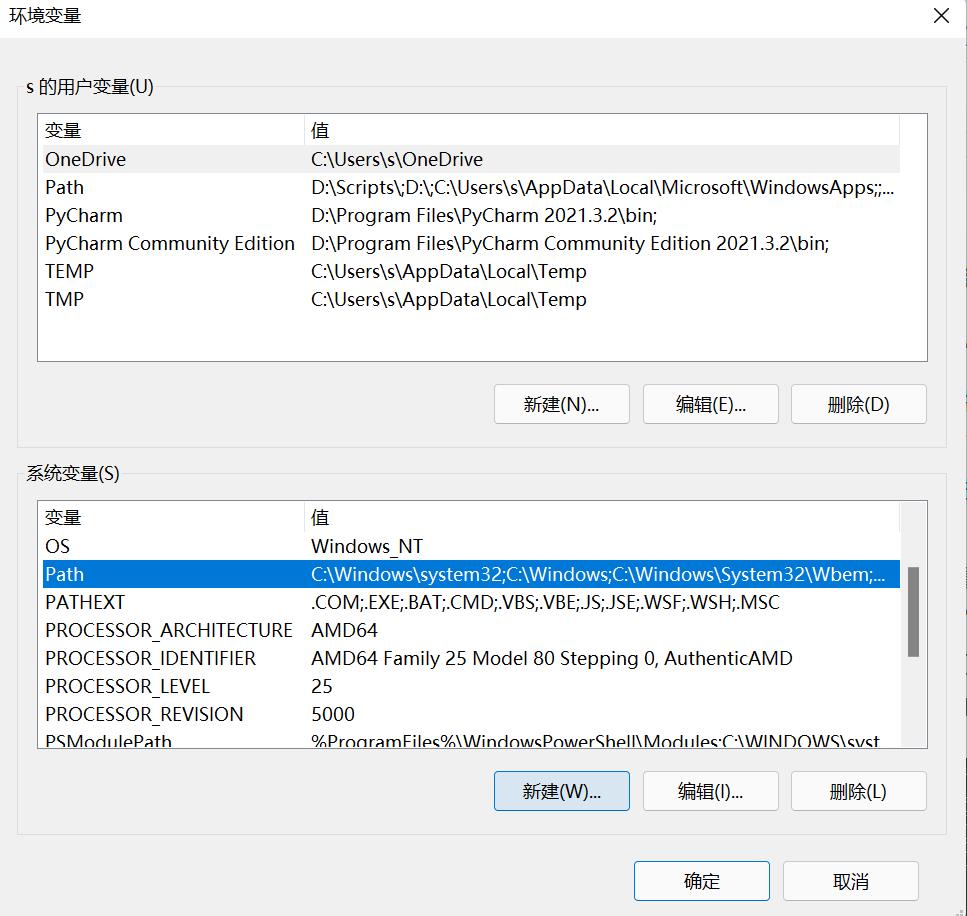
选择路径
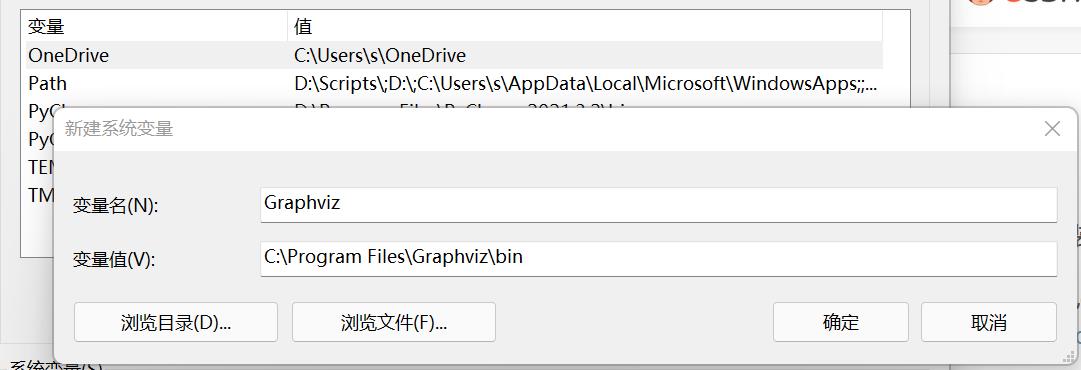 完成!
完成!
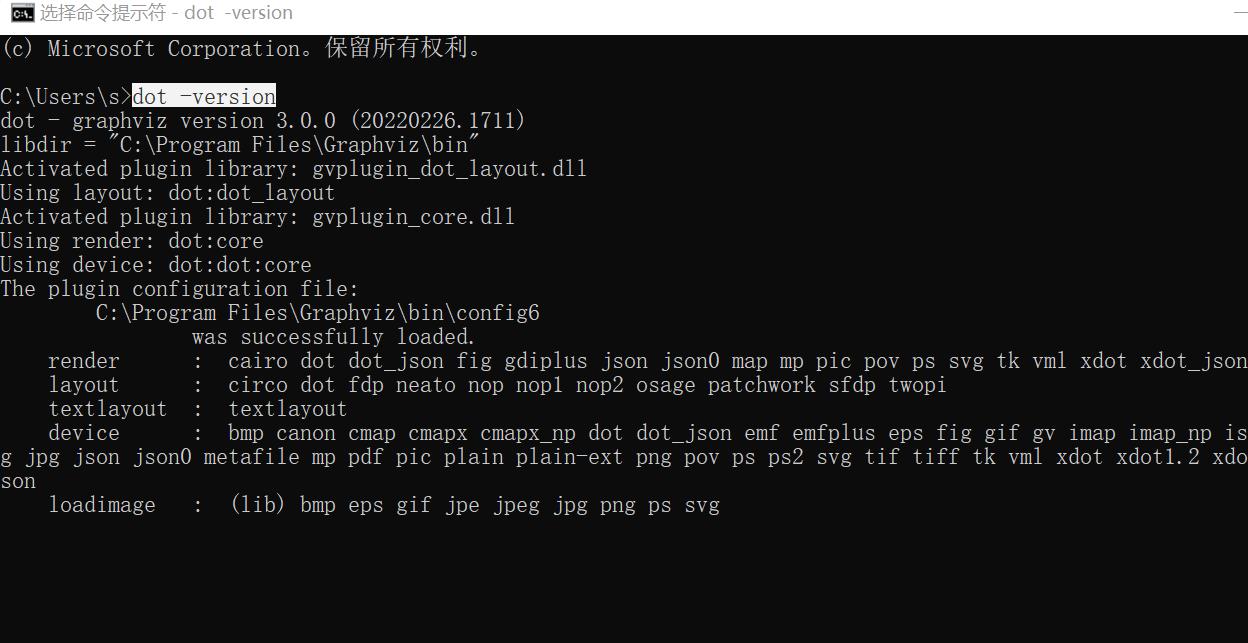
接下来我们来测试一下,是否成功安装,进入命令行界面
输入“dot -version”,如图,成功安装!
python 画图
接下来正式画图咯,这里我用的keras,就随便画一个看看,这个网络就是我随便写的,可能没什么道理,一个空壳子,没有数据,就画个图看看

from keras.layers import LSTM
from keras.layers import Dense, Activation
from keras.models import Sequential
import os
from keras.utils.vis_utils import plot_model
os.environ["PATH"] += os.pathsep +'C:\\Program Files\\Graphviz/bin'

max_sequence_length = 10000
n_hidden = 128
model = Sequential()
model.add(LSTM(n_hidden,
               batch_input_shape=(None, max_sequence_length, 1),
               unroll=True))

model.add(Dense(2))
model.add(Activation('softmax'))
plot_model(model, to_file='lstm.png',show_shapes='True')
嘿嘿。图片出来啦!
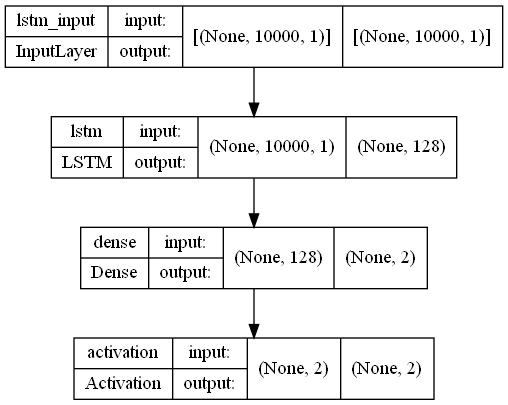 整个过程就是这样啦!
补一个更厉害的Resnet图,好看就完事了!
# -*- coding: utf-8 -*-
import keras
from keras.layers import Dense, Conv2D, BatchNormalization, Activation
from keras.layers import AveragePooling2D, Input, Flatten
from keras.optimizers import adam_v2
from keras.callbacks import ModelCheckpoint, LearningRateScheduler
from keras.callbacks import ReduceLROnPlateau
from keras.preprocessing.image import ImageDataGenerator
from keras.regularizers import l2
from keras.models import Model
import numpy as np
import os
from keras.utils.vis_utils import plot_model
os.environ["PATH"] += os.pathsep +'C:\\Program Files\\Graphviz/bin'
# 使用GPU,自己根据机器配置调整,默认不开启
# os.environ["CUDA_VISIBLE_DEVICES"] = "4,5,6,7,8"


# Training parameters
n = 3
batch_size = 32
epochs = 100
num_classes = 10
depth = n * 6 + 2

# Learning Rate Schedule
def lr_schedule(epoch):
    lr = 1e-3
    if epoch > 180:
        lr *= 0.5e-3
    elif epoch > 160:
        lr *= 1e-3
    elif epoch > 120:
        lr *= 1e-2
    elif epoch > 80:
        lr *= 1e-1
    print('Learning rate: ', lr)
    return lr


# resnet layer
def resnet_layer(inputs,
                 num_filters=16,
                 kernel_size=3,
                 strides=1,
                 activation='relu',
                 batch_normalization=True,
                 conv_first=True):
    conv = Conv2D(num_filters,
                  kernel_size=kernel_size,
                  strides=strides,
                  padding='same',
                  kernel_initializer='he_normal',
                  kernel_regularizer=l2(1e-4))

    x = inputs
    if conv_first:
        x = conv(x)
        if batch_normalization:
            x = BatchNormalization()(x)
        if activation is not None:
            x = Activation(activation)(x)
    else:
        if batch_normalization:
            x = BatchNormalization()(x)
        if activation is not None:
            x = Activation(activation)(x)
        x = conv(x)
    return x


def resnet_v1(input_shape, depth, num_classes=10):
    # ResNet Version 1 Model builder [a]
    if (depth - 2) % 6 != 0:
        raise ValueError('depth should be 6n+2 (eg 20, 32, 44 in [a])')
    # Start model definition.
    num_filters = 16
    num_res_blocks = int((depth - 2) / 6)

    inputs = Input(shape=input_shape)
    x = resnet_layer(inputs=inputs)
    # Instantiate the stack of residual units
    for stack in range(3):
        for res_block in range(num_res_blocks):
            strides = 1
            if stack > 0 and res_block == 0:  # first layer but not first stack
                strides = 2  # downsample
            y = resnet_layer(inputs=x,
                             num_filters=num_filters,
                             strides=strides)
            y = resnet_layer(inputs=y,
                             num_filters=num_filters,
                             activation=None)
            if stack > 0 and res_block == 0:  # first layer but not first stack
                # linear projection residual shortcut connection to match
                # changed dims
                x = resnet_layer(inputs=x,
                                 num_filters=num_filters,
                                 kernel_size=1,
                                 strides=strides,
                                 activation=None,
                                 batch_normalization=False)
            x = keras.layers.add([x, y])
            x = Activation('relu')(x)
        num_filters *= 2

    # Add classifier on top.
    # v1 does not use BN after last shortcut connection-ReLU
    x = AveragePooling2D(pool_size=8)(x)
    y = Flatten()(x)
    outputs = Dense(num_classes,
                    activation='softmax',
                    kernel_initializer='he_normal')(y)

    # Instantiate model.
    model = Model(inputs=inputs, outputs=outputs)
    return model


model = resnet_v1(input_shape=(64,64,3), depth=depth, num_classes=num_classes)

plot_model(model, to_file='resnet.png',show_shapes='True')

以上是关于python神经网络 画图神器graphviz安装的主要内容,如果未能解决你的问题,请参考以下文章