Win10下使用VS2019编译Qt 6.3.0注意事项
Posted u25th_engineer
tags:
篇首语:本文由小常识网(cha138.com)小编为大家整理,主要介绍了Win10下使用VS2019编译Qt 6.3.0注意事项相关的知识,希望对你有一定的参考价值。
环境准备
请参考此篇博客。
博主个人所用软硬件环境如下:
| Hardware | Version |
|---|---|
| Dell G3 | 3579 |
| Device | Specification |
|---|---|
| Processor | Intel® Core™ i5-8300H CPU @ 2.30GHz 2.30 GHz |
| Installed RAM | 16.0 GB (15.9 GB usable) |
| Software | Version | Description |
|---|---|---|
| cmake | 3.23.2 | |
| Python | 3.9.13 | |
| Perl | 5.32.1 | This is perl 5, version 32, subversion 1 (v5.32.1) built for MSWin32-x64-multi-thread |
| ninja | 1.11.0 | |
| Microsoft Visual Studio Enterprise 2019 | 16.10.1 | |
| Microsoft ® C/C++ Optimizing Compiler(cl.exe) | 19.29.30037 | For x64 |
编译的Qt源码版本如下:
| Source | Version |
|---|---|
| Qt | 6.3.0 |
使用的配置命令如下:
configure.bat -prefix E:\\Qt\\6.3.0 -debug-and-release -opensource -shared -ssl -openssl-linked -openssl-runtime -direct2d -sql-mysql -webengine-pepper-plugins -webengine-printing-and-pdf -webengine-proprietary-codecs -webengine-spellchecker -webengine-webrtc
上述命令中的几个与Web有关的命令都无效,只能后面另行编译安装了。
编译命令:
ninja
编译时长:1小时25分钟,也就是近1.5小时。
安装命令:
ninja install
特别提醒
磁盘一定要留有足够的空间,推荐至少要:75 G,否则编译很可能会失败。
下面两张图展示了编译完成后源码文件夹的大小以及所包含子文件夹和文件的数目:
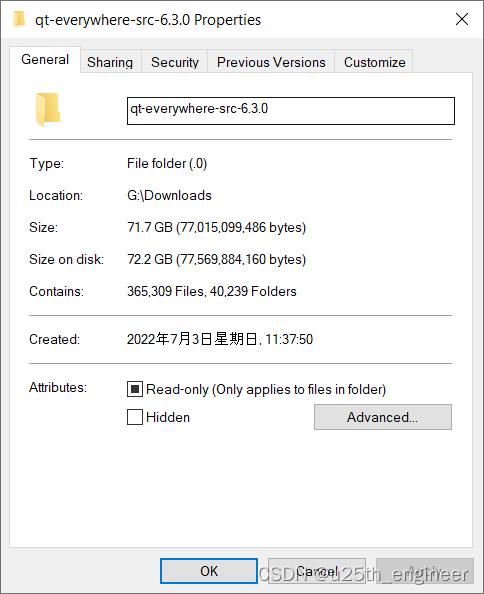
图 1
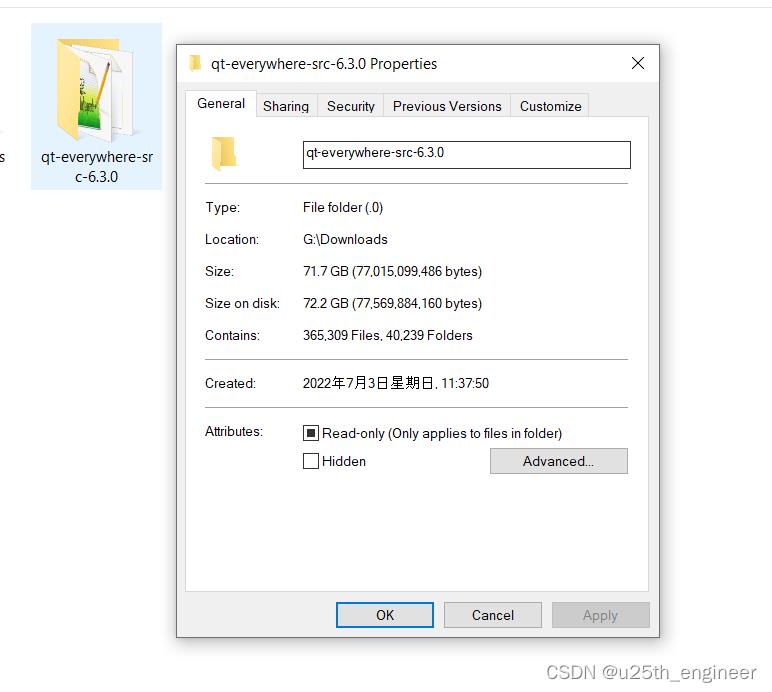
图 2
以上是关于Win10下使用VS2019编译Qt 6.3.0注意事项的主要内容,如果未能解决你的问题,请参考以下文章