SpringBoot整合rabbitMQ
Posted 暴躁的程序猿啊
tags:
篇首语:本文由小常识网(cha138.com)小编为大家整理,主要介绍了SpringBoot整合rabbitMQ相关的知识,希望对你有一定的参考价值。
本文在已掌握rabbit基础用法的基础上书写,安装等操作不再赘述,默认文章使用的是单播模式;
创建工程
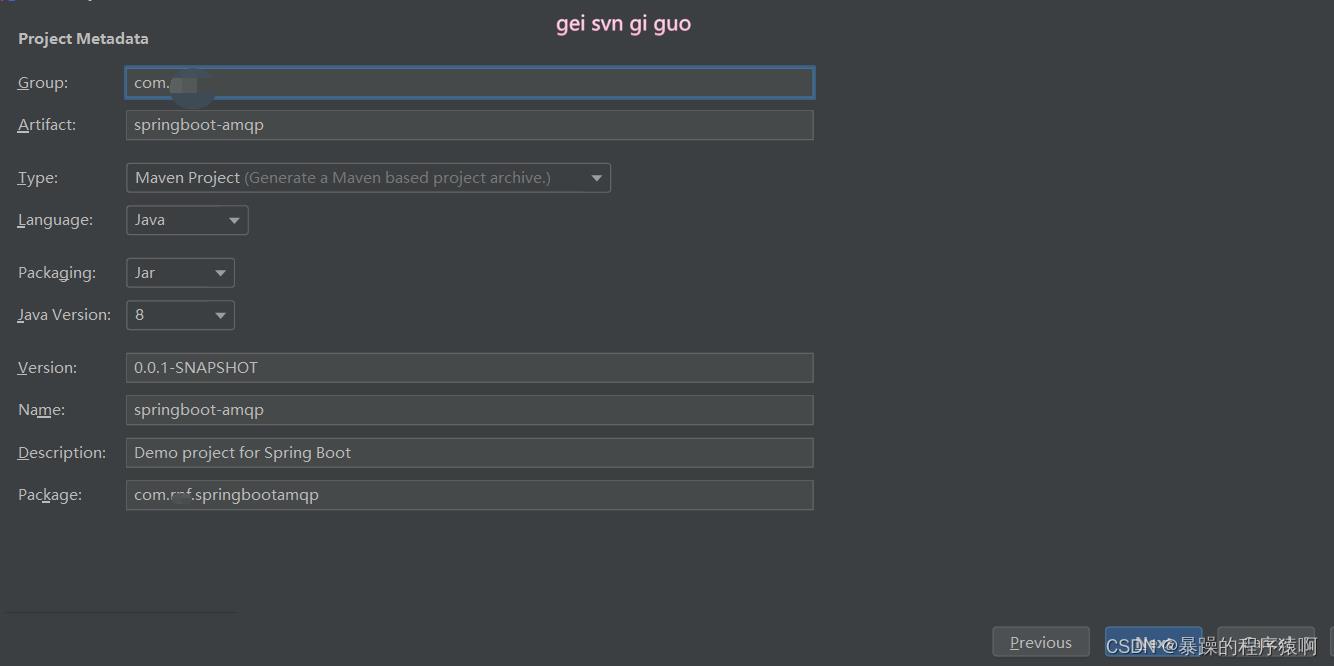
pom文件
 <properties>
        <java.version>1.8</java.version>
        <project.build.sourceEncoding>UTF-8</project.build.sourceEncoding>
        <project.reporting.outputEncoding>UTF-8</project.reporting.outputEncoding>
        <spring-boot.version>2.3.7.RELEASE</spring-boot.version>
    </properties>

    <dependencies>
	 	<!--特别注意这里的jackson版本与springboot的对应 不然后面会踩坑-->
        <dependency>
            <groupId>com.fasterxml.jackson.core</groupId>
            <artifactId>jackson-databind</artifactId>
            <version>2.11.2</version>
        </dependency>

        <dependency>
            <groupId>org.springframework.boot</groupId>
            <artifactId>spring-boot-starter-amqp</artifactId>
        </dependency>

        <dependency>
            <groupId>org.springframework.boot</groupId>
            <artifactId>spring-boot-starter-test</artifactId>
            <scope>test</scope>
            <exclusions>
                <exclusion>
                    <groupId>org.junit.vintage</groupId>
                    <artifactId>junit-vintage-engine</artifactId>
                </exclusion>
            </exclusions>
        </dependency>
        <dependency>
            <groupId>org.springframework.amqp</groupId>
            <artifactId>spring-rabbit-test</artifactId>
            <scope>test</scope>
        </dependency>
    </dependencies>
properties文件
# 应用名称
spring.application.name=springboot-amqp
spring.rabbitmq.port=5672
spring.rabbitmq.host=127.0.0.1
spring.rabbitmq.username=guest
spring.rabbitmq.password=guest
测试连接
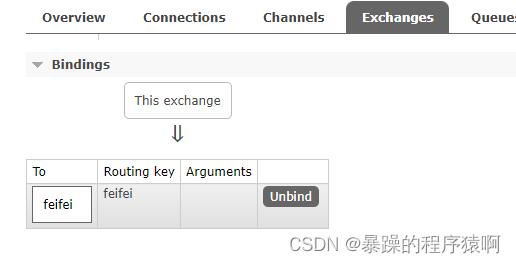
我们的rabbit中已经创建好exchange并绑定好路由键到队列
@Autowired
    RabbitTemplate rabbitTemplate;

    @Test
    void contextLoads()
        //send方法的message需要自己构造
//        rabbitTemplate.send("","","");
        //自动转换并发送消息
        Map<String, Object> map = new HashMap<>(16);
        map.put("msg","我的第一条rabbit消息");
        map.put("data", Arrays.asList("123",true));
        rabbitTemplate.convertAndSend("exchange.direct","feifei",map);
成功之后我们来到管理页面获取消息 可以发现消息已经被转换为看不懂的格式
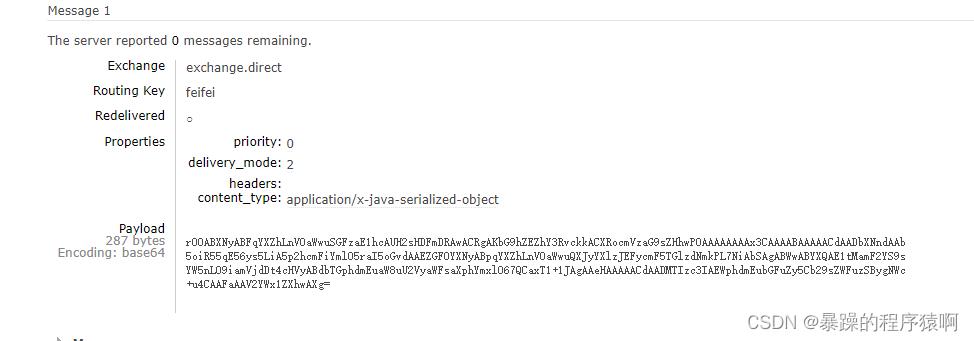
这是因为默认使用的jdk的序列化方式 我们将其修改为我们常用的方式 JSON
创建一个配置类
@Configuration
public class RabbitConfig

    @Bean
    public MessageConverter messageConverter()
        //注入一个json的消息转换器
        return new Jackson2JsonMessageConverter();
此时取出数据查看结果

接收数据
 @Test
    public void receive()
        Object receiveAndConvert = rabbitTemplate.receiveAndConvert("feifei");
        System.out.println(receiveAndConvert);
输出
msg=我的第一条rabbit消息, data=[123, true]
接收完之后队列中的消息就被消费了 就消失了
测试发一条员工类型的消息
创建一个pojo
public class Employee
    private Long id;
    private String name;

    public Employee(Long id, String name)
        this.id = id;
        this.name = name;


    public Employee()


    public Long getId()
        return id;


    public void setId(Long id)
        this.id = id;


    public String getName()
        return name;


    public void setName(String name)
        this.name = name;


    @Override
    public String toString()
        return "Employee" +
                "id=" + id +
                ", name='" + name + '\\'' +
                '';
测试方法
 @Test
    public void send()
        rabbitTemplate.convertAndSend("exchange.direct","feifei",new Employee(1L,"山鸡"));
管理页面查看

取出
 @Test
    public void receive()
        Object receiveAndConvert = rabbitTemplate.receiveAndConvert("feifei");
        System.out.println(receiveAndConvert);
输出
Employeeid=1, name=‘山鸡’
下面我们简单书写如何实现监听功能
例如;消费者向队列中发送订单信息,服务方监听相关队列取出订单数据;
使用@RabbitListener 注解实现队列的监听
启动类上添加注解@EnableRabbit
@EnableRabbit
@SpringBootApplication
public class SpringbootAmqpApplication

    public static void main(String[] args)
        SpringApplication.run(SpringbootAmqpApplication.class, args);
使用@RabbitListener注解实现监听
@Service
public class EmployeeService

    /**
     * 该方法为监听消息队列中的数据时自动调用
     * @RabbitListener(queues = "feifei") queues可以指定多个监听的队列
     * @param employee
     */
    @RabbitListener(queues = "feifei")
    public void receive(Employee employee)
        System.out.println("收到消息"+employee);
将监听到的消息用Employee接收打印出来
启动项目,发消息进行测试
  @Test
    public void send()
        rabbitTemplate.convertAndSend("exchange.direct","feifei",new Employee(1L,"山鸡"));
控制台输出
收到消息Employeeid=1, name=‘山鸡’
以上是关于SpringBoot整合rabbitMQ的主要内容,如果未能解决你的问题,请参考以下文章