如何搭建自己的CI/CD平台:Gitlab+Jenkins+Docker+Harbor+K8s集群搭建CICD平台(持续集成部署Hexo博客Demo)
Posted 山河已无恙
tags:
篇首语:本文由小常识网(cha138.com)小编为大家整理,主要介绍了如何搭建自己的CI/CD平台:Gitlab+Jenkins+Docker+Harbor+K8s集群搭建CICD平台(持续集成部署Hexo博客Demo)相关的知识,希望对你有一定的参考价值。
写在前面
- 聊聊
CICD的环境搭建以及一个基于Hexo的博客系统在CICD流程中的配置Demo - 很早就想着写这样一篇博文,但是没有时间,之前写了一半,正好春节假期把剩下的一般写完.
- 本文属于
Devpos实战类文章,基本没有理论,所有,小伙伴需要对devops有些基本的了解, - 博文中讲的
CICD属于Devops的一部分 - 当然小伙伴们也可以找一些云服务商提供的商业的Depops平台去学习,一般有免费的体验,比如华为云的软开云平台。
- 博文涉及内容:
Gitlab+Jenkins+Docker+Harbor+K8S集群的CICD搭建教程- 在搭建好的
CICD平台上持续集成部署hexo博客系统,Demo有些简陋,仅用于学习。
- 其中
Gitlab+Jenkins+Harbor都是通过容器化部署 - 篇幅有限,关于CD环境
k8s集群这里用之前部署好的,并且已经做了kubeconfig证书,关于这方便感兴趣小伙伴可以看看我之前的文章 - 下面为涉及到的机器:
| 用到的机器 | ip | 域名 |
|---|---|---|
| 客户机 | 192.168.26.1 | 本地物理机: |
| Gitlab+Jenkins+Docker | 192.168.26.55 | 虚机:liruilongs.github.io |
| docker镜像仓库:harbor | 192.168.26.56 | 虚机:vms56.liruilongs.github.io |
| k8s集群-master节点 | 192.168.26.81 | 虚机:vms81.liruilongs.github.io |
| k8s集群-node节点 | 192.168.26.82 | 虚机:vms82.liruilongs.github.io |
| k8s集群-node节点 | 192.168.26.83 | 虚机:vms83.liruilongs.github.io |
| 拓扑图 |
|---|
这里客户机用本地的IDE持续编码,然后push代码到gitlab,gitlab中的web钩子触发jenkins中配置好的构建触发器,通过shell命令拉取gitlab仓库中的代码,然后通过拉取的应用源码和Dockerfile文件来构建应用镜像,构建完成后将应用镜像push到harbor私有镜像仓库,然后通过shell命令的方式在jenkins中用kubelet客户端将镜像从私有仓库拉取到k8s集群并更新其deploy中的镜像,默认deploy更新副本的方式为滚动更新,整个流程中,只有客户机push代码是手手动的方式,其他全是自动 |
 |
上帝借由各种途径使人变得孤独,好让我们可以走向自己。 ——赫尔曼·黑塞《德米安》
一、CICD服务器环境搭建
CI即为持续集成(Continue Integration,简称CI),用通俗的话讲,就是持续的整合版本库代码编译后制作应用镜像。建立有效的持续集成环境可以减少开发过程中一些不必要的问题、提高代码质量、快速迭代等,
常用的工具和平台有:
Jenkins:基于Java开发的一种持续集成工具,用于监控持续重复的工作,旨在提供一个开放易用的软件平台,使软件的持续集成变成可能。
Bamboo: 是一个企业级商用软件,可以部署在大规模生产环境中。
CD即持续交付Continuous Delivery和持续部署Continuous Deployment,用通俗的话说,即可以持续的部署到生产环境给客户使用,这里分为两个阶段,持续交付我理解为满足上线条件的过程,但是没有上线,持续部署,即为上线应用的过程
关于CD环境,我们使用以前搭建好的K8s集群,K8s集群可以实现应用的健康检测,动态扩容,滚动更新等优点,关于K8s集群的搭建,小伙伴可以看看我的其他文章
我们来搭建CI服务器:操作服务器: liruilongs.github.io:192.168.26.55
docker 环境安装
拉取镜像,启动并设置开机自启
┌──[root@liruilongs.github.io]-[~]
└─$ yum -y install docker-ce
┌──[root@liruilongs.github.io]-[~]
└─$ systemctl enable docker --now
配置docker加速器
sudo mkdir -p /etc/docker
sudo tee /etc/docker/daemon.json <<-'EOF'

  "registry-mirrors": ["https://2tefyfv7.mirror.aliyuncs.com"]

EOF
sudo systemctl daemon-reload
sudo systemctl restart docker
1.安装GitLab 并配置
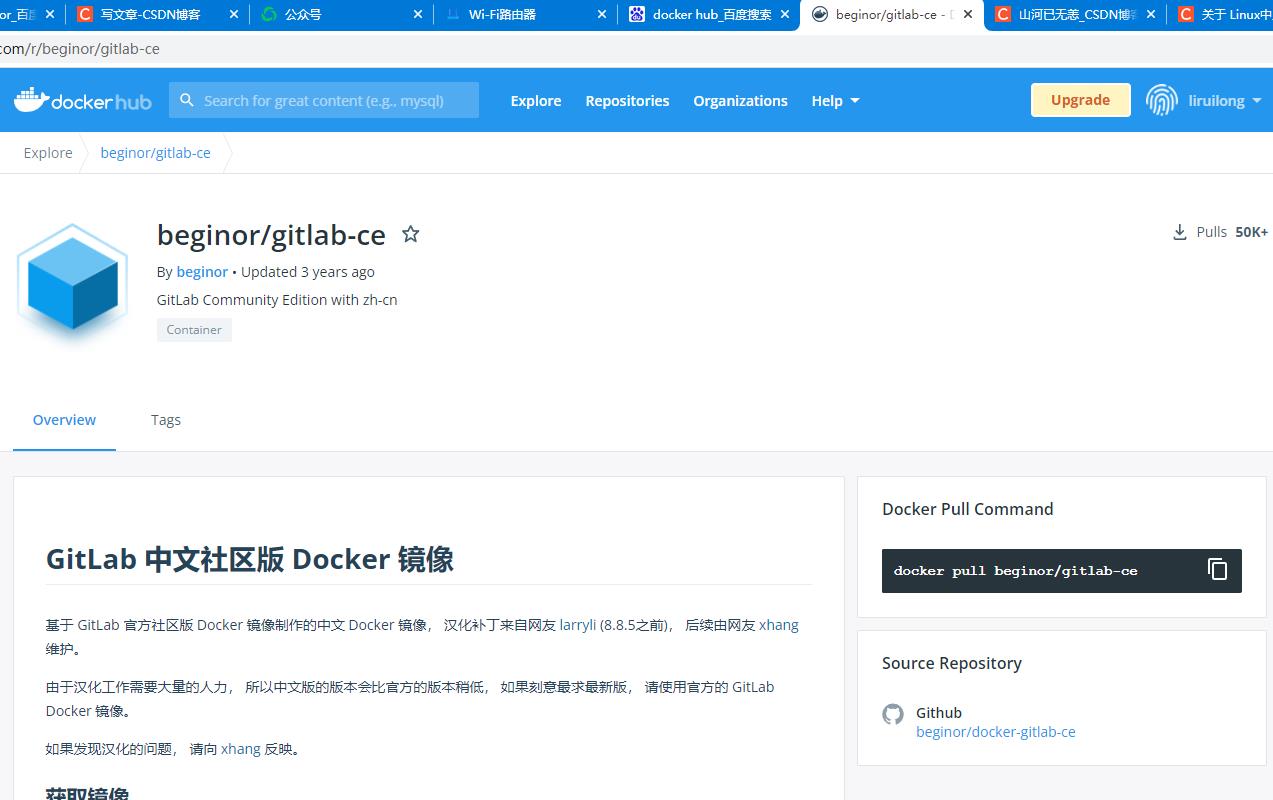
GitLab 不多介绍。一个基于Git的版本控制平台,,提供了Git仓库管理、代码审查、问题跟踪、活动反馈和wiki,当然同时也提供了
┌──[root@liruilongs.github.io]-[~]
└─$ docker pull beginor/gitlab-ce
| – |
|---|
 |
创建共享卷目录
┌──[root@liruilongs.github.io]-[~]
└─$ mkdir -p /data/gitlab/etc/ /data/gitlab/log /data/gitlab/data
┌──[root@liruilongs.github.io]-[~]
└─$ chmod 777 /data/gitlab/etc/ /data/gitlab/log /data/gitlab/data
创建 gitlab 容器
┌──[root@liruilongs.github.io]-[~]
└─$ docker run -itd --name=gitlab --restart=always --privileged=true   -p 8443:443  -p 80:80 -p 222:22 -v  /data/gitlab/etc:/etc/gitlab -v  /data/gitlab/log:/var/log/gitlab -v  /data/gitlab/data:/var/opt/gitlab  beginor/gitlab-ce
acc95b2896e8475915275d5eb77c7e63f63c31536432b68508f2f216d4fec634
┌──[root@liruilongs.github.io]-[~]
└─$ docker ps
CONTAINER ID   IMAGE               COMMAND             CREATED          STATUS                             PORTS                                                                                                             NAMES
acc95b2896e8   beginor/gitlab-ce   "/assets/wrapper"   53 seconds ago   Up 51 seconds (health: starting)   0.0.0.0:80->80/tcp, :::80->80/tcp, 0.0.0.0:222->22/tcp, :::222->22/tcp, 0.0.0.0:8443->443/tcp, :::8443->443/tcp   gitlab
┌──[root@liruilongs.github.io]-[~]
└─$
┌──[root@liruilongs.github.io]-[~]
└─$#
切记:这里的端口要设置成80,要不push项目会提示没有报错,如果宿主机端口被占用,需要把这个端口腾出来
关闭容器修改配置文件
┌──[root@liruilongs.github.io]-[~]
└─$ docker stop gitlab
gitlab
external_url 'http://192.168.26.55’
┌──[root@liruilongs.github.io]-[~]
└─$ cat /data/gitlab/etc/gitlab.rb | grep external_url
##! For more details on configuring external_url see:
# external_url 'GENERATED_EXTERNAL_URL'
# registry_external_url 'https://registry.gitlab.example.com'
# pages_external_url "http://pages.example.com/"
# gitlab_pages['artifacts_server_url'] = nil # Defaults to external_url + '/api/v4'
# mattermost_external_url 'http://mattermost.example.com'
┌──[root@liruilongs.github.io]-[~]
└─$ sed -i "/external_url 'GENERATED_EXTERNAL_URL'/a external_url\\t'http://192.168.26.55' "  /data/gitlab/etc/gitlab.rb
┌──[root@liruilongs.github.io]-[~]
└─$ cat /data/gitlab/etc/gitlab.rb | grep external_url
##! For more details on configuring external_url see:
# external_url 'GENERATED_EXTERNAL_URL'
external_url    'http://192.168.26.55'
# registry_external_url 'https://registry.gitlab.example.com'
# pages_external_url "http://pages.example.com/"
# gitlab_pages['artifacts_server_url'] = nil # Defaults to external_url + '/api/v4'
# mattermost_external_url 'http://mattermost.example.com'
┌──[root@liruilongs.github.io]-[~]
└─$
gitlab_rails[‘gitlab_ssh_host’] = '192.168.26.55’
┌──[root@liruilongs.github.io]-[~]
└─$ cat /data/gitlab/etc/gitlab.rb | grep gitlab_ssh_host
# gitlab_rails['gitlab_ssh_host'] = 'ssh.host_example.com'
┌──[root@liruilongs.github.io]-[~]
└─$ sed -i "/gitlab_ssh_host/a gitlab_rails['gitlab_ssh_host'] = '192.168.26.55' "  /data/gitlab/etc/gitlab.rb
┌──[root@liruilongs.github.io]-[~]
└─$ cat /data/gitlab/etc/gitlab.rb | grep gitlab_ssh_host
# gitlab_rails['gitlab_ssh_host'] = 'ssh.host_example.com'
gitlab_rails['gitlab_ssh_host'] = '192.168.26.55'
┌──[root@liruilongs.github.io]-[~]
└─$
gitlab_rails[gitlab_shell_ssh_port] = 222
┌──[root@liruilongs.github.io]-[~]
└─$ cat /data/gitlab/etc/gitlab.rb | grep gitlab_shell_ssh
# gitlab_rails['gitlab_shell_ssh_port'] = 22
┌──[root@liruilongs.github.io]-[~]
└─$ sed -i "/gitlab_shell_ssh_port/a gitlab_rails['gitlab_shell_ssh_port'] = 222" /data/gitlab/etc/gitlab.rb
┌──[root@liruilongs.github.io]-[~]
└─$ cat /data/gitlab/etc/gitlab.rb | grep gitlab_shell_ssh
# gitlab_rails['gitlab_shell_ssh_port'] = 22
gitlab_rails[gitlab_shell_ssh_port] = 222
┌──[root@liruilongs.github.io]-[~]
└─$
┌──[root@liruilongs.github.io]-[~]
└─$ vim /data/gitlab/data/gitlab-rails/etc/gitlab.yml
┌──[root@liruilongs.github.io]-[~]
└─$
##############################
 gitlab:
    ## Web server settings (note: host is the FQDN, do not include http://)
    host: 192.168.26.55
    port: 80
    https: false
修改完配置文件之后。直接启动容器
┌──[root@liruilongs.github.io]-[~]
└─$ docker start gitlab
| – |
|---|
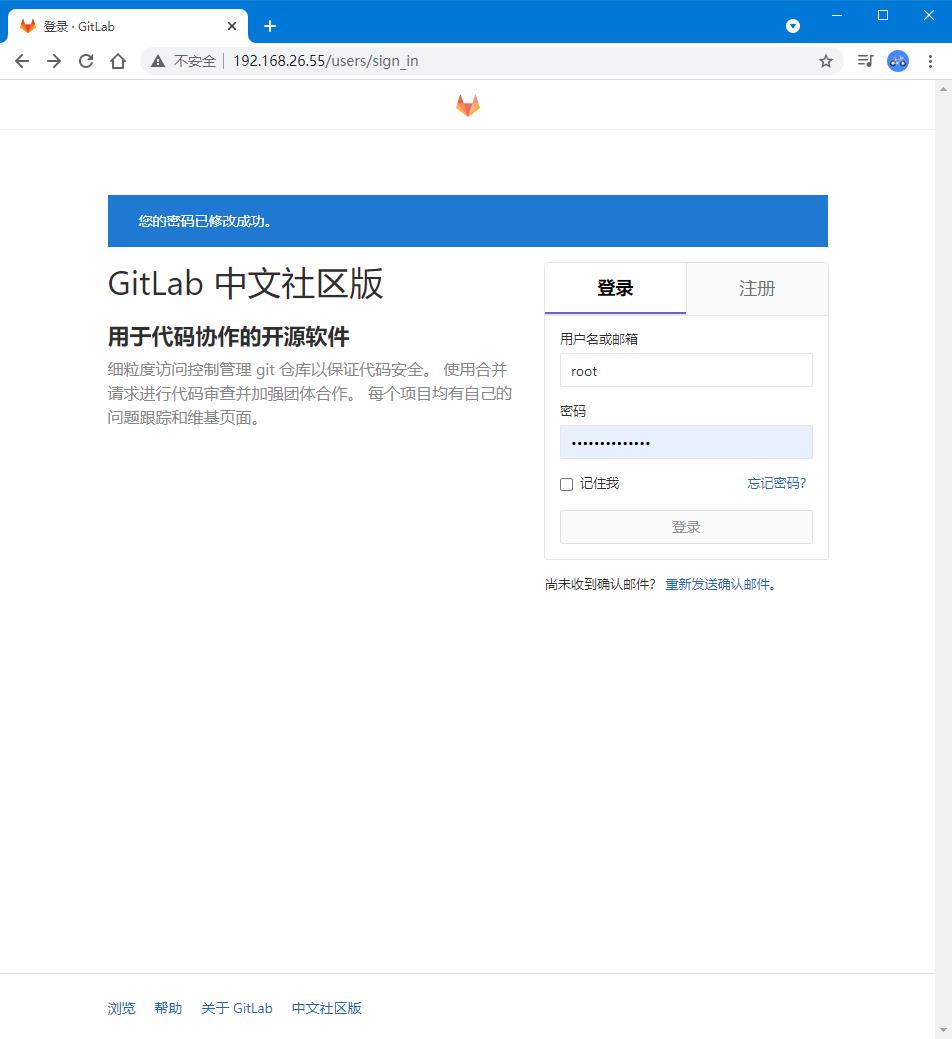
在宿主机所在的物理机访问,http://192.168.26.55/ ,会自动跳转到修改密码(root用户),如果密码设置的没有满足一定的复杂性,则会报500,需要从新设置 |
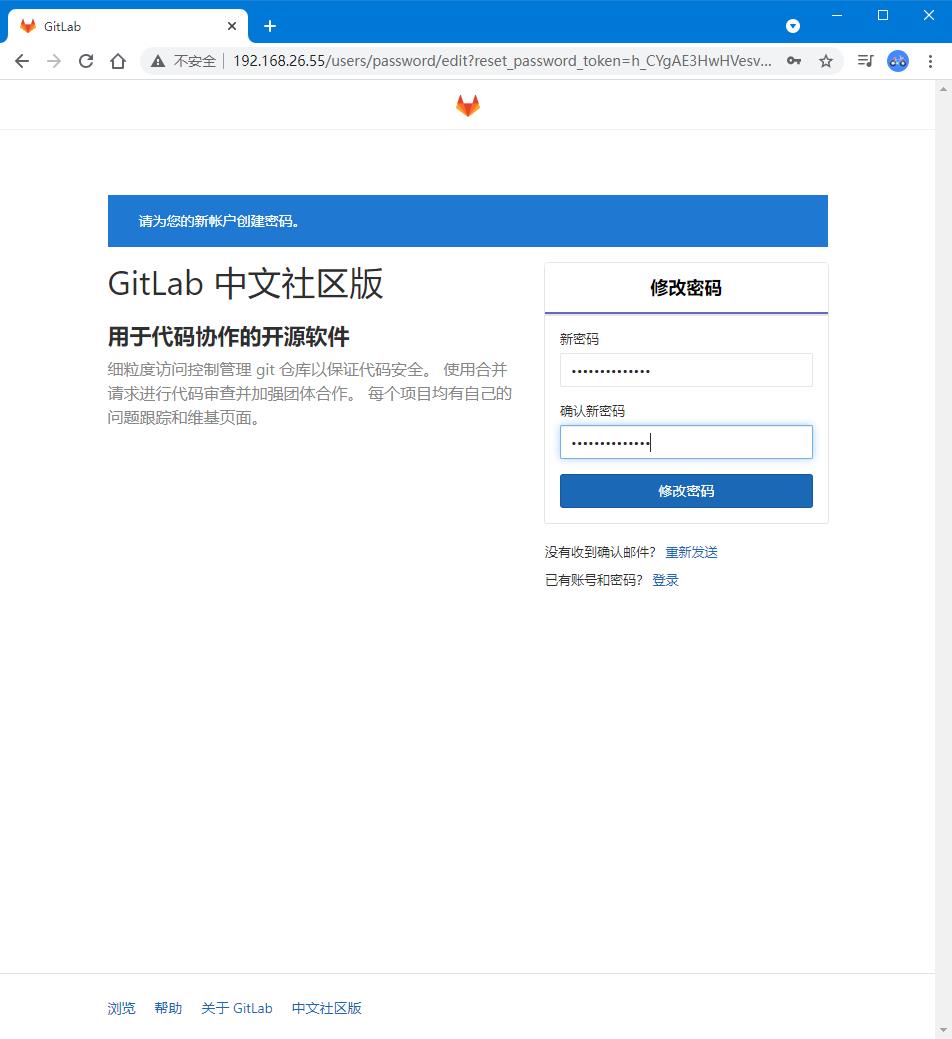 |
 |
| 登录进入仪表盘 |
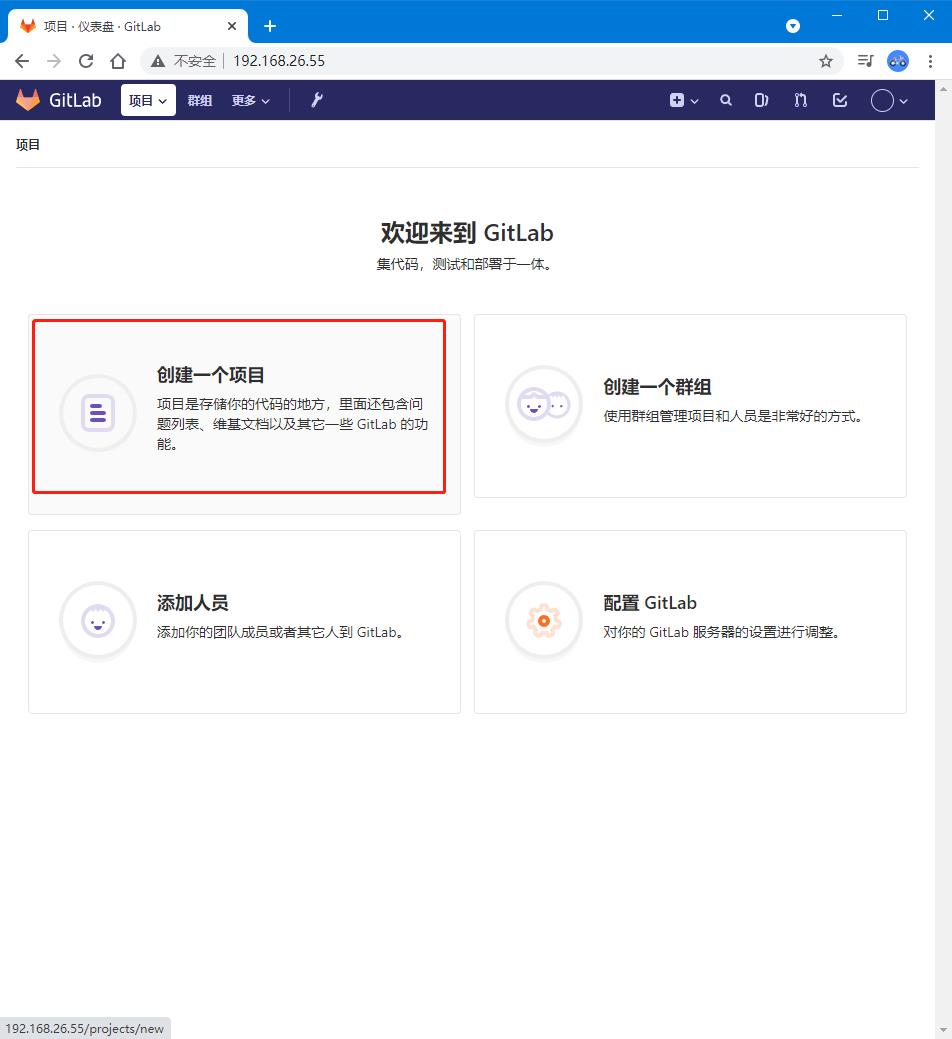 |
 |
 |
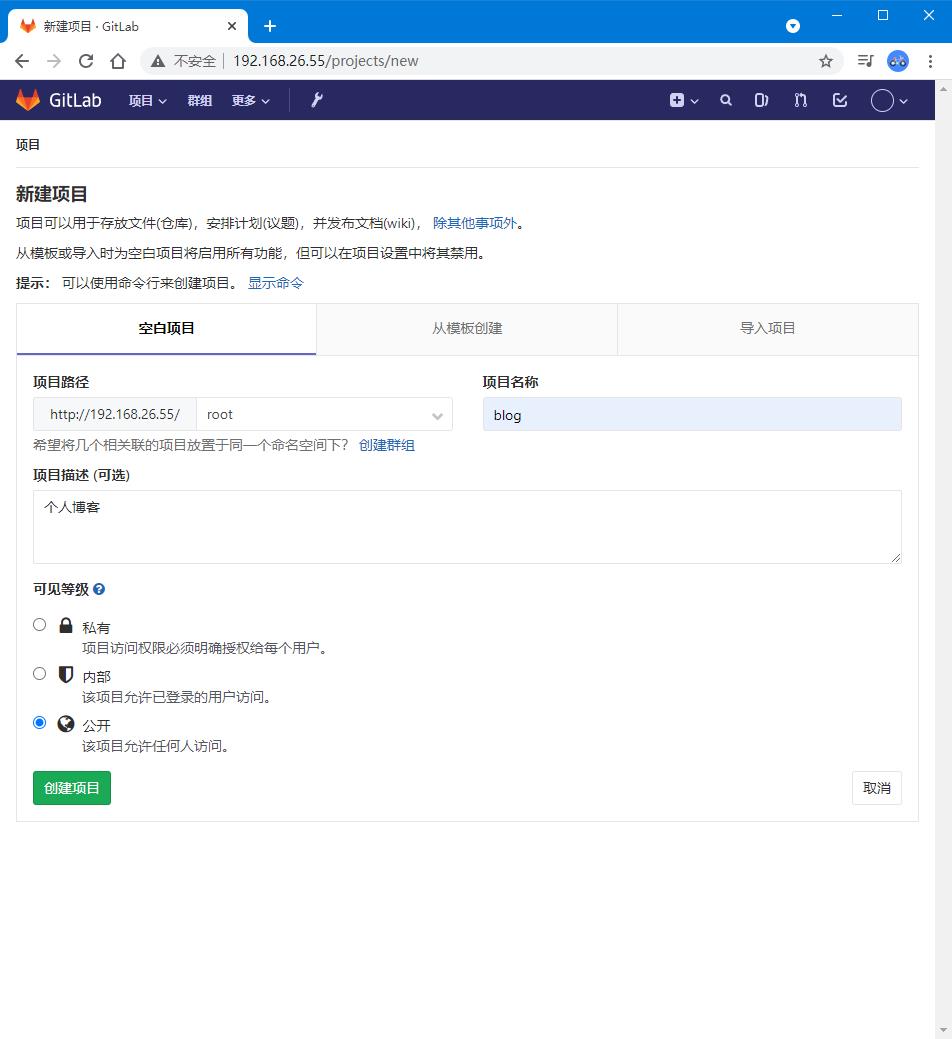
| 然后我们简单测试一下,push一个项目上去,这里的项目是一个基于hexo的博客系统 |
 |
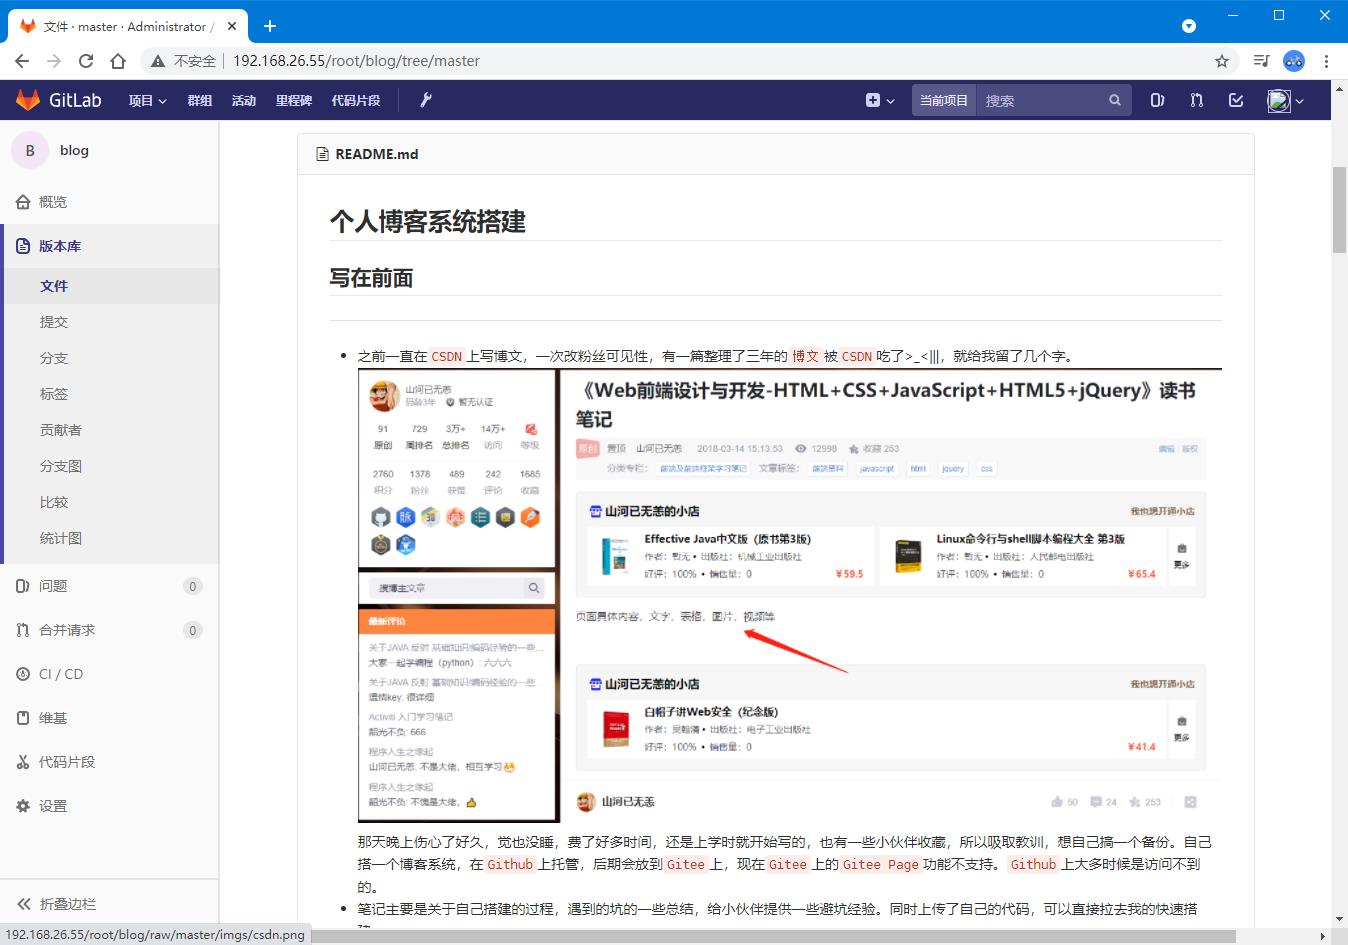
| 项目成功上传Gitlab |
 |
 |
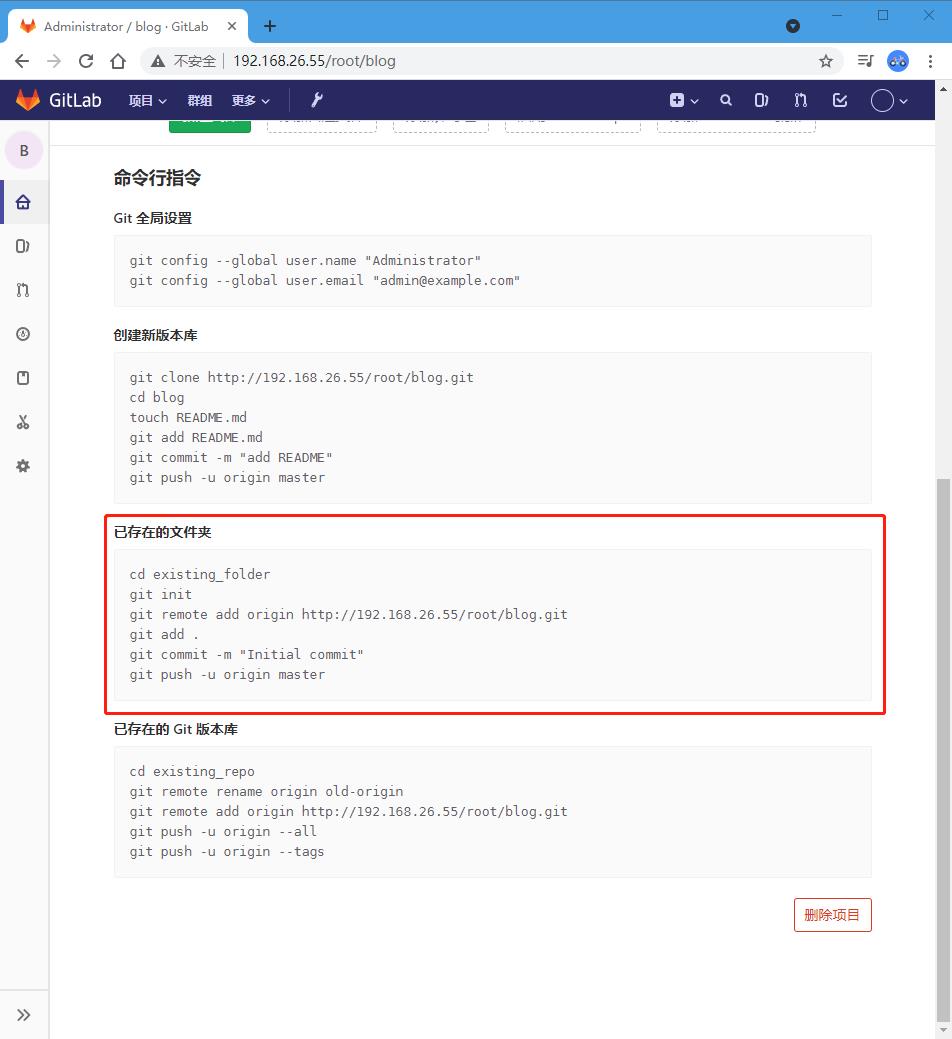
相关的git命令
PS F:\\blogger> git init
Initialized empty Git repository in F:/blogger/.git/
PS F:\\blogger> git config --global user.name "Administrator"
PS F:\\blogger> git config --global user.email "admin@example.com"
PS F:\\blogger> git remote add origin http://192.168.26.55/root/blog.git
PS F:\\blogger> git add .
PS F:\\blogger> git commit -m "Initial commit"
PS F:\\blogger> git push -u origin master
Enumerating objects: 322, done.
Counting objects: 100% (322/322), done.
Delta compression using up to 8 threads
Compressing objects: 100% (302/302), done.
Writing objects: 100% (322/322), 11.31 MiB | 9.22 MiB/s, done.
Total 322 (delta 24), reused 0 (delta 0)
remote: Resolving deltas: 100% (24/24), done.
To http://192.168.26.55/root/blog.git
 * [new branch]      master -> master
Branch 'master' set up to track remote branch 'master' from 'origin'.
PS F:\\blogger>
2.安装配置远程镜像仓库harbor
下面我们要配置私有的docker镜像仓库,用到的机器为:
操作服务器:vms56.liruilongs.github.io:192.168.26.56
这里仓库我们选择harbor,因为有web页面,当然也可以使用 registry
harbor的配置
| harbor的安装使用步骤 |
|---|
| 安装并启动docker并安装docker-compose |
| 上传harbor的离线包 |
| 导入harbor的镜像 |
| 编辑harbor.yml |
| 修改hostname 为自己的主机名,不用证书需要注释掉https |
| harbor_admin_password 登录密码 |
| 安装compose |
| 运行脚本 ./install.sh |
| 在浏览器里输入IP访问 |
| docker login IP --家目录下会有一个.docker文件夹 |
下面我们开始安装
首先需要设置selinux、防火墙
┌──[root@vms56.liruilongs.github.io]-[~]
└─#getenforce
Disabled
┌──[root@vms56.liruilongs.github.io]-[~]
└─#systemctl disable firewalld.service --now
Removed symlink /etc/systemd/system/multi-user.target.wants/firewalld.service.
Removed symlink /etc/systemd/system/dbus-org.fedoraproject.FirewallD1.service.
安装并启动docker并安装docker-compose,关于docker-compose,这里不用了解太多,一个轻量的docker编排工具
┌──[root@vms56.liruilongs.github.io]-[~]
└─#yum install -y docker-ce
┌──[root@vms56.liruilongs.github.io]-[~]
└─#yum install -y docker-compose
解压harbor 安装包:harbor-offline-installer-v2.0.6.tgz,导入相关镜像
┌──[root@vms56.liruilongs.github.io]-[/]
└─#ls
bin   dev  harbor-offline-installer-v2.0.6.tgz  lib    machine-id  mnt  proc  run   srv  tmp  var
boot  etc  home                                 lib64  media       opt  root  sbin  sys  usr
┌──[root@vms56.liruilongs.github.io]-[/]
└─#tar zxvf harbor-offline-installer-v2.0.6.tgz
harbor/harbor.v2.0.6.tar.gz
harbor/prepare
harbor/LICENSE
harbor/install.sh
harbor/common.sh
harbor/harbor.yml.tmpl
┌──[root@vms56.liruilongs.github.io]-[/]
└─#docker load -i harbor/harbor.v2.0.6.tar.gz
修改配置文件
┌──[root@vms56.liruilongs.github.io]-[/]
└─#cd  harbor/
┌──[root@vms56.liruilongs.github.io]-[/harbor]
└─#ls
common.sh  harbor.v2.0.6.tar.gz  harbor.yml.tmpl  install.sh  LICENSE  prepare
┌──[root@vms56.liruilongs.github.io]-[/harbor]
└─#cp harbor.yml.tmpl harbor.yml
┌──[root@vms56.liruilongs.github.io]-[/harbor]
└─#ls
common.sh  harbor.v2.0.6.tar.gz  harbor.yml  harbor.yml.tmpl  install.sh  LICENSE  prepare
┌──[root@vms56.liruilongs.github.io]-[/harbor]
└─#vim harbor.yml
┌──[root@vms56.liruilongs.github.io]-[/harbor]
└─#
harbor.yml:设置IP和用户名密码
  4 # DO NOT use localhost or 127.0.0.1, because Harbor needs to be accessed by external clients.
  5 hostname: 192.168.26.56
  6
  7 # http related config
  .......
  12 # https related config
  13 #https:
  14   # https port for harbor, default is 443
  15 #  port: 443
  16   # The path of cert and key files for nginx
  17 #  certificate: /your/certificate/path
  18 #  private_key: /your/private/key/path
  ....
  33 # Remember Change the admin password from UI after launching Harbor.
  34 harbor_admin_password: Harbor12345
  35
  36 # Harbor DB configuration
./prepare && ./install.sh
┌──[root@vms56.liruilongs.github.io]-[/harbor]
└─#./prepare
prepare base dir is set to /harbor
WARNING:root:WARNING: HTTP protocol is insecure. Harbor will deprecate http protocol in the future. Please make sure to upgrade to https
Generated configuration file: /config/log/logrotate.conf
Generated configuration file: /config/log/rsyslog_docker.conf
Generated configuration file: /config/nginx/nginx.conf
Generated configuration file: /config/core/env
Generated configuration file: /config/core/app.conf
Generated configuration file: /config/registry/config.yml
Generated configuration file: /config/registryctl/env
Generated configuration file: /config/registryctl/config.yml
Generated configuration file: /config/db/env
Generated configuration file: /config/jobservice/env
Generated configuration file: /config/jobservice/config.yml
Generated and saved secret to file: /data/secret/keys/secretkey
Successfully called func: create_root_cert
Generated configuration file: /compose_location/docker-compose.yml
Clean up the input dir
┌──[root@vms56.liruilongs.github.io]-[/harbor]
└─#./install.sh

[Step 0]: checking if docker is installed ...

Note: docker version: 20.10.9

[Step 1]: checking docker-compose is installed ...

Note: stopping existing Harbor instance ...
Removing harbor-jobservice ... done
Removing nginx             ... done
Removing harbor-core       ... done
Removing registry          ... done
Creating harbor-log ... done
Removing harbor-portal     ... done
Removing redis             ... done
Removing network harbor_harbor

Creating registry ... done
Creating harbor-core ... done
Creating network "harbor_harbor" with the default driver
Creating nginx ... done
Creating redis ...
Creating registry ...
Creating harbor-portal ...
Creating registryctl ...
Creating harbor-db ...
Creating harbor-core ...
Creating harbor-jobservice ...
Creating nginx ...
✔ ----Harbor has been installed and started successfully.----
┌──[root@vms56.liruilongs.github.io]-[/harbor]
└─#
查看相关的镜像
┌──[root@vms56.liruilongs.github.io]-[/harbor]
└─#docker ps
CONTAINER ID   IMAGE                                COMMAND                  CREATED          STATUS
        PORTS                                   NAMES
0efcf7b83dcf   goharbor/nginx-photon:v2.0.6         "nginx -g 'daemon of…"   16 minutes ago   Up 16 minutes (healthy)   0.0.0.0:80->8080/tcp, :::80->8080/tcp   nginx
ee9d418c7cee   goharbor/harbor-jobservice:v2.0.6    "/harbor/entrypoint.…"   16 minutes ago   Up 16 minutes (healthy)                                           harbor-jobservice
6052c481dbd0   goharbor/harbor-core:v2.0.6          "/harbor/entrypoint.…"   16 minutes ago   Up 16 minutes (healthy)                                           harbor-core
001ff83b037d   goharbor/harbor-db:v2.0.6            "/docker-entrypoint.…"   17 minutes ago   Up 16 minutes (healthy)   5432/tcp                                harbor-db
2ebc81356ef1   goharbor/harbor-registryctl:v2.0.6   "/home/harbor/start.…"   17 minutes ago   Up 16 minutes (healthy)                                           registryctl
6ca721c0fa75   goharbor/harbor-portal:v2.0.6        "nginx -g 'daemon of…"   17 minutes ago   Up 16 minutes (healthy)   8080/tcp                                harbor-portal
2b06e2cf91ab   goharbor/registry-photon:v2.0.6      "/home/harbor/entryp…"   17 minutes ago   Up 16 minutes (healthy)   5000/tcp                                registry
2292a20780e2   goharbor/redis-photon:v2.0.6         "redis-server /etc/r…"   17 minutes ago   Up 16 minutes (healthy)   6379/tcp                                redis
a0e3e49cf9db   goharbor/harbor-log:v2.0.6           "/bin/sh -c /usr/loc…"   17 minutes ago   Up 17 minutes (healthy)   127.0.0.1:1514->10514/tcp               harbor-log
┌──[root@vms56.liruilongs.github.io]-[/harbor]
└─#
访问测试
| harbor |
|---|
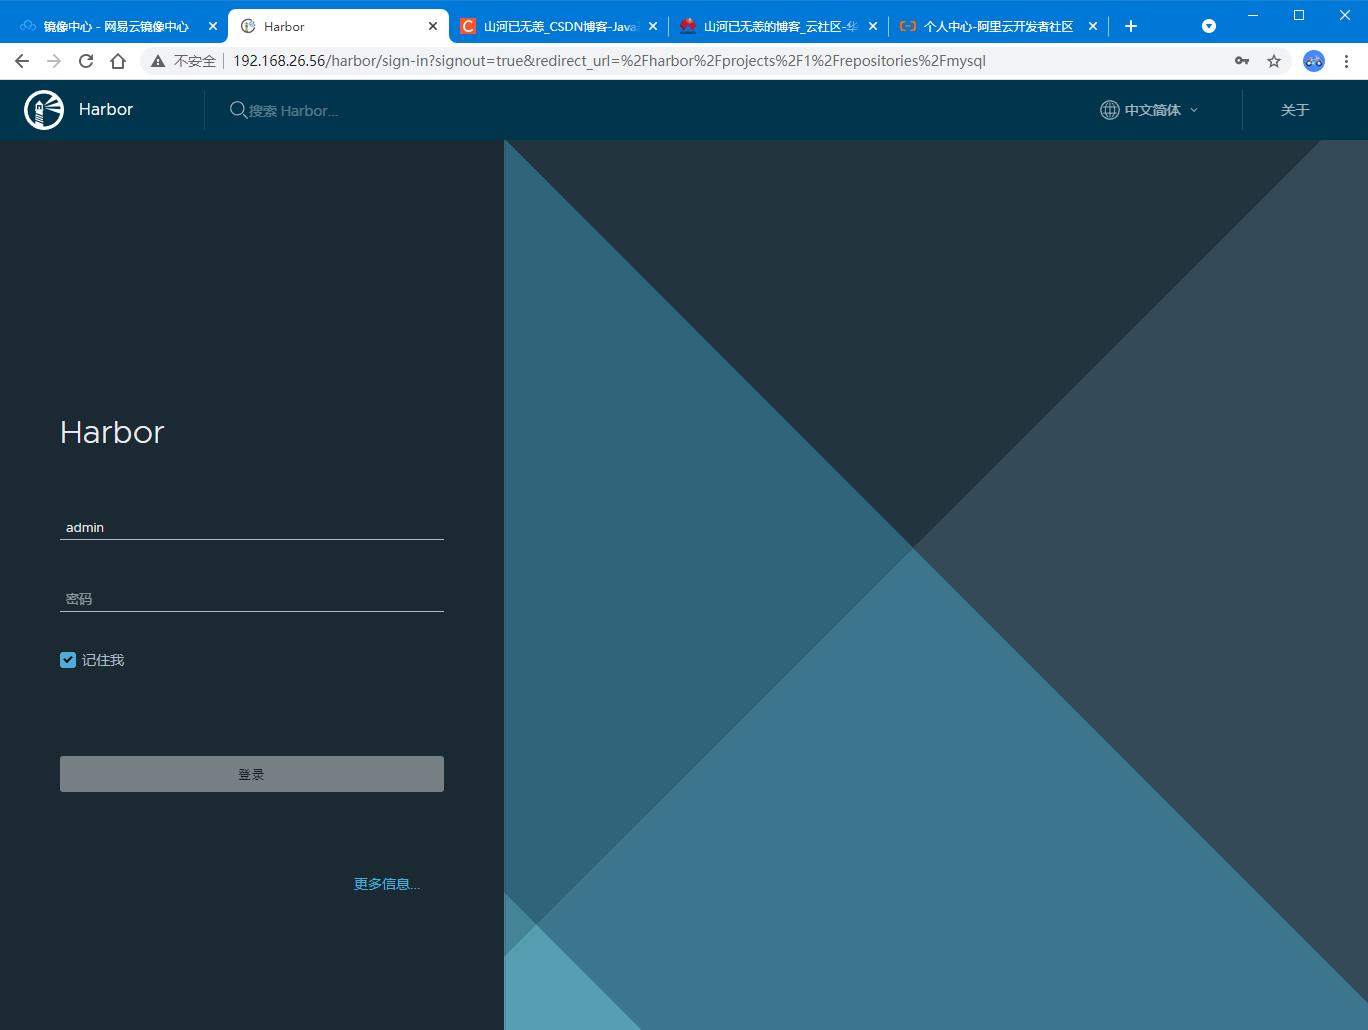 |
 |
CI服务器的docker配置
这里因为我们要在192.168.26.55(CI服务器)上push镜像到192.168.26.56(私仓),所有需要修改CI服务器上的Docker配置。添加仓库地址
操作服务器: liruilongs.github.io:192.168.26.55
┌──[root@liruilongs.github.io]-[~]
└─$ cat /etc/docker/daemon.json

  "registry-mirrors": ["https://2tefyfv7.mirror.aliyuncs.com"]

┌──[root@liruilongs.github.io]-[~]
└─$ vim /etc/docker/daemon.json
修改后的配置文件
┌──[root@liruilongs.github.io]-[~]
└─$ cat /etc/docker/daemon.json

  "registry-mirrors": ["https://2tefyfv7.mirror.aliyuncs.com"],
  "insecure-registries": ["192.168.26.56"]
加载使其生效
┌──[root@liruilongs.github.io]-[~]
└─$ systemctl daemon-reload
┌──[root@liruilongs.github.io]-[~]
└─$ systemctl restart docker
┌──[root@liruilongs.github.io]-[~]
CI机器简单测试一下
┌──[root@liruilongs.github.io]-[~]
└─$ docker login 192.168.26.56
Authenticating with existing credentials...
WARNING! Your password will be stored unencrypted in /root/.docker/config.json.
Configure a credential helper to remove this warning. See
https://docs.docker.com/engine/reference/commandline/login/#credentials-store

Login Succeeded
┌──[root@liruilongs.github.io]-[~]
└─$ docker tag busybox 192.168.26.56/demo/busybox
┌──[root@liruilongs.github.io]-[~]
└─$ docker push 192.168.26.56/demo/busybox
Using default tag: latest
The push refers to repository [192.168.26.56/demo/busybox]
cfd97936a580: Pushed
latest: digest: sha256:febcf61cd6e1ac9628f6ac14fa40836d16f3c6ddef3b303ff0321606e55ddd0b size: 527
┌──[root@liruilongs.github.io]-[~]
└─$
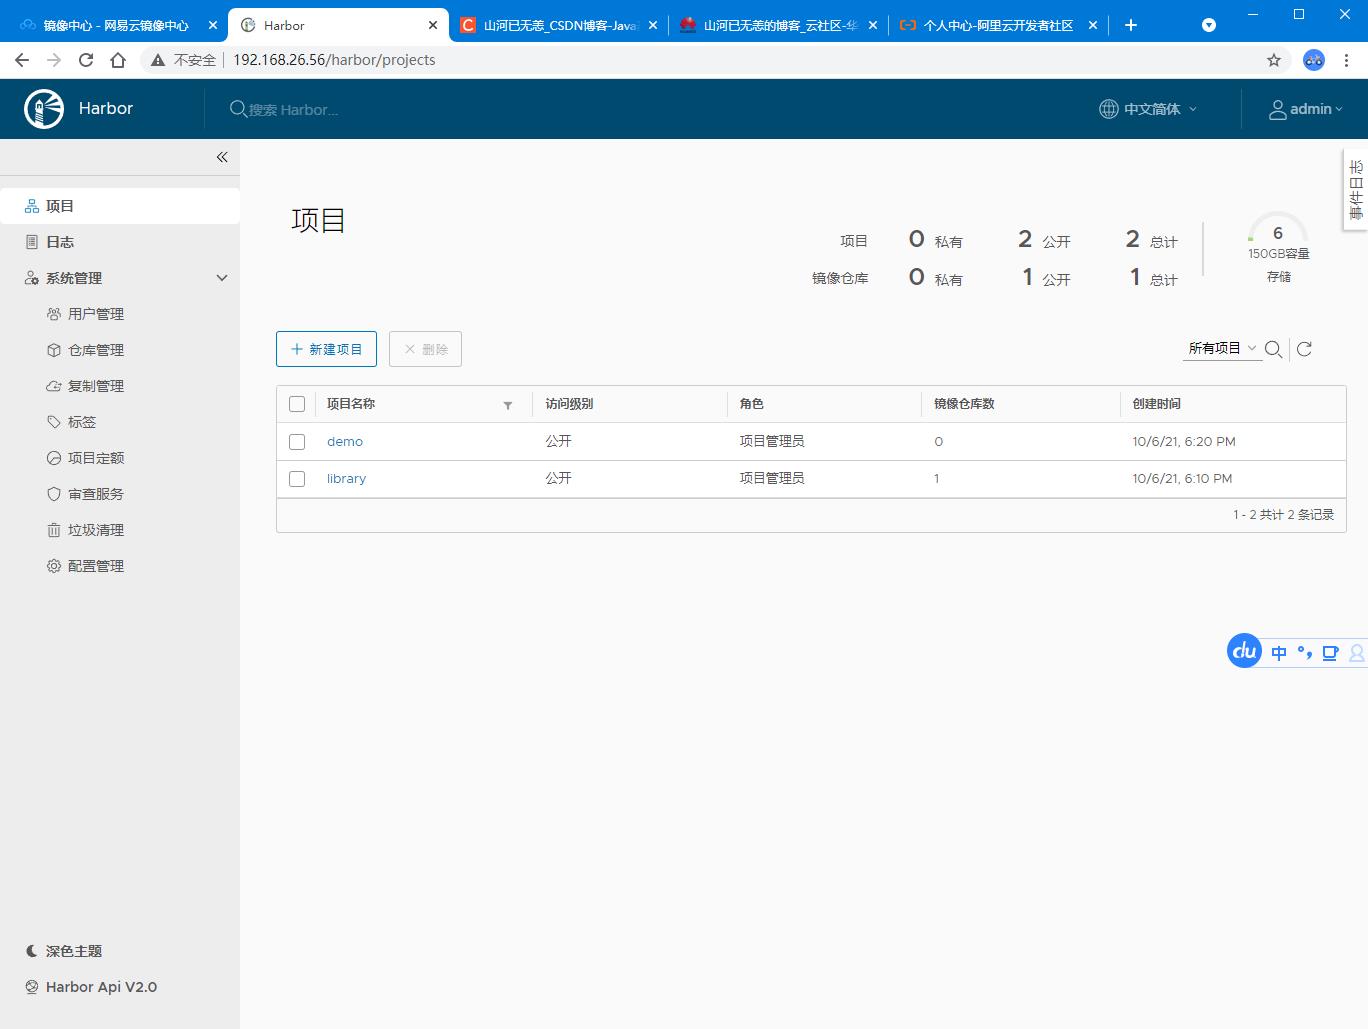
push一个镜像,可以在私仓的web页面查看
| harbor |
|---|
 |
到这里。我们配置了镜像仓库
3.安装配置jenkins
操作服务器: liruilongs.github.io:192.168.26.55
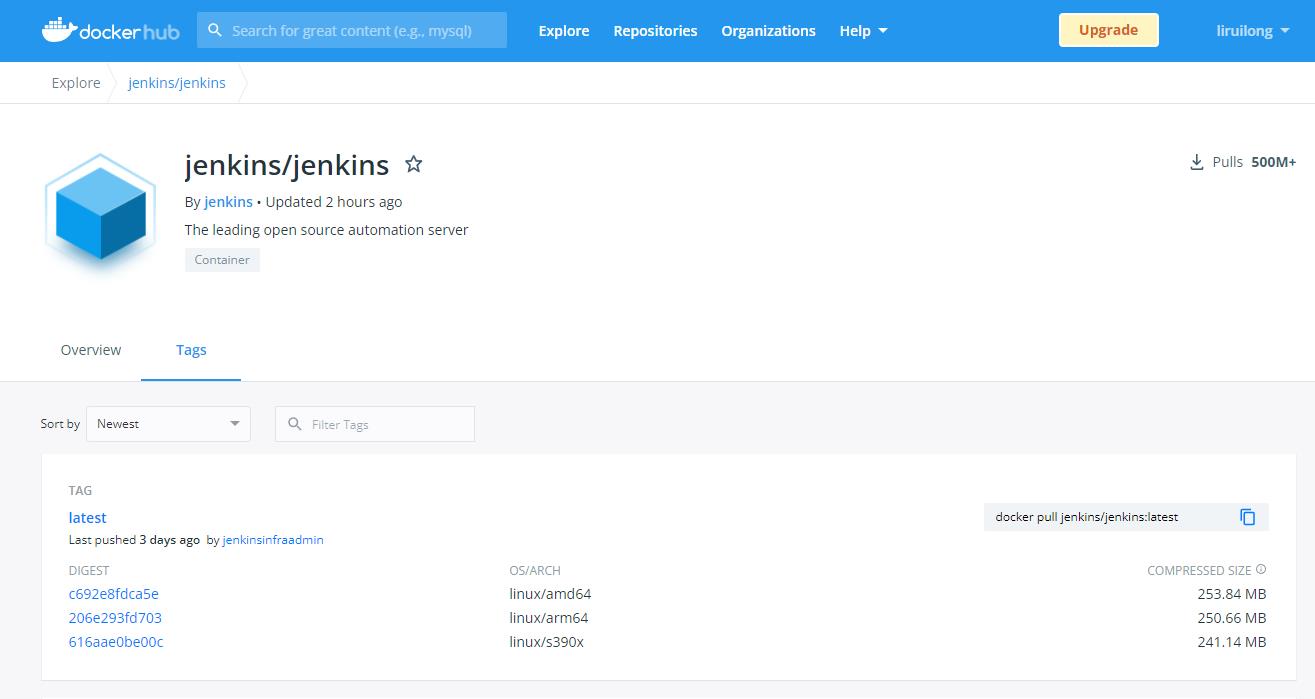
镜像jenkins拉取
┌──[root@liruilongs.github.io]-[~]
└─$ docker pull jenkins/jenkins:centos7-jdk8
。。。。。。
┌──[root@liruilongs.github.io]-[~]
└─$ docker history jenkins/jenkins:centos7-jdk8
IMAGE          CREATED       CREATED BY                                      SIZE      COMMENT
de64a05279ba   5 days ago    LABEL org.opencontainers.image.vendor=Jenkin…   0B        buildkit.dockerfile.v0
<missing>      5 days ago    COPY install-plugins.sh /usr/local/bin/insta…   10.6kB    buildkit.dockerfile.v0
。。。。。。。。。。
<missing>      5 days ago    ARG JENKINS_HOME=/var/jenkins_home              0B        buildkit.dockerfile.v0
<missing>      5 days ago    ARG agent_port=50000                            0B        buildkit.dockerfile.v0
<missing>      5 days ago    ARG http_port=8080                              0B        buildkit.dockerfile.v0
<missing>      5 days ago    ARG gid=1000                                    0B        buildkit.dockerfile.v0
<missing>      5 days ago    ARG uid=1000                                    0B        buildkit.dockerfile.v0
<missing>      5 days ago    ARG group=jenkins                               0B        buildkit.dockerfile.v0
<missing>      5 days ago    ARG user=jenkins                                0B        buildkit.dockerfile.v0
<missing>      5 days ago    RUN |5 TARGETARCH=amd64 COMMIT_SHA=0b797f024…   10.4MB    buildkit.dockerfile.v0
<missing>      5 days ago    COPY git_lfs_pub.gpg /tmp/git_lfs_pub.gpg # …   62.5kB    buildkit.dockerfile.v0
<missing>      5 days ago    ARG GIT_LFS_VERSION=3.0.1                       0B        buildkit.dockerfile.v0
<missing>      5 days ago    ARG COMMIT_SHA                                  0B        buildkit.dockerfile.v0
<missing>      5 days ago    ARG TARGETARCH                                  0B        buildkit.dockerfile.v0
<missing>      5 days ago    RUN |2 TARGETARCH=amd64 COMMIT_SHA=0b797f024…   426MB     buildkit.dockerfile.v0
<missing>      5 days ago    ARG COMMIT_SHA                                  0B        buildkit.dockerfile.v0
<missing>      5 days ago    ARG TARGETARCH                                  0B        buildkit.dockerfile.v0
<missing>      5 days ago    ENV LANG=en_US.UTF-8 LANGUAGE=en_US:en LC_AL…   0B        buildkit.dockerfile.v0
<missing>      7 weeks ago   /bin/sh -c #(nop)  CMD ["/bin/bash"]            0B
<missing>      7 weeks ago   /bin/sh -c #(nop)  LABEL org.label-schema.sc…   0B
<missing>      7 weeks ago   /bin/sh -c #(nop) ADD file:b3ebbe8bd304723d4…   204MB
┌──[root@liruilongs.github.io]-[~]
└─$
| – |
|---|
 |
创建共享卷,修改所属组和用户,和容器里相同
这里为什么要改成 1000,是因为容器里是以 jenkins 用户的身份去读写数据,而在容器里jenkins 的 uid 是 1000,
┌──[root@liruilongs.github.io]-[~]
└─$ mkdir /jenkins && chown 1000:1000 /jenkins
┌──[root@liruilongs.github.io]-[~]
└─$ # 这里为什么要改成 1000,是因为容器里是以 jenkins 用户的身份去读写数据,而在容器里jenkins 的 uid 是 1000,
创建创建 jenkins 容器
┌──[root@liruilongs.github.io]-[~]
└─$ cat jenkins.docker.sh
docker run -dit -p 8080:8080 -p 50000:50000 --name jenkins  --privileged=true --restart=always -v /jenkins:/var/jenkins_home jenkins/jenkins:centos7-jdk8
┌──[root@liruilongs.github.io]-[~]
└─$ docker run -dit -p 8080:8080 -p 50000:50000 --name jenkins  --privileged=true --restart=always -v /jenkins:/var/jenkins_home jenkins/jenkins:centos7-jdk8
39afa098c8a56973ce1559d374b058b8e6091175b5b783d613a9f2e356827684
┌──[root@liruilongs.github.io]-[~]
└─$ docker ps | grep jenkins
39afa098c8a5   jenkins/jenkins:centos7-jdk8   "/sbin/tini -- /usr/…"   3 minutes ago       Up 2 minutes                 0.0.0.0:8080->8080/tcp, :::8080->8080/tcp, 0.0.0.0:50000->50000/tcp, :::50000->50000/tcp                          jenkins
| 访问jenkins |
|---|
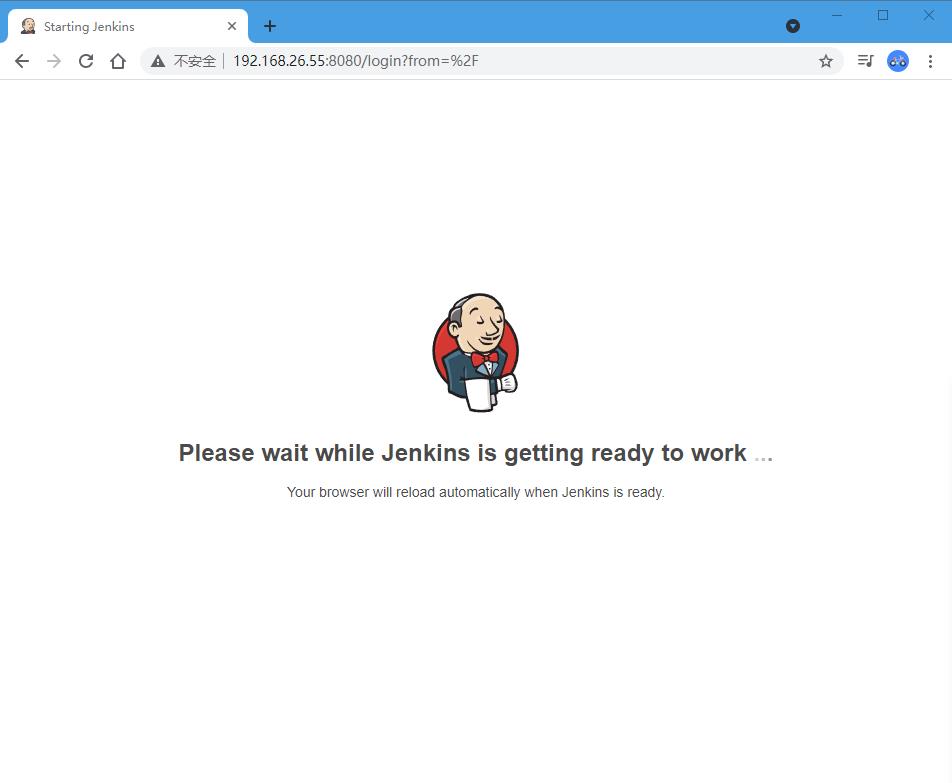 |
| 先打开浏览器打开这个页面,让其初始化一下,直到看到界面 |
 |
| 因为要修改 jenkins 的配置,所以此时关闭 jenkins 容器 |
┌──[root@liruilongs.github.io]-[~]
└─$ docker stop jenkins
jenkins
更换国内清华大学镜像,Jenkins下载插件特别慢,更换国内的清华源的镜像地址会快不少
┌──[root@liruilongs.github.io]-[~]
└─$ cat /jenkins/hudson.model.UpdateCenter.xml
<?xml version='1.1' encoding='UTF-8'?>
<sites>
  <site>
    <id>default</id>
    <url>https://updates.jenkins.io/update-center.json</url>
  </site>
</sites>
┌──[root@liruilongs.github.io]-[~]
└─$
┌──[root@liruilongs.github.io]-[~]
└─$ sed -i 's#updates.jenkins.io/update-center.json#mirrors.tuna.tsinghua.edu.cn/jenkins/updates/update-center.json#g ' /jenkins/hudson.model.UpdateCenter.xml
┌──[root@liruilongs.github.io]-[~]
└─$ cat /jenkins/hudson.model.UpdateCenter.xml
<?xml version='1.1' encoding='UTF-8'?>
<sites>
<site>
以上是关于如何搭建自己的CI/CD平台:Gitlab+Jenkins+Docker+Harbor+K8s集群搭建CICD平台(持续集成部署Hexo博客Demo)的主要内容,如果未能解决你的问题,请参考以下文章
基于docker搭建Jenkins+Gitlab+Harbor+Rancher架构实现CI/CD操作