详解:MyBatis-Plus 代码生成器的使用
Posted 经理,天台风好大
tags:
篇首语:本文由小常识网(cha138.com)小编为大家整理,主要介绍了详解:MyBatis-Plus 代码生成器的使用相关的知识,希望对你有一定的参考价值。
文章目录
使用之前先了解MyBatis-Plus官方文档的介绍:
一、入门介绍:
通过了解官方文档后,实现代码生成器需要配置六大步骤:
- DataSourceConfig(数据源配置,通过该配置,指定需要生成代码的具体数据库)
- StrategyConfig(数据库表配置,通过该配置,可指定需要生成哪些表或者排除哪些表)
- PackageConfig(包名配置,通过该配置,指定生成代码的包路径)
- TemplateConfig(模板配置,可自定义代码生成的模板,实现个性化操作)
- GlobalConfig(全局策略配置)
- InjectionConfig(注入配置,通过该配置,可注入自定义参数等操作以实现个性化操作)
二、代码案例:
详细步骤(可以全程复制, 需要改动的地方会有说明)
1、引入MyBatis-Plus相关依赖(在搭建完成的springboot项目的基础上)
如果还需要自动生成Swagger相关的注解, 自行引入Swagger相关依赖即可
<!--mybatis-plus, 注意引入了此依赖就无需再引入mybatis相关依赖, 否则可能冲突-->
<dependency>
    <groupId>com.baomidou</groupId>
    <artifactId>mybatis-plus-boot-starter</artifactId>
    <version>3.5.1</version>
</dependency>
<!--mybatis-plus代码生成器-->
<dependency>
    <groupId>com.baomidou</groupId>
    <artifactId>mybatis-plus-generator</artifactId>
    <version>3.3.0</version>
</dependency>
<!--默认模板引擎velocity, 还支持Freemarker、Beetl, 都需要引入依赖(使用其他引擎详情见官网)-->
<dependency>
    <groupId>org.apache.velocity</groupId>
    <artifactId>velocity-engine-core</artifactId>
    <version>2.2</version>
</dependency>
<dependency>
    <groupId>com.baomidou</groupId>
    <artifactId>mybatis-plus-extension</artifactId>
    <version>3.5.1</version>
</dependency>
<!-- 整合springfox-swagger、springfox-swagger-ui -->
<dependency>
    <groupId>io.springfox</groupId>
    <artifactId>springfox-boot-starter</artifactId>
    <version>3.0.0</version>
</dependency>
2、编写MyBatis-Plus代码生成器代码
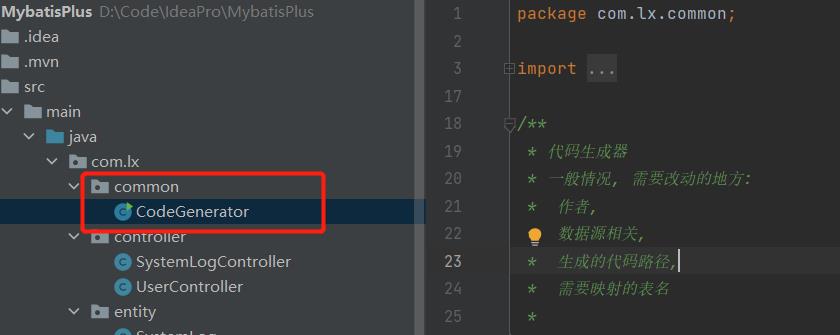
一般情况需要改动的地方已在注释中写出, 复制粘贴稍加改动即可, 其余代码配置也有较为详细的注释, 可根据需要自行修改。
package com.lx.common;

import com.baomidou.mybatisplus.annotation.DbType;
import com.baomidou.mybatisplus.annotation.FieldFill;
import com.baomidou.mybatisplus.annotation.IdType;
import com.baomidou.mybatisplus.core.toolkit.StringPool;
import com.baomidou.mybatisplus.generator.AutoGenerator;
import com.baomidou.mybatisplus.generator.InjectionConfig;
import com.baomidou.mybatisplus.generator.config.*;
import com.baomidou.mybatisplus.generator.config.po.TableFill;
import com.baomidou.mybatisplus.generator.config.po.TableInfo;
import com.baomidou.mybatisplus.generator.config.rules.DateType;
import com.baomidou.mybatisplus.generator.config.rules.NamingStrategy;

import java.util.ArrayList;
import java.util.List;

/**
 * 代码生成器
 * 一般情况, 需要改动的地方:
 *  作者,
 *  数据源相关,
 *  生成的代码路径,
 *  需要映射的表名
 *
 */
public class CodeGenerator
    public static void main(String[] args)
        // 代码生成器
        AutoGenerator mpg = new AutoGenerator();

        // 全局策略配置
        GlobalConfig gc = new GlobalConfig();
        String projectPath = System.getProperty("user.dir"); // 项目路径
        gc.setOutputDir(projectPath + "/src/main/java"); // 生成的文件路径
        gc.setAuthor("lx");//作者,开发人员
        gc.setOpen(false); // 是否打开生成的目录
        gc.setFileOverride(true); // 是否覆盖已有文件, 默认false
        gc.setServiceName("%sService"); // service 命名方式,自动生成的Service类前面会自动加前缀I, 这里( %s 为占位符)取消I前缀
        gc.setIdType(IdType.AUTO); // 指定生成的主键的ID类型
        gc.setDateType(DateType.ONLY_DATE); // 数据库中的时间类型对应的java类, 此设置表示Date类, 默认是java8的时间类
        gc.setSwagger2(true); //实体属性 Swagger2 注解,需要配置Swagger2依赖
        mpg.setGlobalConfig(gc);

        // 数据源配置,通过该配置,指定需要生成代码的具体数据库
        DataSourceConfig dsc = new DataSourceConfig();
        dsc.setUrl("jdbc:mysql://127.0.0.1:3306/test1?serverTimezone=GMT");//驱动连接的URL
        dsc.setDriverName("com.mysql.cj.jdbc.Driver");//驱动名称
        dsc.setUsername("root");//数据库连接用户名
        dsc.setPassword("root");//数据库连接密码
        dsc.setDbType(DbType.MYSQL); // 设置数据库连接的类型
        mpg.setDataSource(dsc);

        // 包名配置,通过该配置,指定生成代码的包路径
        PackageConfig pc = new PackageConfig();
        pc.setModuleName(null); // 模块路径(子路径)
        pc.setParent("com.lx"); // 生成的代码的父路径
        pc.setEntity("entity"); // 生成实体类所在的包名
        pc.setMapper("mapper");
        pc.setService("service");
        pc.setController("controller");
        mpg.setPackageInfo(pc);

        // 数据库表配置,通过该配置,可指定需要生成哪些表或者排除哪些表
        StrategyConfig strategy = new StrategyConfig();
        strategy.setInclude("user"); // 要生成的表在数据库中的名称, 每张表名以英文逗号隔开,例: ("user","system_log")
        strategy.setNaming(NamingStrategy.underline_to_camel); // 表名转换方式: 数据库中的下划线转成java驼峰
        strategy.setColumnNaming(NamingStrategy.underline_to_camel); // 列名转换方式
        strategy.setEntityLombokModel(true); // 自动加上lombok注解
        strategy.setRestControllerStyle(true); // 加上@RestController注解
        strategy.setEntityTableFieldAnnotationEnable(true); // 为实体类的类上加@TableName, 所有字段上加注解
        strategy.setControllerMappingHyphenStyle(false); // RequestMapping种的驼峰是否转成用"-"连接, 默认是false
//        strategy.setTablePrefix("tp_"); // 按照表名生成实体类时去掉表名前面的"tp_"前缀
        // strategy.setLogicDeleteFieldName("deleted"); // 数据库中表示逻辑删除的字段名
        // strategy.setVersionFieldName("version"); // 数据库中表示乐观锁版本号的字段名

        // 自动填充配置: 插入时间, 最后一次更新时间
        ArrayList<TableFill> tableFills = new ArrayList<>();
        TableFill gmtCreate = new TableFill("created", FieldFill.INSERT); // 插入时改变的时间纪录, created为表的字段名
        TableFill gmtModified = new TableFill("updated", FieldFill.INSERT_UPDATE); // 最后一次更新时updated表字段的时间记录
        tableFills.add(gmtCreate);
        tableFills.add(gmtModified);
        strategy.setTableFillList(tableFills);

        mpg.setStrategy(strategy);

        // 注入配置,通过该配置,可注入自定义参数等操作以实现个性化操作(自定义配置, 将Mapper.xml文件生成到resources目录下)
        InjectionConfig cfg = new InjectionConfig()
            @Override
            public void initMap()
                // to do nothing

        ;

        // 如果模板引擎是 velocity
        String templatePath = "/templates/mapper.xml.vm";

        // 自定义输出配置
        List<FileOutConfig> focList = new ArrayList<>();
        // 自定义配置会被优先输出
        focList.add(new FileOutConfig(templatePath)
            @Override
            public String outputFile(TableInfo tableInfo)
                // 自定义输出文件名 , 如果你 Entity 设置了前后缀、此处注意 xml 的名称会跟着发生变化!!
                return projectPath + "/src/main/resources/mapper/"
                        + "/" + tableInfo.getEntityName()
                        + "Mapper"
                        + StringPool.DOT_XML;

        );

        cfg.setFileOutConfigList(focList);
        mpg.setCfg(cfg);

        // 模板配置,可自定义代码生成的模板,实现个性化操作
        TemplateConfig templateConfig = new TemplateConfig();
        templateConfig.setXml(null);
        mpg.setTemplate(templateConfig);

        mpg.execute();//执行
三、效果演示:
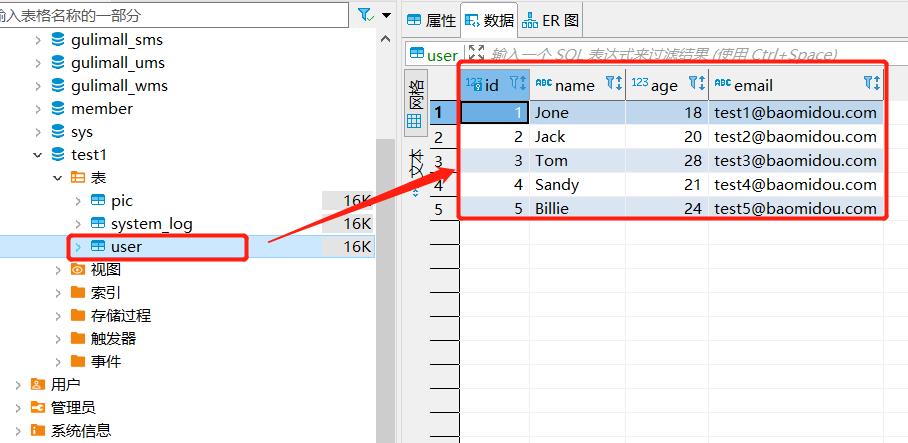
- 创建1张测试表: user

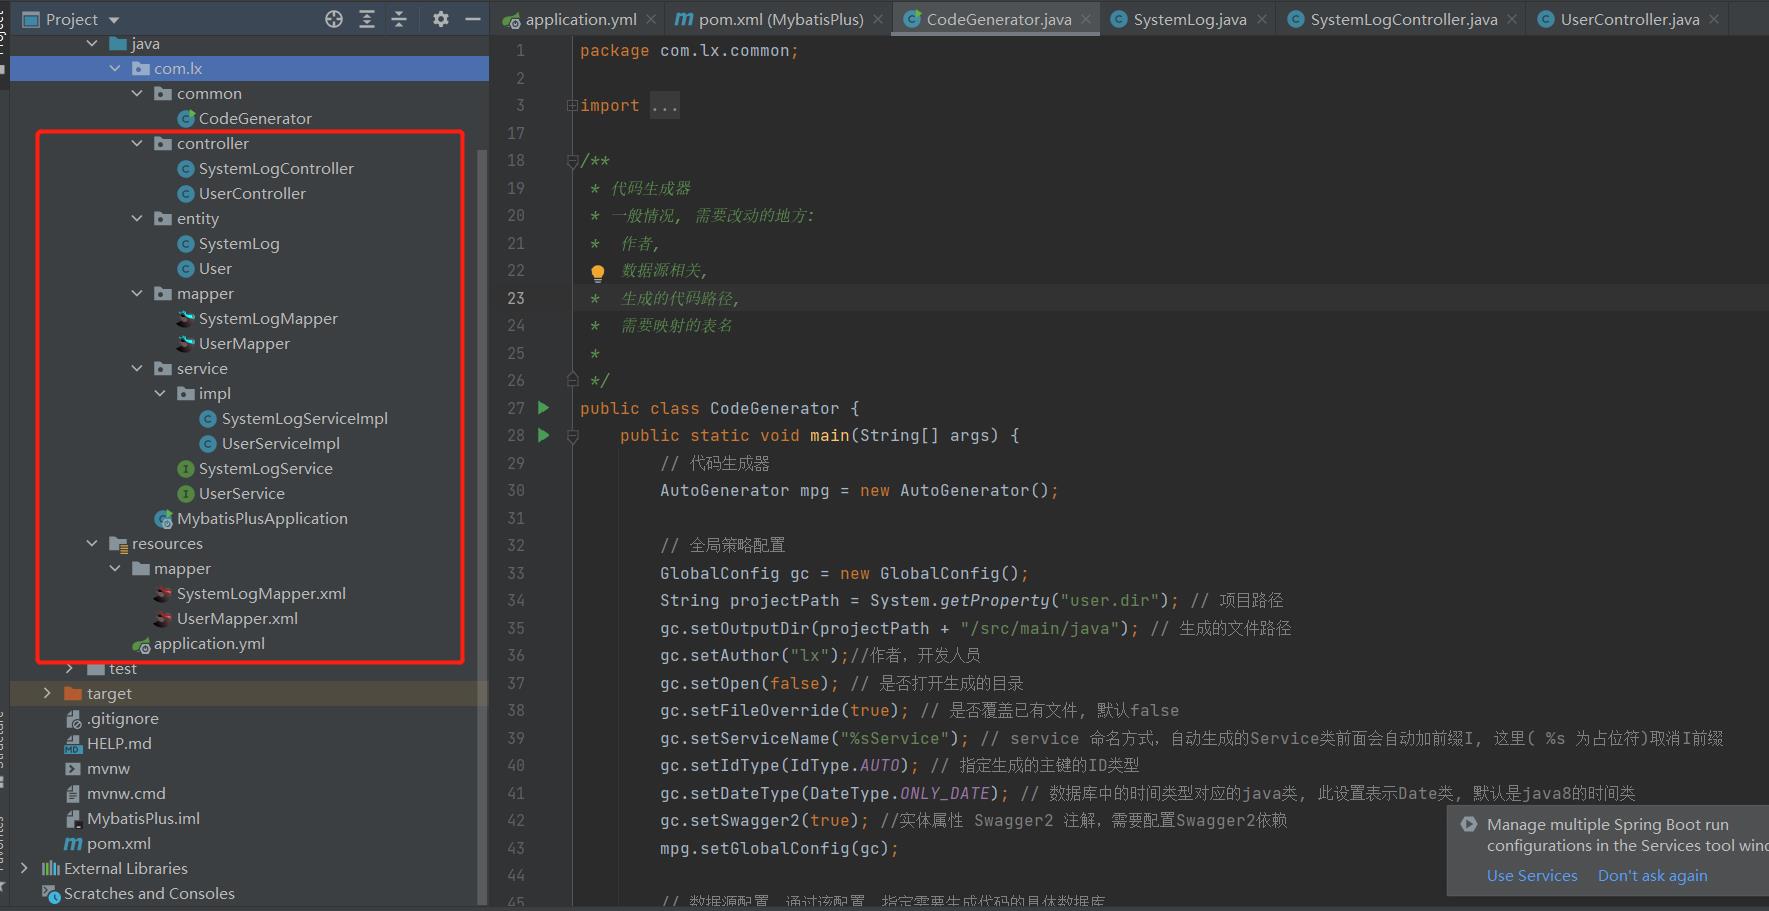
- 执行MyBatis-Plus代码生成器的代码

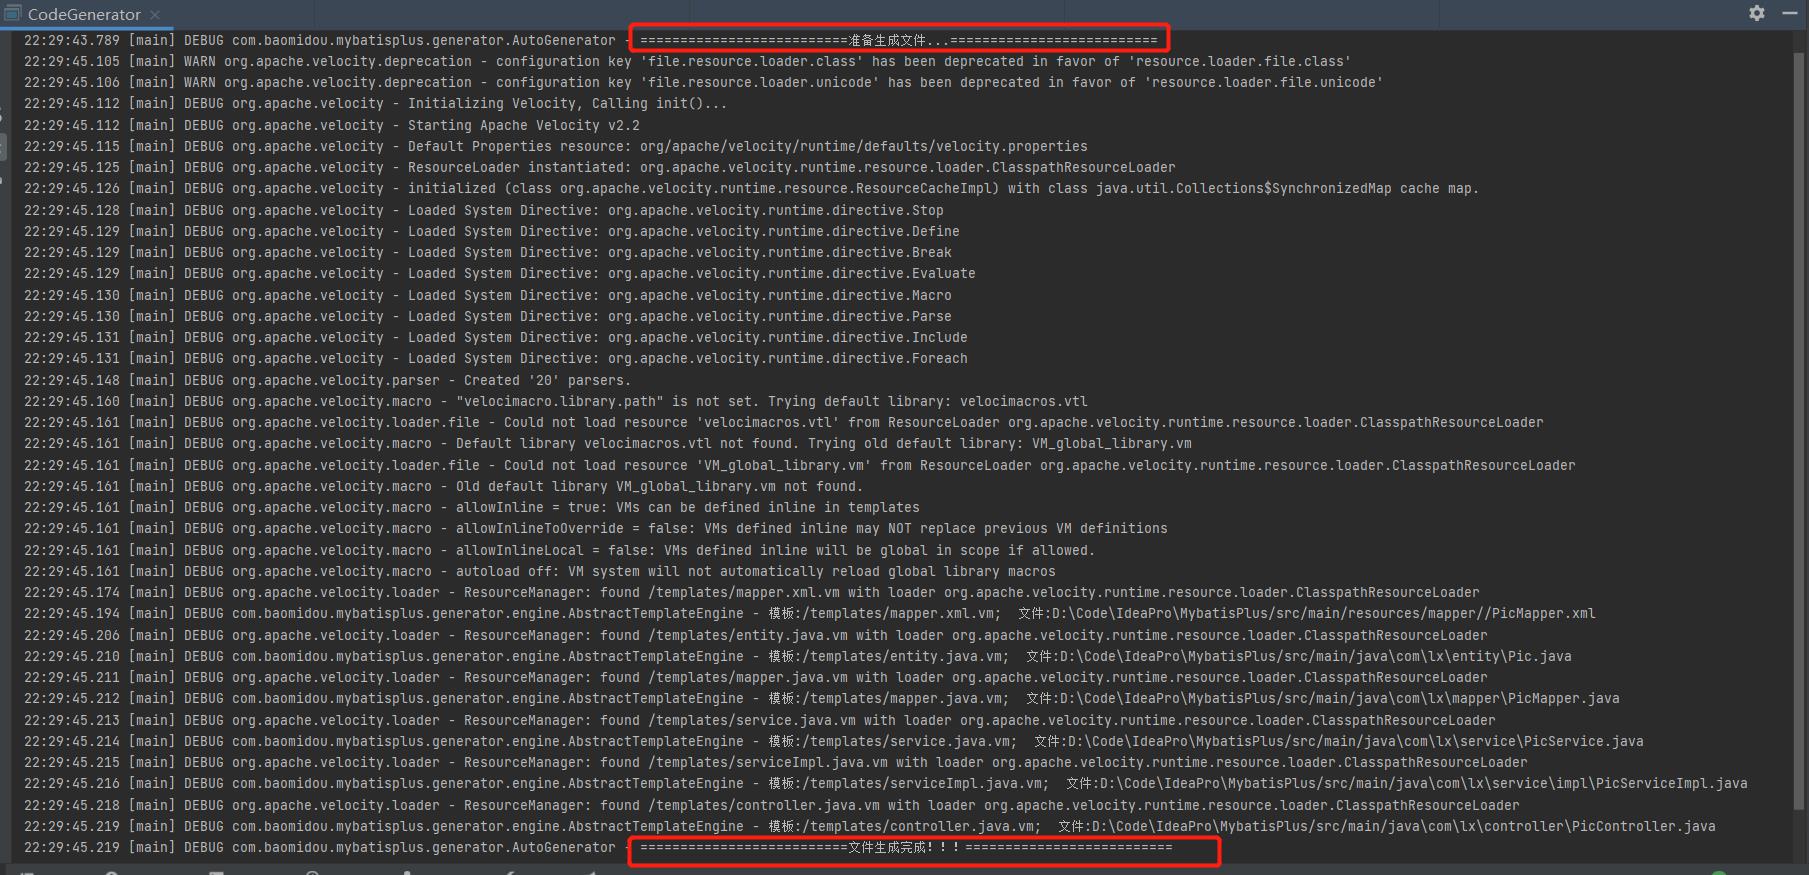
- 代码生成完成


以上是关于详解:MyBatis-Plus 代码生成器的使用的主要内容,如果未能解决你的问题,请参考以下文章