Linux服务器部署SmartChart低代码平台
Posted Mr.zhou_Zxy
tags:
篇首语:本文由小常识网(cha138.com)小编为大家整理,主要介绍了Linux服务器部署SmartChart低代码平台相关的知识,希望对你有一定的参考价值。
服务器部署SmartChart低代码平台
1、基于了解SmartChart低代码平台项目
2.服务器安装python3.7
2.1 首先检查是否已有python环境
## 这里的python2.7.5是centos系统自带的,有些应用依赖于它,
## 所以可以另外安装python3.7,使两个版本共存
[root@zxy_master ~]# python -V
Python 2.7.5
2.2 检查gcc编译器是否安装
## 这里已经安装有,如果没有的话,请使用yum -y install gcc
[root@zxy_master ~]# gcc --version
gcc (GCC) 4.8.5 20150623 (Red Hat 4.8.5-44)
Copyright (C) 2015 Free Software Foundation, Inc.
This is free software; see the source for copying conditions.  There is NO
warranty; not even for MERCHANTABILITY or FITNESS FOR A PARTICULAR PURPOSE.
2.3 安装依赖包,根据当前应用需要安装指定依赖包
[root@zxy_master ~]# yum -y install zlib-devel bzip2-devel openssl-devel ncurses-devel sqlite-devel readline-devel tk-devel gdbm-devel db4-devel libpcap-devel xz-devel libffi-devel
2.4 下载python3.7安装包
## 可以去官网下载tgz安装包上传至服务器
## 也可以使用wget命令下载python3.7的镜像
[root@zxy_master software]# wget https://www.python.org/ftp/python/3.7.3/Python-3.7.3.tgz
[root@zxy_master software]# ls
Python-3.7.3.tgz
2.5 解压python3.7
## 使用tar命令,解压tgz压缩包,解压到/zxy/apps/目录下
[root@zxy_master software]# tar -zxvf Python-3.7.3.tgz -C /zxy/apps/
2.6 执行配置文件,编译,安装
[root@zxy_master Python-3.7.3]# ./configure
## 默认安装在/usr/local/bin目录下
[root@zxy_master Python-3.7.3]# make && make install
......
Installing collected packages: setuptools, pip
Successfully installed pip-19.0.3 setuptools-40.8.0
2.7 测试Python3
## 安装成功
[root@zxy_master Python-3.7.3]# python3
Python 3.7.3 (default, Apr  1 2022, 14:53:30)
[GCC 4.8.5 20150623 (Red Hat 4.8.5-44)] on linux
Type "help", "copyright", "credits" or "license" for more information.
>>> print('hello world')
hello world
>>>
3.上传SmartChart项目
## 使用的moba工具连接服务器,直接将项目打包上传上来
[root@zxy_master Python]# ls
djangoProject.zip

## 解压zip文件
[root@zxy_master Python]# mkdir djangoProject
[root@zxy_master Python]# unzip djangoProject.zip djangoProject
[root@zxy_master djangoProject]# ls
db.sqlite3   djangoProject   smartchart  venv
4.安装需要的模块
## 安装django模块
[root@zxy_master smartchart]# pip3 install Django
## 安装smartchart模块
[root@zxy_master smartchart]# pip3 install smartchart
## 查看已安装的模块
[root@zxy_master smartchart]# pip3 list
Package            Version
------------------ ---------
asgiref            3.5.0
certifi            2021.10.8
charset-normalizer 2.0.12
Django             3.2.12
idna               3.3
pip                19.0.3
Pymysql            1.0.2
pytz               2022.1
requests           2.27.1
setuptools         40.8.0
smartchart         5.3.12
smartdb            0.5
sqlparse           0.4.2
typing-extensions  4.1.1
urllib3            1.26.9
5.启动项目
5.1 前台启动
## 云服务器开启8000端口
[root@zxy_master smartchart]# python3 manage.py runserver 0.0.0.0:8000
Watching for file changes with StatReloader
Performing system checks...

System check identified no issues (0 silenced).
April 01, 2022 - 15:41:42
Django version 3.2.12, using settings 'smartchart.settings'
Starting development server at http://0.0.0.0:8000/
Quit the server with CONTROL-C.
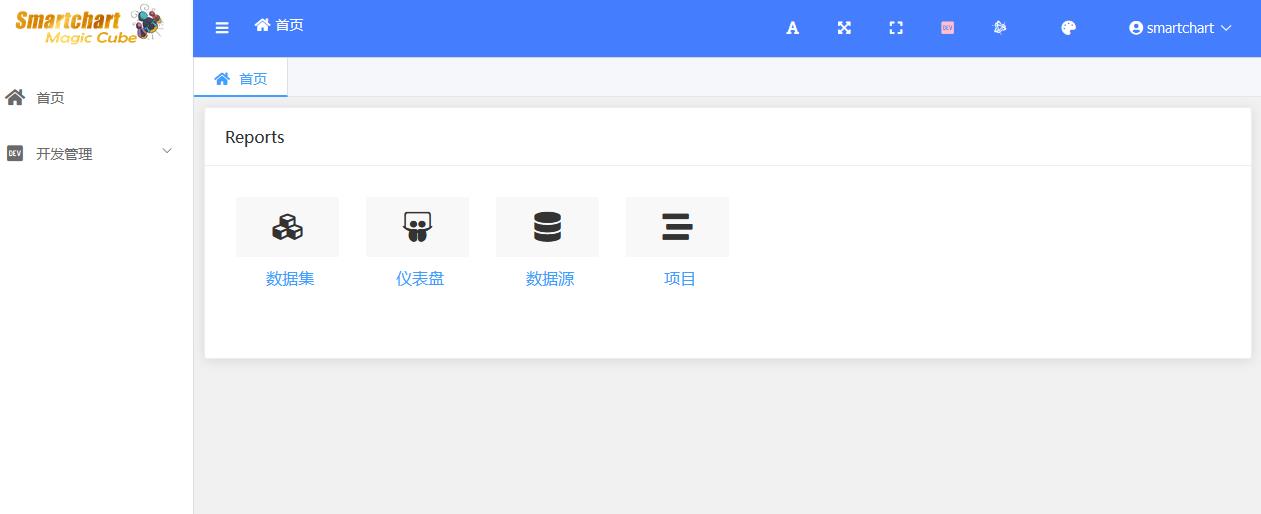
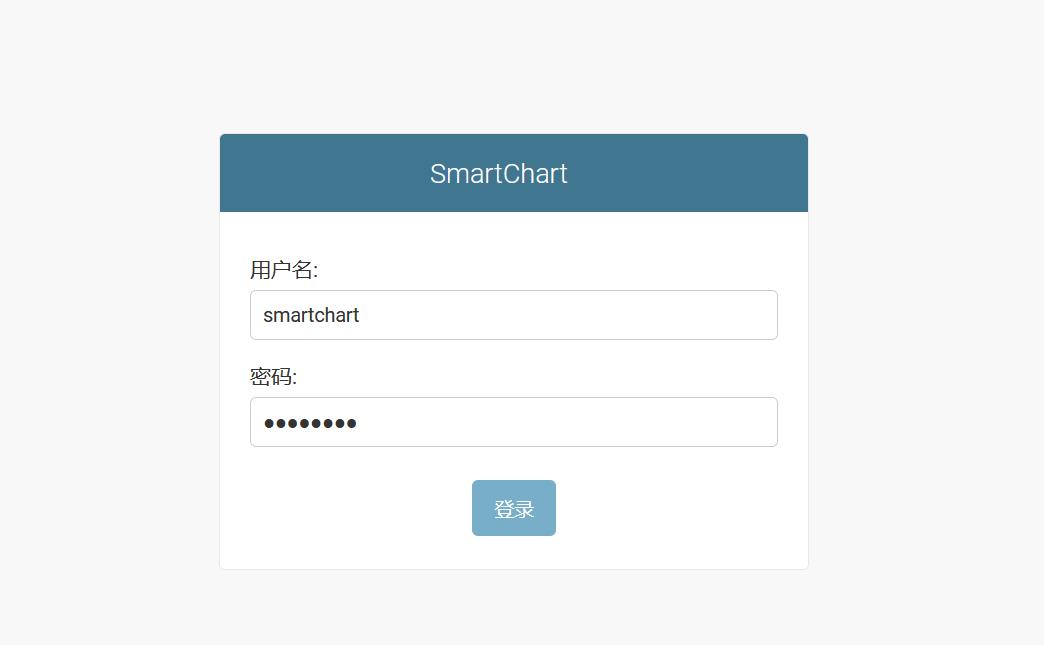
登录地址:http://master.spunsugar.top:8000/echart/index/
这里的用户名和密码,还是项目创建的时候设置的

5.2 后台启动
前台启动的弊端就是,启动项目的同时,这个启动页要一致的保持开启状态
5.2.1 启动脚本
## 在smartchart项目目录下
## 使用nohup命令后台启动python3 manage.py runserver 0.0.0.0:8000
[root@zxy_master smartchart]# vim start.sh
nohup python3 manage.py runserver 0.0.0.0:8000 > out.log 2>&1 &

## 执行脚本
[root@zxy_master smartchart]# sh start.sh

## 可以使用这个命令查看已经后台启动成功
[root@zxy_master smartchart]# ps -ef | grep python3
root       419 27382  0 16:10 pts/0    00:00:00 grep --color=auto python3
root     30552     1  0 16:06 pts/1    00:00:00 python3 manage.py runserver 0.0.0.0:8000
root     30560 30552  0 16:06 pts/1    00:00:02 /usr/local/bin/python3 manage.py runserver 0.0.0.0:8000
5.2.2 关闭脚本
## 在smartchart项目目录下
## 查找到python3启动的进程,并强制关闭
[root@zxy_master smartchart]# vim stop.sh
ps -aux | grep python3|xargs kill -9
## 执行脚本
[root@zxy_master smartchart]# sh stop.sh

## 可以使用这个命令查看已经后台关闭成功
[root@zxy_master smartchart]# ps -ef | grep python3
root       419 27382  0 16:10 pts/0    00:00:00 grep --color=auto python3
6.报错解决
6.1 sqlite3版本低
[root@zxy_master smartchart]# python3 manage.py runserver 0.0.0.0:8000

django.core.exceptions.ImproperlyConfigured: SQLite 3.9.0 or later is required (found 3.7.17).

[root@zxy_master smartchart]# sqlite3 -version
3.7.17 2013-05-20 00:56:22 118a3b35693b134d56ebd780123b7fd6f1497668
6.1.1 安装符合版本
## 下载sqlite
[root@zxy_master software]# wget https://www.sqlite.org/2021/sqlite-autoconf-3350500.tar.gz
## 解压到指定目录
[root@zxy_master software]# tar -zxvf sqlite-autoconf-3350500.tar.gz -C /zxy/apps/
[root@zxy_master software]# cd ../apps/sqlite-autoconf-3350500/
## 执行,编译,安装
[root@zxy_master sqlite-autoconf-3350500]# ./configure --prefix=/usr/local/
[root@zxy_master sqlite-autoconf-3350500]# make && make install
## 将原有sqlite文件重命名
[root@zxy_master sqlite-autoconf-3350500]# mv /usr/bin/sqlite3 /usr/bin/sqlite3.bak
## 将新安装sqlite文件在/usr/bin目录下建立软连接
[root@zxy_master sqlite-autoconf-3350500]# ln -s /usr/local/bin/sqlite3 /usr/bin/sqlite3
## 配置环境变量并生效
[root@zxy_master sqlite-autoconf-3350500]# echo export LD_LIBRARY_PATH="/usr/local/lib" >> ~/.bashrc
[root@zxy_master sqlite-autoconf-3350500]# source ~/.bashrc
## 检查版本,高版本sqlite已经安装好
[root@zxy_master sqlite-autoconf-3350500]# sqlite3 -version
3.35.5 2021-04-19 18:32:05 1b256d97b553a9611efca188a3d995a2fff712759044ba480f9a0c9e98fae886
[root@zxy_master sqlite-autoconf-3350500]#
6.2 Invalid HTTP_HOST header
DisallowedHost at /echart/index

Invalid HTTP_HOST header: 'master.spunsugar.top:8000'. You may need to add 'master.spunsugar.top' to ALLOWED_HOSTS.

Request Method: 	GET
Request URL: 	http://master.spunsugar.top:8000/echart/index
Django Version: 	3.2.12
Exception Type: 	DisallowedHost
Exception Value:

Invalid HTTP_HOST header: 'master.spunsugar.top:8000'. You may need to add 'master.spunsugar.top' to ALLOWED_HOSTS.
6.2.1 修改配置文件
## 找到smartchart的setting.py文件
## 提示一下这里的[master.spunsugar.top]是域名,当然你也可以使用自己IP地址
## 将ALLOWED_HOSTS = [] 改为 ALLOWED_HOSTS=['master.spunsugar.top']
## 或者可以直接改为ALLOWED_HOSTS=['*']
ALLOWED_HOSTS = ['master.spunsugar.top']
7.项目文件提供
下载后,只需上传至服务器
按照以上方式部署即可
djangoproject是主项目名
smartchart是smartchart项目的目录,主要在此
配置完成后
登录名:smartchart
密码:12345678
以上是关于Linux服务器部署SmartChart低代码平台的主要内容,如果未能解决你的问题,请参考以下文章
