Mac 安装Pytorch, Jupyter notebook, conda, python3
Posted AI架构师易筋
tags:
篇首语:本文由小常识网(cha138.com)小编为大家整理,主要介绍了Mac 安装Pytorch, Jupyter notebook, conda, python3相关的知识,希望对你有一定的参考价值。
1. 安装
为了让您获得动手学习体验,我们需要为您设置一个运行 Python、Jupyter 笔记本、相关库以及运行本书本身所需的代码的环境。
安装 Miniconda
最简单的方法是安装 Miniconda。需要 Python 3.x 版本。如果您的机器已经安装了 conda,您可以跳过以下步骤。
访问 Miniconda 网站并根据您的 Python 3.x 版本和机器架构确定适合您系统的版本。例如,如果您使用 macOS 和 Python 3.x,您将下载名称包含字符串“Miniconda3”和“MacOSX”的 bash 脚本,导航到下载位置,然后按如下方式执行安装:
sh Miniconda3-latest-MacOSX-x86_64.sh -b
接下来,初始化shell,这样我们就可以conda直接运行了。
~/miniconda3/bin/conda init
现在关闭并重新打开您当前的外壳。您应该能够创建一个新环境,如下所示:
conda create --name d2l python=3.8 -y
2. 下载 D2L 笔记本
接下来,我们需要下载本书的代码。您可以单击任何 html 页面顶部的“所有笔记本”选项卡以下载并解压缩代码。或者,如果您有unzip(否则运行 )可用:sudo apt install unzip
mkdir d2l-en && cd d2l-en
curl https://d2l.ai/d2l-en.zip -o d2l-en.zip
unzip d2l-en.zip && rm d2l-en.zip
现在我们可以激活d2l环境:
conda activate d2l
3. 安装框架和d2l包
在安装任何深度学习框架之前,请先检查您的机器上是否有合适的 GPU(为标准笔记本电脑上的显示器供电的 GPU 与我们的目的无关)。如果您在 GPU 服务器上工作,请转到GPU 支持以获取有关如何安装相关库的 GPU 友好版本的说明。
如果您的机器没有安装任何 GPU,则无需担心。你的 CPU 提供了足够的能力来帮助你完成前几章。请记住,在运行更大的模型之前,您需要访问 GPU。要安装 CPU 版本,请执行以下命令。
pip3 install torch torchvision
我们的下一步是安装d2l我们开发的包,以便封装本书中经常使用的函数和类。
# -U: Upgrade all packages to the newest available version
pip3 install -U d2l
完成这些安装步骤后,我们可以运行 Jupyter notebook 服务器:
jupyter notebook
此时,您可以在 Web 浏览器中打开http://localhost:8888(它可能已经自动打开)。然后我们可以运行本书每个部分的代码。 在运行本书的代码或更新深度学习框架或软件包之前,请务必执行以激活运行时环境。要退出环境,请运行.conda activate d2ld2lconda deactivate
import torch
torch.__version__
torch.cuda.current_device()
torch.cuda.get_device_name(0)
4. 更多学习资源
https://cs230.stanford.edu/blog/pytorch/
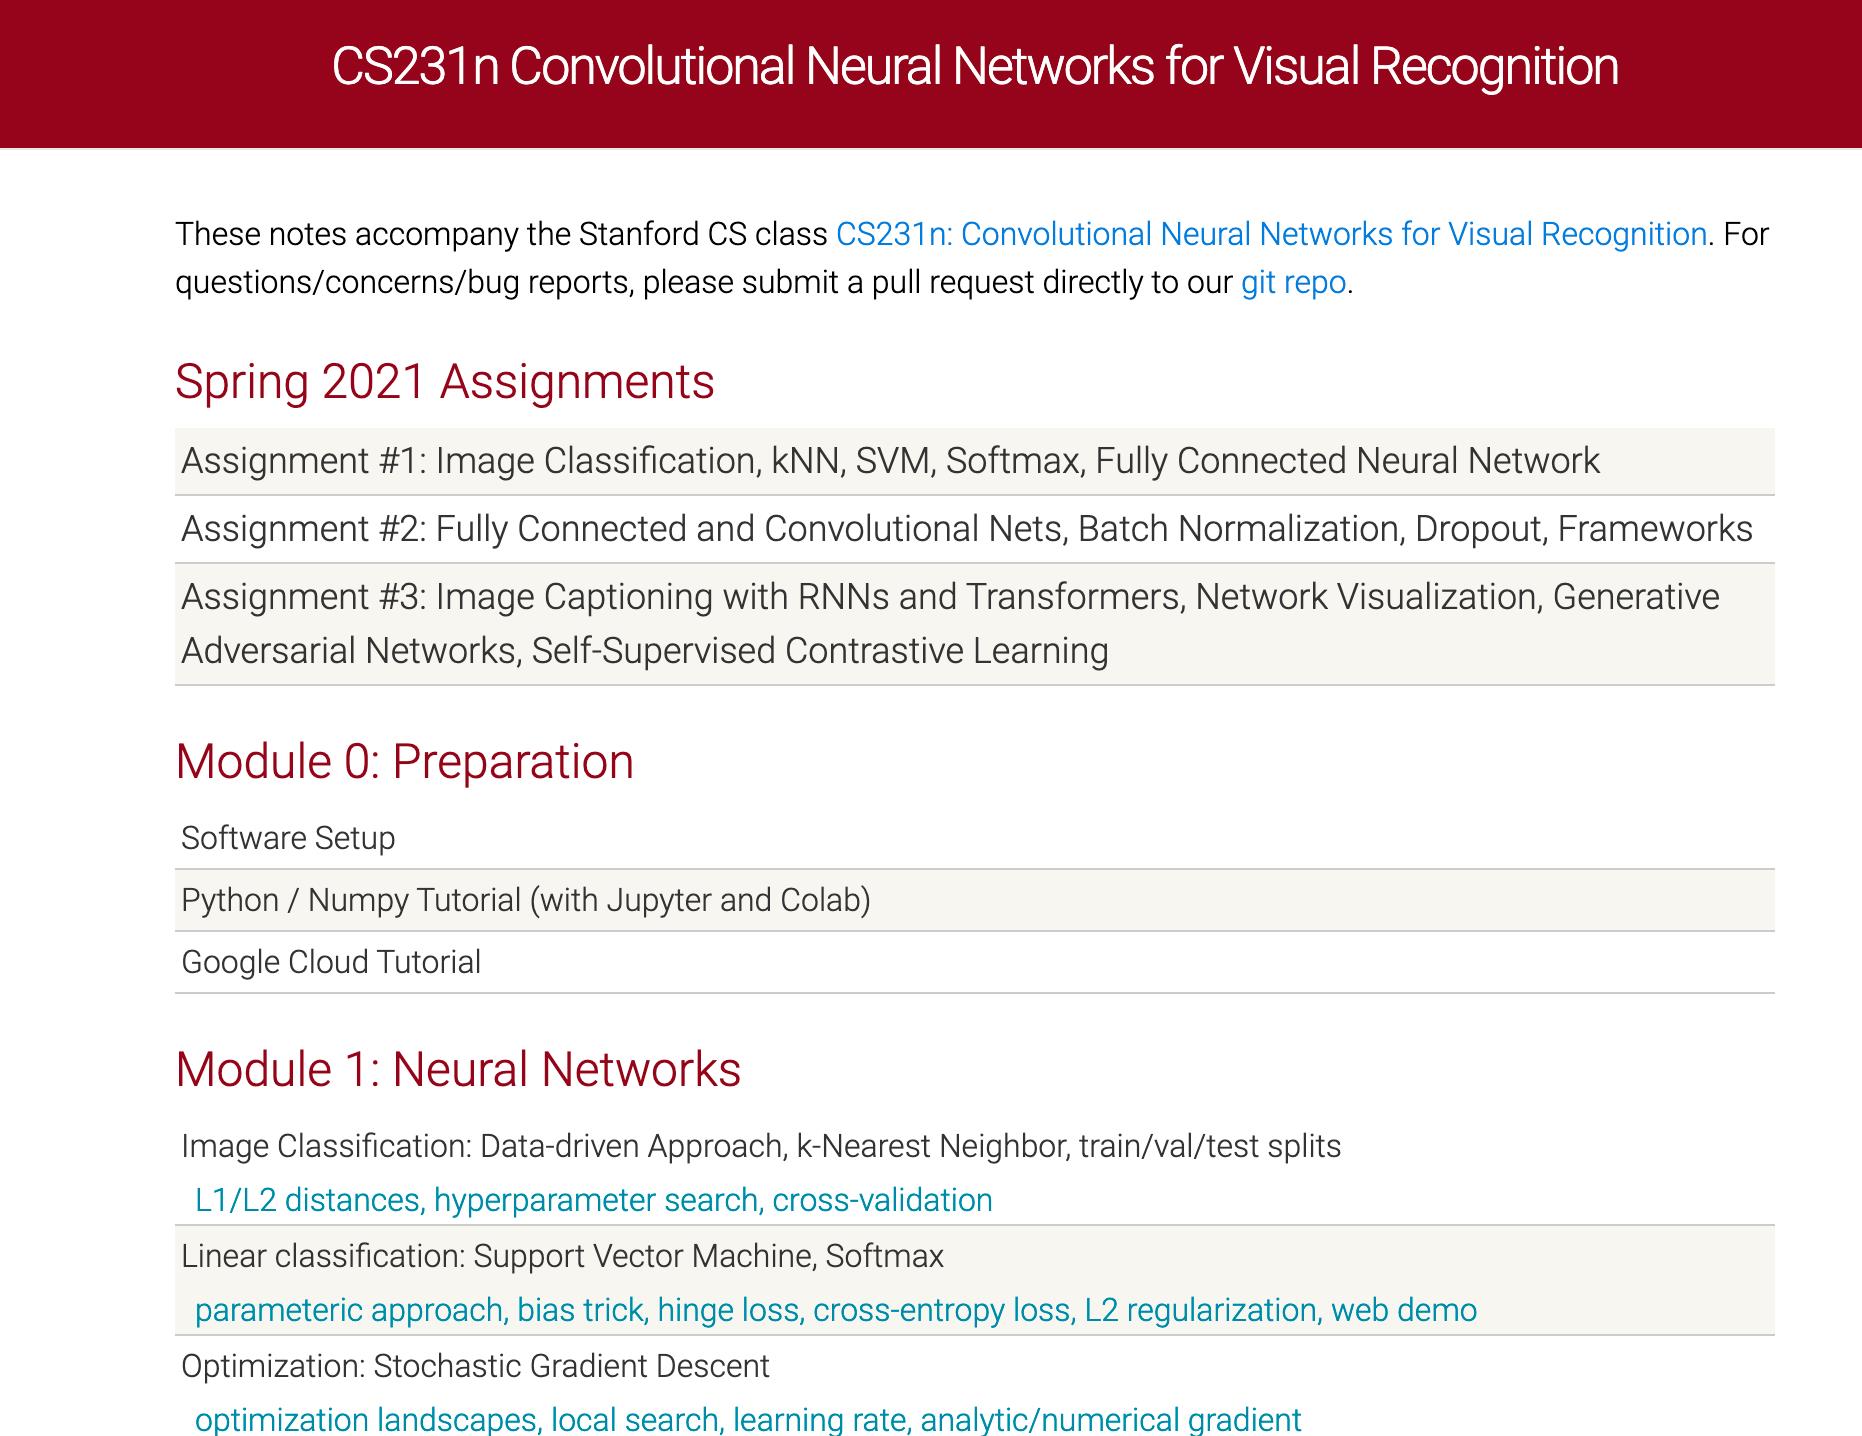
https://cs231n.github.io/

NYU: https://atcold.github.io/pytorch-Deep-Learning/

I still suggest to use conda install to install pytorch
For Chinese users:
In CMD,
conda config --add channels https://mirrors.tuna.tsinghua.edu.cn/anaconda/cloud//pytorch/
Then look https://pytorch.org/get-started/locally/ to install.
For me,
image
For Chinese users:
It is necessary to use pypi mirror and conda mirror to get pip install and conda install quicker.
pypi mirror:https://mirrors.tuna.tsinghua.edu.cn/help/pypi/
conda mirror:https://mirrors.tuna.tsinghua.edu.cn/help/anaconda/
For example:
conda config --add channels https://mirrors.tuna.tsinghua.edu.cn/anaconda/pkgs/main
You can add any other channels
image
unset pip mirror: pip config unset global.index-url
unset conda mirror:conda config --remove channels
Check your mirror by printing all configuration:
pip config list
conda config --show

conda config --show-sources
For more
增加清华大学镜像源:
conda config --add channels https://mirrors.tuna.tsinghua.edu.cn/anaconda/pkgs/free/
conda config --set show_channel_urls yes
删除默认镜像源:
conda config --remove channels defaults
参考
https://d2l.ai/chapter_installation/index.html
以上是关于Mac 安装Pytorch, Jupyter notebook, conda, python3的主要内容,如果未能解决你的问题,请参考以下文章
