用Python做一个人脸识别系统,简单操作又实用~
Posted 车厘子@
tags:
篇首语:本文由小常识网(cha138.com)小编为大家整理,主要介绍了用Python做一个人脸识别系统,简单操作又实用~相关的知识,希望对你有一定的参考价值。
导语

今天给大家介绍一个非常简洁的人脸识别系统:
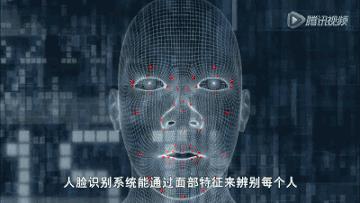
人脸识别,是基于人的脸部特征信息进行身份识别的一种生物识别技术。而通过我们Python编程,几行代码就可以实现人脸识别,这主要得益于face_recognition库。
想领取完整源码跟Python学习资料私信我或点击这行字体即可
一、安装过程
face_recognition 库主要封装了dlib这一 C++ 图形库,通过 Python 语言将它封装为一个非常简单就可以实现人脸识别的 API 库,屏蔽了人脸识别的算法细节,大大降低了人脸识别功能的开发难度。

小编是基于Windows环境下的Python3.6.4进行安装,在查阅相当多贴文后发现这样的成功率更高哦!
这篇文章详细介绍了face_recognition库的安装,感兴趣的同学们可以跟着这篇文章安装face_recognition库哦!过程需要一点耐心,大家加油!https://blog.csdn.net/advancezhang/article/details/100018893
这里有截图哦!


二、基本代码
1、识别人脸并将其框出
# 检测人脸

import face_recognition

import cv2


# 读取图片并识别人脸

img = face_recognition.load_image_file("1.png.png")

face_locations = face_recognition.face_locations(img)

print (face_locations)


# 调用opencv函数显示图片

img = cv2.imread("1.png.png")

cv2.namedWindow("原图")

cv2.imshow("原图", img)

# 遍历每个人脸,并标注

faceNum = len(face_locations)

for i in range(0, faceNum):

    top =  face_locations[i][0]

    right =  face_locations[i][1]

    bottom = face_locations[i][2]

    left = face_locations[i][3]


    start = (left, top)

    end = (right, bottom)


    color = (55,255,155)

    thickness = 3

    cv2.rectangle(img, start, end, color, thickness)


# 显示识别结果

cv2.namedWindow("识别")

cv2.imshow("识别", img)


cv2.waitKey(0)

cv2.destroyAllWindows()
运行代码1
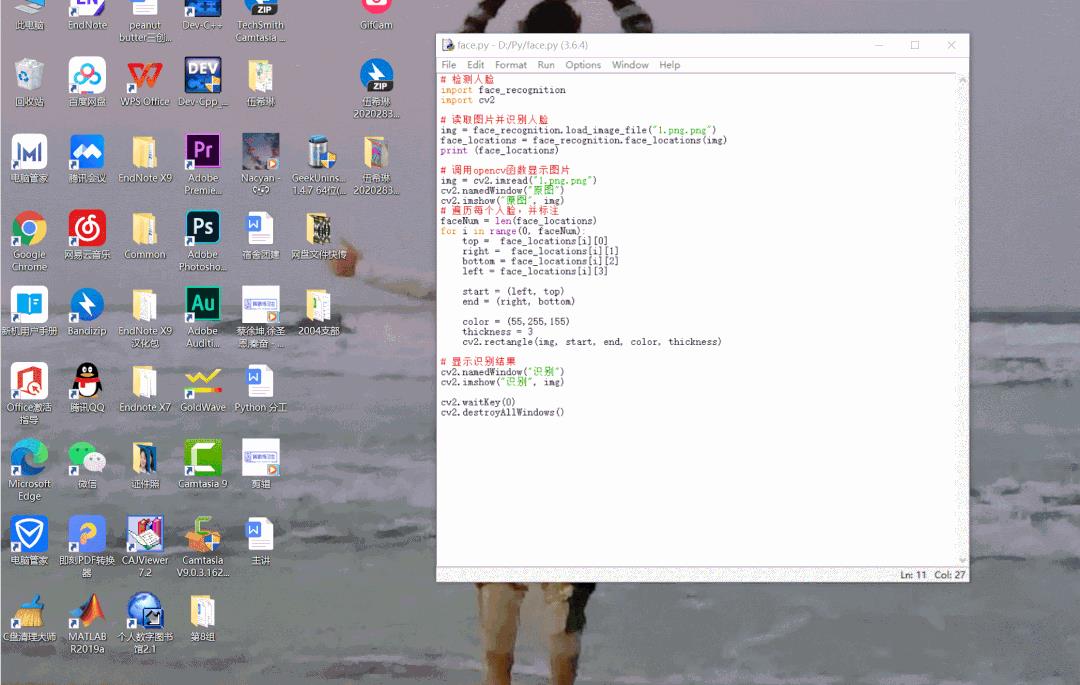
运行结果1
这样就可以将图片中的人脸识别出来啦!不过需要注意的是,要将需要进行识别的图片保存在该代码的文件夹下,在输入图片名称时,需要将图片后缀一同输入;
如本案例的图片名为”1.png”,图片属性为png格式,所以在输入图片名称时需要输入“1.png.png”。
本代码不仅可以识别单人人脸,还可以同时识别多人人脸,自己动手尝试一下吧!

2、识别未知的人脸
小编这里放入了
”yaoming”,”yaoming1”,
”liuxiang”,”zhangguowei”
等jpg格式的文件,
一起来看看人脸识别准不准确吧!
# -*- coding: utf-8 -*-

# 识别人脸鉴定是哪个人


# 导入face_recogntion模块

import face_recognition


#将jpg文件加载到numpy数组中

chen_image = face_recognition.load_image_file("yaoming.jpeg")

#要识别的图片

unknown_image = face_recognition.load_image_file("liuxiang.jpg")


#获取每个图像文件中每个面部的面部编码

#由于每个图像中可能有多个面,所以返回一个编码列表。

#但是由于我知道每个图像只有一个脸,我只关心每个图像中的第一个编码,所以我取索引0。

chen_face_encoding = face_recognition.face_encodings(chen_image)[0]

print("chen_face_encoding:".format(chen_face_encoding))

unknown_face_encoding = face_recognition.face_encodings(unknown_image)[0]

print("unknown_face_encoding :".format(unknown_face_encoding))


known_faces = [

    chen_face_encoding

]

#结果是True/false的数组,未知面孔known_faces阵列中的任何人相匹配的结果

results = face_recognition.compare_faces(known_faces, unknown_face_encoding)


print("result :".format(results))

print("这个未知面孔是 姚明 吗? ".format(results[0]))

print("这个未知面孔是 我们从未见过的新面孔吗? ".format(not True in results))
运行代码2
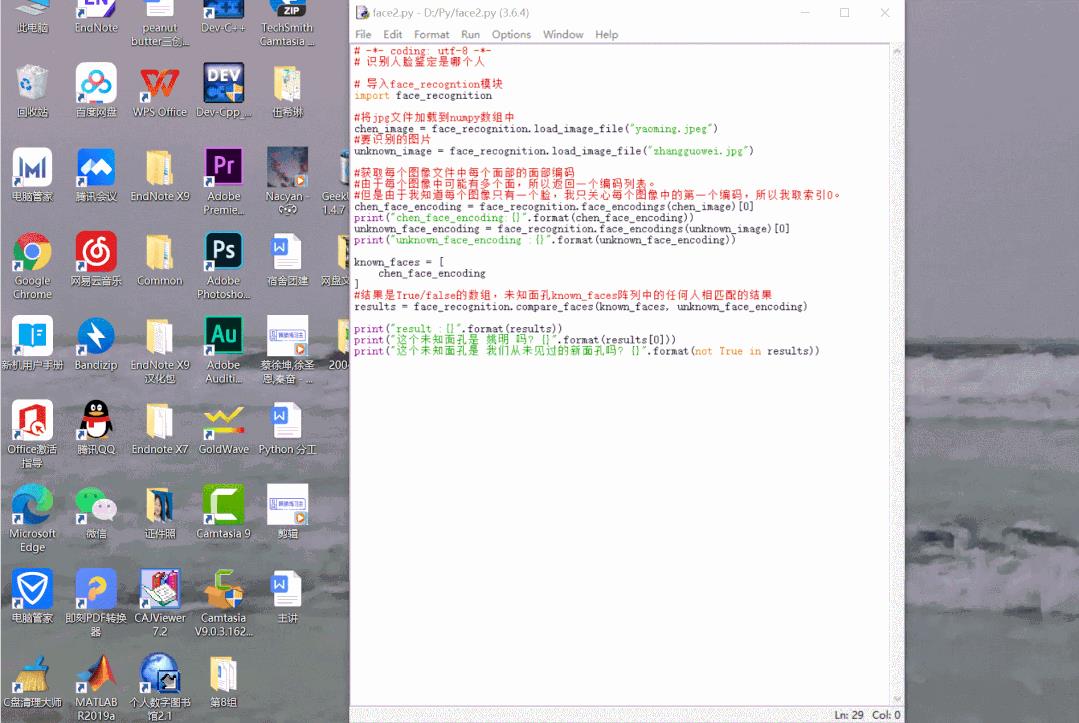
运行结果2
该代码通过分析人脸的面部特征,
将面部特征转化为参数进行比较,
结果也是相当精确。

3、识别视频中的人脸

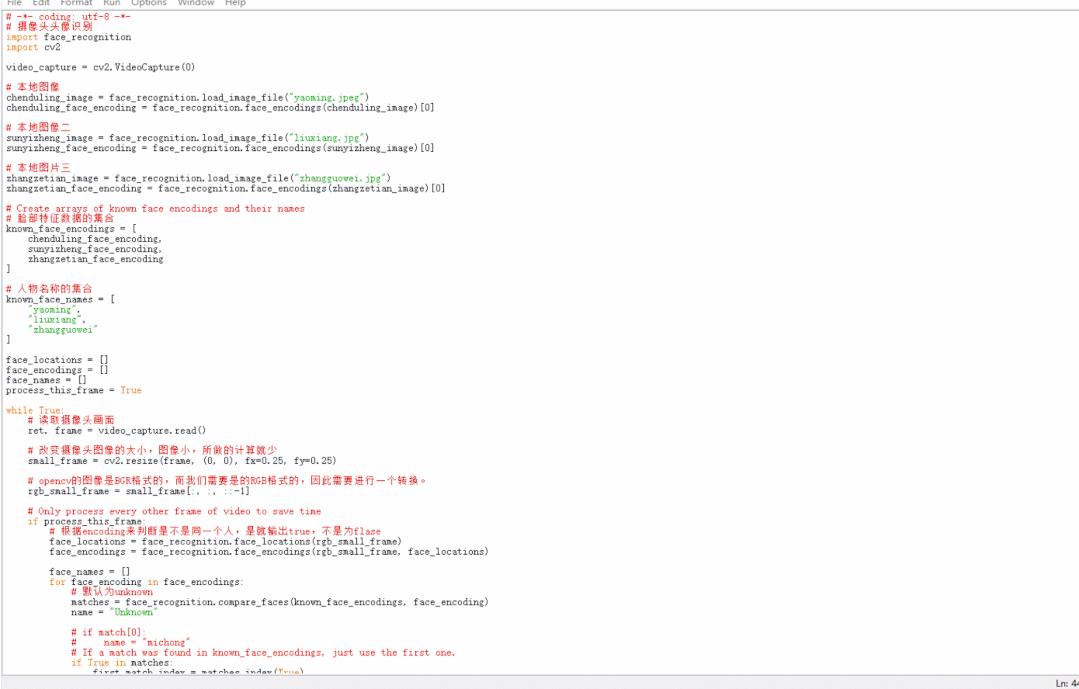
face_recognition库的强大不只是图片的人脸识别,还可以在视频中准确地识别出视频中的人脸与是否与事先设定好的人脸匹配。
# -*- coding: utf-8 -*-

# 摄像头头像识别

import face_recognition

import cv2


video_capture = cv2.VideoCapture(0)


# 本地图像

chenduling_image = face_recognition.load_image_file("yaoming.jpeg")

chenduling_face_encoding = face_recognition.face_encodings(chenduling_image)[0]


# 本地图像二

sunyizheng_image = face_recognition.load_image_file("liuxiang.jpg")

sunyizheng_face_encoding = face_recognition.face_encodings(sunyizheng_image)[0]


# 本地图片三

zhangzetian_image = face_recognition.load_image_file("zhangguowei.jpg")

zhangzetian_face_encoding = face_recognition.face_encodings(zhangzetian_image)[0]


# Create arrays of known face encodings and their names

# 脸部特征数据的集合

known_face_encodings = [

    chenduling_face_encoding,

    sunyizheng_face_encoding,

    zhangzetian_face_encoding

]


# 人物名称的集合

known_face_names = [

    "yaoming",

    "liuxiang",

    "zhangguowei"

]


face_locations = []

face_encodings = []

face_names = []

process_this_frame = True


while True:

    # 读取摄像头画面

    ret, frame = video_capture.read()


    # 改变摄像头图像的大小,图像小,所做的计算就少

    small_frame = cv2.resize(frame, (0, 0), fx=0.25, fy=0.25)


    # opencv的图像是BGR格式的,而我们需要是的RGB格式的,因此需要进行一个转换。

    rgb_small_frame = small_frame[:, :, ::-1]


    # Only process every other frame of video to save time

    if process_this_frame:

        # 根据encoding来判断是不是同一个人,是就输出true,不是为flase

        face_locations = face_recognition.face_locations(rgb_small_frame)

        face_encodings = face_recognition.face_encodings(rgb_small_frame, face_locations)


        face_names = []

        for face_encoding in face_encodings:

            # 默认为unknown

            matches = face_recognition.compare_faces(known_face_encodings, face_encoding)

            name = "Unknown"

            # if match[0]:

            #     name = "michong"

            # If a match was found in known_face_encodings, just use the first one.

            if True in matches:

                first_match_index = matches.index(True)

                name = known_face_names[first_match_index]

            face_names.append(name)

   process_this_frame = not process_this_frame

    # 将捕捉到的人脸显示出来

    for (top, right, bottom, left), name in zip(face_locations, face_names):

        # Scale back up face locations since the frame we detected in was scaled to 1/4 size

        top *= 4

        right *= 4

        bottom *= 4

        left *= 4

        # 矩形框

        cv2.rectangle(frame, (left, top), (right, bottom), (0, 0, 255), 2)

        #加上标签

        cv2.rectangle(frame, (left, bottom - 35), (right, bottom), (0, 0, 255), cv2.FILLED)

        font = cv2.FONT_HERSHEY_DUPLEX

        cv2.putText(frame, name, (left + 6, bottom - 6), font, 1.0, (255, 255, 255), 1)

    # Display

    cv2.imshow('monitor', frame)

   # 按Q退出

    if cv2.waitKey(1) & 0xFF == ord('q'):

        break

video_capture.release()

cv2.destroyAllWindows()
运行代码3
运行结果3
在运行过程中电脑的摄像头会自动打开识别摄像头里的人脸是不是预先设定的人脸。

end

这期分享就到这里了~看完是不是觉得人脸识别很容易实现呢?有想法的铁汁们赶紧动手试试看吧喜欢记得给小编三连哦!家人们的支持是小编更新最大的动力💪💪
以上是关于用Python做一个人脸识别系统,简单操作又实用~的主要内容,如果未能解决你的问题,请参考以下文章