springboot复习(黑马)(持续更新)
Posted 姜小白程序
tags:
篇首语:本文由小常识网(cha138.com)小编为大家整理,主要介绍了springboot复习(黑马)(持续更新)相关的知识,希望对你有一定的参考价值。
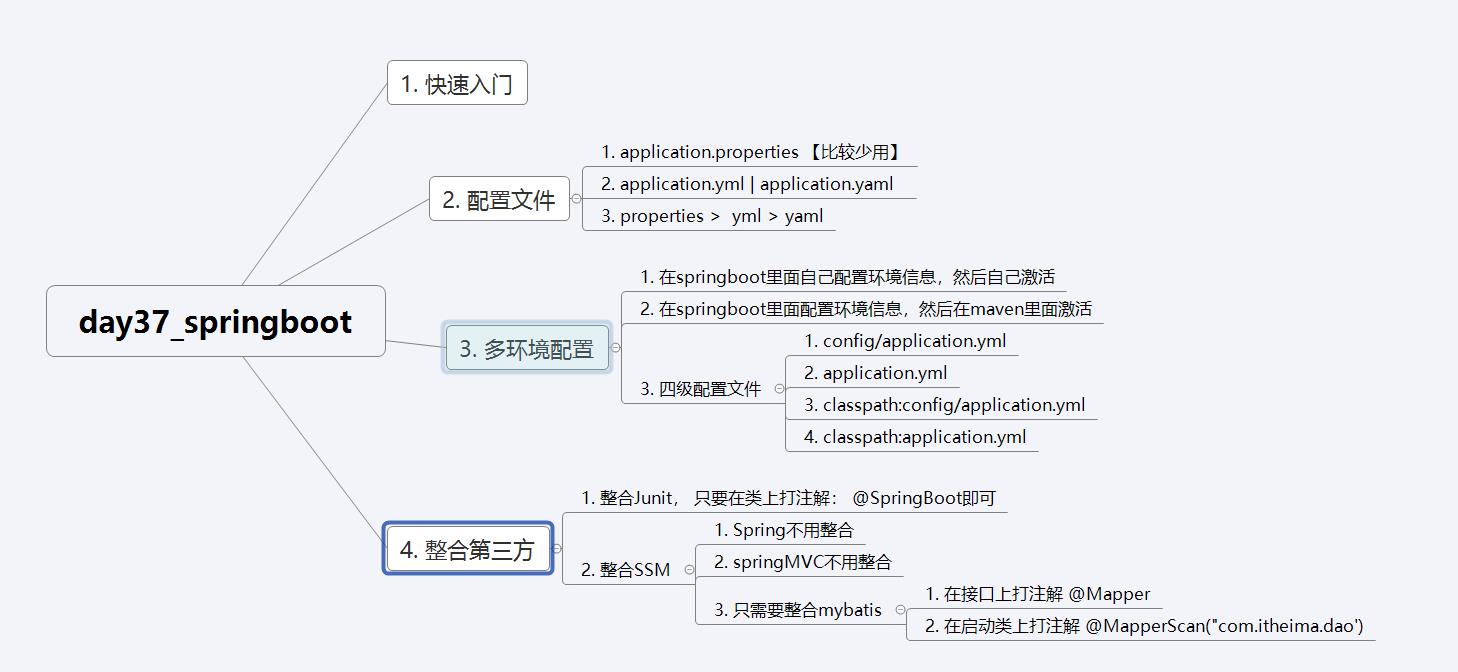
学习目标
基于SpringBoot框架的程序开发步骤
熟练使用SpringBoot配置信息修改服务器配置
基于SpringBoot的完成SSM整合项目开发
一、SpringBoot简介
1. 入门案例
问题导入
SpringMVC的HelloWord程序大家还记得吗?
SpringBoot是由Pivotal团队提供的全新框架,其设计目的是用来简化Spring应用的初始搭建以及开发过程
原生开发SpringMVC程序过程

1.1 入门案例开发步骤
环境准备

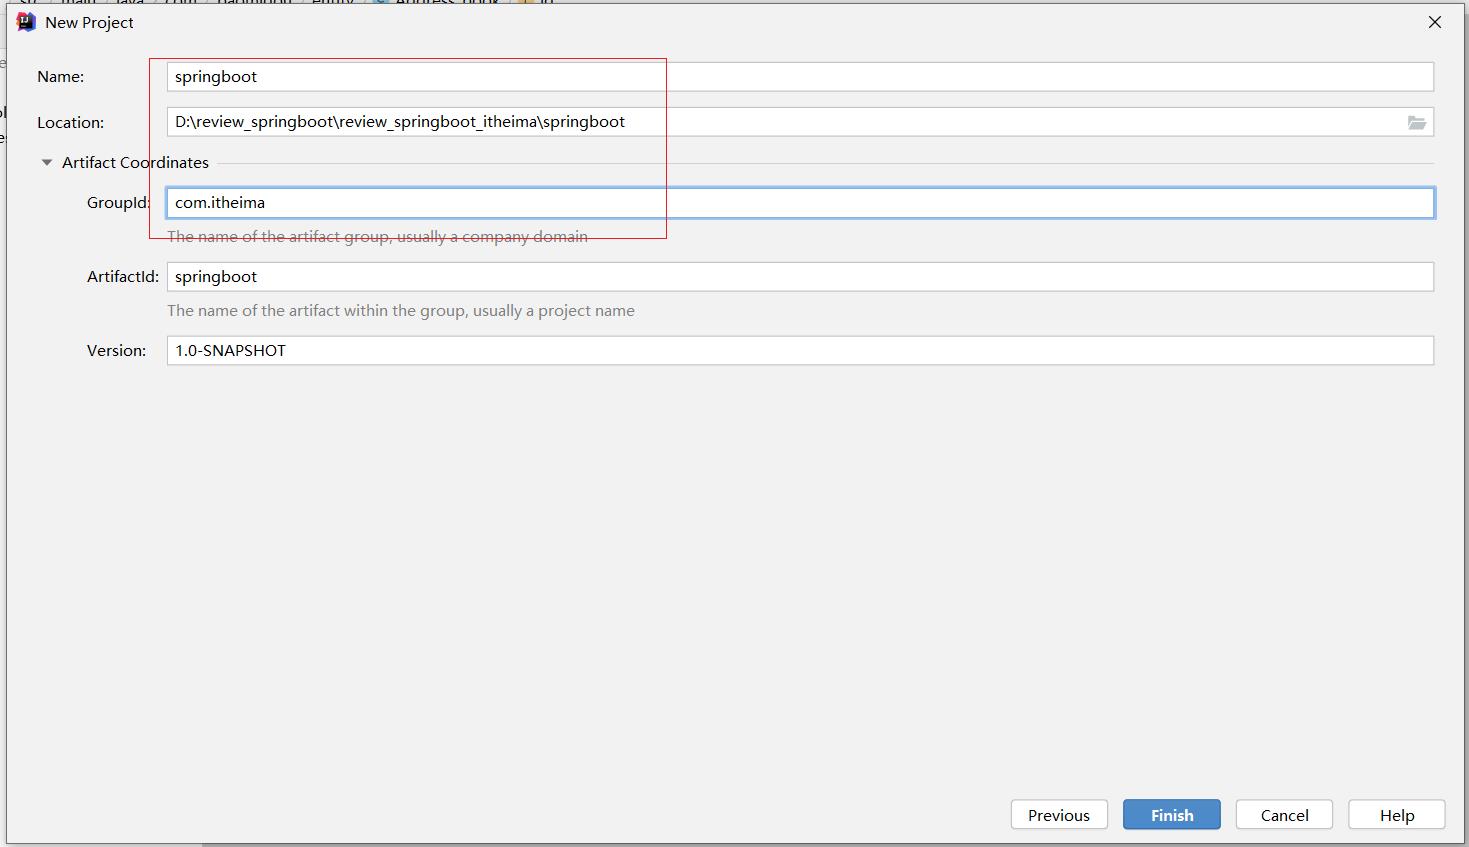
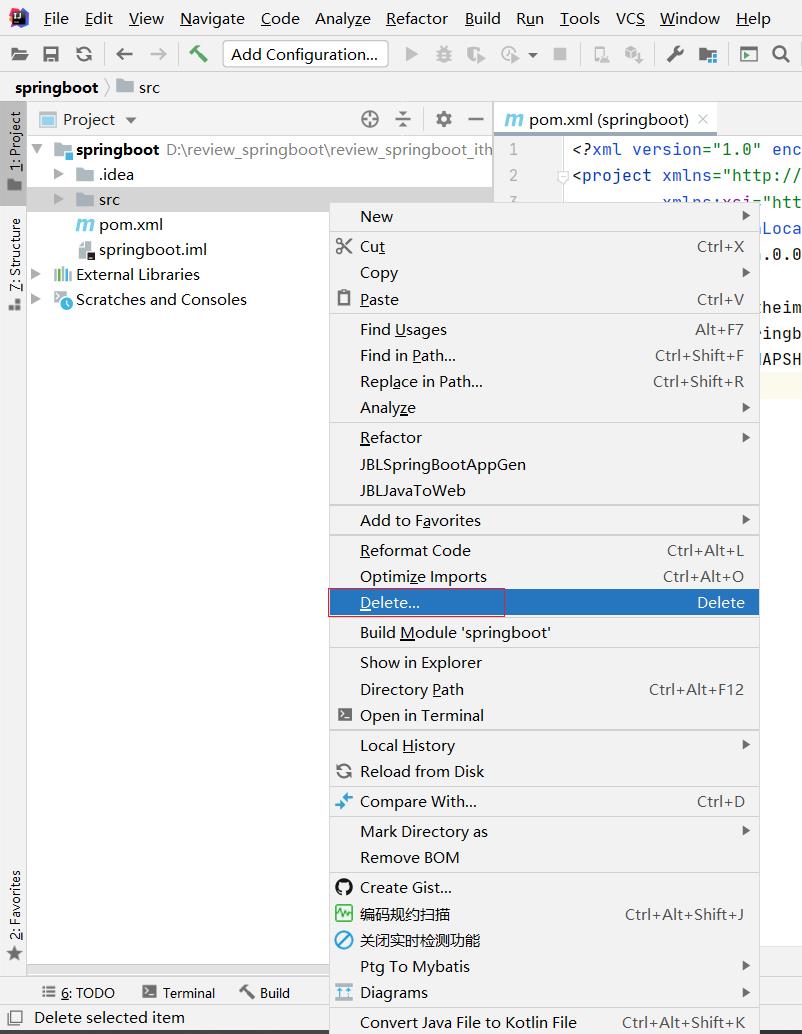

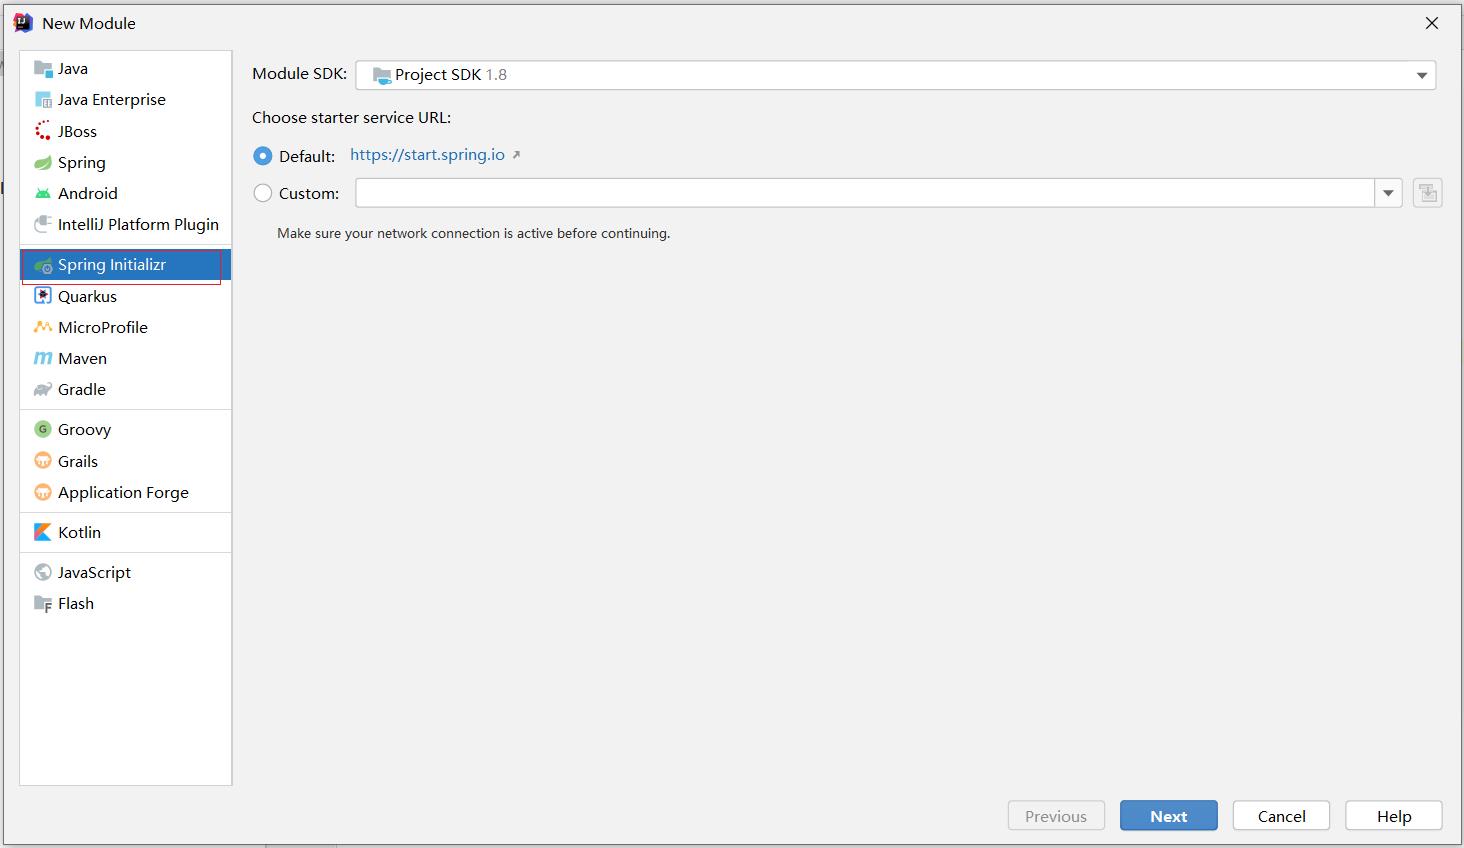
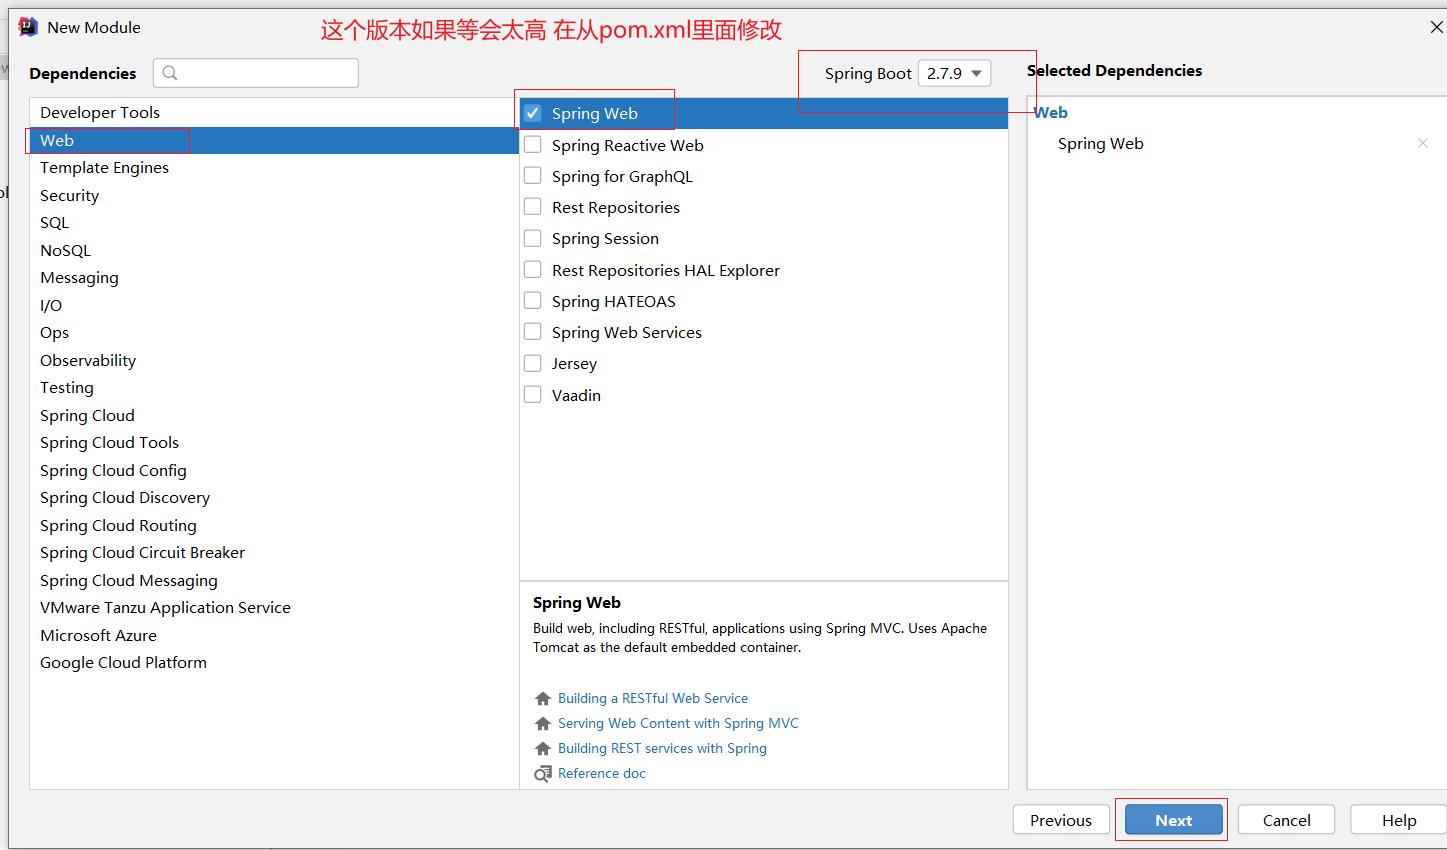
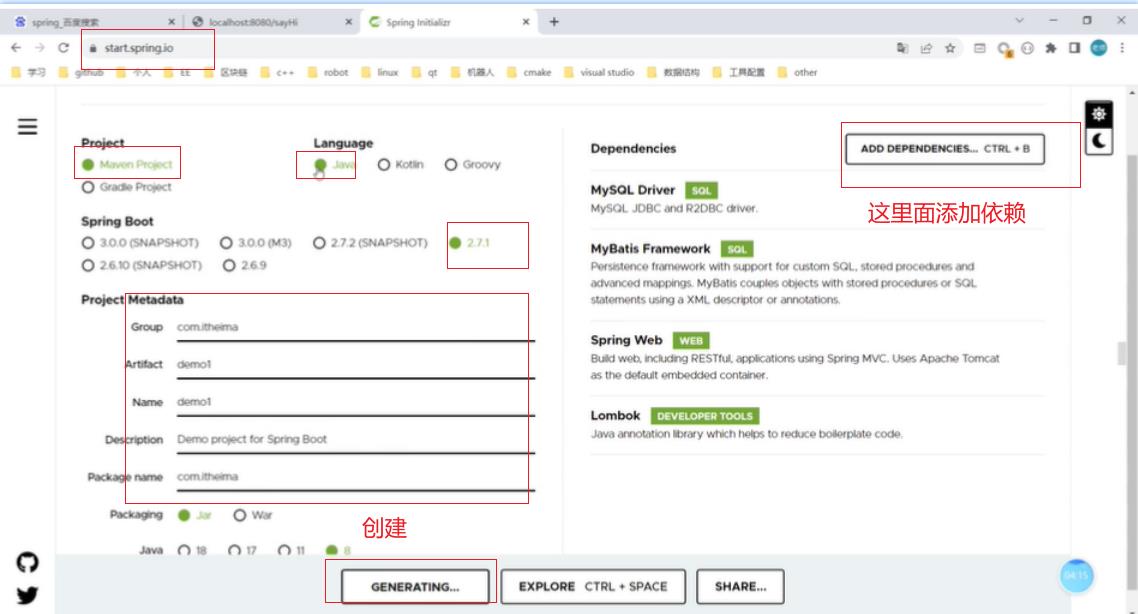
①:创建新模块,选择Spring初始化,并配置模块相关基础信息

②:选择当前模块需要使用的技术集


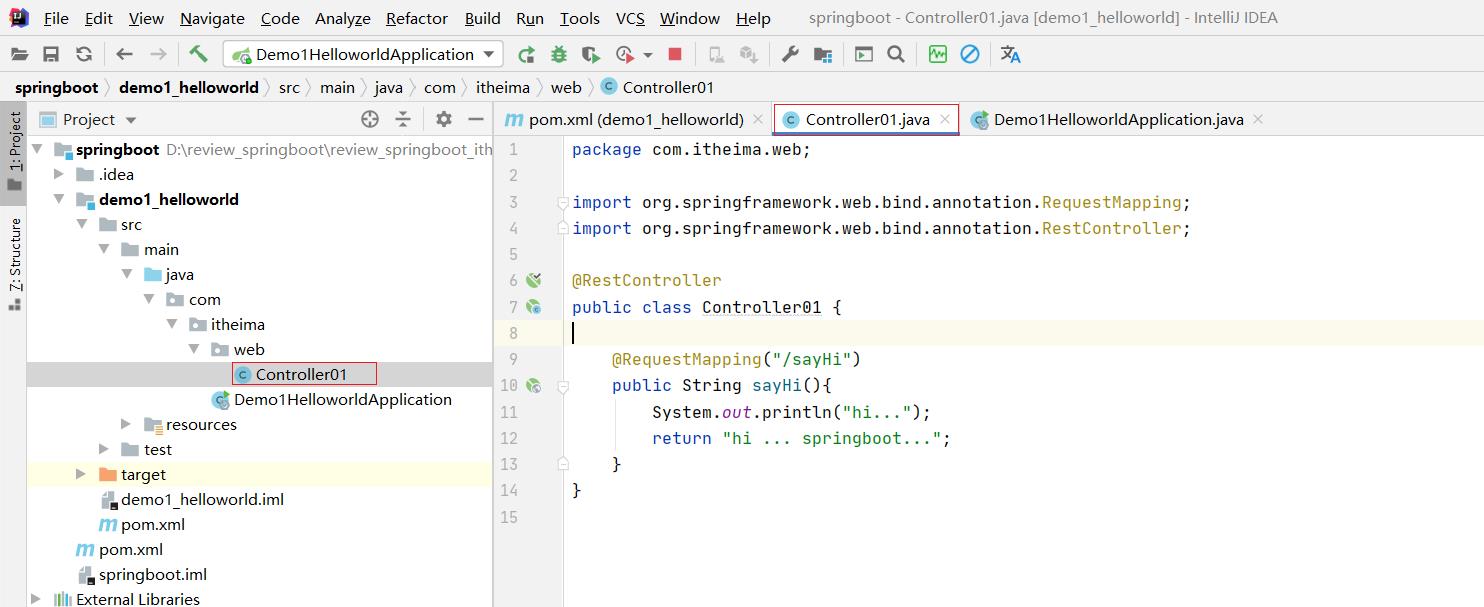
③:开发控制器类
@RestController
public class Controller01

    @RequestMapping("/sayHi")
    public String sayHi()
        System.out.println("hi...");
        return "hi ... springboot...";
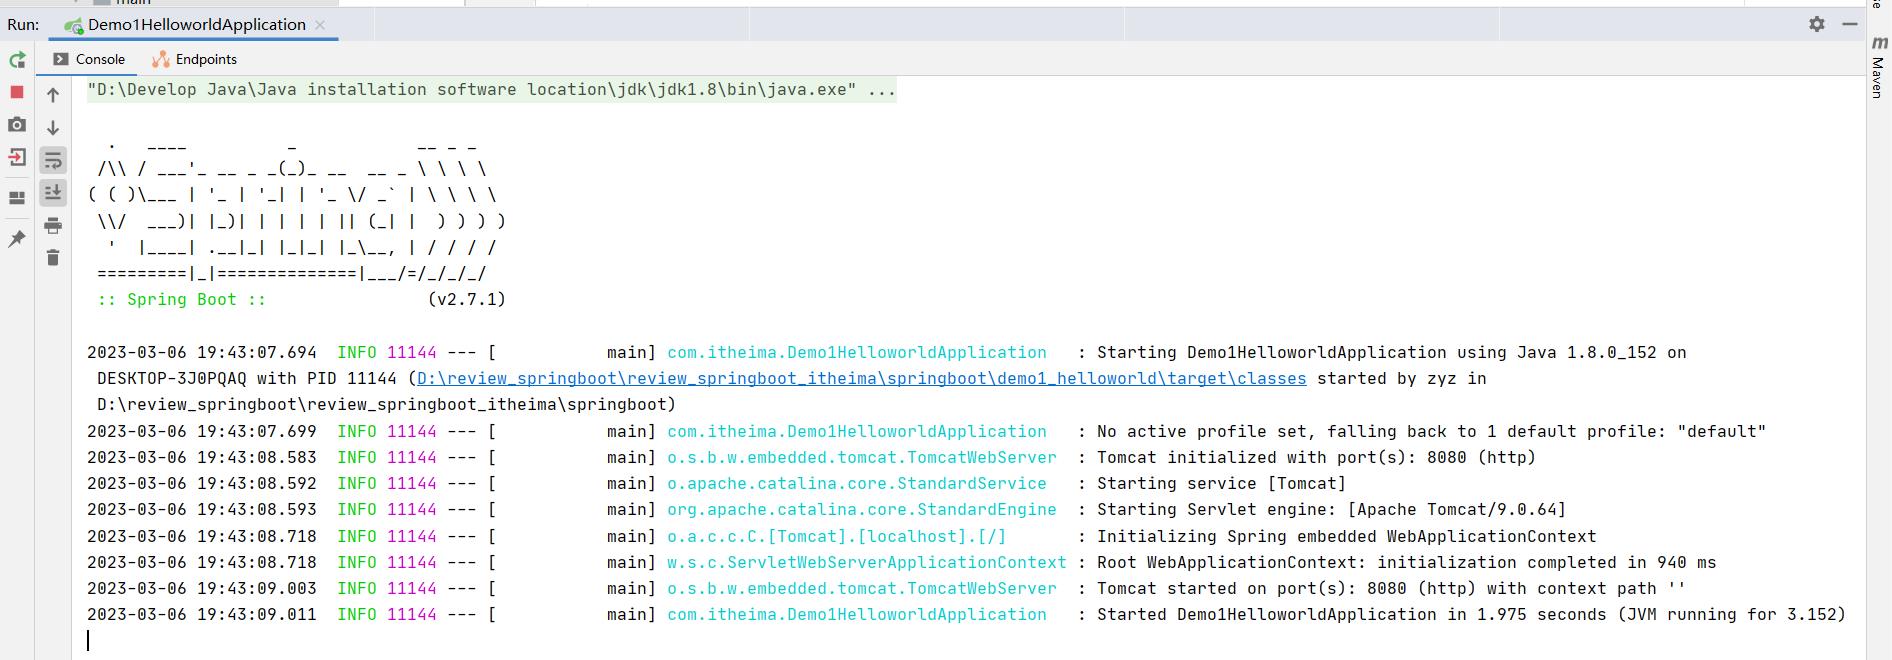
④:运行自动生成的Application类
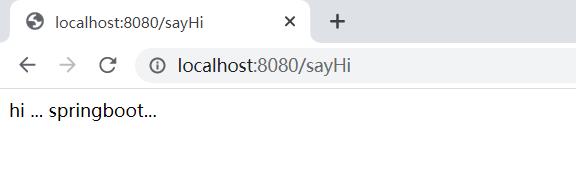
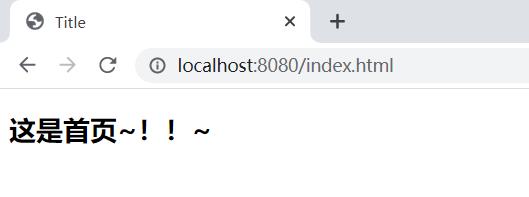
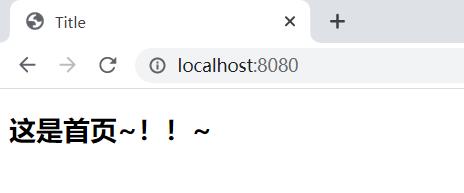
访问页面

重新启动

最简SpringBoot程序所包含的基础文件
<?xml version="1.0" encoding="UTF-8"?>
<project xmlns="http://maven.apache.org/POM/4.0.0" xmlns:xsi="http://www.w3.org/2001/XMLSchema-instance"
         xsi:schemaLocation="http://maven.apache.org/POM/4.0.0 https://maven.apache.org/xsd/maven-4.0.0.xsd">
    <modelVersion>4.0.0</modelVersion>
    <parent>
        <groupId>org.springframework.boot</groupId>
        <artifactId>spring-boot-starter-parent</artifactId>
        <version>2.7.1</version>
        <relativePath/> <!-- lookup parent from repository -->
    </parent>
    <groupId>com.itheima</groupId>
    <artifactId>demo1_helloworld</artifactId>
    <version>0.0.1-SNAPSHOT</version>
    <name>demo1_helloworld</name>
    <description>Demo project for Spring Boot</description>
    <properties>
        <java.version>1.8</java.version>
    </properties>
    <dependencies>
        <dependency>
            <groupId>org.springframework.boot</groupId>
            <artifactId>spring-boot-starter-web</artifactId>
        </dependency>

        <dependency>
            <groupId>org.springframework.boot</groupId>
            <artifactId>spring-boot-starter-test</artifactId>
            <scope>test</scope>
        </dependency>
    </dependencies>

    <build>
        <plugins>
            <plugin>
                <groupId>org.springframework.boot</groupId>
                <artifactId>spring-boot-maven-plugin</artifactId>
            </plugin>
        </plugins>
    </build>

</project>
package com.itheima;

import org.springframework.boot.SpringApplication;
import org.springframework.boot.autoconfigure.SpringBootApplication;


/*/*
    @SpringBootApplication:
        1. 表示这个类是一个springboot应用程序的入口类。
        2. 要想让程序启动,只需要在main方法里面写上这样的一句话:
              SpringApplication.run(当前类的字节码对象, args);
        3. 拓展:
            3.1 springboot项目启动的时候,默认会扫描启动类所在的位置,以及它后续的所有子包。
            3.2 查找到类里面打的注解 @Controller , @Service , @RequestMapping.
            3.3 springApplication.run 传递进去当前类的字节码对象,也是可以确定当前
                这个启动器它的包是哪个!
 */
@SpringBootApplication
public class Demo1HelloworldApplication

    public static void main(String[] args)
        SpringApplication.run(Demo1HelloworldApplication.class, args);
Spring程序与SpringBoot程序对比

注意事项:
基于idea开发SpringBoot程序需要确保联网且能够加载到程序框架结构
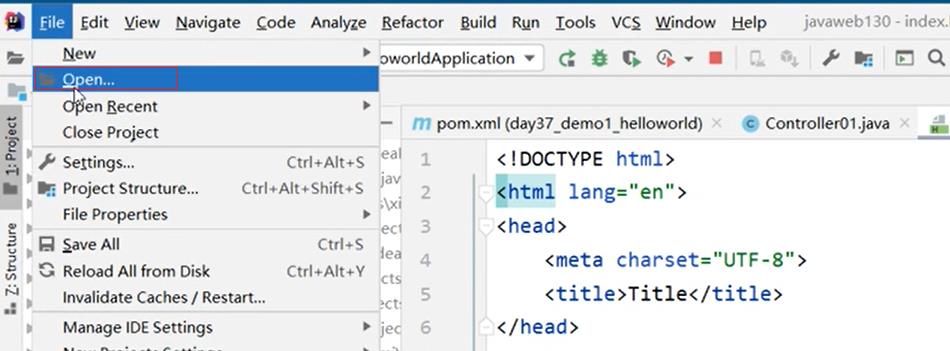
1.2 基于SpringBoot官网创建项目
保存到桌面

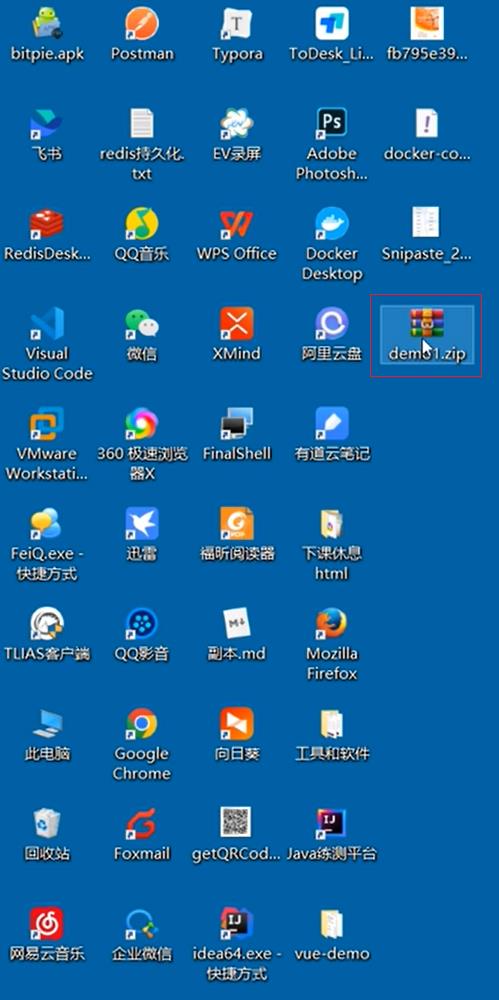
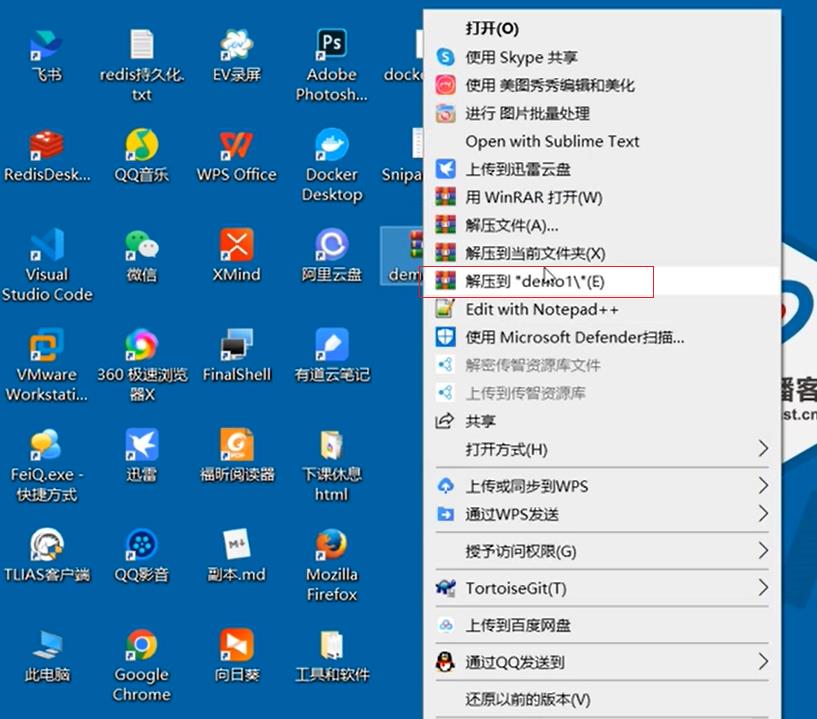
解压完之后 用idea打开他


因为用到了mysql 所以得配置数据库

已经启动

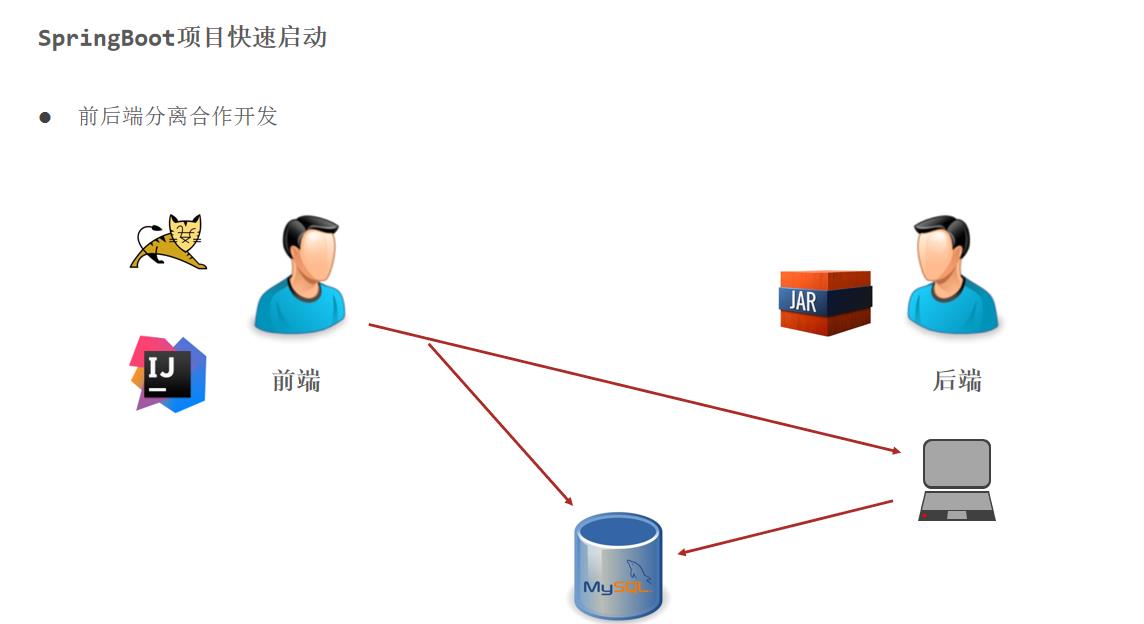
1.3 SpringBoot项目快速启动
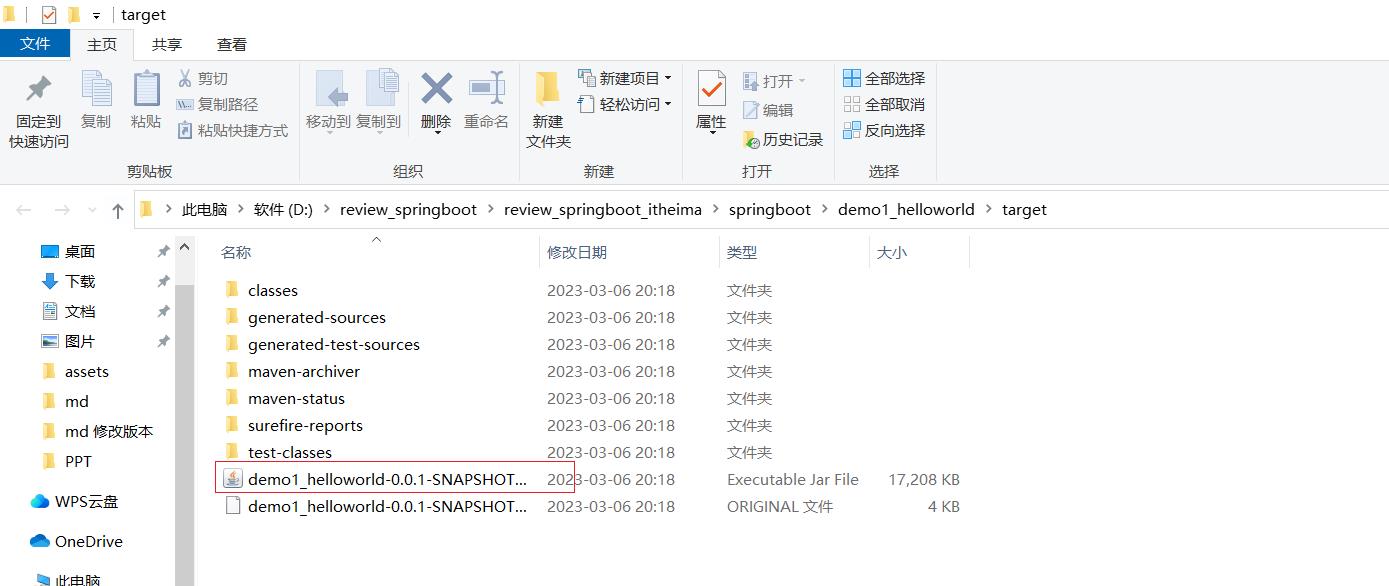
① 对SpringBoot项目打包(执行Maven构建指令package)
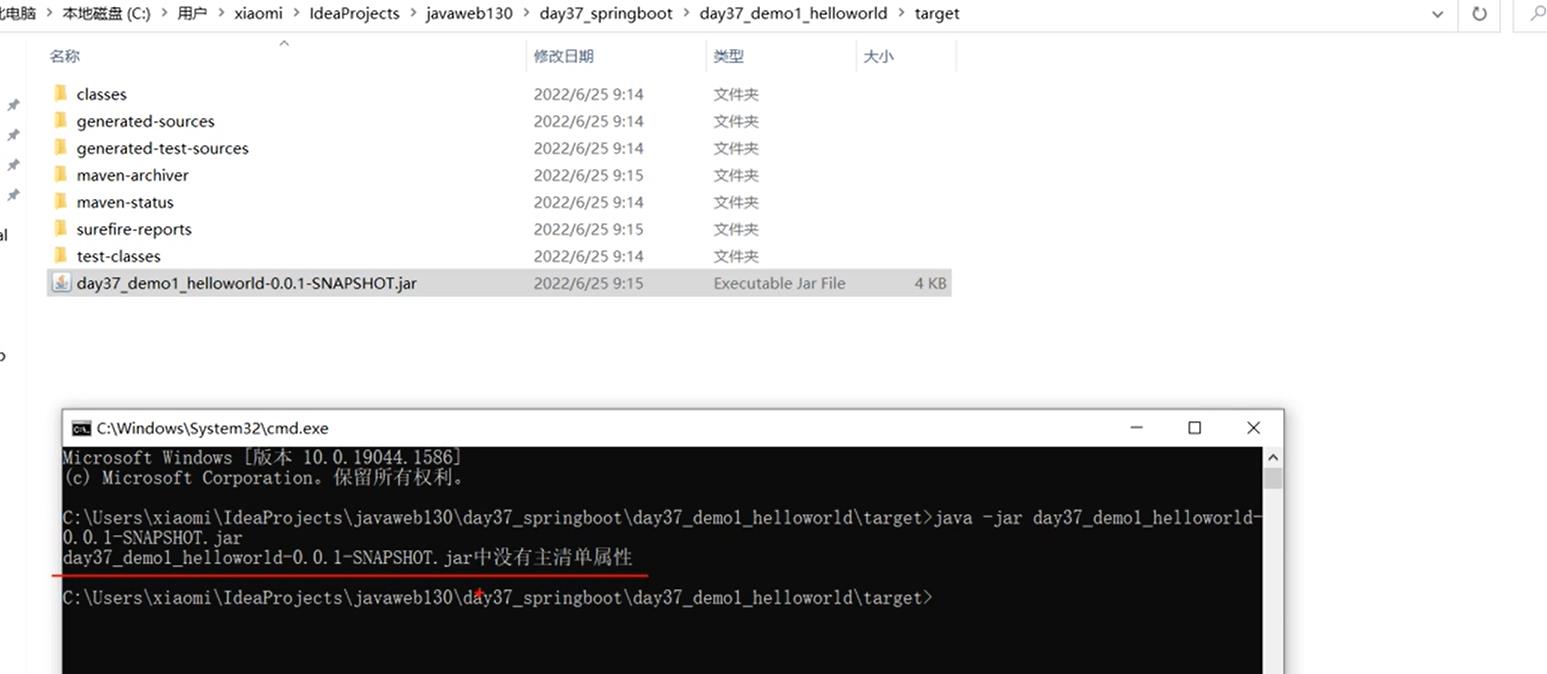
② 执行启动指令
java -jar ava -jar demo1_helloworld-0.0.1-SNAPSHOT.jar # 项目的名称根据实际情况修改例子


注意事项:
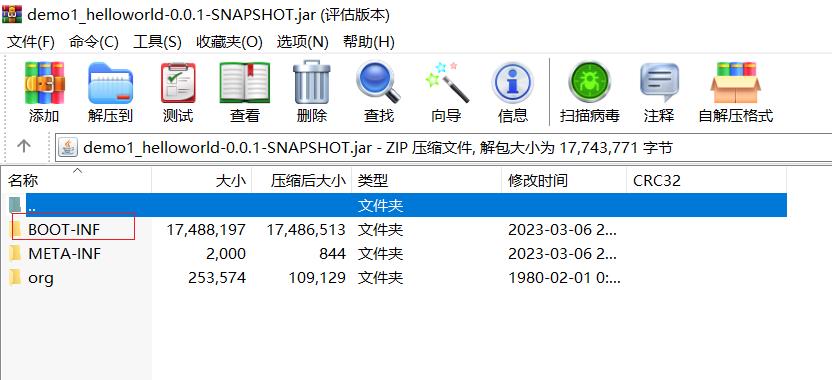
jar支持命令行启动需要依赖maven插件支持,请确认打包时是否具有SpringBoot对应的maven插件。

 <build>
        <plugins>
            <plugin>
                <groupId>org.springframework.boot</groupId>
                <artifactId>spring-boot-maven-plugin</artifactId>
            </plugin>
        </plugins>
</build>如果没有这个依赖maven插件 打包就只有4k左右
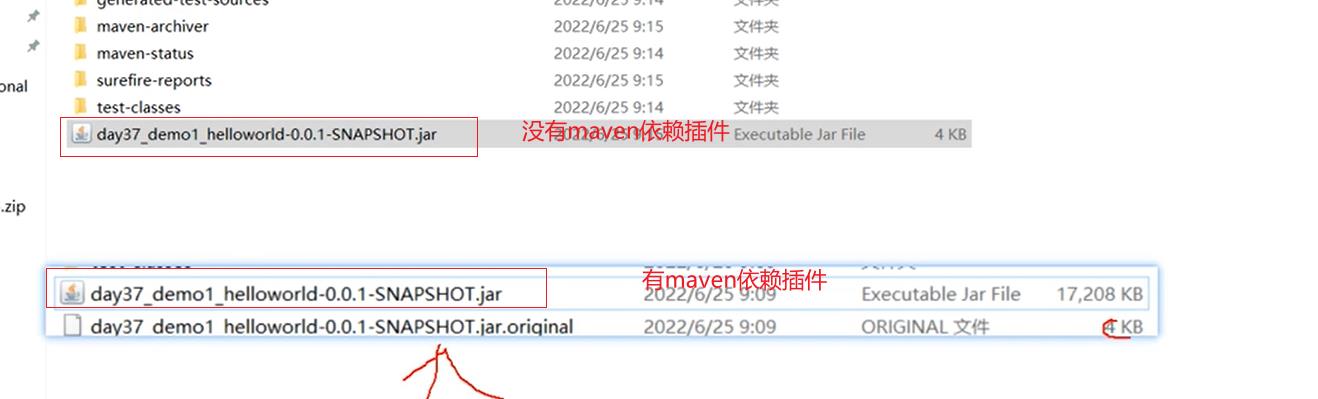
这个时候跟本运行不了
2. SpringBoot概述
问题导入
学习了SpringBoot入门案例之后,感觉对比SpringMVC哪一个更加方便简洁?
SpringBoot是由Pivotal团队提供的全新框架,其设计目的是用来简化Spring应用的初始搭建以及开发过程
Spring程序缺点
配置繁琐
依赖设置繁琐
SpringBoot程序优点
自动配置
起步依赖(简化依赖配置)
辅助功能(内置服务器,……)


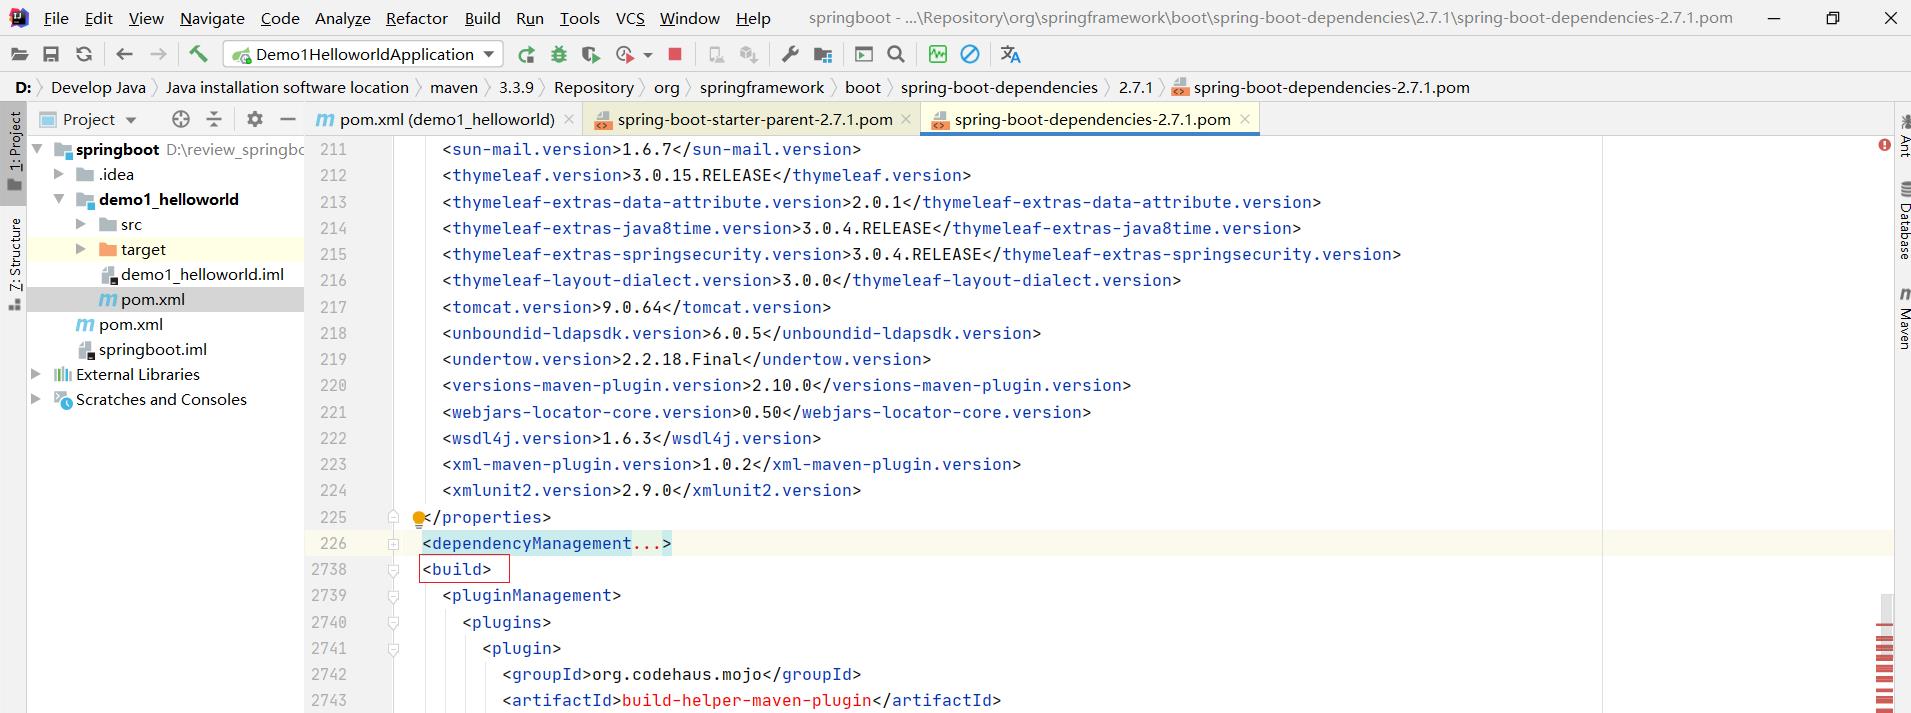
28行到225行 <properties></properties>

226行 到2737行 <dependencyManagement> </dependencyManagement>

2.1 起步依赖
starter
SpringBoot中常见项目名称,定义了当前项目使用的所有项目坐标,以达到减少依赖配置的目的
可以认为这个起步依赖相当于一个开关 我们主要用了这个东西 就相当用了他的全套功能
   <!--starter:
            1. 在springboot的依赖里面很常见
            2. 一般会称之为起步依赖
            3. 所谓起步依赖就是说: 只要导入这个起步依赖,起步依赖的背后会包含着一大堆依赖-->
    <dependencies>
        <dependency>
            <groupId>org.springframework.boot</groupId>
            <artifactId>spring-boot-starter-web</artifactId>
        </dependency>

        <dependency>
            <groupId>org.springframework.boot</groupId>
            <artifactId>spring-boot-starter-test</artifactId>
            <scope>test</scope>
        </dependency>
    </dependencies>
parent
所有SpringBoot项目要继承的项目,定义了若干个坐标版本号(依赖管理,而非依赖),以达到减少依赖冲突的目的
spring-boot-starter-parent(2.5.0)与 spring-boot-starter-parent(2.4.6)共计57处坐标版本不同
<?xml version="1.0" encoding="UTF-8"?>
<project xmlns="http://maven.apache.org/POM/4.0.0" xmlns:xsi="http://www.w3.org/2001/XMLSchema-instance"
         xsi:schemaLocation="http://maven.apache.org/POM/4.0.0 https://maven.apache.org/xsd/maven-4.0.0.xsd">
    <modelVersion>4.0.0</modelVersion>
    <!--继承 springboot 父亲-->
    <parent>
        <groupId>org.springframework.boot</groupId>
        <artifactId>spring-boot-starter-parent</artifactId>
        <version>2.7.1</version>
        <relativePath/> <!-- lookup parent from repository -->
    </parent>
    <!--项目本身的信息-->
    <groupId>com.itheima</groupId>
    <artifactId>demo1_helloworld</artifactId>
    <version>0.0.1-SNAPSHOT</version>
    <name>demo1_helloworld</name>
    <description>Demo project for Spring Boot</description>
<?xml version="1.0" encoding="UTF-8"?>
<project xmlns="http://maven.apache.org/POM/4.0.0"
xsi:schemaLocation="http://maven.apache.org/POM/4.0.0 http://maven.apache.org/xsd/maven-4.0.0.xsd"
xmlns:xsi="http://www.w3.org/2001/XMLSchema-instance">
<modelVersion>4.0.0</modelVersion>
<parent>
<groupId>org.springframework.boot</groupId>
<artifactId>spring-boot-dependencies</artifactId>
<version>2.5.0</version>
</parent>
<artifactId>spring-boot-starter-parent</artifactId>
<packaging>pom</packaging>
...
</project>实际开发
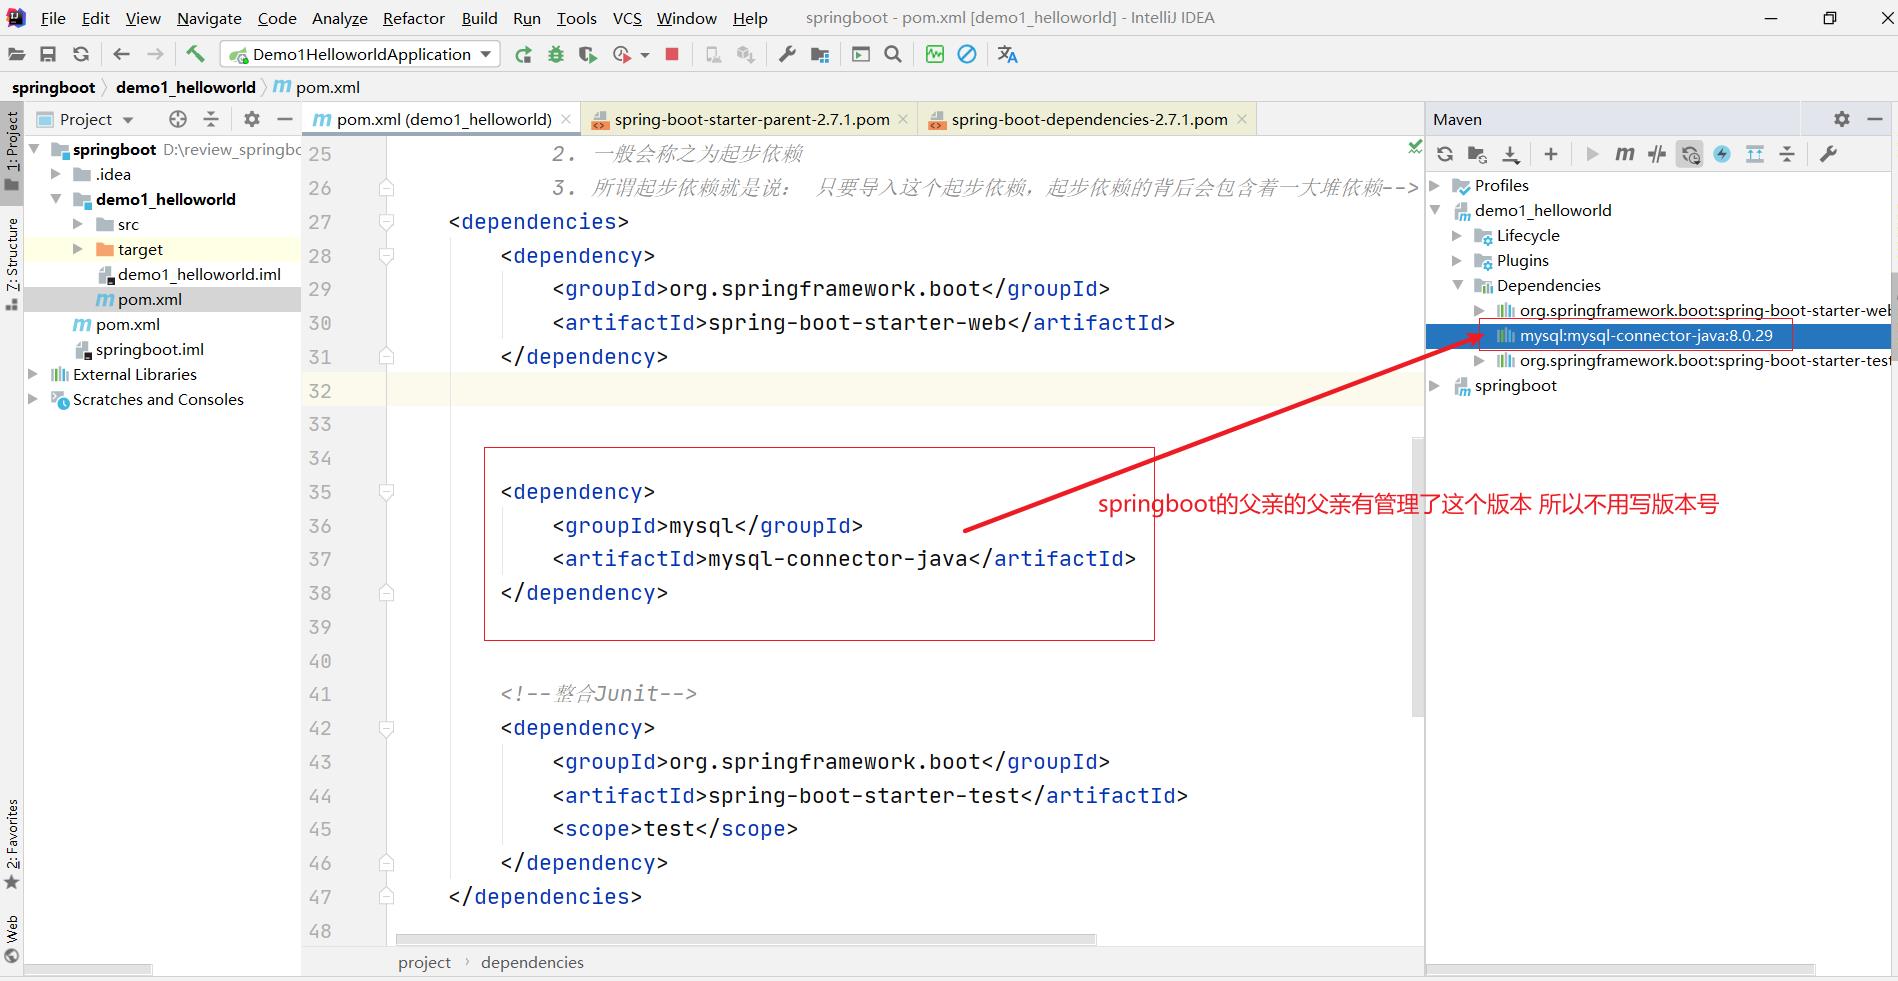
使用任意坐标时,仅书写GAV中的G和A,V由SpringBoot提供
如发生坐标错误,再指定version(要小心版本冲突)
如我们要用到Mysql
     <dependency>
            <groupId>mysql</groupId>
            <artifactId>mysql-connector-java</artifactId>
        </dependency>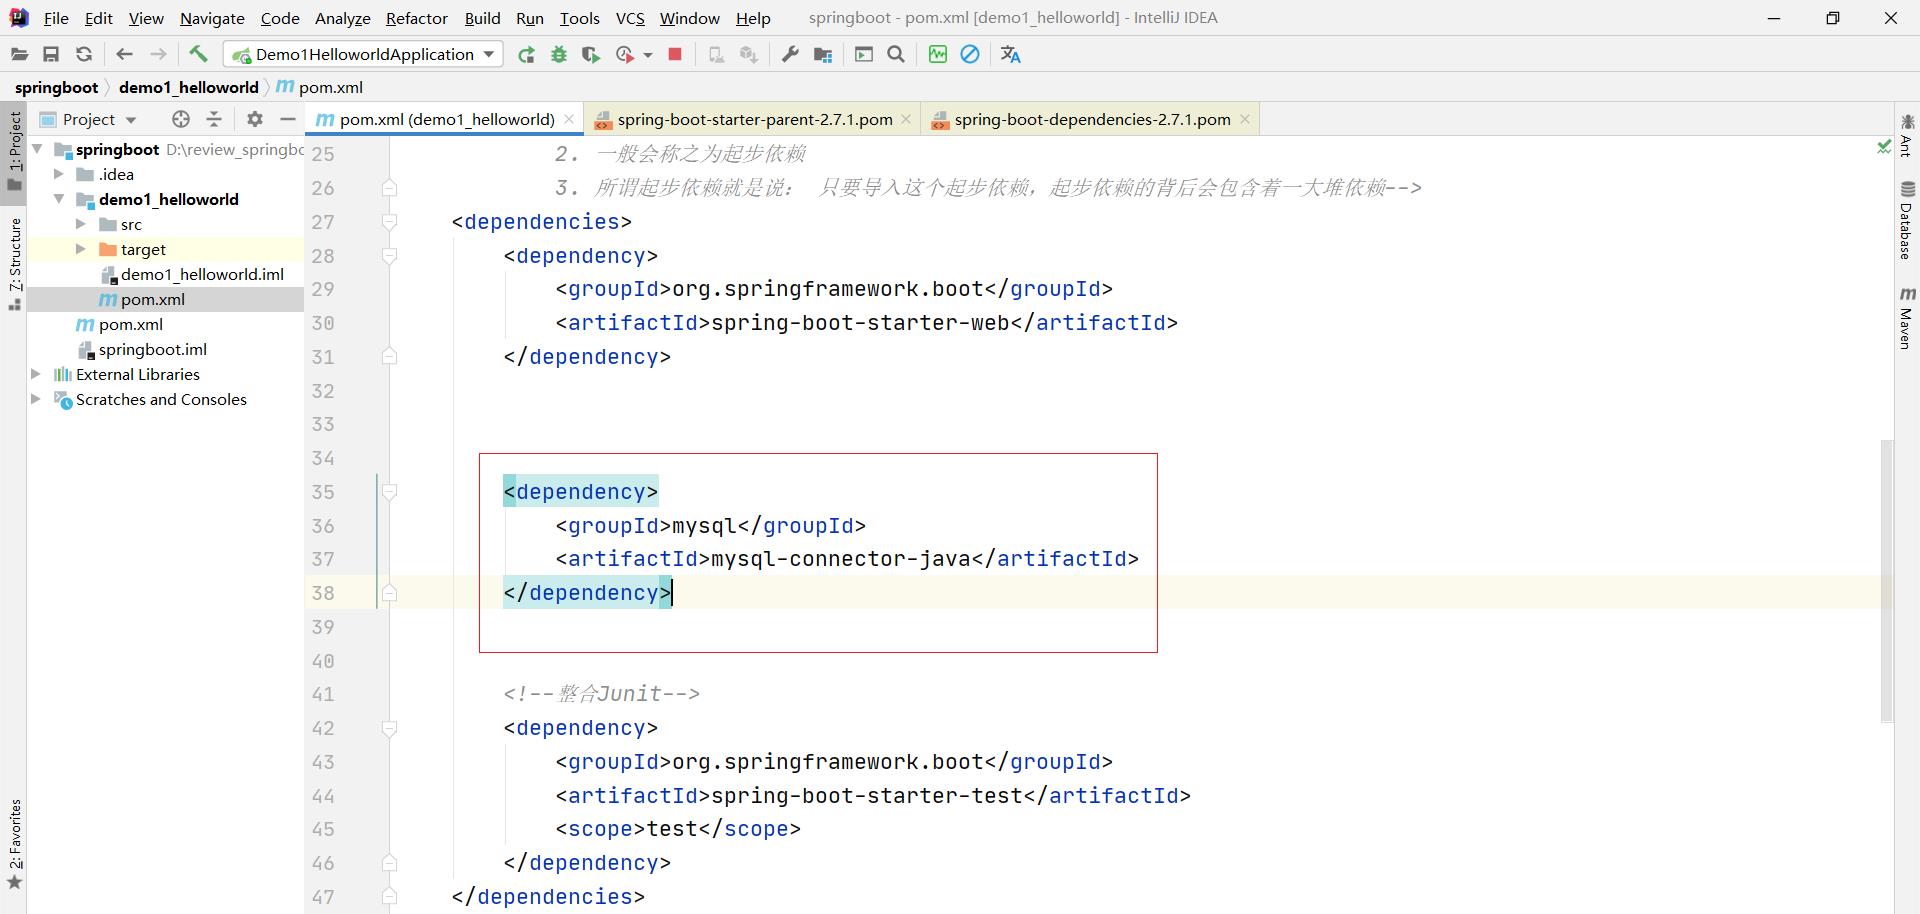
当然也不是什么都有管理
比如druid就不被管理
 <dependency>
            <groupId>com.alibaba</groupId>
            <artifactId>druid</artifactId>
            <version>1.2.8</version>
        </dependency>
如果不写版本号的话 就会出现unknown 这个时候 我们就知道在springboot的父亲的父亲里面并没有管理这个依赖 这个时候 我们就能自己添加版本号
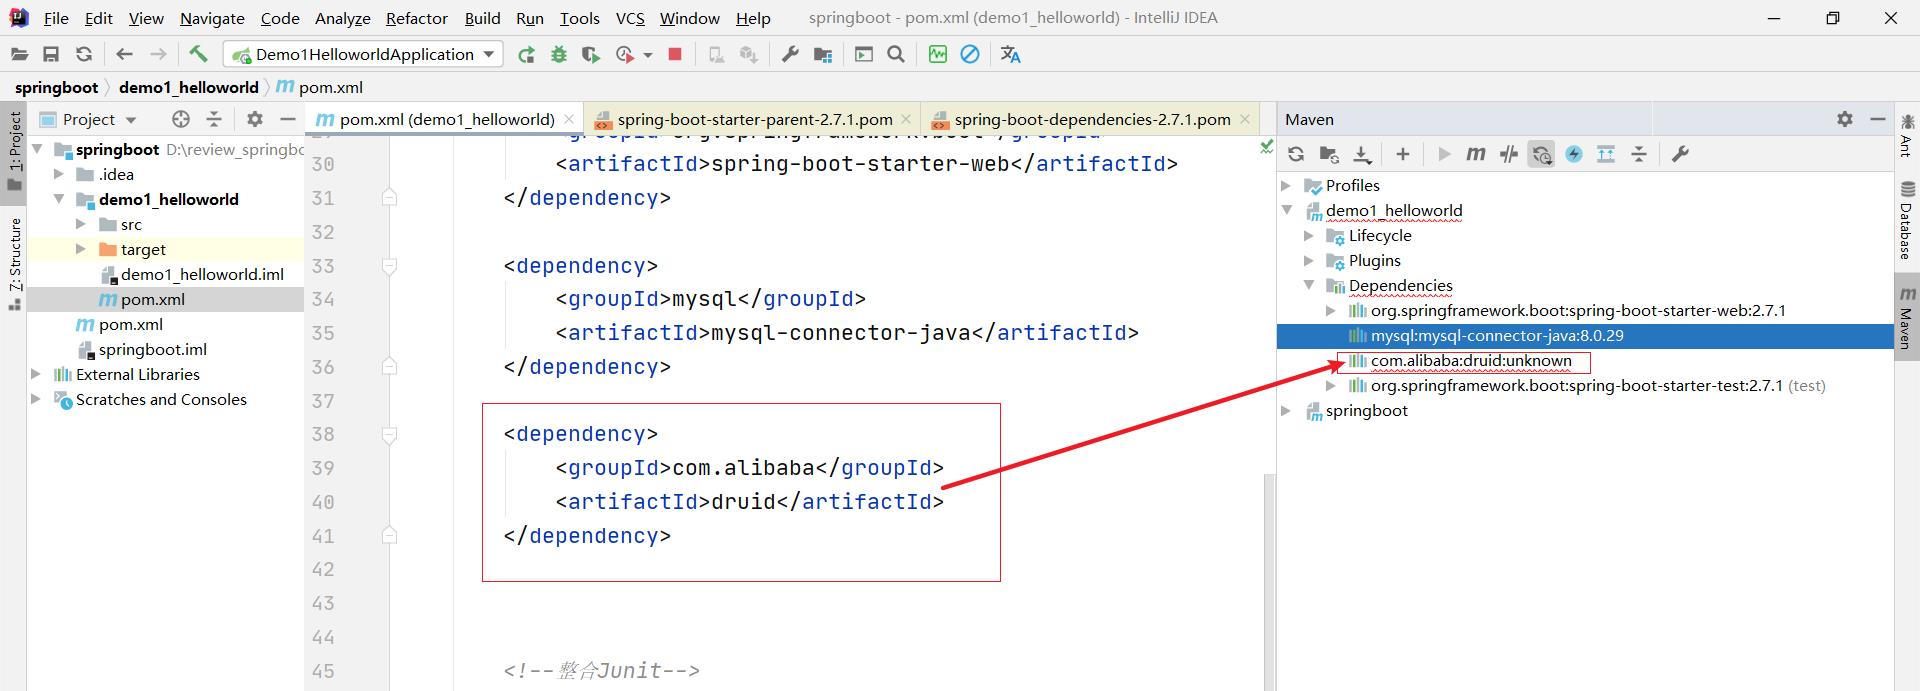
自己添加版本号

2.2 辅助功能
SpringBoot程序启动
package com.itheima;

import org.springframework.boot.SpringApplication;
import org.springframework.boot.autoconfigure.SpringBootApplication;


/*/*
    @SpringBootApplication:
        1. 表示这个类是一个springboot应用程序的入口类。
        2. 要想让程序启动,只需要在main方法里面写上这样的一句话:
              SpringApplication.run(当前类的字节码对象, args);
        3. 拓展:
            3.1 springboot项目启动的时候,默认会扫描启动类所在的位置,以及它后续的所有子包。
            3.2 查找到类里面打的注解 @Controller , @Service , @RequestMapping.
            3.3 springApplication.run 传递进去当前类的字节码对象,也是可以确定当前
                这个启动器它的包是哪个!
 */
@SpringBootApplication
public class Demo1HelloworldApplication

    public static void main(String[] args)
        SpringApplication.run(Demo1HelloworldApplication.class, args);
SpringBoot在创建项目时,采用jar的打包方式
SpringBoot的引导类是项目的入口,运行main方法就可以启动项目
使用maven依赖管理变更起步依赖项
Jetty比Tomcat更轻量级,可扩展性更强(相较于Tomcat),谷歌应用引擎(GAE)已经全面切换为Jetty
<dependencies>
        <dependency>
            <groupId>org.springframework.boot</groupId>
            <artifactId>spring-boot-starter-web</artifactId>
            <!--排除tomcat,不用tomcat-->
            <!--<exclusions>
                <exclusion>
                    <groupId>org.springframework.boot</groupId>
                    <artifactId>spring-boot-starter-tomcat</artifactId>
                </exclusion>
            </exclusions>-->
        </dependency>
        <!--添加进来jetty-->
        <dependency>
            <groupId>org.springframework.boot</groupId>
            <artifactId>spring-boot-starter-jetty</artifactId>
        </dependency>

        <dependency>
            <groupId>mysql</groupId>
            <artifactId>mysql-connector-java</artifactId>
        </dependency>

        <dependency>
            <groupId>com.alibaba</groupId>
            <artifactId>druid</artifactId>
            <version>1.2.8</version>
        </dependency>

        <!--整合Junit-->
        <dependency>
            <groupId>org.springframework.boot</groupId>
            <artifactId>spring-boot-starter-test</artifactId>
            <scope>test</scope>
        </dependency>
    </dependencies>

二、基础配置
1. 配置文件格式
问题导入
框架常见的配置文件有哪几种形式?
1.1 修改服务器端口
http://localhost:8080/books/1 >>> http://localhost/books/1
以上是关于springboot复习(黑马)(持续更新)的主要内容,如果未能解决你的问题,请参考以下文章