mac下yii2安装Smarty模板
Posted kevin
tags:
篇首语:本文由小常识网(cha138.com)小编为大家整理,主要介绍了mac下yii2安装Smarty模板相关的知识,希望对你有一定的参考价值。
1.在项目根目录输入命令: php composer.phar require --prefer-dist yiisoft/yii2-smarty
如果报错 Could not open input file: composer.phar 则重新输入命令:composer require --prefer-dist yiisoft/yii2-smarty
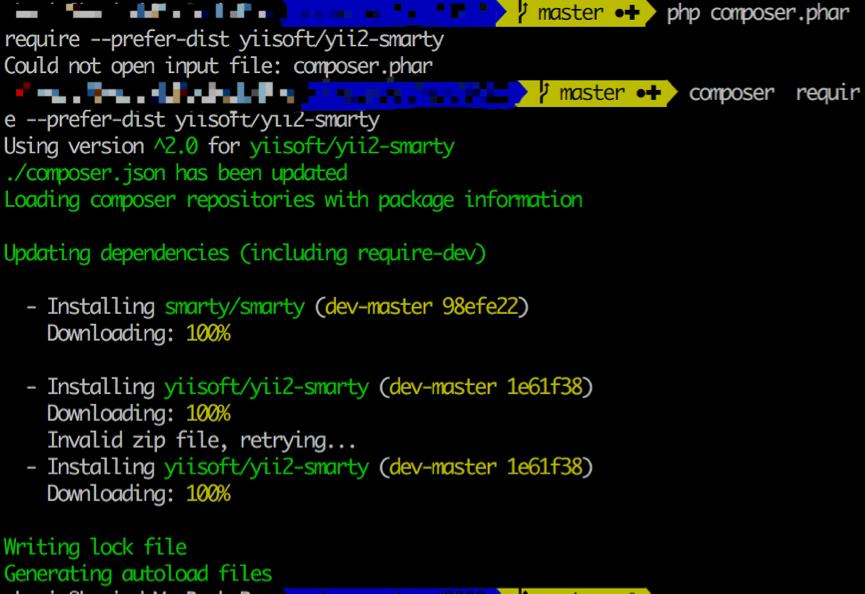
完成安装,项目安装在/vendor/yiisoft,目录名称为yii2-smarty。查看 README.md 可以看到
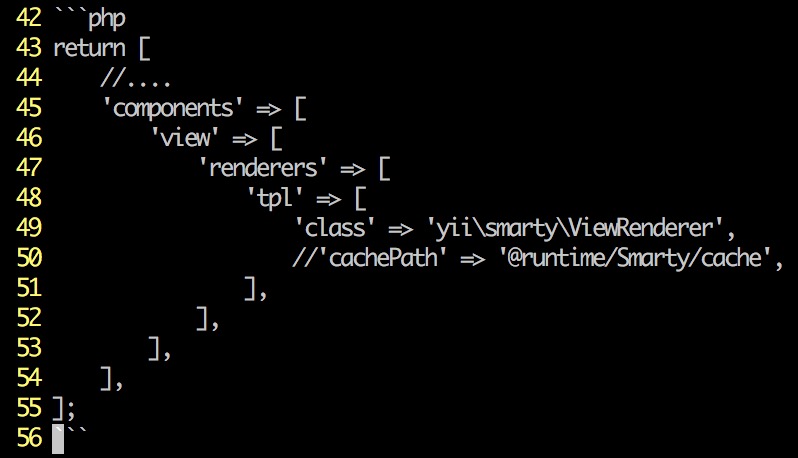
2.config下web.php的components里进行配置:
\'view\' => [
\'class\' => \'yii\\web\\View\',
\'renderers\' => [
//需要注意,如果加载的模板扩展名为html或者tpl,需将php改为对应的扩展名
\'html\' => [
\'class\' => \'yii\\smarty\\ViewRenderer\',
//\'cachePath\' => \'@runtime/Smarty/cache\',
],
],
//设置默认加载模板扩展名
\'defaultExtension\'=>"html",
],
3.最后进行如下测试:
控制器 IndexController.php:
public function actionIndex(){
return $this->renderPartial(\'index\', [\'string\' => \'world!\']);
}
模板 index.html:
hello {$string}
输出结果:hello world!
【版权申明】未经博主同意,谢绝转载!(请尊重原创,博主保留追究权) http://www.cnblogs.com/facetwitter/p/5999868.html
以上是关于mac下yii2安装Smarty模板的主要内容,如果未能解决你的问题,请参考以下文章