Apache 配置虚拟主机之2--基于 IP
Posted
tags:
篇首语:本文由小常识网(cha138.com)小编为大家整理,主要介绍了Apache 配置虚拟主机之2--基于 IP相关的知识,希望对你有一定的参考价值。
- 基于 name-based
- 基于 IP
- 基于 port
- 结合
二、基于IP
配置hosts,httpd.conf,eno
1、假设服务器已有IP为192.168.136.140,使用ifconfig在同一个网络接口eno16777736(或者eth0)绑定另外2个IP,或者同 nmtui 配置。可以进行ping探测。
[[email protected] ~]# ifconfig eno16777736:192.168.136.143
[[email protected] ~]# ifconfig eno16777736:192.168.136.144
2、修改/etc/hosts文件,添加一一对应的域名
# IP-Based
192.168.136.143 www3.example.com
1921.68.136.144 www4.example.com
3、建立虚拟主机存放网页的根目录
# /var/www 目录结构
[[email protected] www]# tree
.
├── cgi-bin
├── html
├── logs
│   ├── www1
│   │   ├── access_log
│   │   └── error_log
│   ├── www2
│   │   ├── access_log
│   │   └── error_log
│   ├── www3
│   │   ├── access_log
│   │   └── error_log
│   └── www4
│   ├── access_log
│   └── error_log
└── vhosts
    ├── www1
    │   └── index.html
    ├── www2
    │   └── index.html
    ├── www3
    │   └── index.html
    └── www4
        └── index.html
index.html内容分别如下
[[email protected] www3]# cat index.html ../www4/index.html
Holle world!
Welcom to www3.example.com site with IP-Based.
Holle world!
Welcom to www4.example.com site with IP-Based.
4、在httpd.conf中将附加配置文件httpd-vhosts.conf包含进来,接着修改httpd-vhosts.conf配置
# IP-Based
<VirtualHost 192.168.136.143:80>
    ServerAdmin [email protected]
    ServerName www3.example.com
    DocumentRoot "/var/www/vhosts/www3"
    ErrorLog "/var/www/logs/www1/error_log"
    CustomLog "/var/www/logs/www1/access_log" combined
</VirtualHost>

<VirtualHost 192.168.136.144:80>
    ServerAdmin [email protected]
    ServerName www4.example.com
    DocumentRoot "/var/www/vhosts/www4"
    ErrorLog "/var/www/logs/www4/error_log"
    CustomLog "/var/www/logs/www4/access_log" combined
</VirtualHost>
5、配置语法检查 httpd -S,可看到Name-Based和IP-Based共存。
[[email protected] www]# httpd -S
VirtualHost configuration:
192.168.136.143:80     www3.example.com (/etc/httpd/conf/httpd.conf:98)
192.168.136.144:80     www4.example.com (/etc/httpd/conf/httpd.conf:106)
*:80                   is a NameVirtualHost
         default server www1.example.com (/etc/httpd/conf/httpd.conf:82)
         port 80 namevhost www1.example.com (/etc/httpd/conf/httpd.conf:82)
                 alias example1.com
         port 80 namevhost www2.example.com (/etc/httpd/conf/httpd.conf:89)
ServerRoot: "/etc/httpd"
Main DocumentRoot: "/var/www/html"
Main ErrorLog: "/etc/httpd/logs/error_log"
Mutex authn-socache: using_defaults
Mutex default: dir="/run/httpd/" mechanism=default
Mutex mpm-accept: using_defaults
Mutex authdigest-opaque: using_defaults
Mutex proxy-balancer-shm: using_defaults
Mutex rewrite-map: using_defaults
Mutex authdigest-client: using_defaults
Mutex proxy: using_defaults
PidFile: "/run/httpd/httpd.pid"
Define: DUMP_VHOSTS
Define: DUMP_RUN_CFG
User: name="apache" id=48
Group: name="apache" id=48
6、重启服务 systemctl restart httpd.service,然后访问4个站点。
[[email protected] www]# curl www1.example.com  www2.example.com www3.example.com www4.example.com
Holle world!
welcome to www1.example.com site with Name-Based.
Holle world!
welcome to www2.example.com site with Name-Based.
Holle world!
Welcom to www3.example.com site with IP-Based.
Holle world!
Welcom to www4.example.com site with IP-Based.
# 通过IP或者域名访问3,4
[[email protected] www]# curl www3.example.com  192.168.136.143:80  www4.example.com 192.168.136.144:80
Holle world!
Welcom to www3.example.com site with IP-Based.
Holle world!
Welcom to www3.example.com site with IP-Based.
Holle world!
Welcom to www4.example.com site with IP-Based.

Holle world!
Welcom to www4.example.com site with IP-Based.
至此已完成了IP-Based的配置。
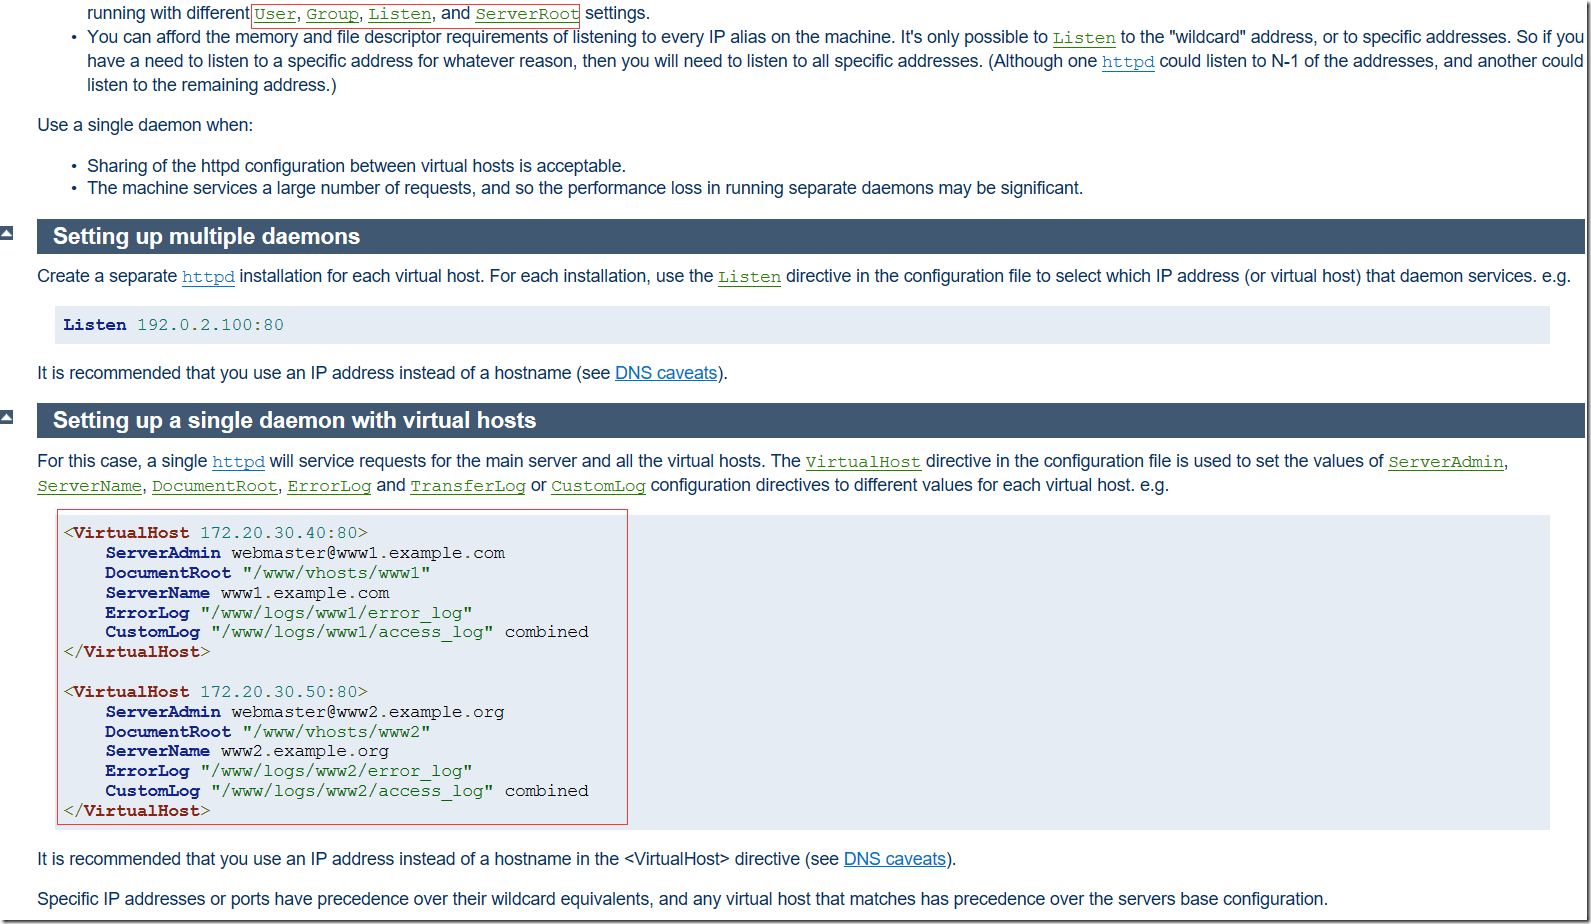
附:http://httpd.apache.org/docs/2.4/vhosts/ip-based.html
问题:用户如何配置和管理。
以上是关于Apache 配置虚拟主机之2--基于 IP的主要内容,如果未能解决你的问题,请参考以下文章
