Linux学习笔记
Posted
tags:
篇首语:本文由小常识网(cha138.com)小编为大家整理,主要介绍了Linux学习笔记相关的知识,希望对你有一定的参考价值。
####邮件的管理###
1.拒绝某ip发送
完成邮件基础配置
(westos.com为主机名称 ip172.25.254.125)
(linux.com为从机名称 ip172.25.254.225)
cd /etc/postfix/
vim access
【最后一行】
172.25.254.125 REJECT 拒绝发送邮件的ip
postmap access 刷新
postconf -e "smtpd_client_restrictions = check_client_access hash:/etc/postfix/access" 修改配置文件 (检测并添加)
systemctl restart postfix.service 重启服务
『测试结果』
[[email protected] postfix]# telnet 172.25.254.125 25
Trying 172.25.254.125...
Connected to 172.25.254.125.
Escape character is ‘^]‘.
220 westos.com ESMTP Postfix
mail from:[email protected]
250 2.1.0 Ok
rcpt to:[email protected]
554 5.7.1 <unknown[172.25.254.125]>: Client host rejected: ACCESS(5)
(ip被拒绝发送)
拒绝某一用户发送
vim sender (文件名任意)
[email protected] REJECT 拒绝用户的全称
postmap sender 刷新
postconf -e "smtpd_sender_restrictions = check_sender_access hash:/etc/postfix/sender" 修改配置文件 (检测并添加)
systemctl restart postfix.service 重启服务
『测试结果』
[[email protected] postfix]# telnet 172.25.254.125 25Trying 172.25.254.125...
Connected to 172.25.254.125.
Escape character is ‘^]‘.
220 westos.com ESMTP Postfix
mail from:[email protected]
250 2.1.0 Ok
rcpt to:root:westos.com
554 5.7.1 <[email protected]>: Sender address rejected: Access denied
(该用户被拒绝发送)
拒绝某一用户接受文件
vim recip
[email protected] REJECT 拒绝用户的全称
postmap recip 刷新
postconf -e "smtpd_recipient_restrictions = check_recipient_access hash:/etc/postfix/recip" 修改配置文件 (检测并添加)
systemctl restart postfix.service 重启服务
『测试结果』
[[email protected] postfix]# telnet 172.25.254.125 25
Trying 172.25.254.125...
Connected to 172.25.254.125.
Escape character is ‘^]‘.
220 westos.com ESMTP Postfix
mail from:[email protected]
250 2.1.0 Ok
rcpt to:[email protected]
554 5.7.1 <[email protected]>: Recipient address rejected: Access denied
(该用户被拒绝接受)
远程访问邮箱
主机
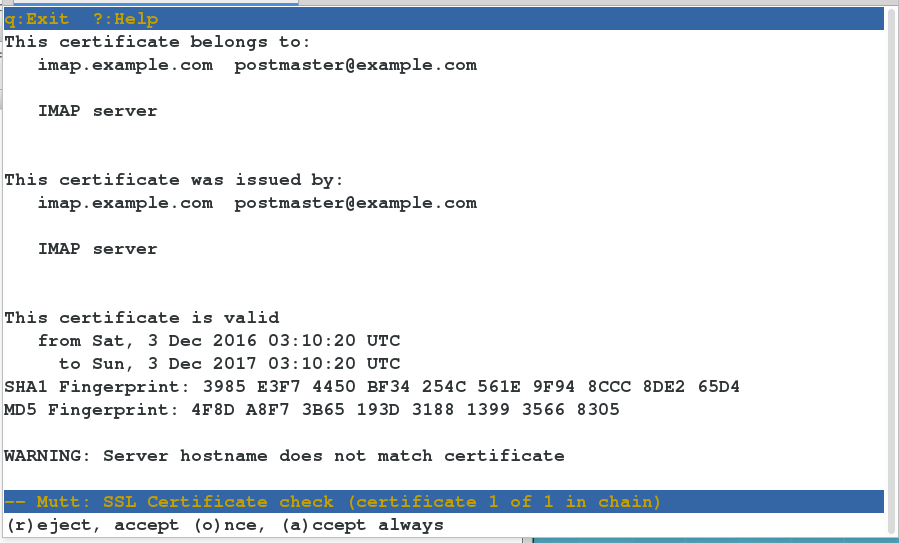
yum install dovecot -y 安装服务
(所用端口 imap 143 pop3 110 imaps 993 pop3 995)
cd /etc/dovecot
vim dovecot.conf
24 protocols = imap pop3 lmtp 开放协议
49 disable_plaintext_auth = no 允许不加密
cd conf.d
vim 10-mail.conf
mail_location = mbox:~/mail:INBOX=/var/mail/%u 邮件存放地点
systemctl start dovecot 开启服务
su student 切换至用户
mkdir /home/student/mail/.imap -p 建立需要的目录和文件
touch /home/student/mail/.imap/INBOX
从机
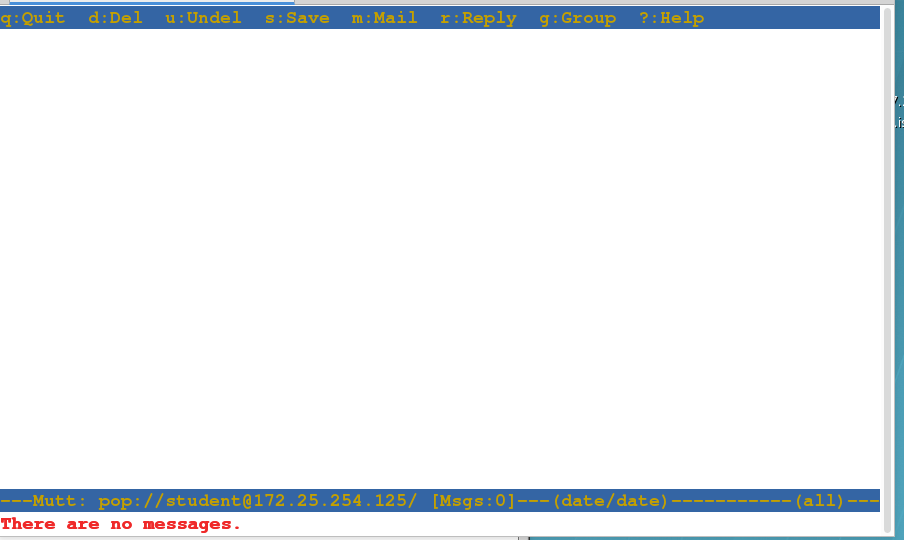
yum install mutt -y 安装服务
muut -f pop://[email protected]
图形界面
主机
vim /etc/dovect/dovecot.conf 修改配置文件
48 login_trusted_networks = 0.0.0.0/0
systemctl restart dovect 重启服务
从机
lftp 172.25.254.250 -X (获得文件thunderbird-31.4.0.tar.bz2)
tar jxf thunderbird-31.4.0.tar.bz2 解压
cd thunderbird/
./thunderbird 执行文件(安装依赖文件)
yum whatprovides /lib/ld-linux.so.2
yum install glibc-2.17-55.el7.i686 -y
./thunderbird
yum whatprovides libstdc++.so.6
yum install libstdc++-4.8.2-16.el7.i686 -y
./thunderbird
yum whatprovides libXrender.so.1
yum install libXrender-0.9.8-2.1.el7.i686 -y
./thunderbird
yum whatprovides libasound.so.2
yum install alsa-lib-1.0.27.2-3.el7.i686 -y
./thunderbird
yum whatprovides libdbus-glib-1.so.2
yum install dbus-glib-0.100-7.el7.i686 -y
./thunderbird
yum whatprovides libgtk-x11-2.0.so.0
yum install gtk2-2.24.22-5.el7.i686 -y
./thunderbird
yum whatprovides libXt.so.6
yum install libXt-1.1.4-6.1.el7.i686 -y
./thunderbird 运行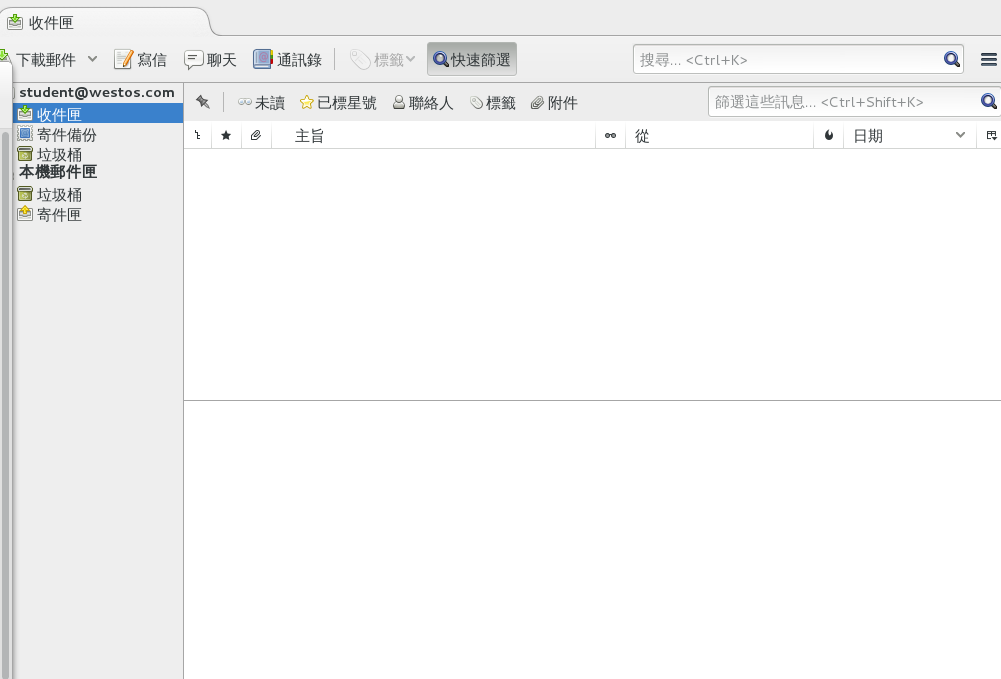
虚拟账户的邮件管理
配置数据库
yum install mariadb-server.x86_64 安装服务
yum install httpd php php-mysql -y
cd /var/www/html
fltp 172.25.254.250 下载必要安装包
tar jxf phpMyAdmin-3.4.0-all-languages.tar.bz2 解压
mv phpMyAdmin-3.4.0-all-languages/ myadmin 重命名
cd myadmin/
cp config.sample.inc.php config.inc.php 复制模版
vim config.inc.php 修改文件
$cfg[‘blowfish_secret‘] = ‘westos‘; /* YOU MUST FILL IN THIS FOR COOKIE AUTH! */
systemctl start mariadb 开启服务
systemctl start httpd
mysql_secure_installation 数据库安全设置
systemctl restart mariadb.service 重启服务
mysql -u root -pwetsos 进入数据库
MariaDB [(none)]> CREATE USER [email protected] identified by ‘postfix‘ ;
Query OK, 0 rows affected (0.00 sec) 创建用户postfx
MariaDB [(none)]> GRANT INSERT,UPDATE,SELECT on email.* to [email protected] ;
Query OK, 0 rows affected (0.00 sec) 赋予权限
#vim mysql-users.cf 修改文件
host = localhost
user = postfix
password = postfix
dbname = email
table = muser
select_field = username
where_field = username
#vim mysql-domain.cf 修改文件
host = localhost
user = postfix
password = postfix
dbname = email
table = muser
select_field = domain
where_field = domain
#vim mysql-maildir.cf 修改文件
host = localhost
user = postfix
password = postfix
dbname = email
table = muser
select_field = maildir
where_field = username
groupadd -g 600 vmail 创建用户组
useradd -g 600 -u 600 -s /sbin/nologin vmail 该用户不能用shell
postconf -e "virtual_gid_maps = static:600"
postconf -e "virtual_uid_maps = static:600"
postconf -e "virtual_mailbox_base = /home/vmail"
postconf -e "virtual_alias_maps = mysql:/etc/postfix/mysql-users.cf"
postconf -e "virtual_mailbox_domains = mysql:/etc/postfix/mysql-domain.cf"
postconf -e "virtual_mailbox_maps = mysql:/etc/postfix/mysql-maildir.cf"
systemctl restart postfix.service 重启服务
cd /etc/dovecot/c.conf
vim 10-auth.conf
122 !include auth-system.conf.ext
123 !include auth-sql.conf.ext 取消注释
124 #!include auth-ldap.conf.ext
125 #!include auth-passwdfile.conf.ext
126 #!include auth-checkpassword.conf.ext
127 #!include auth-vpopmail.conf.ext
128 #!include auth-static.conf.ext
vim 10-mail.conf
30 mail_location =maildir:/home/vmail/%d/%n
169 first_valid_uid = 600
176 first_valid_gid = 600
cd /usr/share/doc/dovecot-2.2.10/
cd example-config/
cp dovecot-sql.conf.ext /etc/dovecot/
vim dovecot-sql.conf.ext
31 # Database driver: mysql, pgsql, sqlite
32 driver = mysql
71 connect = host=localhost dbname=mail user=postfix password=postfix
72
73 # Default password scheme.
74 #
75 # List of supported schemes is in
76 # http://wiki2.dovecot.org/Authentication/PasswordSchemes
77 #
78 default_pass_scheme = PLAIN
107 password_query = \
108 SELECT username, domain, password \
109 FROM users WHERE username = ‘%U‘ AND domain = ‘%d‘
125 user_query = SELECT maildir, 600 AS uid, 600 AS gid FROM muser WHERE username = ‘%u‘
yum install dovecot-mysql.x86_64 -y 安装必要服务
systemctl restart dovecot 重启服务
邮件空壳
从机:
配置基础dns
vim /etc/named.rfc1912.zones
zone "westos.org" IN {
type master;
file "westos.org.zone";
allow-update { none; };
};
cd /var/named/
cp -p named.localhost westos.org.zone
vim westos.org.zone
$TTL 1D
@ IN SOA dns.westos.org rname.invalid. (
0 ; serial
1D ; refresh
1H ; retry
1W ; expire
3H ) ; minimum
NS dns.westos.org.
dns A 172.25.44.100
westos.org. MX 1 172.25.44.10.
vim /etc/postfix/main.cf 配置
75 myhostname = westos.com 真实主机名
83 mydomain = westos.com 域名
98myorigin = westos.org 空壳名
113 inet_interfaces = all
140 local_transport = error:local delivery disabled
164 mydestination =
313 relayhost = 172.25.44.10 真实的服务端
systemctl restart postfix 重启服务
主机
vim /etc/postfix/main.cf
264 mynetworks = 172.25.44.100 谁是我的空壳
systemctl restart postfix.service 重启服务
阿帕奇
修改阿帕奇的默认测试页
yum install httpd -y 安装服务
systemctl stop firewalld 关闭火墙
setenforce 0 selinux改为警告
vim index.html 编写默认文件
vim /etc/httpd/conf/httpd.conf 修改配置文件
<IfModule dir_module>
DirectoryIndex file index.html 默认文件优先读file 后读 index。html
systemctl restart httpd 重启服务
ls -Zd . 查看html的安全上下文
drwxr-xr-x. root root system_u:object_r:httpd_sys_content_t:s0 .
mkdir /www/westos -p 创建测试所用的目录
semanage fcontext -a -t httpd_sys_content_t ‘/www/westos(/.*)?‘ 修改测试目录的安全上下文与/var/www/html一致
restorecon -RvvF /www/ 刷新
restorecon reset /www context unconfined_u:object_r:default_t:s0->system_u:object_r:default_t:s0
restorecon reset /www/westos context unconfined_u:object_r:default_t:s0->system_u:object_r:httpd_sys_content_t:s0
cd /www/westos/
vim index.html 创建默认读取文件
vim /etc/httpd/conf/httpd.conf 修改配置文件
119 #DocumentRoot "/var/www/html" 注释掉原有
120 DocumentRoot "/www/westos" 默认读取目录
121 <Directory "/www/westos"> 授权
122 require all granted
123 </Directory>
42 Listen 80 读取的端口为80端口
systemctl restart httpd 重启服务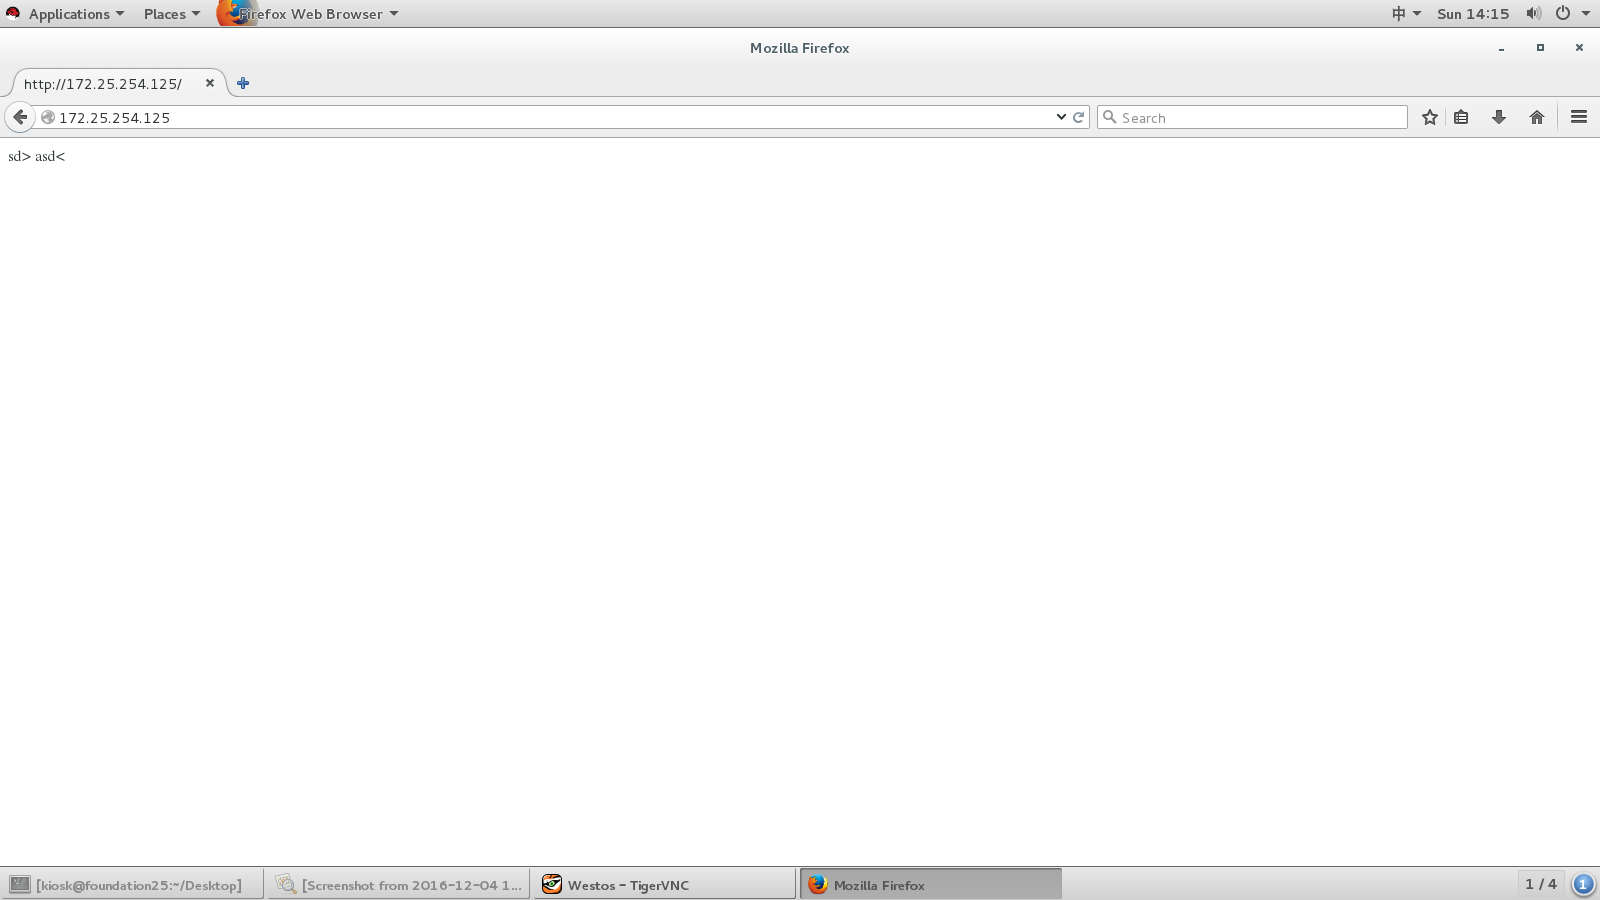
访问的拒绝
vim /etc/httpd/conf/httpd.conf 修改配置文件
119 #DocumentRoot "/var/www/html"
120 DocumentRoot "/www/westos"
121 <Directory "/www/westos">
122 require all granted
123 Order Deny,Allow 先读取拒绝后读取允许
124 Allow from 172.25.254.125 允许125访问该文件
125 Deny from ALL 拒绝所有人访问
126 </Directory>
systemctl restart httpd 重启服务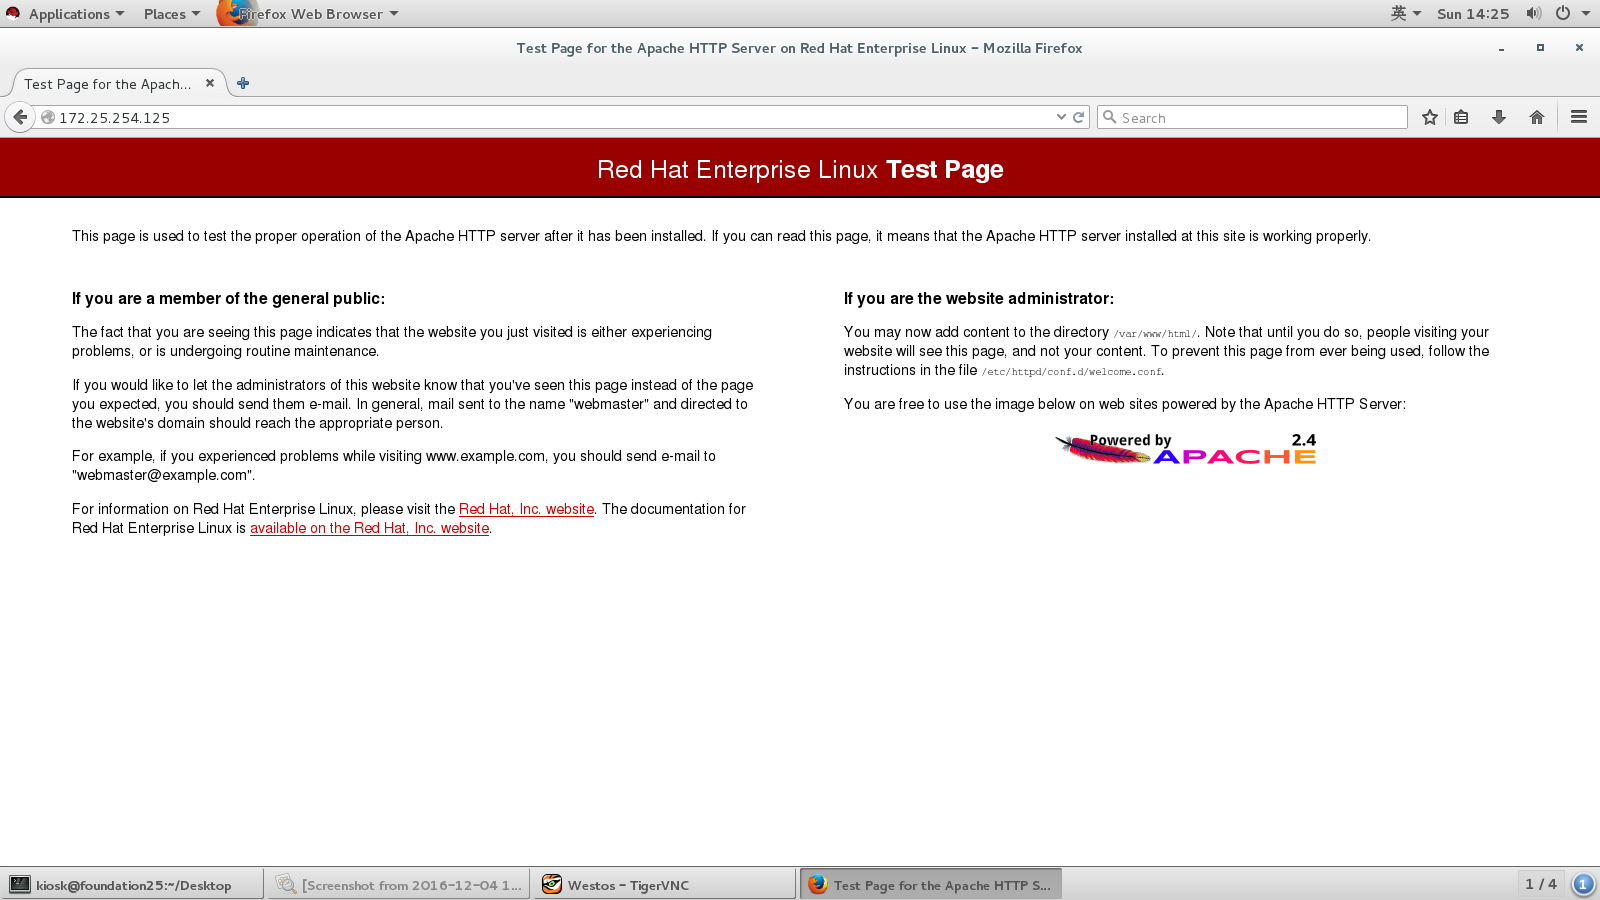
httpd 用户登陆
cd /etc/httpd/
[[email protected] httpd]# htpasswd -cm htpasswdfile gou 创建用户‘gou’
New password:
Re-type new password:
Adding password for user gou
[[email protected] httpd]# htpasswd -m htpasswdfile westos 添加用户‘westos’
New password:
Re-type new password:
Adding password for user westos
[[email protected] httpd]# cat htpasswdfile 查看创建结果
gou:$apr1$cECZUHkr$.CUbK/qnQrYOHx49.g4jN/
westos:$apr1$DusPNvA/$G8LZSfDYQ1aJLdIGi1Qah1
vim /etc/httpd/conf/httpd.conf 修改配置文件
DocumentRoot "/www/westos"
<Directory "/www/westos">
#require all granted
AllowOverride All
Authuserfile /etc/httpd/htpasswdfile 指定用户所在文件
Authname "Please input username and password" 进入后提示语
Authtype basic
Require valid-user | Require user gou 允许指定文件中所有用户访问 |仅允许用户gou访问
</Directory>
systemctl restart httpd 重启服务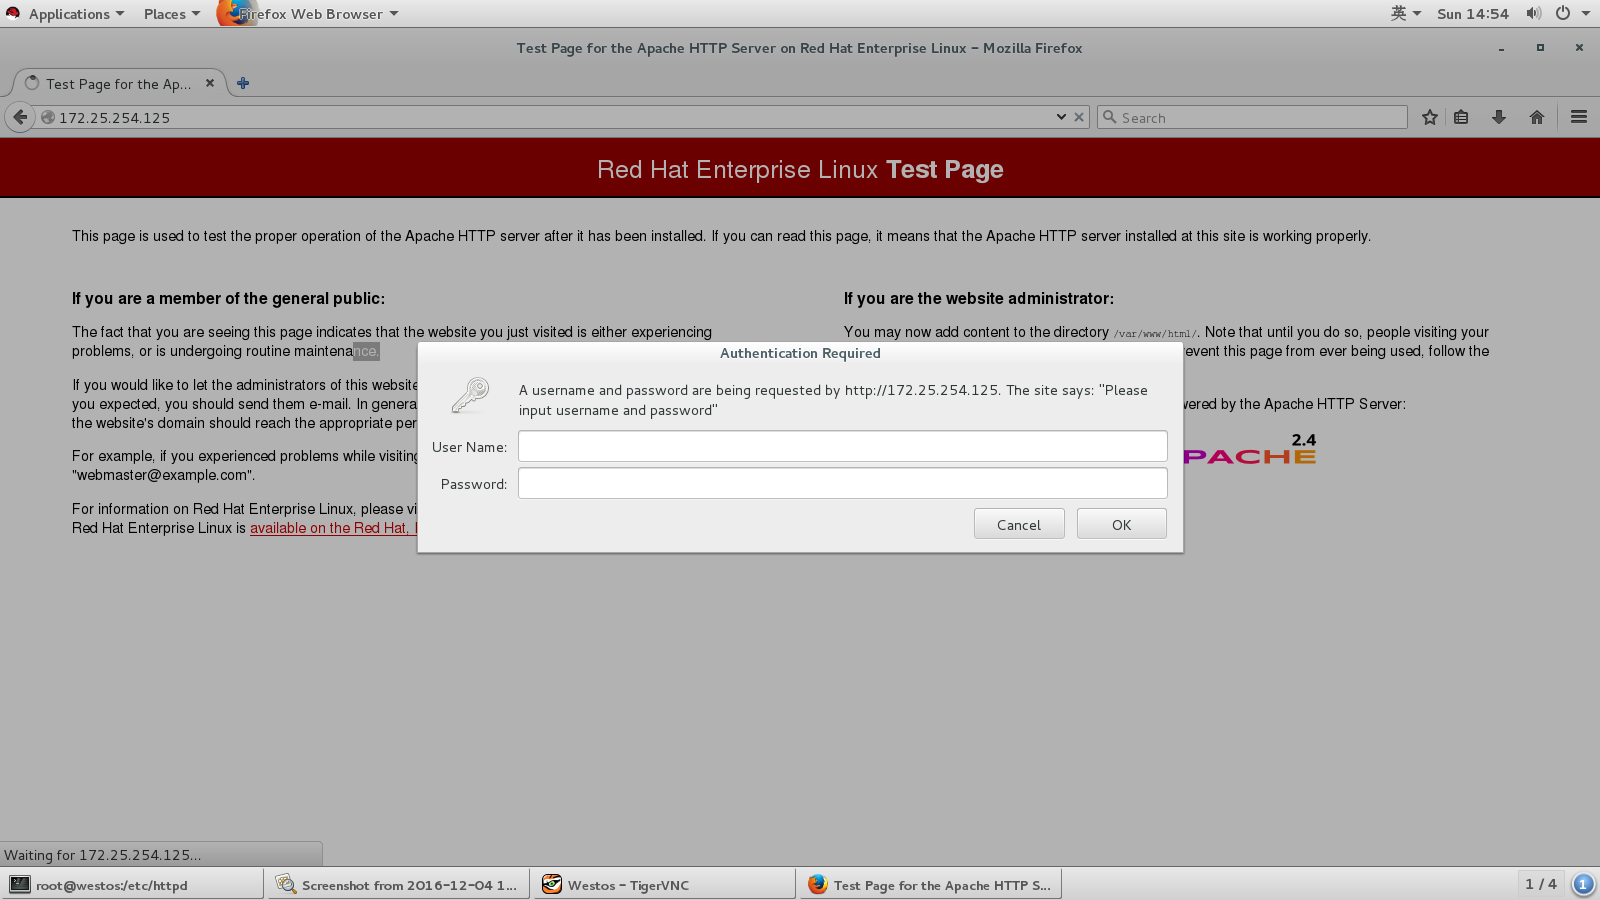
阿帕奇的虚拟主机
从机
vim /etc/hosts
172.25.254.125 westos.com www.westos.com news.westos.com lol.westos.com
主机
vim /etc/httpd/conf/httpd.conf 修改配置文件(恢复最初)
mkdir /var/www/virtual/news.westos.com/html -p 创建虚拟主机所需目录
mkdir /var/www/virtual/lol.westos.com/html -p
vim /var/www/virtual/lol.westos.com/html/index.html 创建默认页面
vim /var/www/virtual/news.westos.com/html/index.html (内容随意)
cd /etc/httpd/conf.d/
vim default.conf 配置次级文件
<Virtualhost _default_:80> 访问80端口时看
Documentroot /var/www/html 这个文件
Customlog "logs/default.log" combined 看报错
</Virtualhost>
<Directory "/var/www/html">
Require all granted
</Directory>
vim news.conf 同上
<Virtualhost *:80>
Servername news.westos.com
Documentroot /var/www/virtual/news.westos.com/html
Customlog "logs/news.log" combined
</Virtualhost>
<Directory "/var/www/virtual/news.westos.com/html">
Require all granted
</Directory>
cp news.conf lol.conf 复制模版
vim lol.conf 同上
<Virtualhost *:80>
Servername lol.westos.com
Documentroot /var/www/virtual/lol.westos.com/html
Customlog "logs/lol.log" combined
</Virtualhost>
<Directory "/var/www/virtual/lol.westos.com/html">
Require all granted
</Directory>
systemctl restart httpd 重启服务
yum install mod_ssl -y 获取认证
使用自己的认证
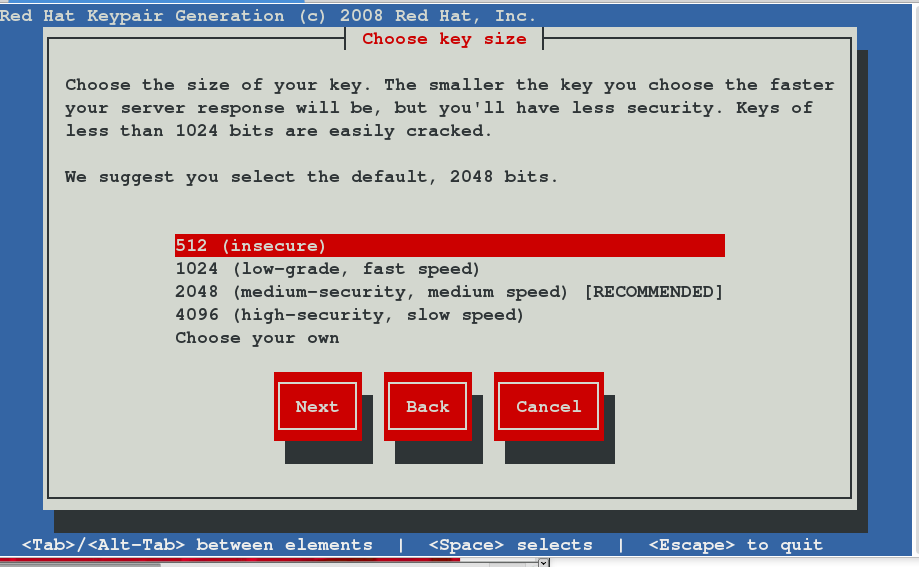
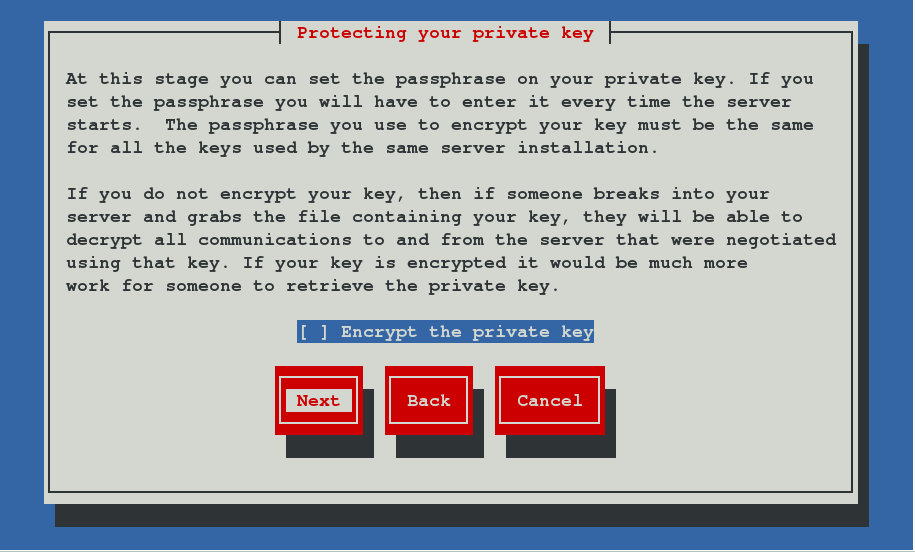
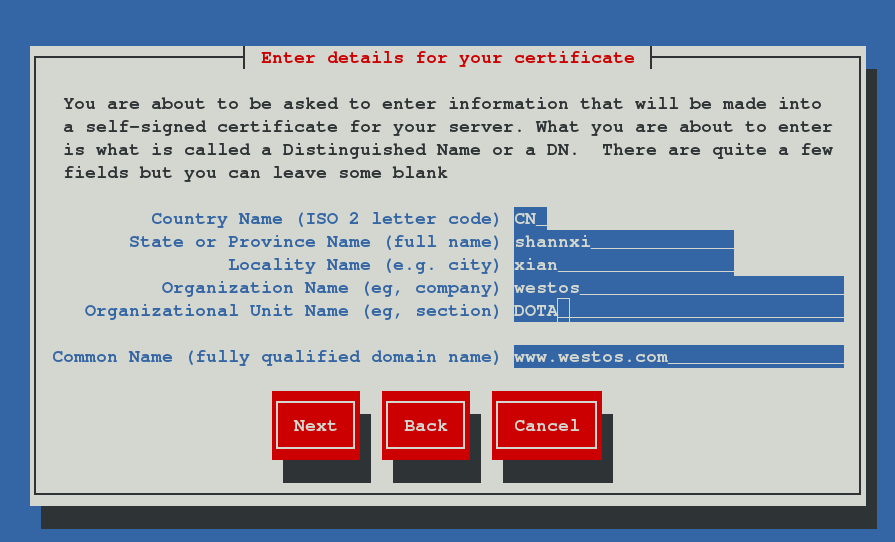
yum install crypto-utils 安装必要软件
genkey www.westos.com
以上是关于Linux学习笔记的主要内容,如果未能解决你的问题,请参考以下文章
