前言
cypress 不仅可以用浏览器访问web页面,也可以直接 cy.request() 发请求访问接口。
在实际工作中,很多时候都需要先登录,如果只是写登录页面的案例,可以直接在web页面操作。
如果是写其他页面的案例,需要依赖登录,这时候应该是不需要再次重复打开页面去登录,正确的做法是在用例跑之前写个前置,发登录的请求,保存cookie,让页面保持登录状态。
登录接口
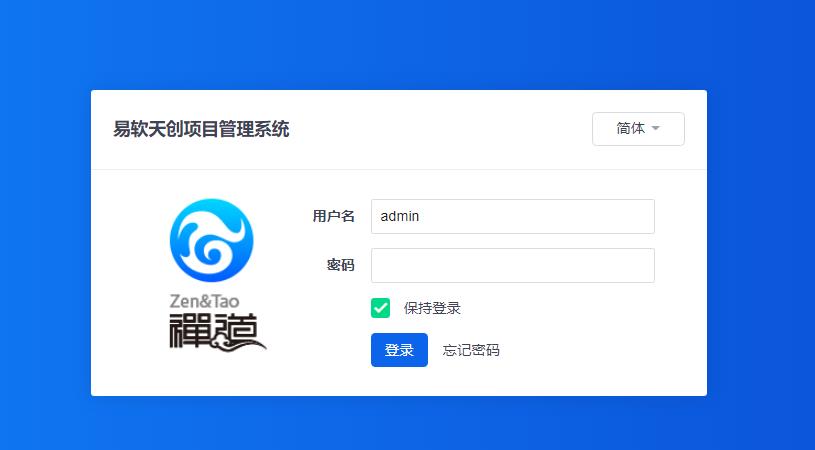
以禅道网站为例,登录的接口没提供接口文档的话,可以自己抓包获取接口请求报文

使用fiddler抓包,获取请求报告信息
POST http://localhost:8080/zentao/user-login.html HTTP/1.1
X-Requested-With: XMLHttpRequest
User-Agent: Mozilla/5.0 (Windows NT 10.0; Win64; x64) AppleWebKit/537.36 (KHTML, like Gecko) Chrome/83.0.4103.61 Safari/537.36
Content-Type: application/x-www-form-urlencoded; charset=UTF-8
Host: 49.235.92.12:8080
Content-Length: 85

account=admin&password=****123456&passwordStrength=1&referer=%2Fzentao%2F&keepLogin=1

接口返回
{"result":"success","locate":"\\/zentao\\/"}

cypress登录脚本案例
使用request发post请求,如果是页面的 form 表单请求,只需设置 form 为 true,这样就能在头部声明body的请求参数类型 Content-Type: application/x-www-form-urlencoded
/**
 * Created by dell on 2020/6/4.
 * 作者:上海-悠悠 交流QQ群:939110556
 */


describe(\'cypress request login zentao\',function(){
    it(\'login zentao\',function(){
        cy.request({
            url:\'http://localhost:8080/zentao/user-login.html\',
            method:\'POST\',
            form:true,  // indicates the body should be form urlencoded and sets Content-Type: application/x-www-form-urlencoded headers
            headers: {
                "X-Requested-With": "XMLHttpRequest"
            },
            body: {
                "account": "admin",
                "password": "****123456",
                "passwordStrength": "1",
                "referer": "/zentao/",
                "keepLogin": "1"
            }
        })
        .then((resp) => {
            // assert status code is 200
            expect(resp.status).to.eq(200)
            // assert body contains success
            expect(resp.body).to.contains("success")
          })

    })
})
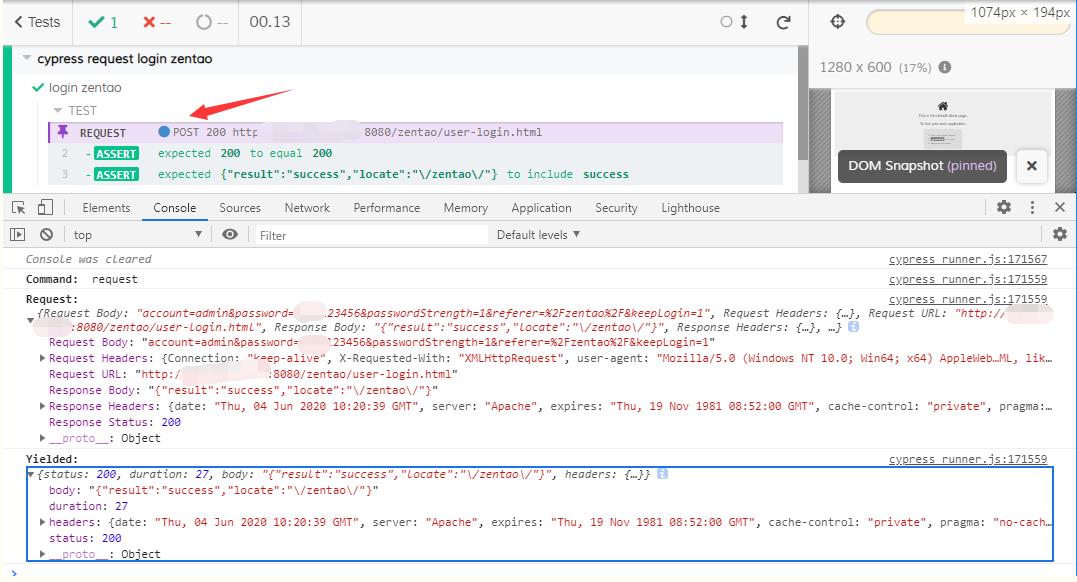
运行结果

点 REQUEST 这一行可以直接查看到请求和返回的接口信息,查看起来还是很方便的

自定义登录指令
cypress.json设置baseUrl地址
{
"baseUrl": "http://localhost:8080",
}
登录的请求完成了,接下来我们会想后面的用例都需要把登录当成前置,这时候需自定义一个登陆指令
在support/commands.js 下定义一个命令\'login_request\'用于发登录请求
/**
 * Created by dell on 2020/6/4.
 * 作者:上海-悠悠 交流QQ群:939110556
 */

Cypress.Commands.add(\'login_request\', (account="admin",
                                       password="****123456") => {
        cy.request({

            url:\'/zentao/user-login.html\',
            method:\'POST\',
            form:true,
            headers: {
                "X-Requested-With": "XMLHttpRequest"
            },
            body: {
                "account": account,
                "password": password,
                "passwordStrength": "1",
                "referer": "/zentao/",
                "keepLogin": "1"
            }
        })
        .then((resp) => {
            // status code is 200
            expect(resp.status).to.eq(200)
            // body contains success
            expect(resp.body).to.contains("success")

          })
})
request_login_zentao.js 用例设计
/**
 * Created by dell on 2020/6/4.
 * 作者:上海-悠悠 交流QQ群:939110556
 */

describe(\'cypress request login\',function(){


    before( function() {
        cy.login_request()
    })

    it("访问后台管理", function() {
        cy.visit("/zentao/admin/")
        cy.url().should(\'include\', \'/zentao/admin/\')
        cy.title().should(\'contain\', \'后台管理 - 禅道\')
        })

   })
运行结果

多个用例直接共享cookies可以用白名单方式参考这篇https://www.cnblogs.com/yoyoketang/p/12931419.html