Zabbix 3.0 配置web监控
Posted
tags:
篇首语:本文由小常识网(cha138.com)小编为大家整理,主要介绍了Zabbix 3.0 配置web监控相关的知识,希望对你有一定的参考价值。
一、客户端配置
1、安装nginx
[[email protected] ~]# yum install nginx2、启动服务
[[email protected] ~]# systemctl  start nginx
[[email protected] ~]# systemctl  status nginx
● nginx.service - The nginx HTTP and reverse proxy server
   Loaded: loaded (/usr/lib/systemd/system/nginx.service; disabled; vendor preset: disabled)
   Active: active (running) since 五 2018-03-16 23:23:22 CST; 11s ago
  Process: 2374 ExecStart=/usr/sbin/nginx (code=exited, status=0/SUCCESS)
  Process: 2371 ExecStartPre=/usr/sbin/nginx -t (code=exited, status=0/SUCCESS)
  Process: 2370 ExecStartPre=/usr/bin/rm -f /run/nginx.pid (code=exited, status=0/SUCCESS)
 Main PID: 2377 (nginx)
   CGroup: /system.slice/nginx.service
           ├─2377 nginx: master process /usr/sbin/nginx
           └─2378 nginx: worker process

3月 16 23:23:21 node2 systemd[1]: Starting The nginx HTTP and reverse proxy server...
3月 16 23:23:22 node2 nginx[2371]: nginx: the configuration file /etc/nginx/nginx.conf syntax is ok
3月 16 23:23:22 node2 nginx[2371]: nginx: configuration file /etc/nginx/nginx.conf test is successful
3月 16 23:23:22 node2 systemd[1]: Failed to read PID from file /run/nginx.pid: Invalid argument
3月 16 23:23:22 node2 systemd[1]: Started The nginx HTTP and reverse proxy server.
3、测试访问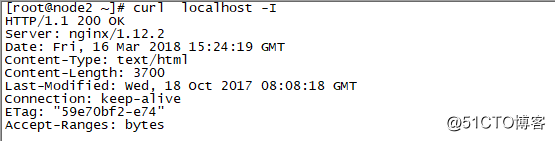
二、配置Zabbix_Web
web监控可以直接配置在主机上面,也可以在模板上面配置,然后添加主机时,直接链接此模板即可,此文直接在主机上面配置:
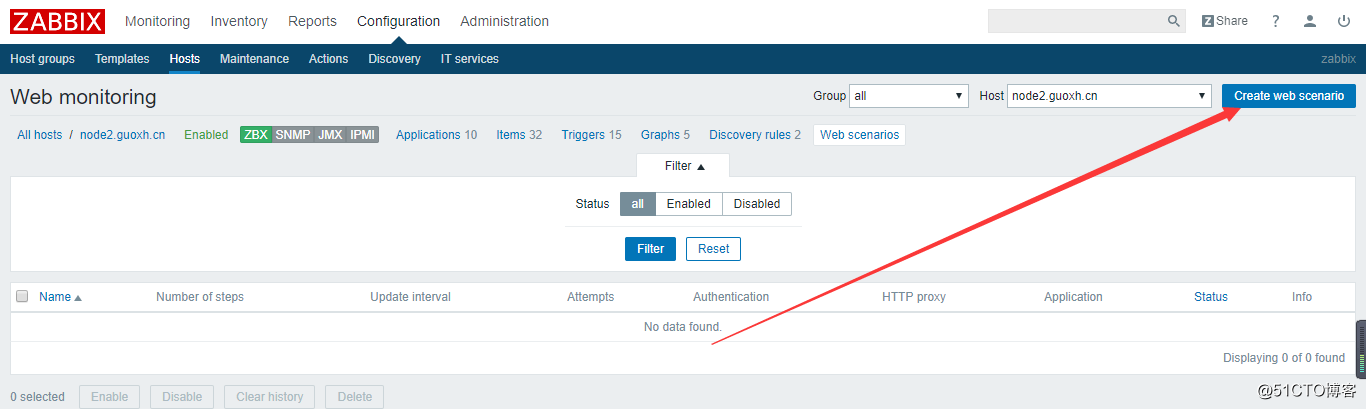
Configuration-->Host-->web--Create web scenario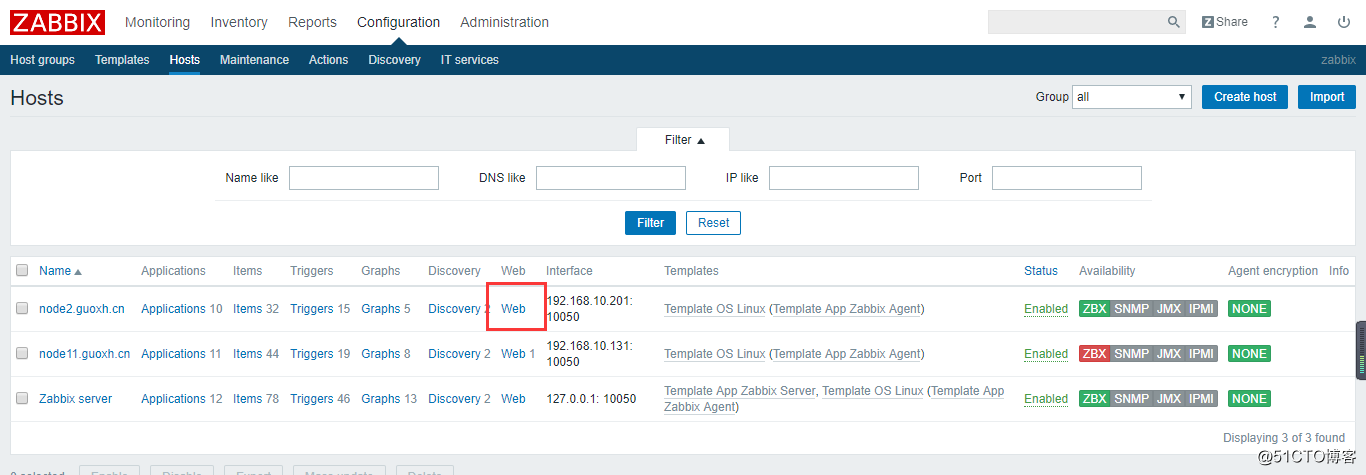
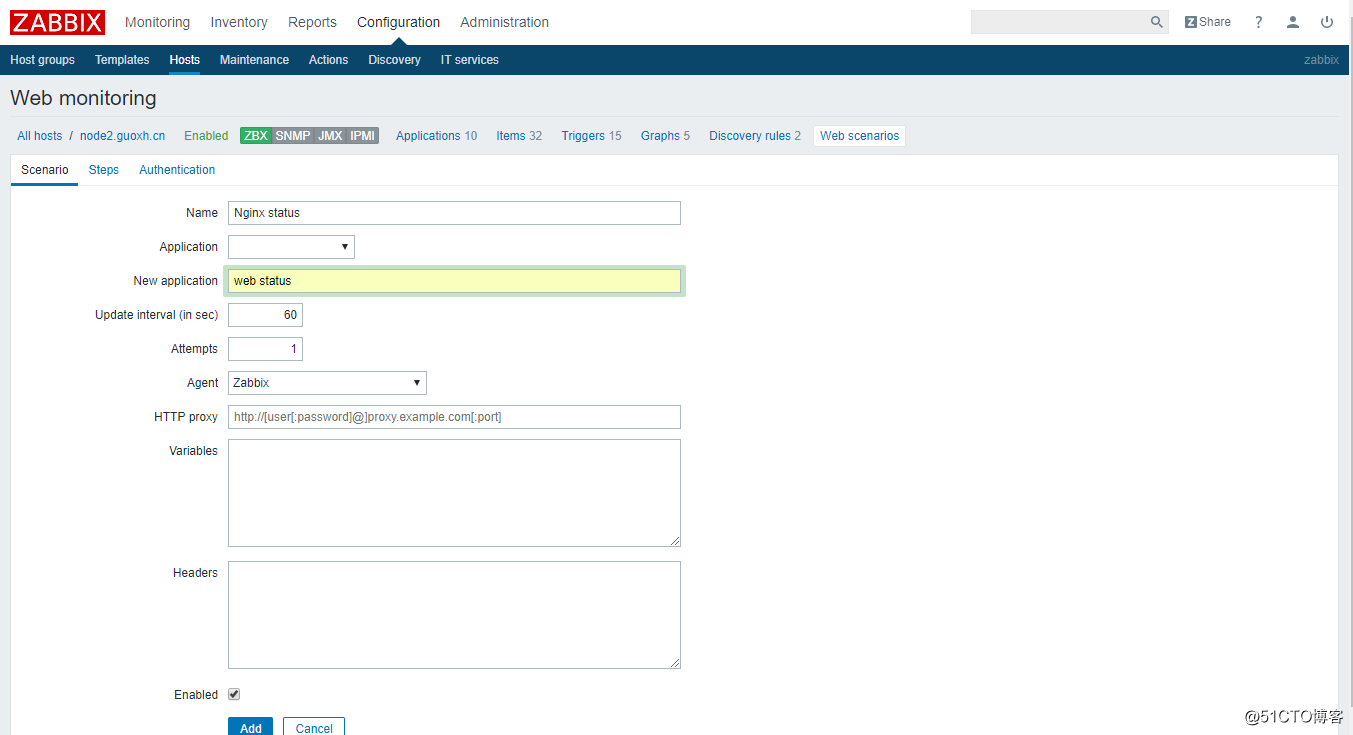
Name:web监控的名称
New Application:指定新的Application
点击Add添加监控的URL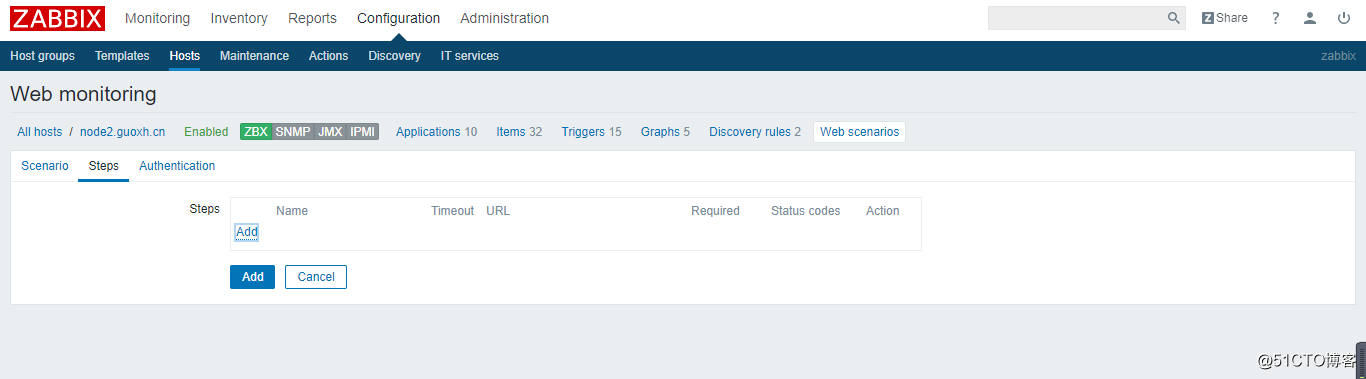
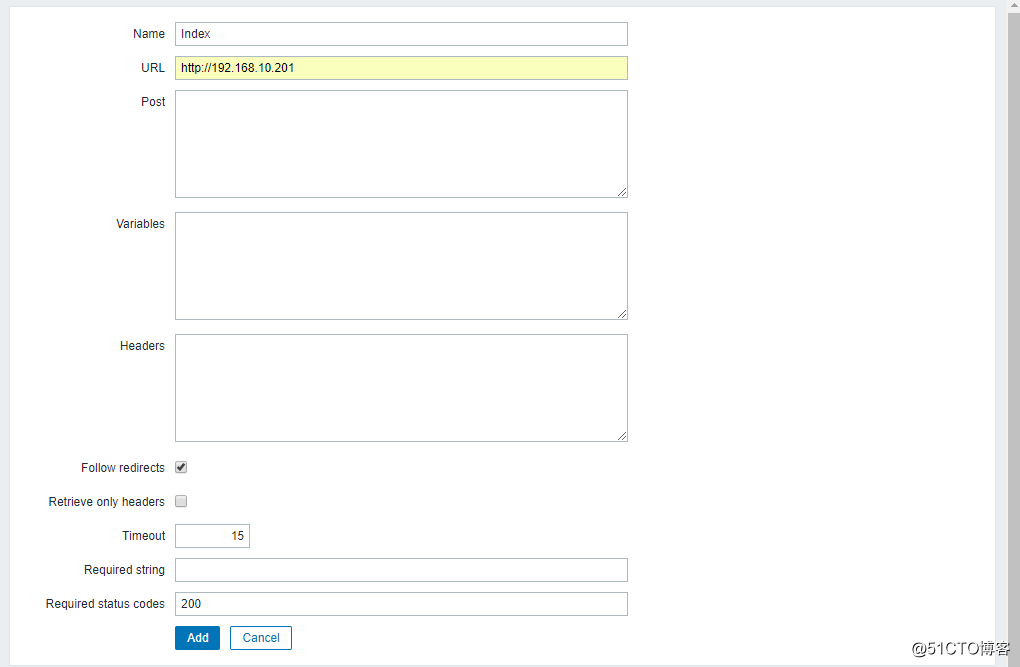
Name:页面名称
URL:监控的URL
Required string:需要的字符串
Required status codes:需要的状态码,一般都用状态码
最后点击Add,该页面添加成功;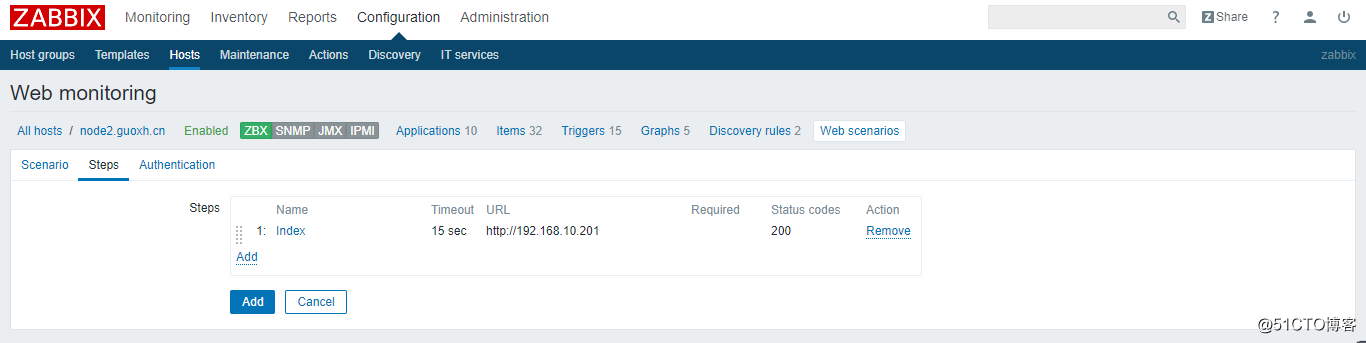
还可以添加其他页面,这里不再添加了,添加一个页面做实验即可;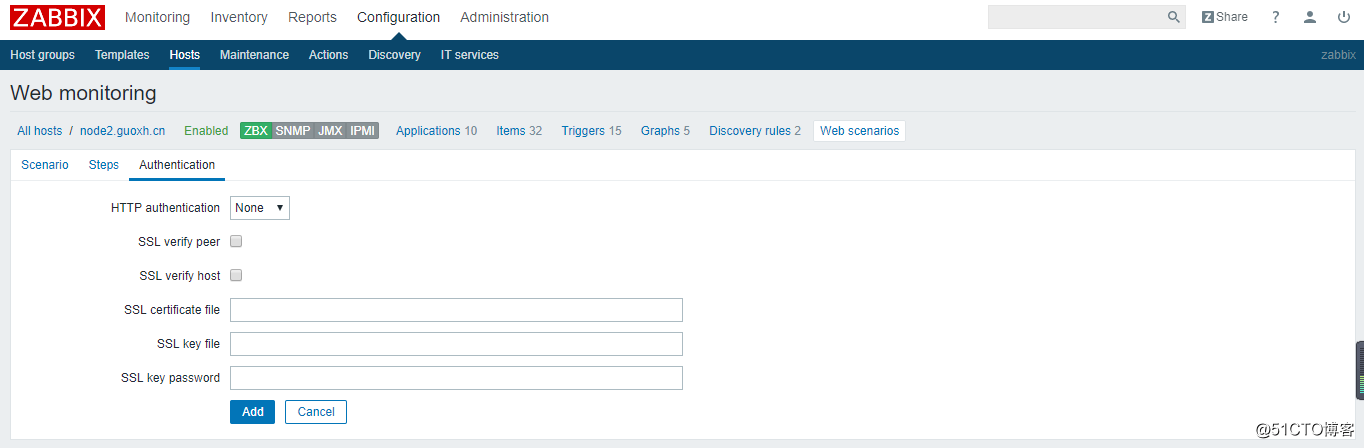
认证页面,我的测试页面没有认证,所以就不填了,点击Add这个web监控就添加好了;
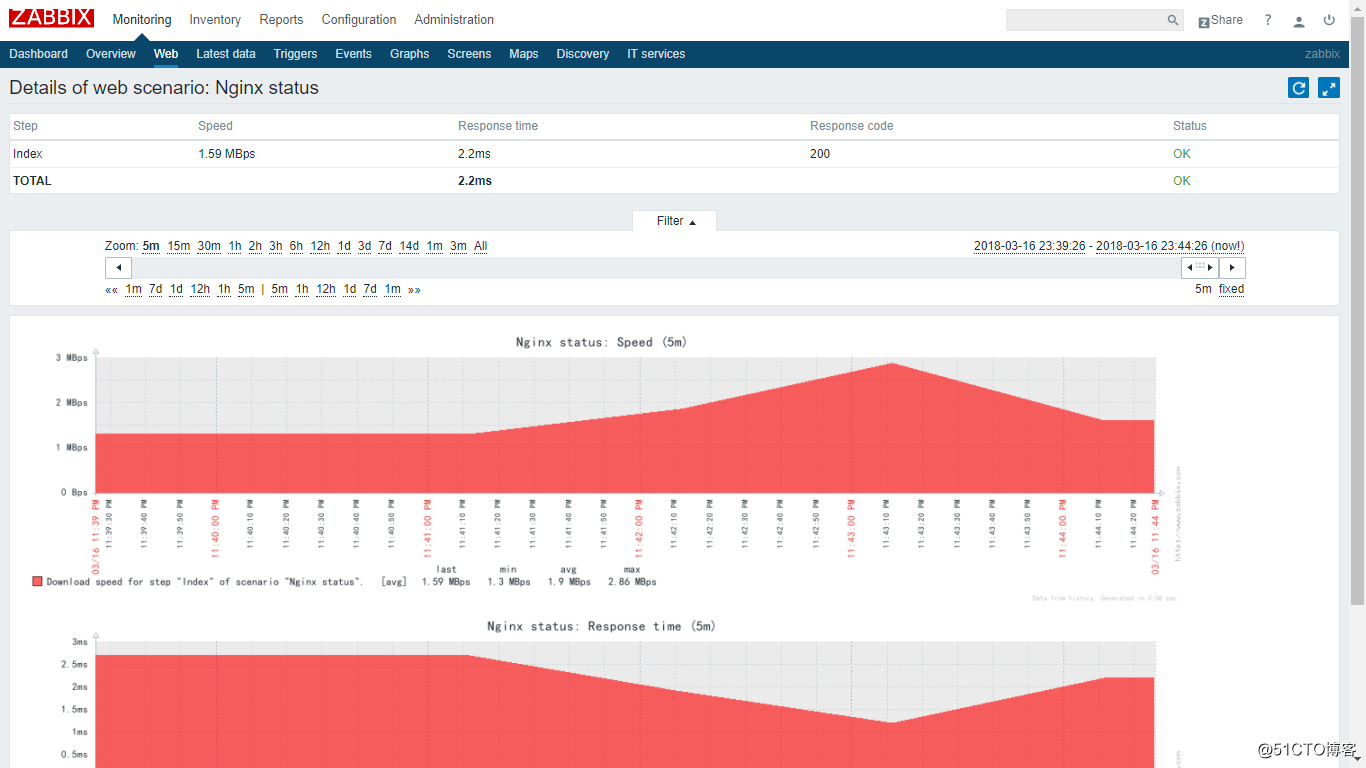
最后到Monitoring-->Web下看下监控图形展示;
三、配置触发器
web监控添加好后,默认没有添加Triggers,这里做的不够友好,需要我们手动添加一下;
Configuration-->Host-->Triggers--Create Trigger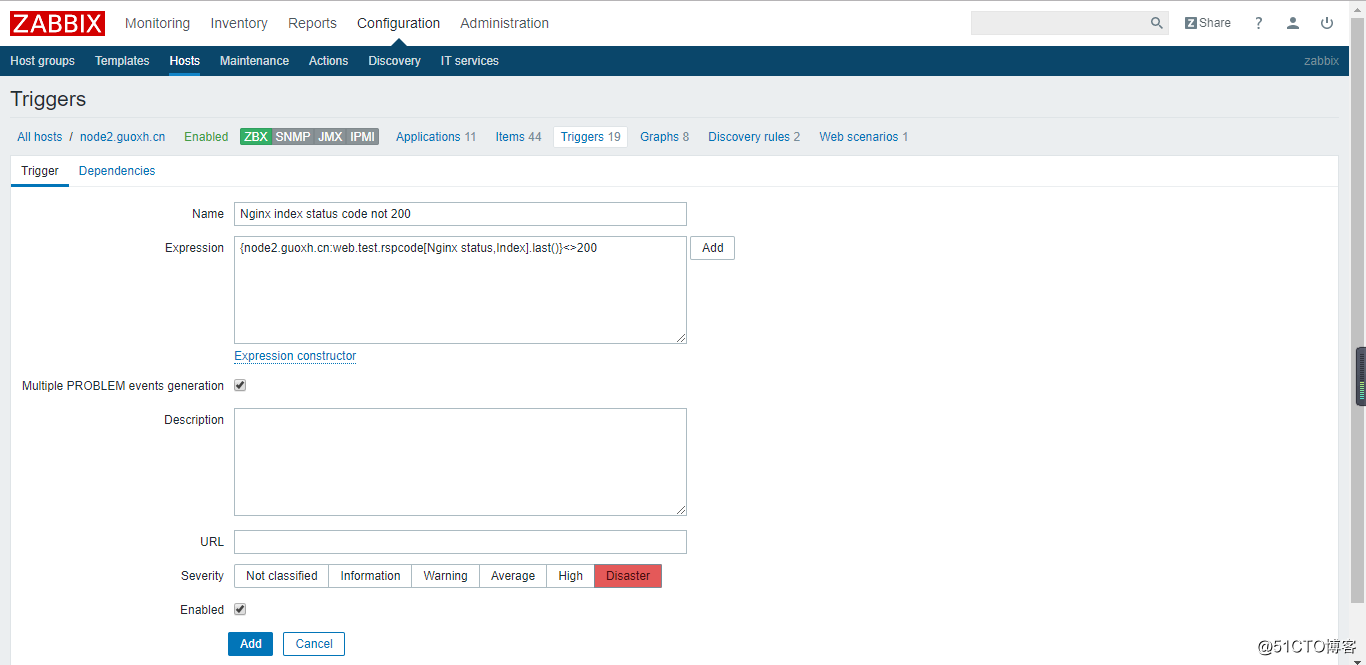
Name:触发器名称
Expression:触发器条件表达式
Multiple PROBLEM events generation:生成多个事件
Severity:事件严重级别
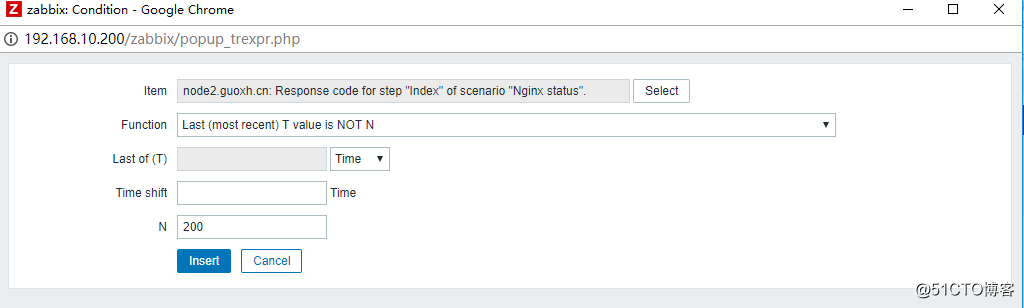
Item:监控项
Function:函数条件
N:200,当状态码不等于200时,则触发报警最后点击Add,该Triggers即可添加成功;
四、测试
测试很简单,随便搞点事情,让web返回状态码不等于200,直接在被监控端删除index页面,如下:
[[email protected] html]# mv index.html index.html.bak接着到Monitoring-->Web 页面看下状态,此时状态已经由原来的OK变为以下报错:
如果配置了报警通知,这时应该已经收到通知了,我这次开启了微信通知,收到报警如下: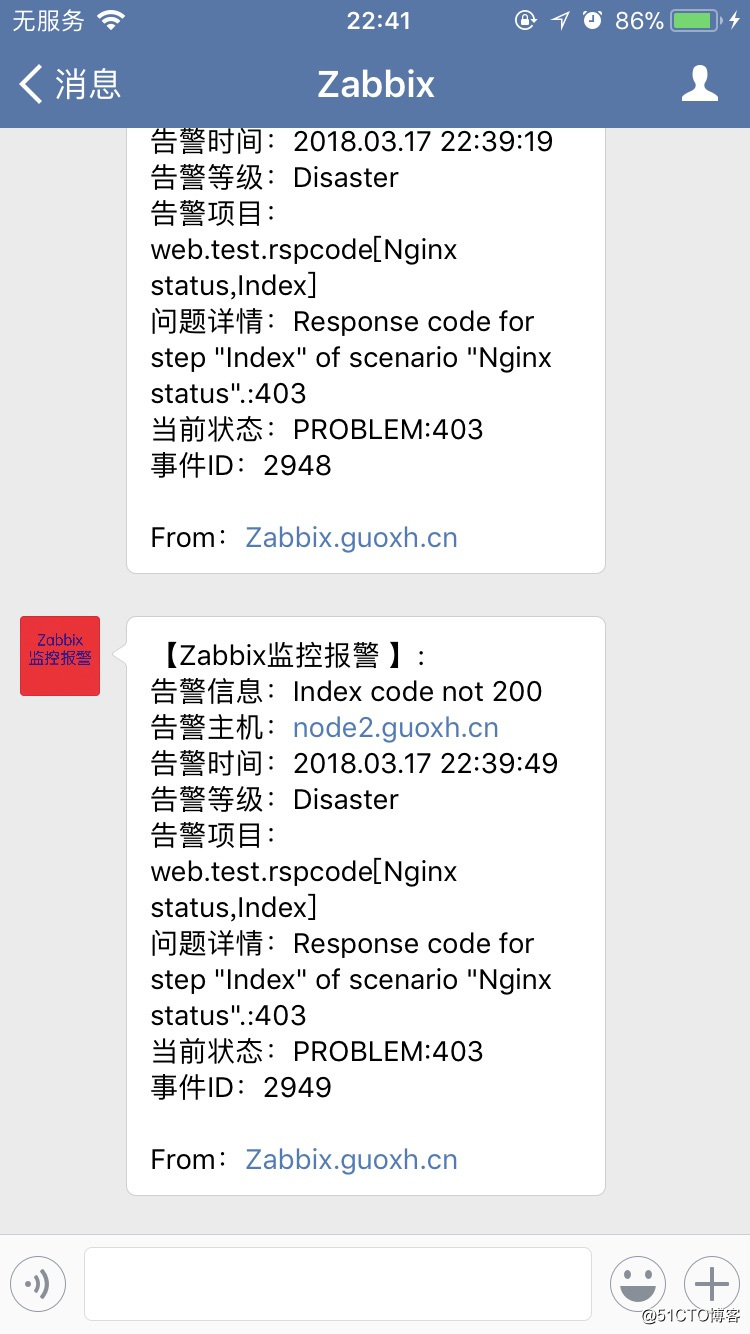
到这里,Zabbix 配置web监控就完成了~
以上是关于Zabbix 3.0 配置web监控的主要内容,如果未能解决你的问题,请参考以下文章
Zabbix 3.0入门到企业实战三(zabbix监控主机-基础监控配置)(
深入浅出Zabbix 3.0 -- 第六章 监控项配置与管理