体验 Apache APISIX
Posted engchina
tags:
篇首语:本文由小常识网(cha138.com)小编为大家整理,主要介绍了体验 Apache APISIX相关的知识,希望对你有一定的参考价值。
体验 Apache APISIX
Apache APISIX 是什么
Apache APISIX 是 Apache 软件基金会下的云原生 API 网关,它兼具动态、实时、高性能等特点,提供了负载均衡、动态上游、灰度发布(金丝雀发布)、服务熔断、身份认证、可观测性等丰富的流量管理功能。我们可以使用 Apache APISIX 来处理传统的南北向流量,也可以处理服务间的东西向流量。同时,它也支持作为 K8s Ingress Controller 来使用。
官网地址
安装
helm repo add apisix https://charts.apiseven.com
helm repo add bitnami https://charts.bitnami.com/bitnami
helm repo update
kubectl create ns ingress-apisix
helm install apisix apisix/apisix \\
  --set gateway.type=LoadBalancer \\
  --set ingress-controller.enabled=true \\
  --namespace ingress-apisix \\
  --set ingress-controller.config.apisix.serviceNamespace=ingress-apisix
kubectl get service --namespace ingress-apisix
代理 httpbin 服务
kubectl run httpbin --image kennethreitz/httpbin --port 80
kubectl expose pod httpbin --port 80
为了让 Apache APISIX 代理请求 httpbin,我们需要创建一个 ApisixRoute 资源,
cat <<EOF | kubectl apply -f -
apiVersion: apisix.apache.org/v2
kind: ApisixRoute
metadata:
  name: httpserver-route
spec:
  http:
  - name: rule1
    match:
      hosts:
      - local.httpbin.org
      paths:
      - /*
    backends:
       - serviceName: httpbin
         servicePort: 80
EOF
获取 default_cluster_admin_key,
kubectl -n ingress-apisix get cm apisix-configmap -oyaml | grep default_cluster_admin_key | awk 'print $2'
在其中一个 Apache APISIX Pod 中运行 curl 调用,以检查资源是否已交付给它。
kubectl exec -it -n $namespace of Apache APISIX $Pod name of Apache APISIX -- curl http://127.0.0.1:9180/apisix/admin/routes -H 'X-API-Key: $default_cluster_admin_key'
示例,
kubectl exec -it -n ingress-apisix apisix-857664cdd9-qqbmd -- curl http://127.0.0.1:9180/apisix/admin/routes -H 'X-API-Key: edd1c9f034335f136f87ad84b625c8f1'
并请求 Apache APISIX 验证路由。
kubectl exec -it -n $namespace of Apache APISIX $Pod name of Apache APISIX -- curl http://127.0.0.1:9080/headers -H 'Host: local.httpbin.org'
示例,
kubectl exec -it -n ingress-apisix apisix-857664cdd9-qqbmd -- curl http://127.0.0.1:9080/headers -H 'Host: local.httpbin.org'
获取 apisix-gateway 的 LoadBalancer IP,
kubectl -n ingress-apisix get svc apisix-gateway | grep apisix-gateway | awk 'print $4'
测试通过 local.httpbin.org 能访问。
curl -X GET "http://192.168.31.53/get?foo1=bar1&foo2=bar2" -H "Host: local.httpbin.org"
输出结果,
  "args":
    "foo1": "bar1",
    "foo2": "bar2"
  ,
  "headers":
    "Accept": "*/*",
    "Host": "local.httpbin.org",
    "User-Agent": "curl/7.76.1",
    "X-Forwarded-Host": "local.httpbin.org"
  ,
  "origin": "10.244.0.0",
  "url": "http://local.httpbin.org/get?foo1=bar1&foo2=bar2"
安装 apisix-dashboard
helm install apisix-dashboard --set service.type=LoadBalancer apisix/apisix-dashboard --namespace ingress-apisix
获取 apisix-dashboard 的 LoadBalancer IP,
kubectl -n ingress-apisix get svc apisix-dashboard | grep apisix-dashboard | awk 'print $4'
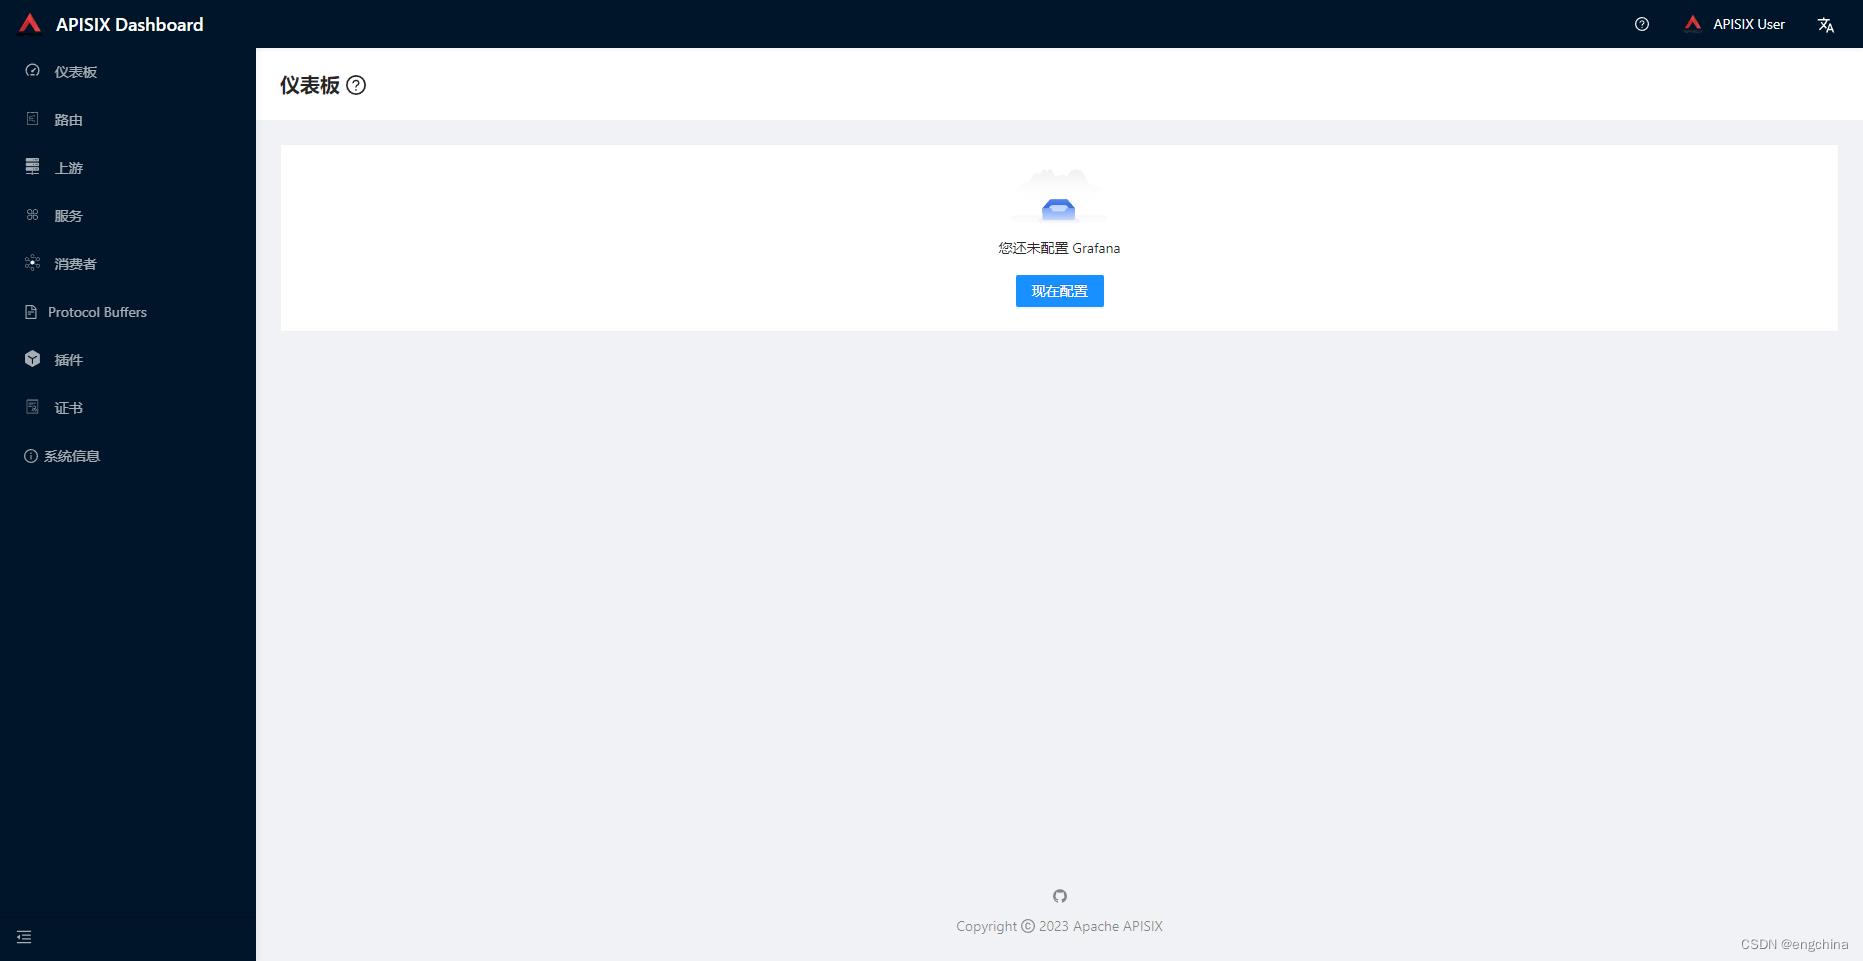
打开浏览器访问 apisix-dashboard 的 LoadBalancer IP,默认用户名和密码是 admin/admin,


配置 https 访问
生成自签名证书,域名是*.httpbin.org,
openssl genrsa -des3 -passout pass:123456 -out ca.key 2048
openssl rsa -in ca.key -passin pass:123456 -out ca.key
openssl req -x509 -new -nodes -key ca.key -sha256 -days 3650 -out ca.crt -subj "/CN=httpbin.org"
openssl genrsa -out tls.key 2048
openssl req -new -key tls.key -out tls.csr -subj "/CN=*.httpbin.org"
cat > server.ext <<EOF
authorityKeyIdentifier=keyid,issuer
basicConstraints=CA:FALSE
keyUsage = digitalSignature, nonRepudiation, keyEncipherment, dataEncipherment
subjectAltName = @alt_names

[alt_names]
DNS.1 = *.httpbin.org
EOF

openssl x509 -req -in tls.csr -CA ca.crt -CAkey ca.key -CAcreateserial -out tls.crt -days 3650 -extfile server.ext
(不需要的步骤)使用自签名证书创建 secret,
kubectl create secret tls server-secret --cert=tls.crt --key=tls.key -n ingress-apisix
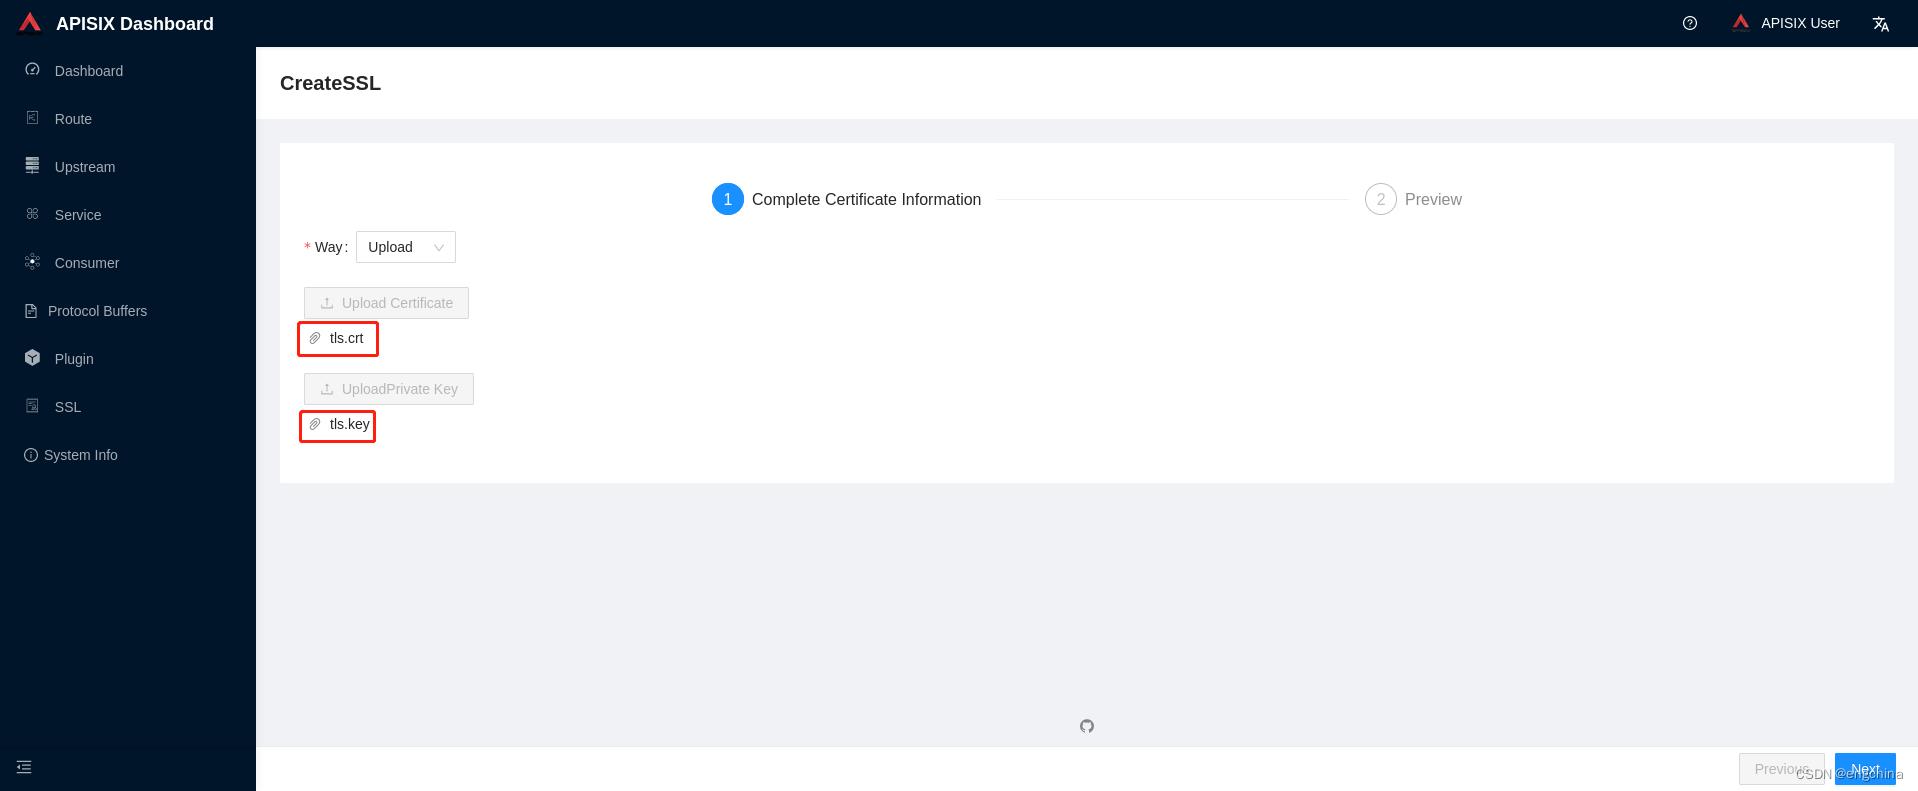
访问 apisix-dashboard,创建 SSL,

修改 apisix 的 ConfigMap,
kubectl -n ingress-apisix edit cm apisix
--- from
      ssl:
        enable: false
--- to
      ssl:
        enable: true
---
重新发布 apisix 的 Pod,
kubectl -n ingress-apisix rollout restart deployment apisix
修改 apisix-gateway 的 Service,添加 https 端口,
kubectl -n ingress-apisix edit svc apisix-gateway
--- add
  - name: apisix-gateway-tls
    port: 443
    protocol: TCP
    targetPort: 9443
---
修改 /etc/hosts,添加本地 dns 映射,
sudo vi /etc/hosts
--- add
192.168.31.53 local.httpbin.org
---
测试,
curl --cacert ca.crt -X GET "https://local.httpbin.org/get?foo1=bar1&foo2=bar2"

curl -X GET "http://local.httpbin.org/get?foo1=bar1&foo2=bar2"

完结!
进入 Apache 孵化器 7 个月,APISIX 发布第 6 个 Apache Release!
Apache APISIX 是云原生 API 网关,不仅可以帮你处理传统的南北向流量,也可以处理服务间的东西向流量。它是基于 Nginx 和 etcd 来实现,和 Nginx 以及传统 API 网关相比,Apache APISIX 具备动态路由、动态上游和插件热加载的特性。
本次发布的 1.3 版本主要是安全更新,拒绝无效的 header 并对 uri 进行安全编码。
这是 APISIX 去年 10 月份进入 Apache 孵化器后,由第 6 位发布经理发布的第 6 个 Apache Release。
Apache APISIX 的社区正在飞速发展,从加入 Apache 孵化器之初的 20 多位贡献者,增加到现在的 70 多位贡献者,其中包含 20 位 PPMC 和 22 位 committer。
加入 Apache APISIX
如果你希望使用修改任意配置都无需重启的 web 服务器,如果你希望使用代码简洁、云原生友好的微服务网关,那么 Apache APISIX 就是你不二的选择。
你可以加入 Apache APISIX 超过千人的 QQ 交流群:552030619,也可以在 GitHub 上提交 issue 和 PR:https://github.com/apache/incubator-apisix。让我们一起努力,打造世界级的开源项目!
以上是关于体验 Apache APISIX的主要内容,如果未能解决你的问题,请参考以下文章