Windows下编译nginx-rtmp-module
Posted KendoCross
tags:
篇首语:本文由小常识网(cha138.com)小编为大家整理,主要介绍了Windows下编译nginx-rtmp-module相关的知识,希望对你有一定的参考价值。
http://nginx.org/en/docs/howto_build_on_win32.html
官网上的操作说明。
官网的方法nginx编译方法,思路是一致的,只是有几个细节地方需要调整。
需要注意以下问题:
- Win10 操作系统下,貌似在编译OpenSSL的时候有问题。
- 使用sm for Windows 作为微软的masm 的替代。
一:下载以下工具,并依次安装。
1、 下载 VS2010 + VS2010 SP1 (C++编译环境)VS2015也可以。
2、 MSYS-1.0.11.exe
3、 ActivePerl-5.24.2.2403-MSWin32-x64-403863.exe
4、 mercurial-4.3.1-x64.msi
5、 nasm-2.12.02rc9-installer-x64.exe
6、 sed-4.2.1-setup.exe
7、 下载配套的所需库代码PCRE, zlib and OpenSSL libraries sources.
并且需要确保以上工具加入到了环境变量。
二、获取Nginx源代码
打开CMD命令,切换到Mercurial安装根目录,执行命令:
hg clone http://hg.nginx.org/nginx
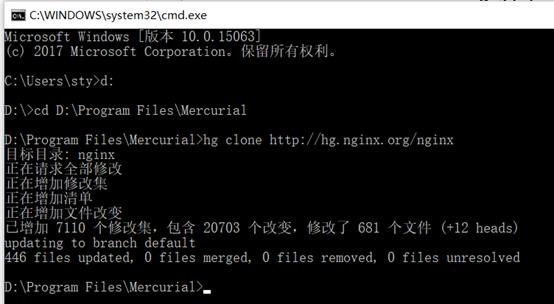
下载成功后会在Mercurial安装目录下,创建nginx源代码文件夹。
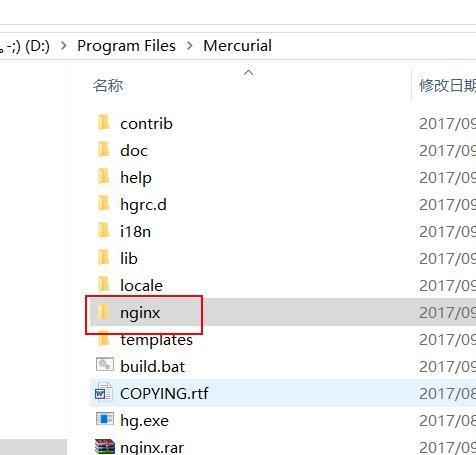
三、添加依赖资源包
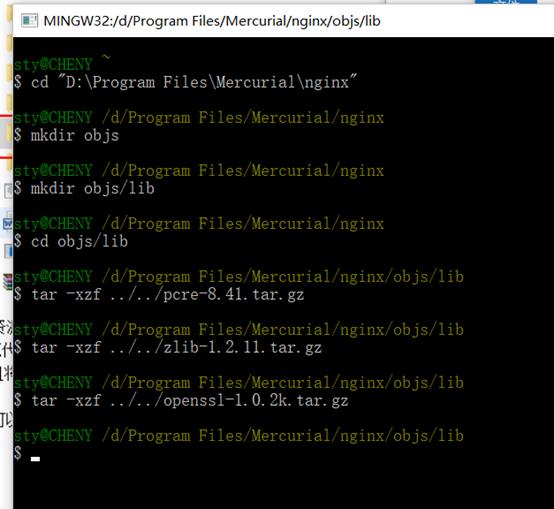
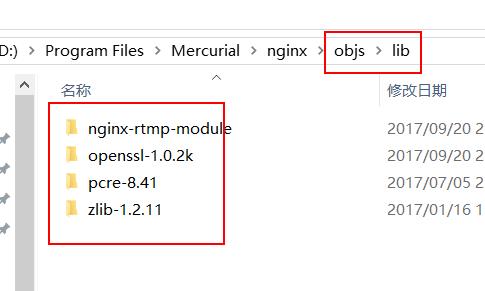
在nginx源代码分别创建objs\\lib 文件夹,此处如此命名只是约定的习惯,可以不是这两个名称。并且将下载好的nginx-rtmp-module-master、openssl、pcre、zlib分别解压在lib文件夹下面。
以上动作可以按官网教程一样,使用MSYS使用CUI的方式。
结果如下图:
四、生成makefile文件,用于C++编译器
继续使用MSYS工具,返回到nginx源代码根目录,执行以下脚本:
auto/configure --with-cc=cl --builddir=objs --prefix= \\
--conf-path=conf/nginx.conf --pid-path=logs/nginx.pid \\
--http-log-path=logs/access.log --error-log-path=logs/error.log \\
--sbin-path=nginx.exe --http-client-body-temp-path=temp/client_body_temp \\
--http-proxy-temp-path=temp/proxy_temp \\
--http-fastcgi-temp-path=temp/fastcgi_temp \\
--http-scgi-temp-path=temp/scgi_temp \\
--http-uwsgi-temp-path=temp/uwsgi_temp \\
--with-cc-opt=-DFD_SETSIZE=1024 --with-pcre=objs/lib/pcre-8.41 \\
--with-zlib=objs/lib/zlib-1.2.11 --with-openssl=objs/lib/openssl-1.0.2k \\
--with-select_module --with-http_ssl_module --add-module=objs/lib/nginx-rtmp-module
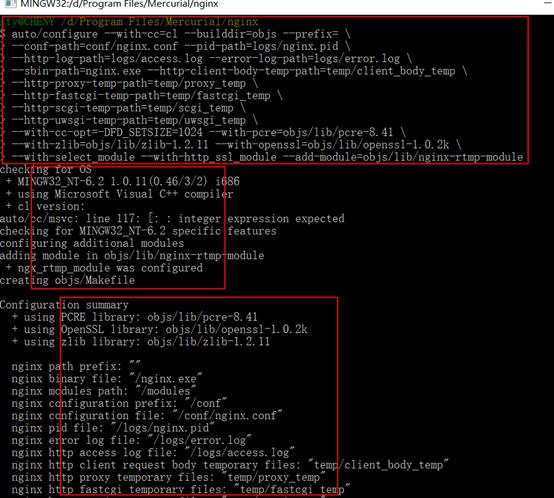
有如上三部分输出
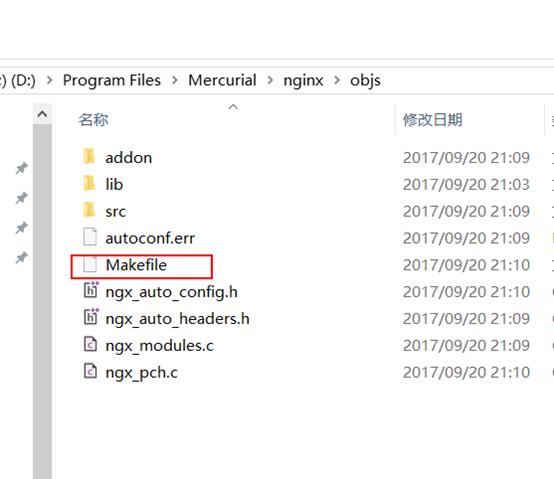
最终结果,会在objs目录下生成Makefile文件,以及其他所依赖的代码。
五、OpenSSL的坑,
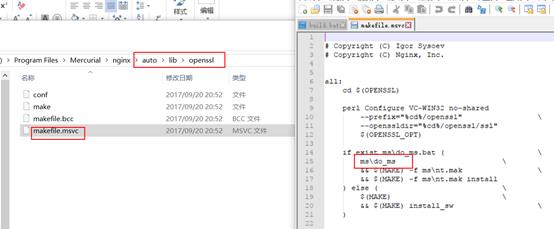
需要修改 nginx\\auto\\lib\\openssl\\makefile.msvc 文件。
将ms\\do_ms 改为ms\\do_nasm。
具体原因参看篇文章。
http://blog.csdn.net/felixking/article/details/51981794?utm_source=itdadao&utm_medium=referral
六、编译Nginx源码
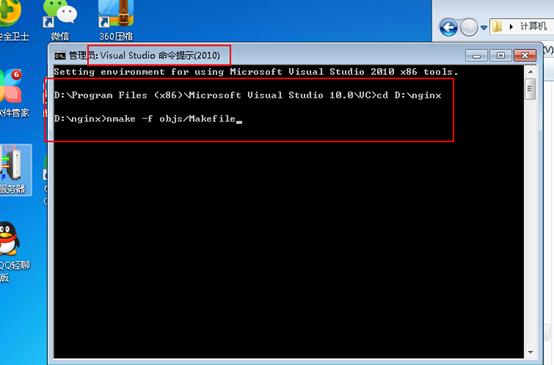
使用VS2010命令工具,切换到Nginx根目录,执行nmake -f objs/Makefile 命令。
【我一开始在Wi10上使用VS2015的开发者工具,结果依然有问题,具体原因没有分析出来,核心错误如下:
perl util/copy.pl "inc32\\openssl\\*.[ch]" "D:\\Program Files\\Mercurial\\nginx\\objs\\lib\\openssl-1.0.2k\\openssl\\include\\openssl"
Destination must be a directory at util/copy.pl line 39.
推测是Win10版本都有这个异常】
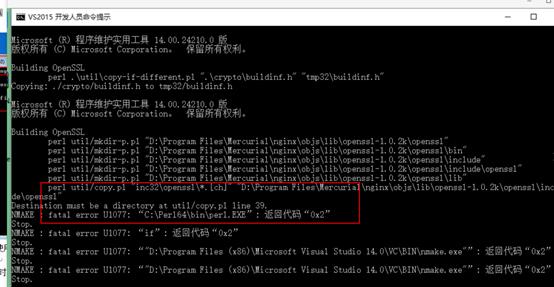
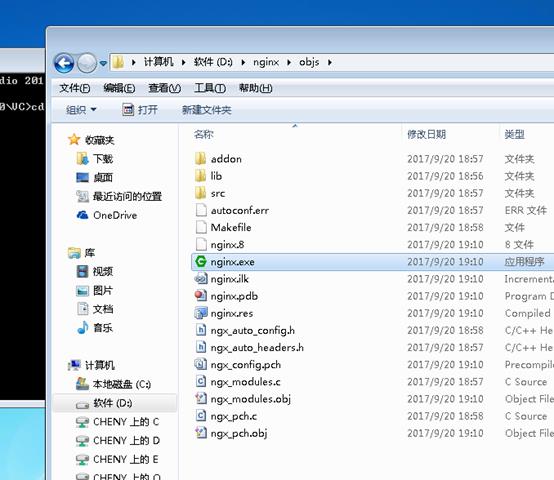
最后改为Win7+VS2010。
不算漫长的等待之后,激动人心的时刻就到来了。编译成功。
七、创建运行基础文件夹
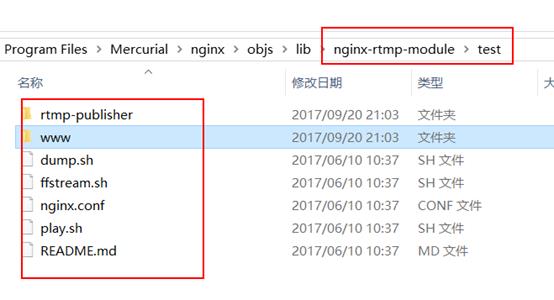
在nginx.exe所在文件夹下创建创建conf,logs,temp,tmp目录,可将nginx-rtmp-module\\test下的nginx.conf文件复制到conf目录下,启动nginx,基础的RTMP流媒体服务搭建完成。
以上是关于Windows下编译nginx-rtmp-module的主要内容,如果未能解决你的问题,请参考以下文章