组件
Posted la_vie_est_belle
tags:
篇首语:本文由小常识网(cha138.com)小编为大家整理,主要介绍了组件相关的知识,希望对你有一定的参考价值。
目录
当项目中出现很多重复代码时,我们会把这些重复代码编写成一个函数,这样可以让代码更加精简。组件的作用就跟函数一样,我们把重复的元素提取出来,编成一个组件,这样就可以减少很多QML代码了,非常方便。
5.1 编写并加载一个简单的组件
如果要在窗口上放几个颜色和大小都相同的矩形,不用组件的话我们可以这样写,请看下方示例代码。
import QtQuick 2.0

Rectangle
    id: root
    width: 300
    height: 200

    Rectangle                  // 1
        id: rect1
        width: 50
        height: 50
        color: "red"
        x: 10
        y: 10

        MouseArea
            anchors.fill: parent
            onClicked:
                if (parent.color == "#ff0000")
                    parent.color = "blue"

                else
                    parent.color = "red"


    Rectangle                  // 1
        id: rect2
        width: 50
        height: 50
        color: "red"
        x: 60
        y: 60

        MouseArea
            anchors.fill: parent
            onClicked:
                if (parent.color == "#ff0000")
                    parent.color = "blue"

                else
                    parent.color = "red"


    Rectangle                  // 1
        id: rect3
        width: 50
        height: 50
        color: "red"
        x: 110
        y: 110

        MouseArea
            anchors.fill: parent
            onClicked:
                if (parent.color == "#ff0000")
                    parent.color = "blue"

                else
                    parent.color = "red"
运行结果:
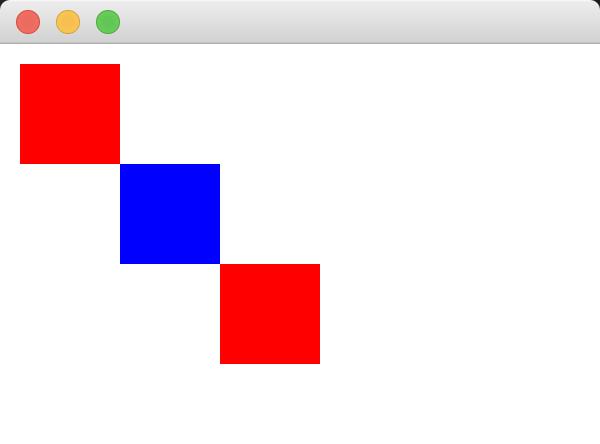
代码解释:
1. 我们添加了三个矩形元素,每个矩形元素都接收鼠标事件。当颜色为红色时,点击后就会蓝色;如果是蓝色,点击后则变成红色。
这三个矩形除了id和坐标,其他都是一样的,所以我们可以写一个可以重复使用的组件来精简代码。
import QtQuick 2.0

Rectangle
    id: root
    width: 300
    height: 200

    Component                      // 1
        id: rectComponent
        Rectangle
            width: 50
            height: 50
            color: "red"

            MouseArea
                anchors.fill: parent
                onClicked:
                    if (parent.color == "#ff0000")
                        parent.color = "blue"

                    else
                        parent.color = "red"


    Loader                         // 2
        id: rect1
        sourceComponent: rectComponent
        x: 10
        y: 10
        onLoaded:
            console.log("组件导入完毕")     // 3


    Loader
        id: rect2
        sourceComponent: rectComponent
        x: 60
        y: 60


    Loader
        id: rect3
        sourceComponent: rectComponent
        x: 110
        y: 110
1. 我们将重复的矩形元素代码放入Component元素中即可,注意Component元素只能包含id属性,不能有其他属性。
2. 使用Loader元素加载组件时,只需要将sourceComponent属性的值设置为组件的id即可。Loader有自己的属性,读者可以前往Loader文档页面查看。我们通过Loader元素的坐标来设置矩形元素在窗口上的位置。
3. Loaded元素有loaded信号,该信号会在组件加载完毕后发射。
5.2 从文件中加载组件
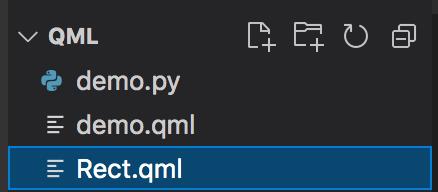
在上一节中,我们是把组件写在元素中的,但为了方便管理项目,我们可以把组件写在单独的文件中。我们新建一个Rect.qml文件,目前的项目结构如下图所示 。
把5.1小节中的组件写入Rect.qml中,如下图所示。
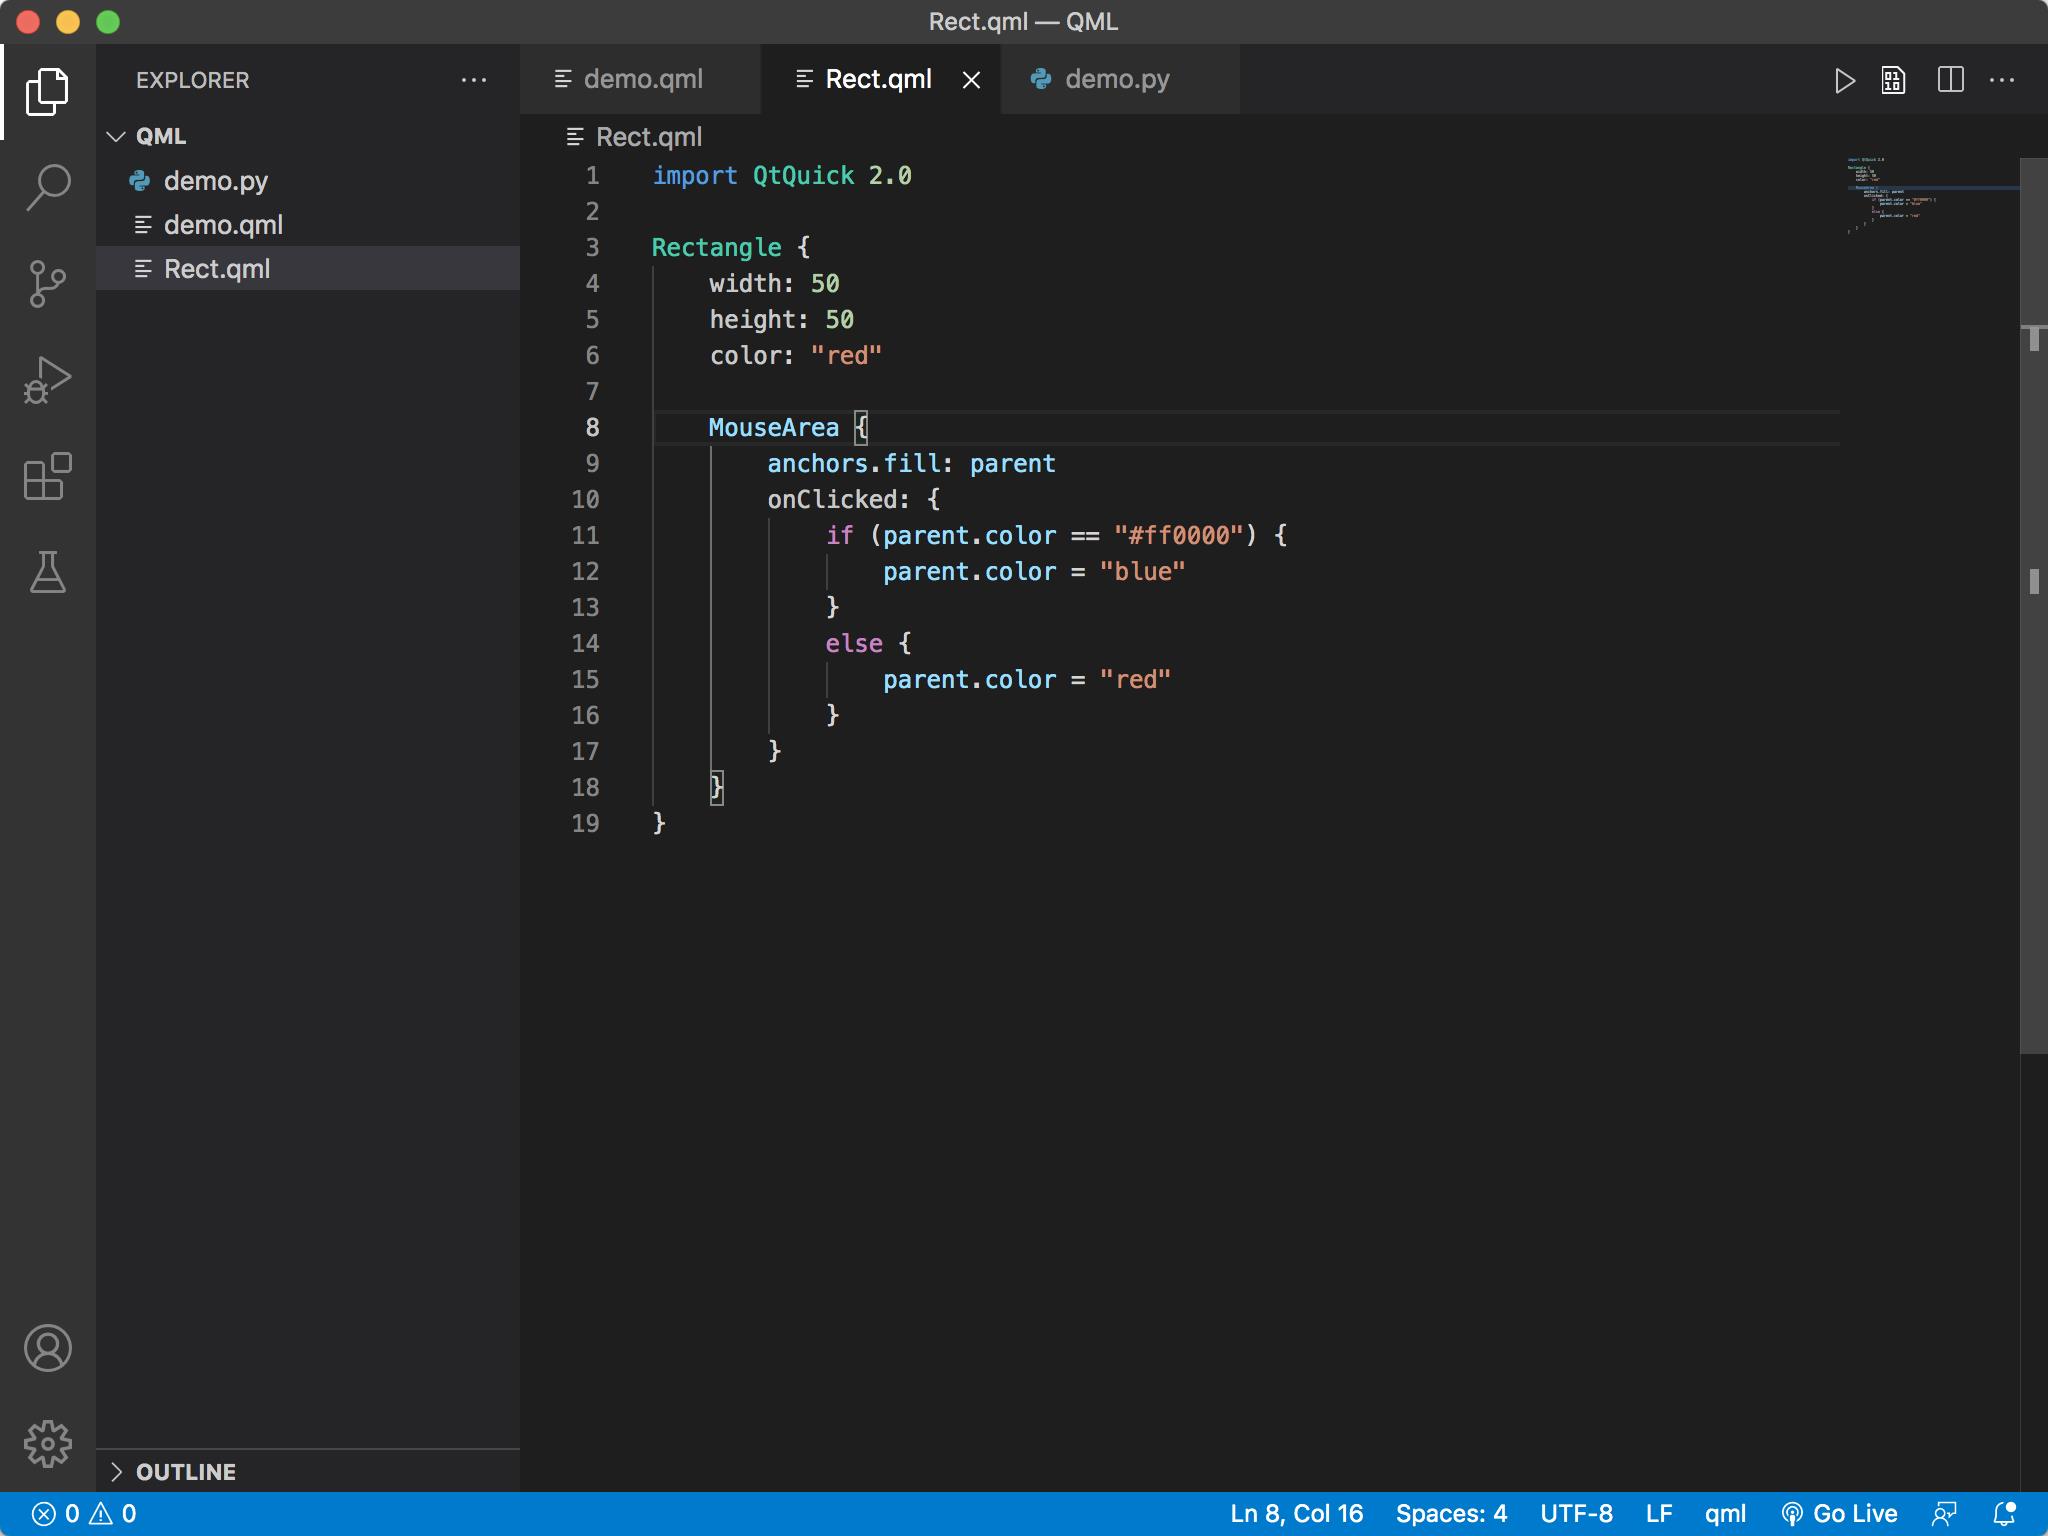
注:当我们把组件写入单独的文件中时,不再需要写Component。
现在修改demo.qml中的代码,如下所示。
import QtQuick 2.0

Rectangle
    id: root
    width: 300
    height: 200

    Loader
        id: rect1
        source: "./Rect.qml"      // 1
        x: 10
        y: 10
        onLoaded:
            console.log("组件导入完毕")
代码解释:
1. 将Loader元素的source属性设置为包含目标组件的文件路径,这样就可以加载这个组件了。
目前我们还是通过Loader这个元素来加载组件的,其实当组件写在一个单独的文件中时,我们不需要使用Loader,只用文件名就可以使用组件了,这样非常方便。请看下方示例代码。
import QtQuick 2.0

Rectangle
    id: root
    width: 300
    height: 200

    Rect             // 1
        id: rect1
        x: 10
        y: 10
代码解释:
1. 将Rect.qml文件名中的后缀名.qml去掉就可以了。
5.3 小实战:自定义一个按钮
如果要往窗口上添加按钮,我们一般会使用Button元素(该元素在第三章中介绍过)。但有些时候我们会自定义一个外观和功能都不一样的按钮,现在用组件来实现一个。
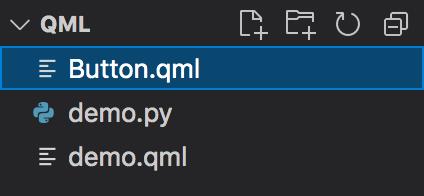
第一步:
新建一个Button.qml文件,如下图所示。
第二步:
在Button.qml编写代码,笔者将用Rectangle和MouseArea元素实现一个自定义的按钮。
import QtQuick 2.0

Rectangle
    id: root
    signal clicked          // 1
    width: 120
    height: 30
    radius: 5

    // 2
    property alias text: btnText.text
    property alias textSize: btnText.font.pixelSize

    // 3
    property string gradientStopColor1: "#8a9195"
    property string gradientStopColor2: "black"
    gradient: Gradient
        GradientStop  position: 0.0; color: gradientStopColor1
        GradientStop  position: 1.0; color: gradientStopColor2


    Text                   // 4
        id: btnText
        anchors.centerIn: root
        text: "Button"
        color: "white"
        font.pixelSize: 20
        font.weight: Font.Bold


    MouseArea              // 5
        anchors.fill: root
        hoverEnabled: true
        onClicked:
            root.clicked()


        onPressed:
            root.gradientStopColor1 = "#6a7073"


        onReleased:
            root.gradientStopColor1 = "#8a9195"


        onEntered:
            root.gradientStopColor1 = "#7d8488"


        onExited:
            root.gradientStopColor1 = "#8a9195"
代码解释:
1. 自定义一个信号clicked,它将在用户按下按钮时发射。
2. 通过property自定义一个alias属性,alias用来给组件内的某个元素属性设置一个别名,供外部使用。在这里我们给Text元素的text属性设置了个别名text,给font.pixelSize属性设置了别名textSize。这样我们就能在使用组件的时候通过这个text别名改变按钮文本,并通过textSize别名改变文本大小。设置别名的格式如下所示:

- 在name处填写别名。
- 在value处填写别名所要指代 的目标元素属性。
3. 自定义两个属性gradientStopColor1和gradientStopColor2,它们的类型是字符串string。我们可以使用property自定义一个QML内置类型的属性,格式如下所示:

- 在type处填写内置的类型名称。
- 在name处填写属性名称。
- 在value处填写属性初始值。
gradient属性用来给矩形元素设置渐变色背景,读者可以前往这个文档页面了解这个属性。
4. 按钮文本,可以通过font属性设置文本的样式。
5. MouseArea元素用来实现按钮的点击功能和效果。将hoverEnabled设置为true可以让鼠标进入和离开矩形元素时发射entered和exited信号。如果这个属性是false,那只有在鼠标被按下时,才会检测到鼠标进入和离开事件(在这个示例中会影响点击事件)。
当pressed、released、entered以及exited信号发射时,我们修改了gradientStopColor1的值,这样当鼠标悬浮、点击或释放按钮时颜色都会发生改变,响应用户操作。当MouseArea的clicked信号点击时,我们发射自定义的clicked信号。
第三步:
在demo.qml中使用自定义的Button组件,请看下方代码。
import QtQuick 2.0

Rectangle
    id: root
    width: 300
    height: 200

    Button
        anchors.centerIn: root
        text: "一个按钮"                 // 1
        textSize: 18
        onClicked:                     // 2
            console.log("我被点击了")
运行结果:
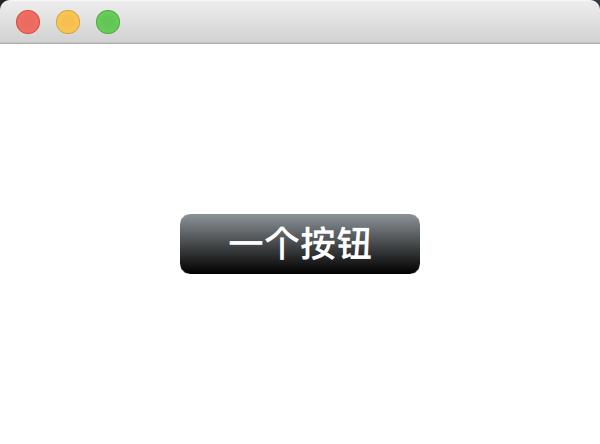
代码解释:
1. 使用别名属性text和textSize,通过它们分别修改按钮文本和文本大小。
2. 当clicked信号发射时,在控制台打印一段文本。
5.4 本章小结
1. 如果组件是写在其他元素内,那我们需要使用Component元素,并通过Loader元素进行加载。如果是写在单个文件中,则可以直接通过文件名(不带后缀)使用组件。
2. 使用Loader元素加载组件时,我们可以用sourceComponent和source属性,前者的值的组件id,后者的值是组件所在文件的路径。
3. 使用property可以设置QML内置标准属性或者alias别名,别名通常用来暴露组件内部的某个元素属性,供外部使用。
以上是关于组件的主要内容,如果未能解决你的问题,请参考以下文章