在vmware中设置CentOS7的网络
Posted 牧云人生
tags:
篇首语:本文由小常识网(cha138.com)小编为大家整理,主要介绍了在vmware中设置CentOS7的网络相关的知识,希望对你有一定的参考价值。
为了能够使用XShell来管理我们安装好的CentOS7系统,所以我们要先设置CentOS7的网络使其能够联网。
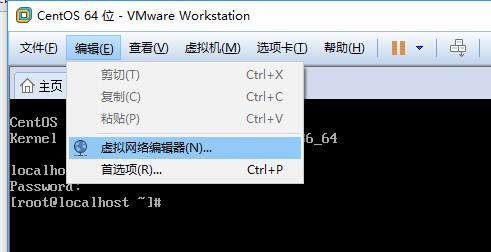
1.选择vmware的编辑,然后点击虚拟网络编辑器
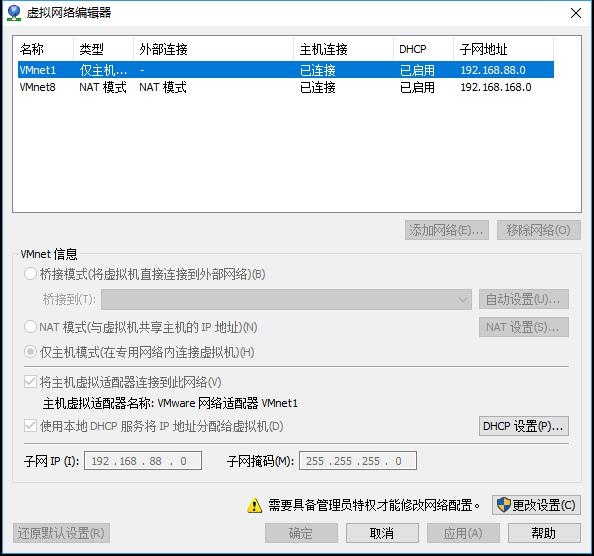
![](https://image.cha138.com/20210601/e063eec3b4a249748ea14724a844c2a6.jpg)
2.点击更改设置(需要有管理员权限)
![](https://image.cha138.com/20210601/4ac8edcfe59742048ceca5a2ffad7db2.jpg)
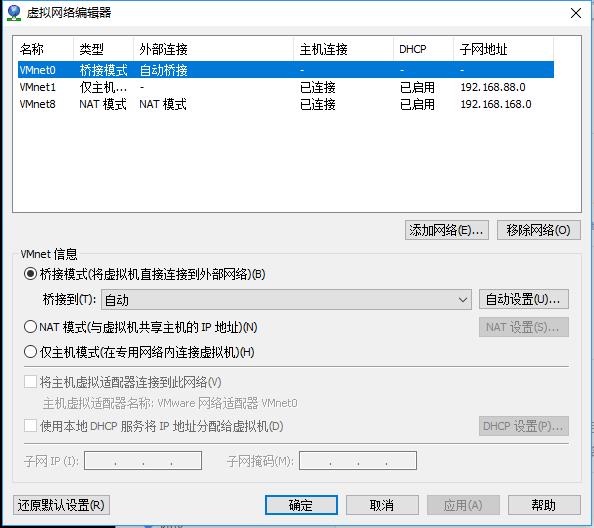
3.选择VMnet0为桥接模式,选择自动或者网卡
![](https://image.cha138.com/20210601/defe8f5dc08f442f9896829abe0c149e.jpg)
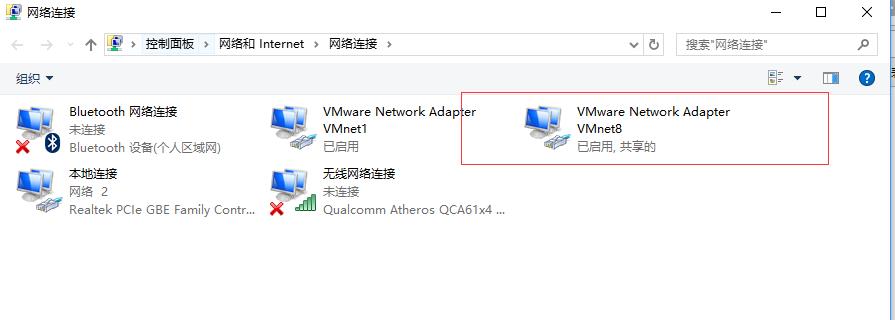
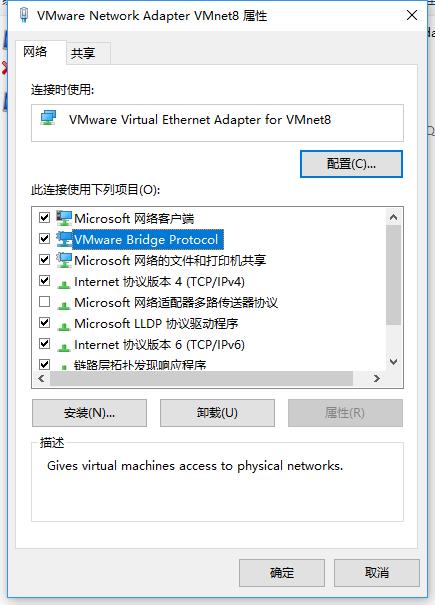
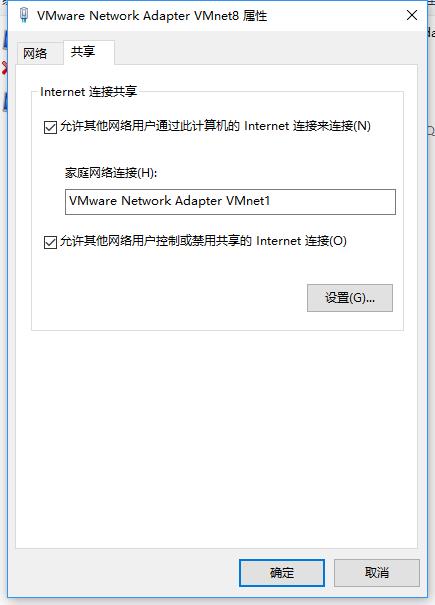
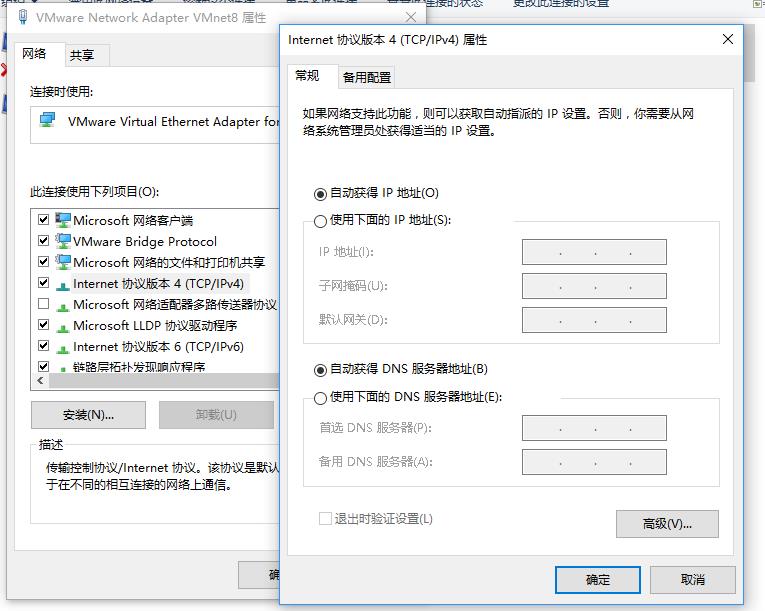
4.打开“网络和共享中心”选择“VMware Virtual Ethernet Adapter for VMnet8”网卡,右键选择属性,勾选VMware Bridge Protocol,同时设置ip为自动获取
![](https://image.cha138.com/20210601/fcdc1aff054e41569a9bd8150956fbeb.jpg)
![](https://image.cha138.com/20210601/dac9246214e84f779431e1aa39bec88f.jpg)
![](https://image.cha138.com/20210601/ab9b44db79dc424fbe42fcd3781de2b2.jpg)
![](https://image.cha138.com/20210601/35735456db38413aa2fe859b2f0c7070.jpg)
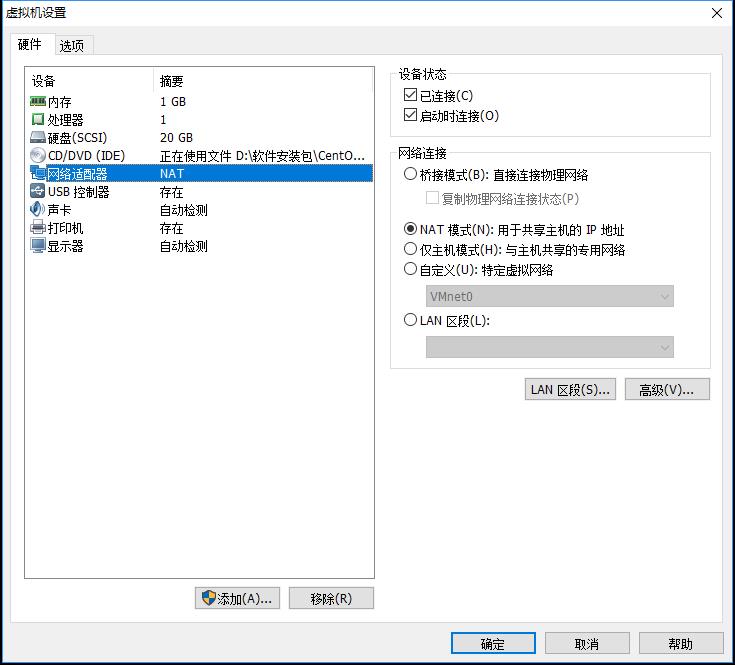
5.设置虚拟机的网络设置,选择NAT方式
![](https://image.cha138.com/20210601/a45278d257054e1fa47f2b228625d539.jpg)
![](https://image.cha138.com/20210601/e1ed117a22614a16b44ff239714b1d43.jpg)
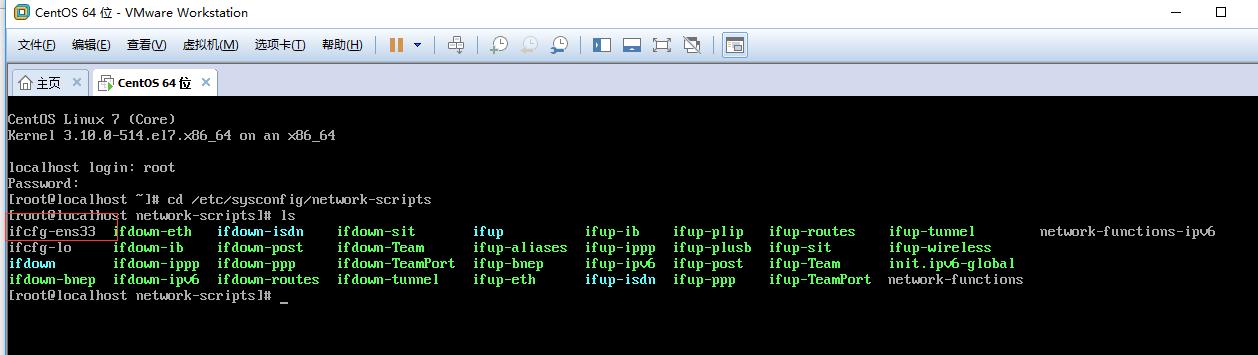
6.输入命令cd /etc/sysconfig/network-scripts,到达该目录,并输入ls,查看所有文件,vi打开编辑ifcfg-ens33文件。
![](https://image.cha138.com/20210601/98b547d72ecd4df2ba09527cc1a1c81f.jpg)
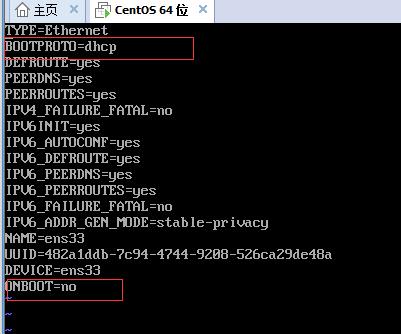
7.修改BOOTPROTO=dhcp,ONBOOT=yes。
输入i进入编辑模式,修改好后,点击ESC,输入:wq保存退出
![](https://image.cha138.com/20210601/81d653b91705429d8e6a05bc83cf98ef.jpg)
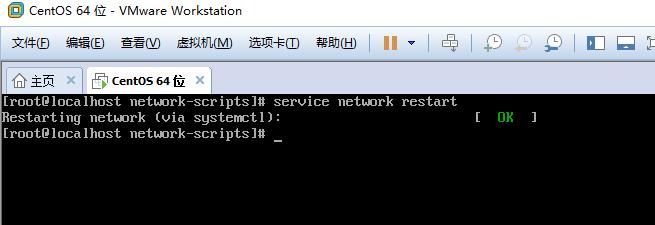
8.输入service network restart重启网络
![](https://image.cha138.com/20210601/acfff8d4d54e473ba05e5f45ca5dd3cb.jpg)
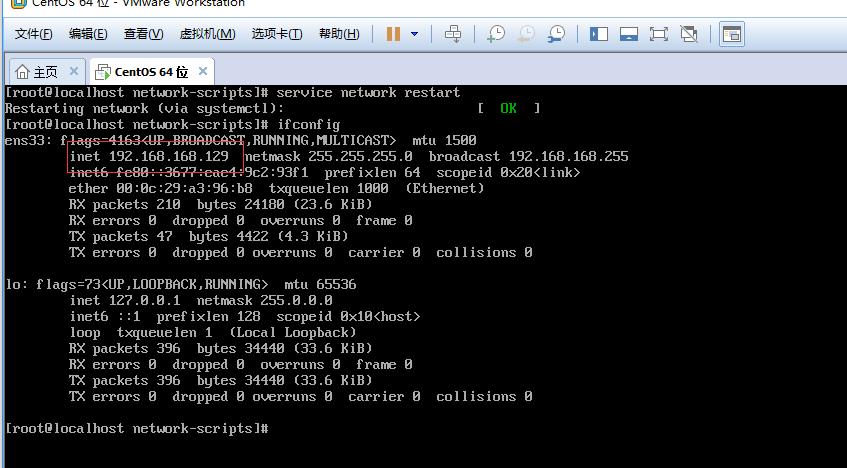
9.输入ifconfig查看是否设置网络成功,有了ip号就表示设置成功了
![](https://image.cha138.com/20210601/439c5558a4774698b15b6a46020d6168.jpg)
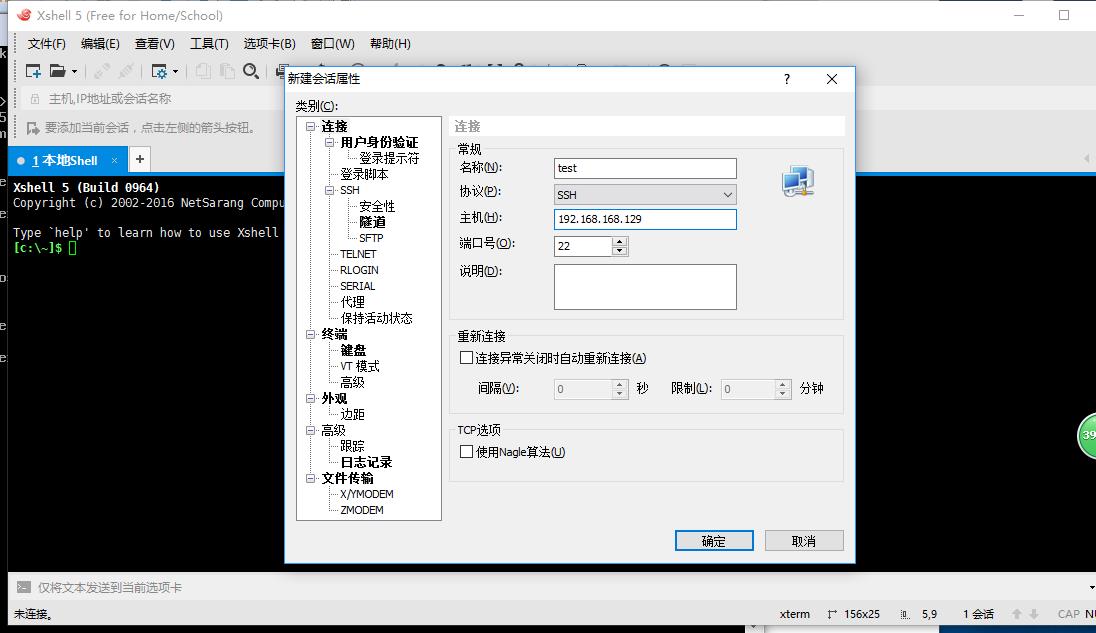
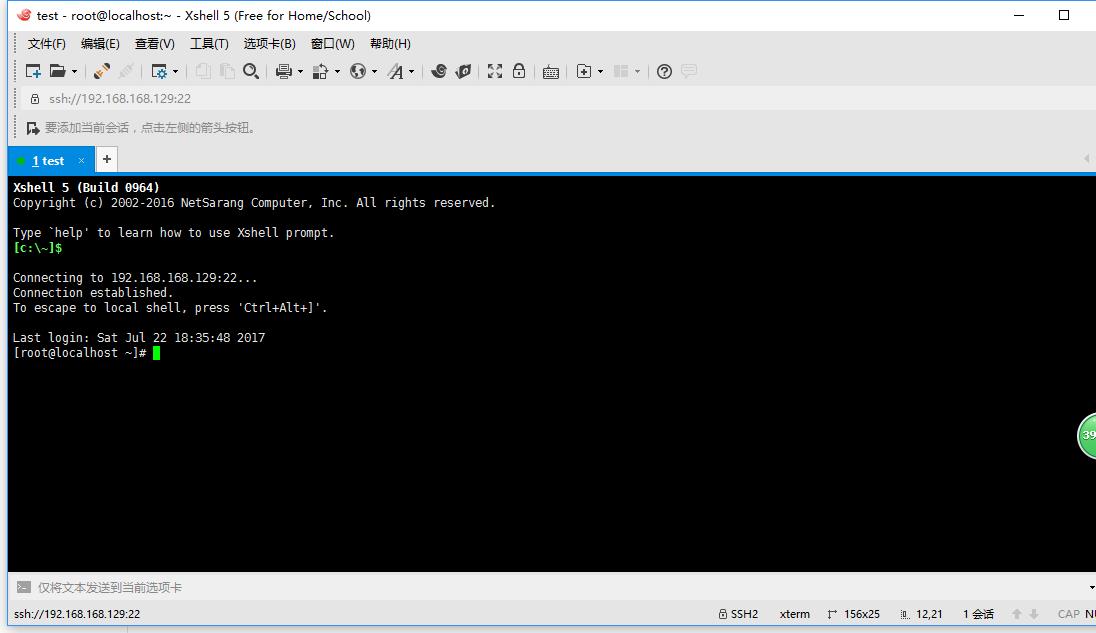
10.使用安装好XShell链接CentOS
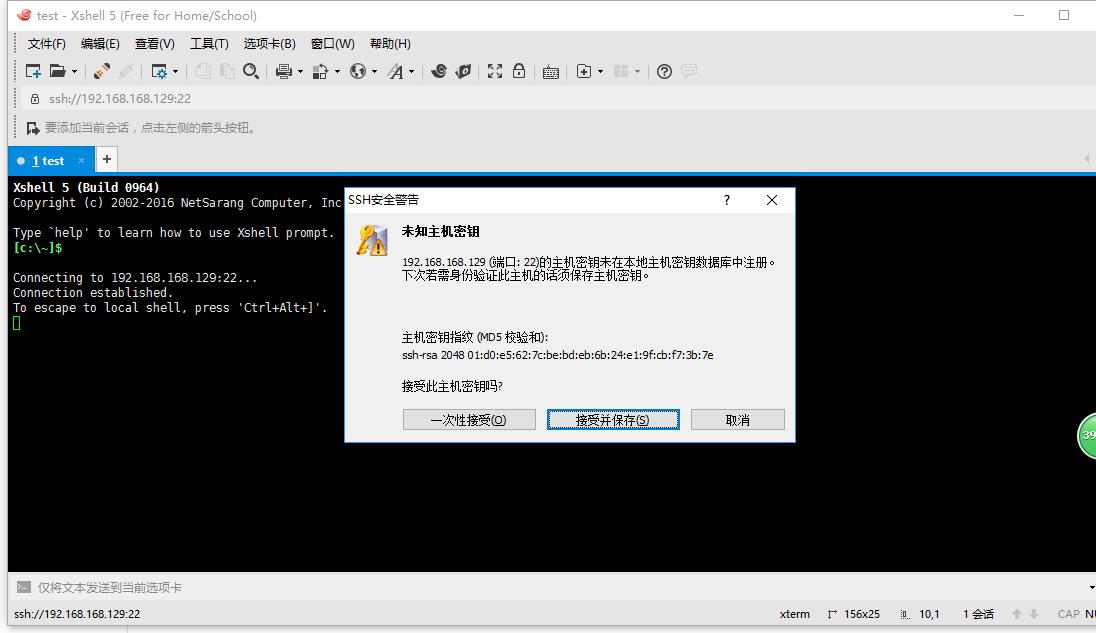
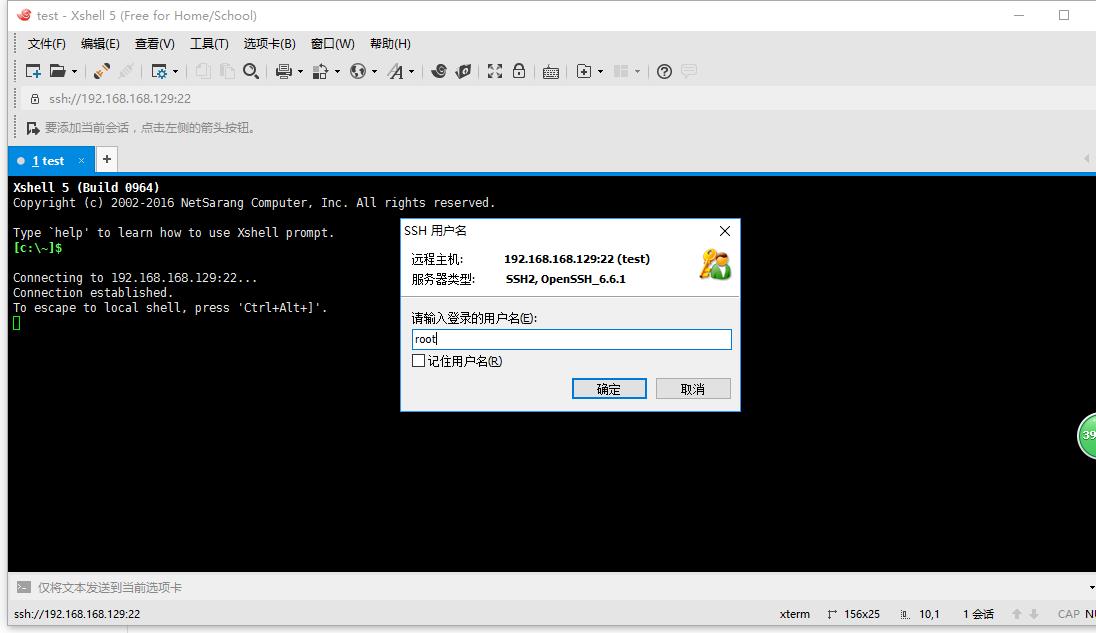
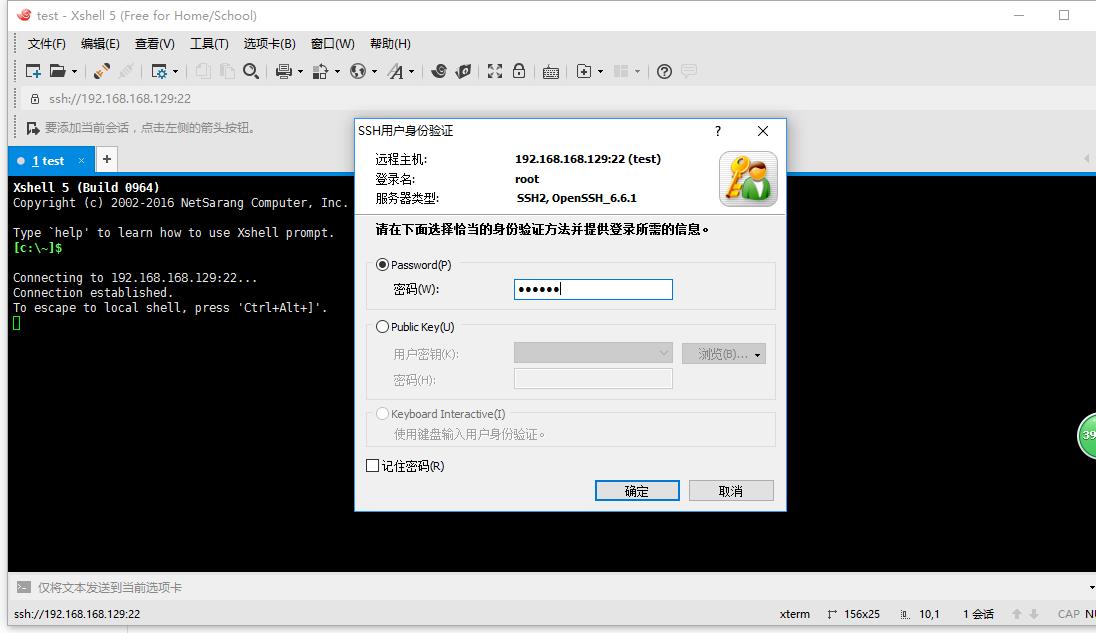
![](https://image.cha138.com/20210601/b47674822e4c409ea0269c509d0ff33b.jpg)
![](https://image.cha138.com/20210601/ec87c1afebde4366a4c919f1bb82b19e.jpg)
![](https://image.cha138.com/20210601/e395e30078e74df889f796df3e4ef648.jpg)
![](https://image.cha138.com/20210601/7fccc59280294ea38307d7ae112931ab.jpg)
11.链接成功
![](https://image.cha138.com/20210601/6ac1b5f1576f464bbbd75f09cf02757f.jpg)
以上是关于在vmware中设置CentOS7的网络的主要内容,如果未能解决你的问题,请参考以下文章