uniapp图片上传 - thinkphp6后台接收 - 填坑日记
Posted Rudon滨海渔村
tags:
篇首语:本文由小常识网(cha138.com)小编为大家整理,主要介绍了uniapp图片上传 - thinkphp6后台接收 - 填坑日记相关的知识,希望对你有一定的参考价值。
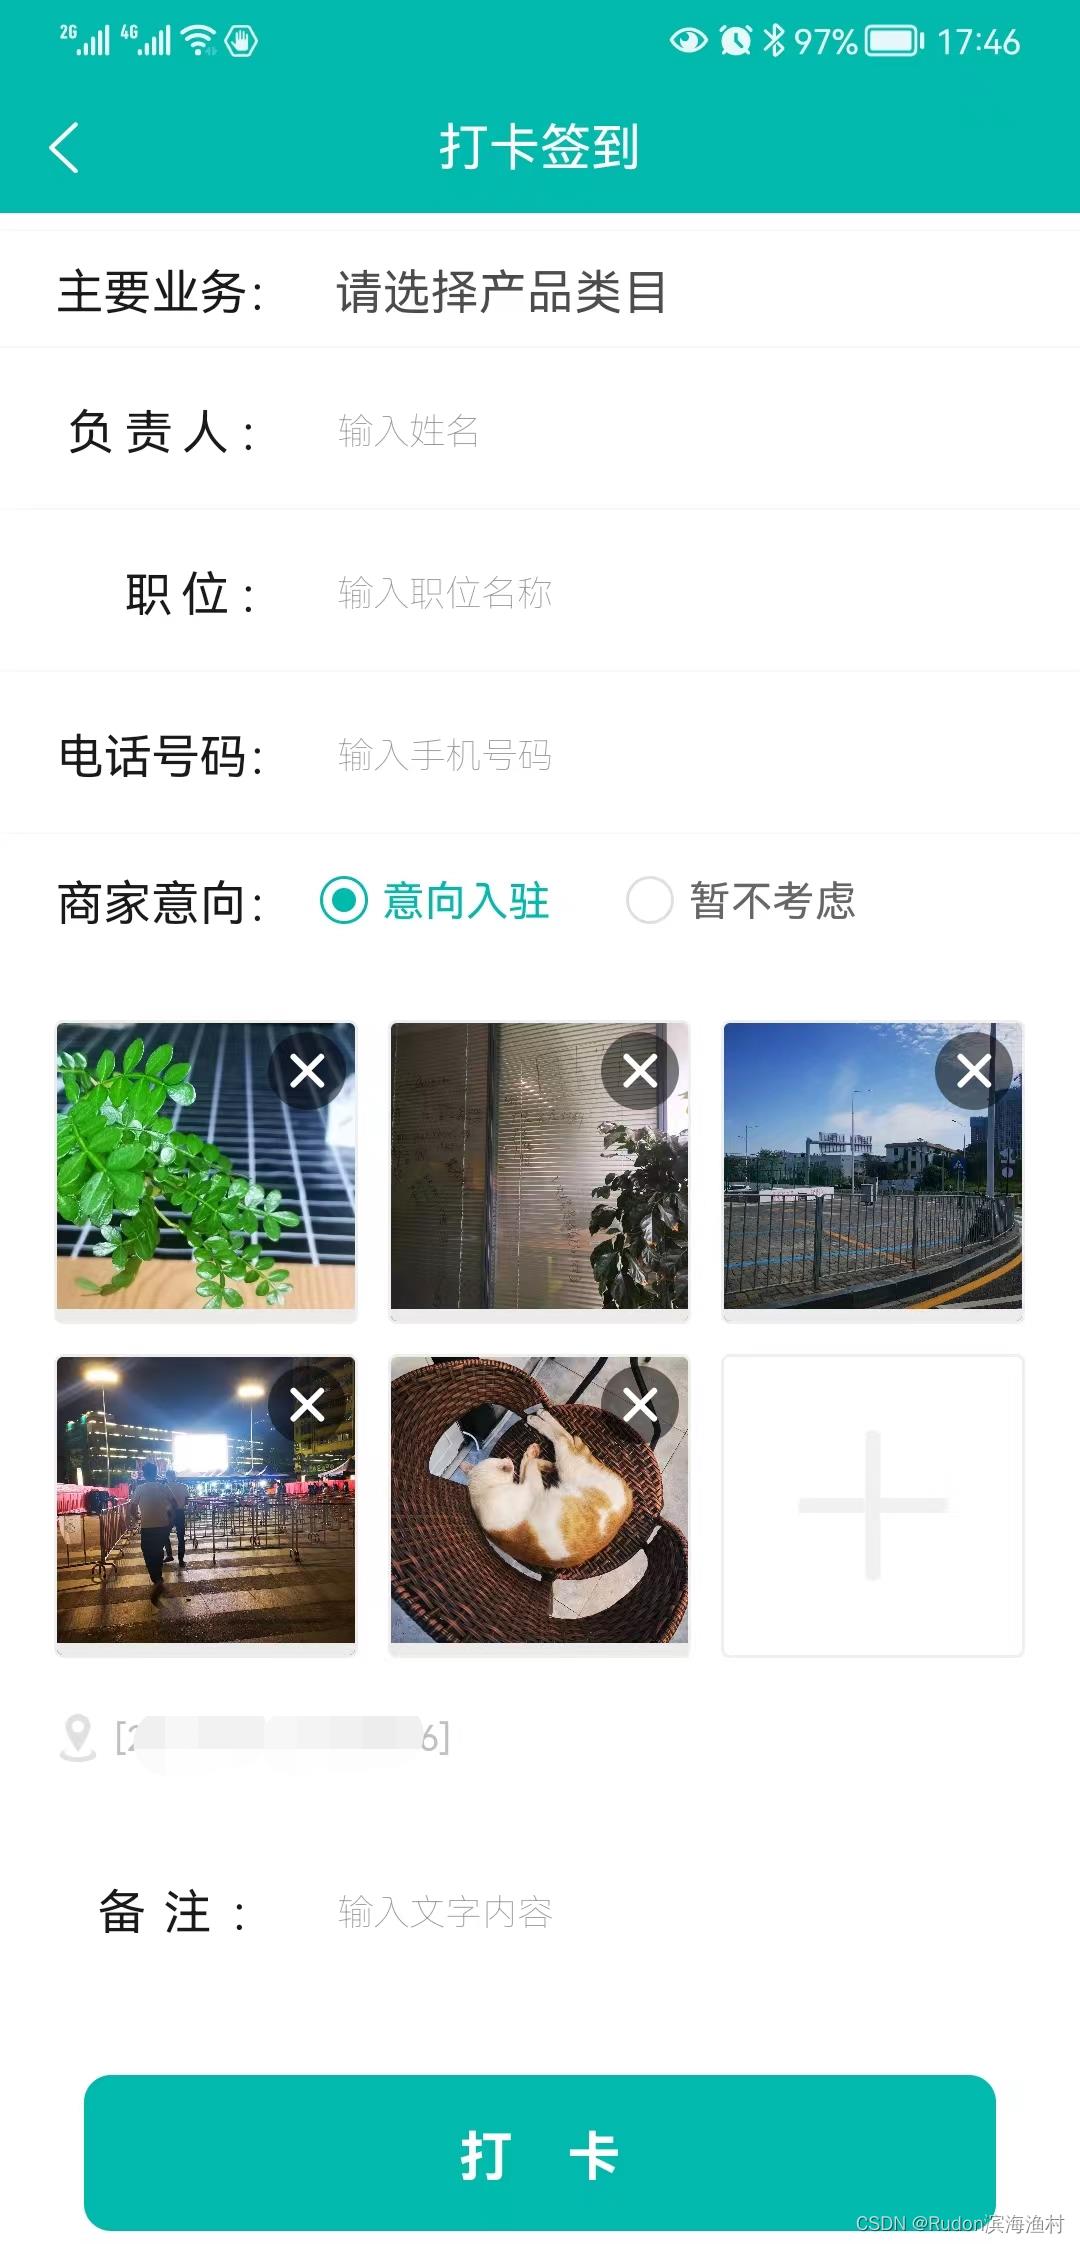
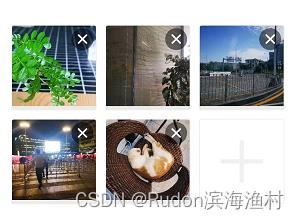
效果图
多图上传,到自己的腾讯云服务器

主要步骤
- 组件uni-file-picker,方便获取图片列表的本地路径
- 循环使用uni.uploadFile,逐张上传图片到服务器
- 服务器端tp6使用request()->file('image')和Filesystem::putFile接收图片,返回图片URL
踩过的坑
- 组件uni-file-picker默认会自动上传图片到项目绑定的云服务器,不符合需求,需要给组件设置
:auto-upload="false"
来禁止自动上传 - 组件uni-file-picker绑定变量v-model=“list”一点用都没有,图片列表需要手动通过组件绑定事件
@select="select" @delete=“delete”
来增减算出 真实的图片列表 - @select="select"事件每次传值,都只是本次多选中的图片,还要手动去合并原有列表
- 手册....坑多
- uniapp上传接口uni.uploadFile官方手册里,没有写头部信息,导致php无法获取
header: 'Content-Type': 'multipart/form-data' , - thinkphp6文件上传还好
详细步骤
看下面的完整代码吧,心累了
推荐
手机上无广告的百度绿色版首页 baidu.rudon.cn
完整代码
uniapp页面
<template>
	<view style="background-color: white;">

		<view>
			<view>
				<view>
					名称:
				</view>
				<view>
					<uni-easyinput  v-model="formData.name" placeholder="输入名称" :inputBorder="false"/>
				</view>
			</view>

			<view>
				<view>
					<uni-file-picker file-mediatype="image" :auto-upload="false" limit="9" @select="whenImagesSelected" @delete="whenImagesDeleted"></uni-file-picker>
				</view>
			</view>


		</view>

		<view @click="clickBtn">
			<view>
				打卡
			</view>
		</view>

		<view>
			noticeMsg
		</view>


	</view>
</template>

<script>
	export default
		data()
			return

				// 表数据
				formData:
					// 名称
					name: ''
				,

				// 提示文字
				noticeMsg: '',


				// 图片列表
				imgList: [],

				// 图片URL 0 => 'https://xxxx/xx.jpg', 1 => '', ...
				imgListUrl: [],

				// 打卡记录ID
				record_id: 0


		,
		methods:


			// 图片选中时
			whenImagesSelected (e)
				// 【变化+】 e.tempFilePaths,数组,多张图片
				// JS(ES6)合并数组
				// https://wenku.baidu.com/view/e329dcda0142a8956bec0975f46527d3240ca679.html
				this.imgList = this.imgList.concat( e.tempFilePaths )
				console.log('whenImagesSelected()', this.imgList)
			,

			// 图片删除时
			whenImagesDeleted (e)
				// 【变化-】 e.tempFilePath,字符串,单张图片
				this.imgList.splice( this.imgList.indexOf(e.tempFilePath), 1 )
				console.log('whenImagesDeleted()', this.imgList)
			,


			// 按钮点击事件
			clickBtn ()


				// 检查图片是否已经上传完毕
				if (this.record_id !== 0)
					// 接着上传图片
					this.upload_image()
					return


				// 检查图片数量
				if (this.imgList.length == 0)
					this.showError( '请上传图片' )
					return


				// 初始化图片上传后的路径
				this.imgListUrl = []
				for (var k in this.imgList)
					this.imgListUrl[k] = ''


				// 上传资料,获取打卡ID
				uni.request(
					url: 'https://xxxxxxxxxxxxxxx/api/add_record/',
					method: 'POST',
					dataType:'JSON',
					data:
						name: this.formData.name
					,
					success: (res) =>
						console.log('Success', res)

						// 成功
						console.log('[记录添加] 成功', res.data.data.id)
						this.record_id = res.data.data.id
						this.showNotice('打卡记录已保存,准备上传图片')

						// 逐个上传图片 (根据打卡ID)
						this.upload_image()

					,
					fail: (e) =>
						console.log('Fail', e)
						this.showError('系统出错,请稍后再试')
						return

				)
			,


			/**
			 *
			 * 准备逐个上传图片
			 * 参考 https://blog.csdn.net/haoyue1014/article/details/89790247
			 *
			 */
			upload_image ()
				// 判断 - 全部上传完毕
				if (this.index_next_upload() === false)
					uni.showToast(
						icon: "success",
						title: "打卡成功",
						success: () =>
							setTimeout(()=>
								uni.navigateBack()
							, 2000)

					)
					return


				// 获取下一个需要上传的图片下标
				let nextIndex = this.index_next_upload()
				let numberNature = nextIndex + 1
				let imgPath = this.imgList[ nextIndex ]
				console.log('Uploading img #'+nextIndex)
				console.log('Local Path '+imgPath)


				// 开始上传
				uni.uploadFile(
					// 服务器地址
					url: 'https://xxxxxxxxxxxxxxx/api/upload/',

					// PHP服务器需要正确的头部信息
					header:
						'Content-Type': 'multipart/form-data'
					,

					// 传递的参数
					formData:
						// 目标储存位置
						path: '/images/'+ numberNature +'.jpg'
					,

					// 本地图片路径
					filePath: imgPath,

					// 服务器端接收下标 $_FILES['file']
					name: 'file',

					success: (res) =>

						console.log('[图片上传] ', res)

						// 因为uni.uploadFile不能指定dataType="JSON",服务器响应内容需要自行解析
						res.data = JSON.parse(res.data)

						// 成功
						this.imgListUrl[ nextIndex ] = res.data.data.url
						let msg = '图片上传成功 (' + numberNature + '/' + this.imgList.length + ')'
						console.log(msg)
						this.showNotice(msg)

						console.log('【图片URL】', this.imgListUrl)

						// 继续上传,直到全部上传完毕
						this.upload_image()

					,
					fail: (e) =>
						console.log('上传失败', e)
						this.showError('上传失败')

				)
			,


			// 下一个要上传的图片的下标: false 或者 数字下标
			index_next_upload ()
				let res = false
				for (var i in this.imgListUrl)
					if (res === false && this.imgListUrl[i] == '')
						res = parseInt(i)


				console.log('[index_next_upload]', res)
				return res
			,


			// 显示错误
			showError (msg)
				uni.showToast(
					icon:'error',
					title: msg
				)
			,

			// 显示提示
			showNotice (msg)
				this.noticeMsg = msg
				setTimeout(()=>
					this.noticeMsg = ''
				, 1500)


</script>

<style>

</style>
thinkphp6文件上传接收API
    /**
     * 提交-图片上传
     *
     */
    public function upload ()
        // 默认返回具体数据
        $res = array();

        // 默认参数
        $fileupload_key = 'file'; // 在uniapp中的 uni.uploadFile(name:'file') 设置
        $folder_name_tmp = 'topic'; // 随意、非空,作为接收文件夹名字
        $folder_root = dirname(dirname(dirname(__FILE__))).'/';
        $folder_path_tmp_storage = $folder_root . 'runtime/storage/';
        $folder_public = $folder_root . 'public/';
        $url_root = 'https://xxxxxxxxxxxxxxx/';


        // 获取参数
        $targetPath_key = 'path'; // 在uniapp中的 uni.uploadFile( formData:path: '/path/to/image/in/server/' ) 设置
        if (!input('?post.'.$targetPath_key))
            return json('缺少参数'.$targetPath_key);

        $subPath = input('post.'.$targetPath_key.'/s');
        $subPath = ltrim($subPath, '/\\\\');


        // 获取目标存放路径 - 原始
        // https://www.kancloud.cn/manual/thinkphp6_0/1037639 TP6手册 - 文件上传
        $tmp_file = request()->file( $fileupload_key );
        $tmp_savename = Filesystem::putFile( $folder_name_tmp, $tmp_file);


        // 获取目标存放路径 - 绝对路径
        $tmp_file_path = realpath($folder_path_tmp_storage . $tmp_savename);


        // 移动到最终路径
        $target_path = $folder_public . $subPath;
        $target_path_dir = dirname($target_path);
        if (!is_dir( $target_path_dir ))
            mkdir( $target_path_dir, 0755, true );

        rename($tmp_file_path, $target_path);
        $url = $url_root . $subPath;


        // 返回成功信息
        $res['url'] = $url;
        return json($res);
封面

以上是关于uniapp图片上传 - thinkphp6后台接收 - 填坑日记的主要内容,如果未能解决你的问题,请参考以下文章