VUE项目实战48参数下可选项的增删改
Posted 光仔December
tags:
篇首语:本文由小常识网(cha138.com)小编为大家整理,主要介绍了VUE项目实战48参数下可选项的增删改相关的知识,希望对你有一定的参考价值。
接上篇《47、渲染参数下的可选项》
上一篇我们完成了参数下可选项的渲染,本篇我们来完成可选项的添加和删除。
一、添加按钮与文本框的切换显示
我们要实现点击添加按钮后,变成一个文本框的效果: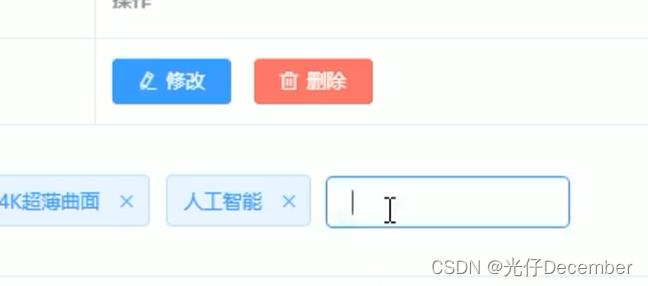
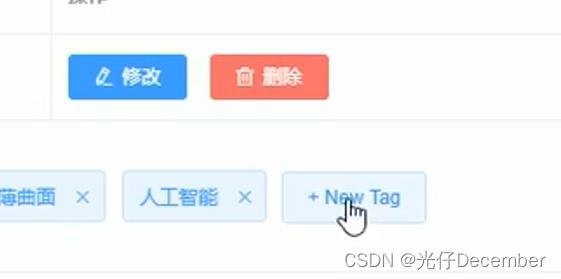
逻辑是点击添加按钮后,按钮切换为一个input文本框,而input文本框失去焦点之后,则会变回添加按钮。我们通过v-if和v-else和一个boolean值就可以轻松实现。
添加按钮我们可以通过element-UI官网el-tag提供的动态编辑效果来实现: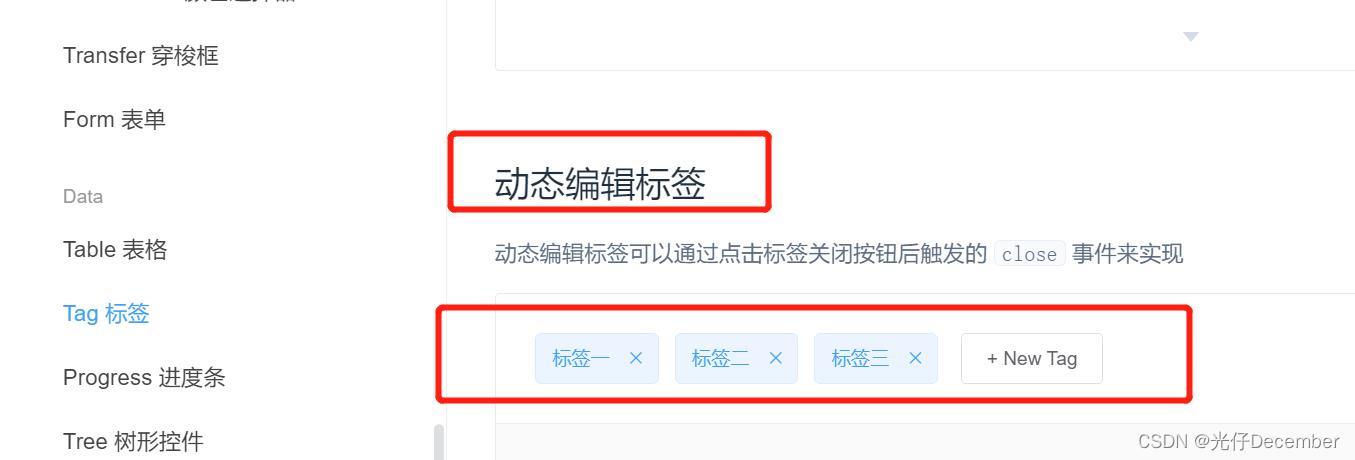
官方实现代码:
<el-tag
  :key="tag"
  v-for="tag in dynamicTags"
  closable
  :disable-transitions="false"
  @close="handleClose(tag)">
  tag
</el-tag>
<el-input
  class="input-new-tag"
  v-if="inputVisible"
  v-model="inputValue"
  ref="saveTagInput"
  size="small"
  @keyup.enter.native="handleInputConfirm"
  @blur="handleInputConfirm"
>
</el-input>
<el-button v-else class="button-new-tag" size="small" @click="showInput">+ New Tag</el-button>

<style>
  .el-tag + .el-tag
    margin-left: 10px;

  .button-new-tag
    margin-left: 10px;
    height: 32px;
    line-height: 30px;
    padding-top: 0;
    padding-bottom: 0;

  .input-new-tag
    width: 90px;
    margin-left: 10px;
    vertical-align: bottom;

</style>

<script>
  export default
    data()
      return
        dynamicTags: ['标签一', '标签二', '标签三'],
        inputVisible: false,
        inputValue: ''
      ;
    ,
    methods:
      handleClose(tag)
        this.dynamicTags.splice(this.dynamicTags.indexOf(tag), 1);
      ,

      showInput()
        this.inputVisible = true;
        this.$nextTick(_ =>
          this.$refs.saveTagInput.$refs.input.focus();
        );
      ,

      handleInputConfirm()
        let inputValue = this.inputValue;
        if (inputValue)
          this.dynamicTags.push(inputValue);

        this.inputVisible = false;
        this.inputValue = '';


</script>
可以看到el-input和el-button,通过v-if和v-else来控制“非黑即白”的显示(判断的boolean值就是inputVisible字段),他们通过“keyup.enter.native”、“blur”和“click”函数,分别在按Enter键抬起、失去焦点时隐藏输入框(inputVisible设为false),在点击添加按钮的时候显示输入框(inputVisible设为true)。
我们按照官网的思路,同样也编写添加按钮和输入按钮的效果:
<!-- 展开行 -->
<el-table-column type="expand">
    <template slot-scope="scope">
        <!-- 循环渲染Tag标签 -->
        <el-tag v-for="(item,i) in scope.row.attr_vals" :key="i" closable>
            item
        </el-tag>
        <!-- 文本输入框 -->
        <el-input class="input-new-tag" v-if="scope.row.inputVisible"
            v-model="scope.row.inputValue" ref="saveTagInput" size="small"
            @keyup.enter.native="handleInputConfirm(scope.row)"
            @blur="handleInputConfirm(scope.row)">
        </el-input>
        <!-- 添加按钮 -->
        <el-button v-else class="button-new-tag"
        size="small" @click="showInput(scope.row)">+ New Tag</el-button>
    </template>
</el-table-column>
然后定义一下输入框的样式,免得太长:
<style scoped>
//上面的样式略...
.input-new-tag
    width: 120px;

</style>
然后在原来分隔数组的for循环里,给每行的参数指定自己的inputVisible和inputValue变量(防止用共用变量,导致每一行的行为都一样的问题):
//将“attr_vals”属性修改为一个数组
res.data.forEach(item =>
    //将字符串通过空格分割形成一个数组
    if(item.attr_vals.length>0)
        item.attr_vals = item.attr_vals.split(' ');
    else
        item.attr_vals = [];

    //控制按钮与文本框的切换显示
    item.inputVisible=false;
    //输入框中输入的内容
    item.inputValue='';
);
最后在方法区定义“handleInputConfirm”和“showInput”函数:
//文本框失去焦点,或按下了Enter键都会触发
handleInputConfirm(item)
   if(item.inputValue.trim().length===0)
        //用户输入空格等没有意义的数据,失去焦点时清空框
        item.inputValue = '';
        item.inputVisible = false;
        return;
    else
        //用户输入了值,就将其提交入库
        //这里即将编写参数提交入库的操作
        item.inputVisible = false;

,
//点击按钮,显示输入文本框
showInput(item)
    item.inputVisible = true;
    //让文本框自动获得焦点
    //$nextTick 方法的作用,就是当页面上元素被重新渲染之后,才会指定回调函数中的代码
    this.$nextTick(_ =>
        this.$refs.saveTagInput.$refs.input.focus();
    );
效果: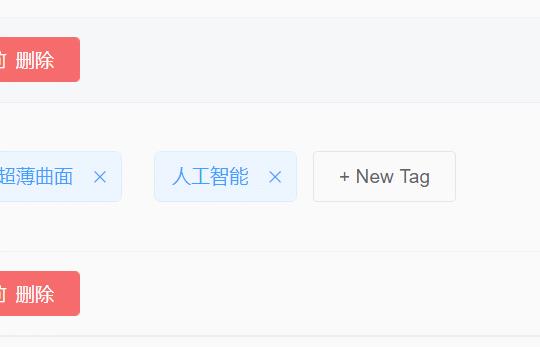
二、完成参数项的添加操作
我们在上面开发好的input框中输入值,在input失去焦点或者按回车的时候,就将参数添加进去,此时我们需要做的就是将用户输入的值保存到数据库中,API如下: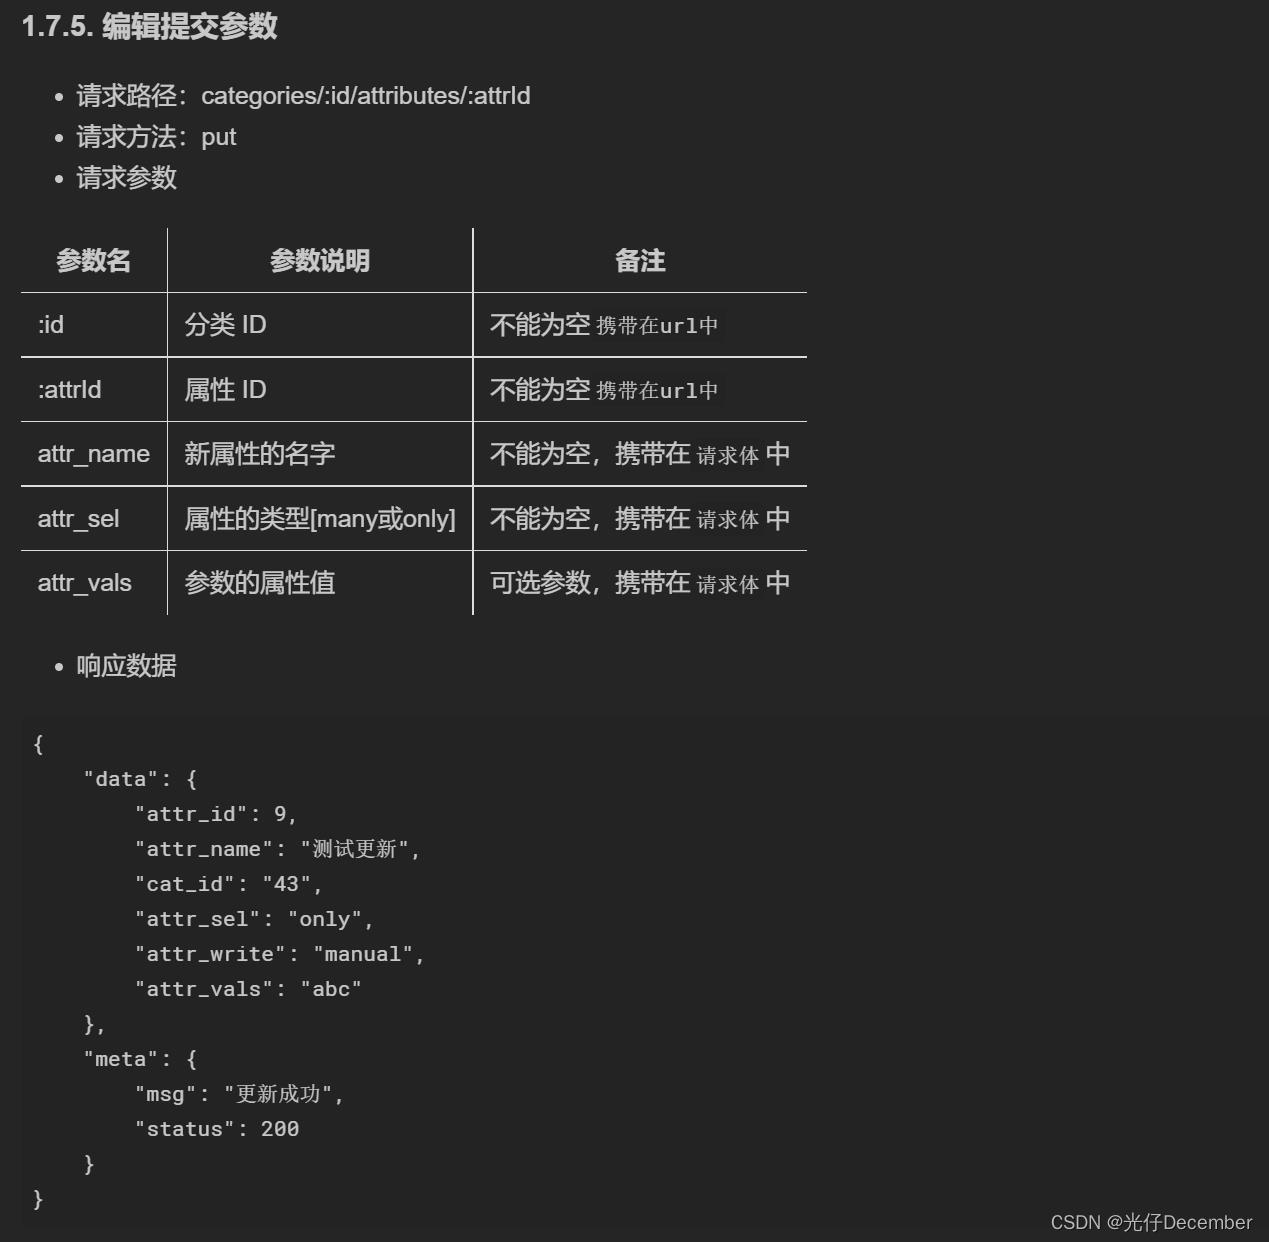
我们在上面的handleInputConfirm方法中,当判定用户在input框中填写了数据后,编写提交后台的逻辑:
//文本框失去焦点,或按下了Enter键都会触发
async handleInputConfirm(item)
    if(item.inputValue.trim().length===0)
        //用户输入空格等没有意义的数据,失去焦点时清空框
        item.inputValue = '';
        item.inputVisible = false;
        return;
    else
        //用户输入了值,就将其提交入库
        item.attr_vals.push(item.inputValue.trim());//新增一个选项
        const data: res = await this.$http.put("categories/"+this.cateId+"/attributes/"+item.attr_id,
            attr_name: item.attr_name,
            attr_sel: item.attr_sel,
            attr_vals: item.attr_vals.join(' '),//将数组以空格拼接回字符串
        );
        if(res.meta.status!==200)
          return this.$message.error('修改参数项失败!');

        this.$message(type: 'success',message: '修改参数项成功!');
        item.inputValue = '';
        item.inputVisible = false;

,
然后我们进行测试,首先在曲面电视下面添加一个“颜色”的参数,为其下面添加一些选项,并且刷新后再进去也能看到: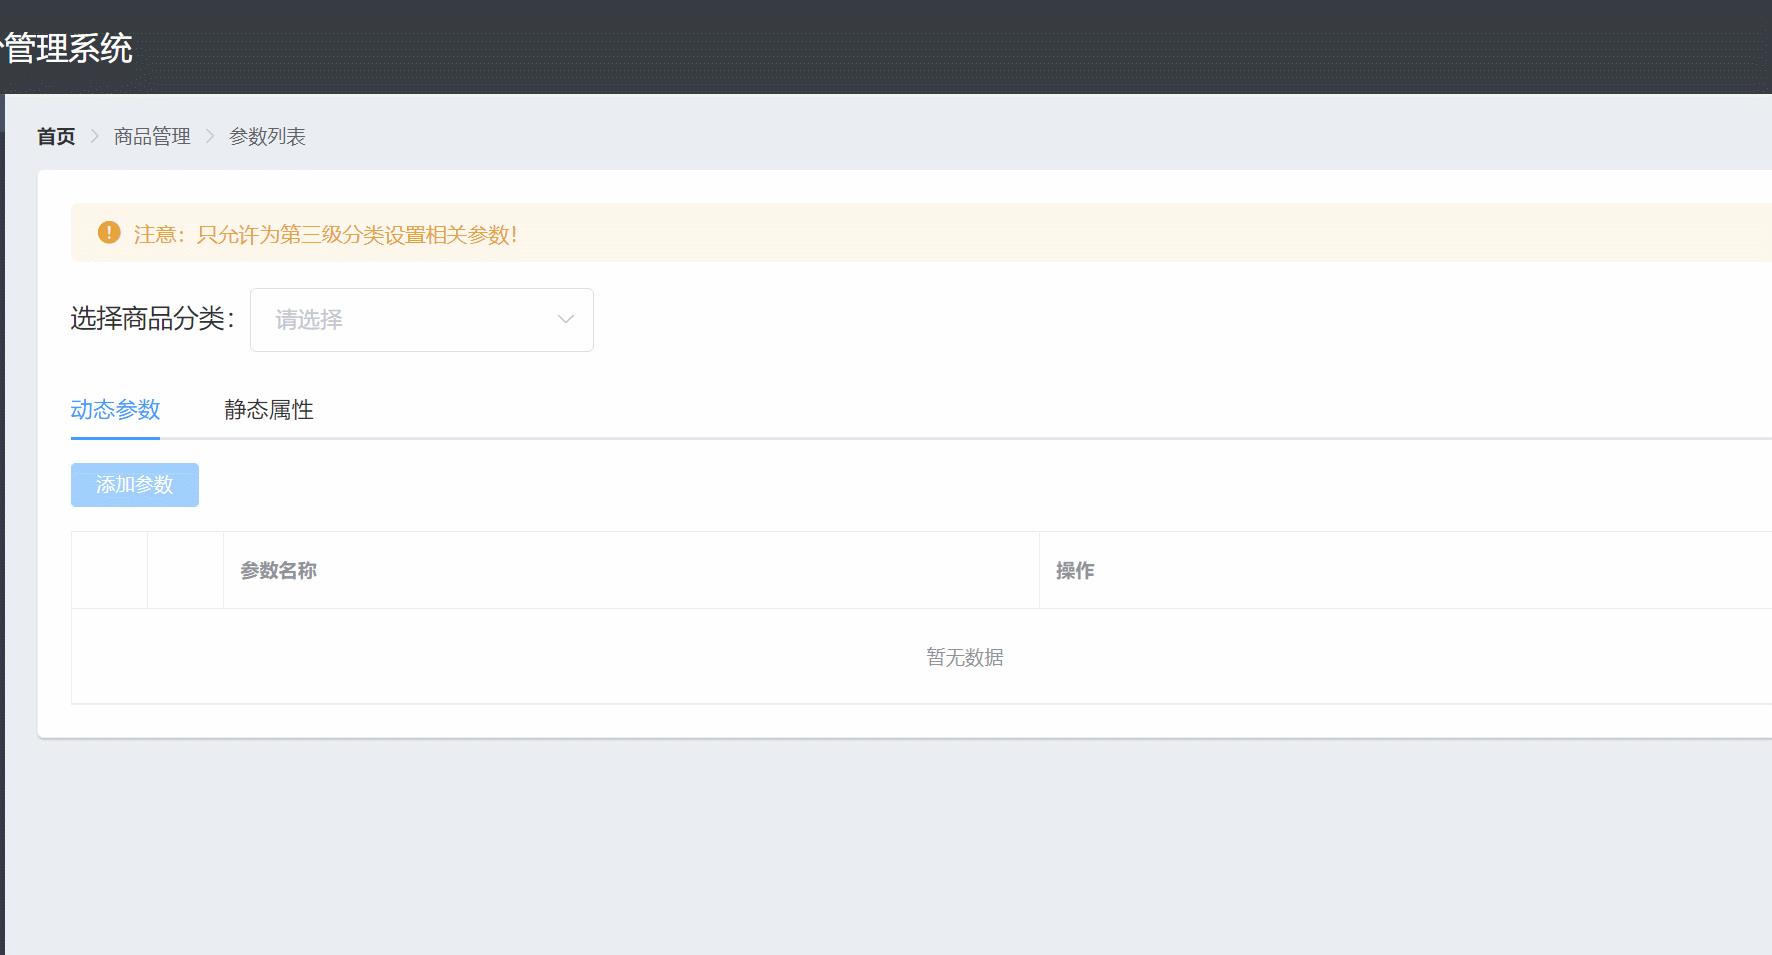
三、完成选项的删除操作
上面我们完成了选项的编辑和新增操作,下面来实现点击选项卡上的叉叉按钮删除该选项的效果。
首先在el-tag标签中,新增一个close函数,参数为当前tag的索引i,以及当前选项的row对象:
<!-- 循环渲染Tag标签 -->
<el-tag v-for="(item,i) in scope.row.attr_vals" :key="i" closable
@close="handleClose(i,scope.row)">
    item
</el-tag>
在方法区定义handleClose函数,并编写删除逻辑:
//删除对应的参数可选项
async handleClose(i,item)
    item.attr_vals.splice(i,1);//去除一个选项
    //修改参数下的可选项
    const data: res = await this.$http.put("categories/"+this.cateId+"/attributes/"+item.attr_id,
        attr_name: item.attr_name,
        attr_sel: item.attr_sel,
        attr_vals: item.attr_vals.join(' ')//将数组以空格拼接回字符串
    );
    if(res.meta.status!==200)
        return this.$message.error('修改参数项失败!');

    this.$message(type: 'success',message: '修改参数项成功!');
效果: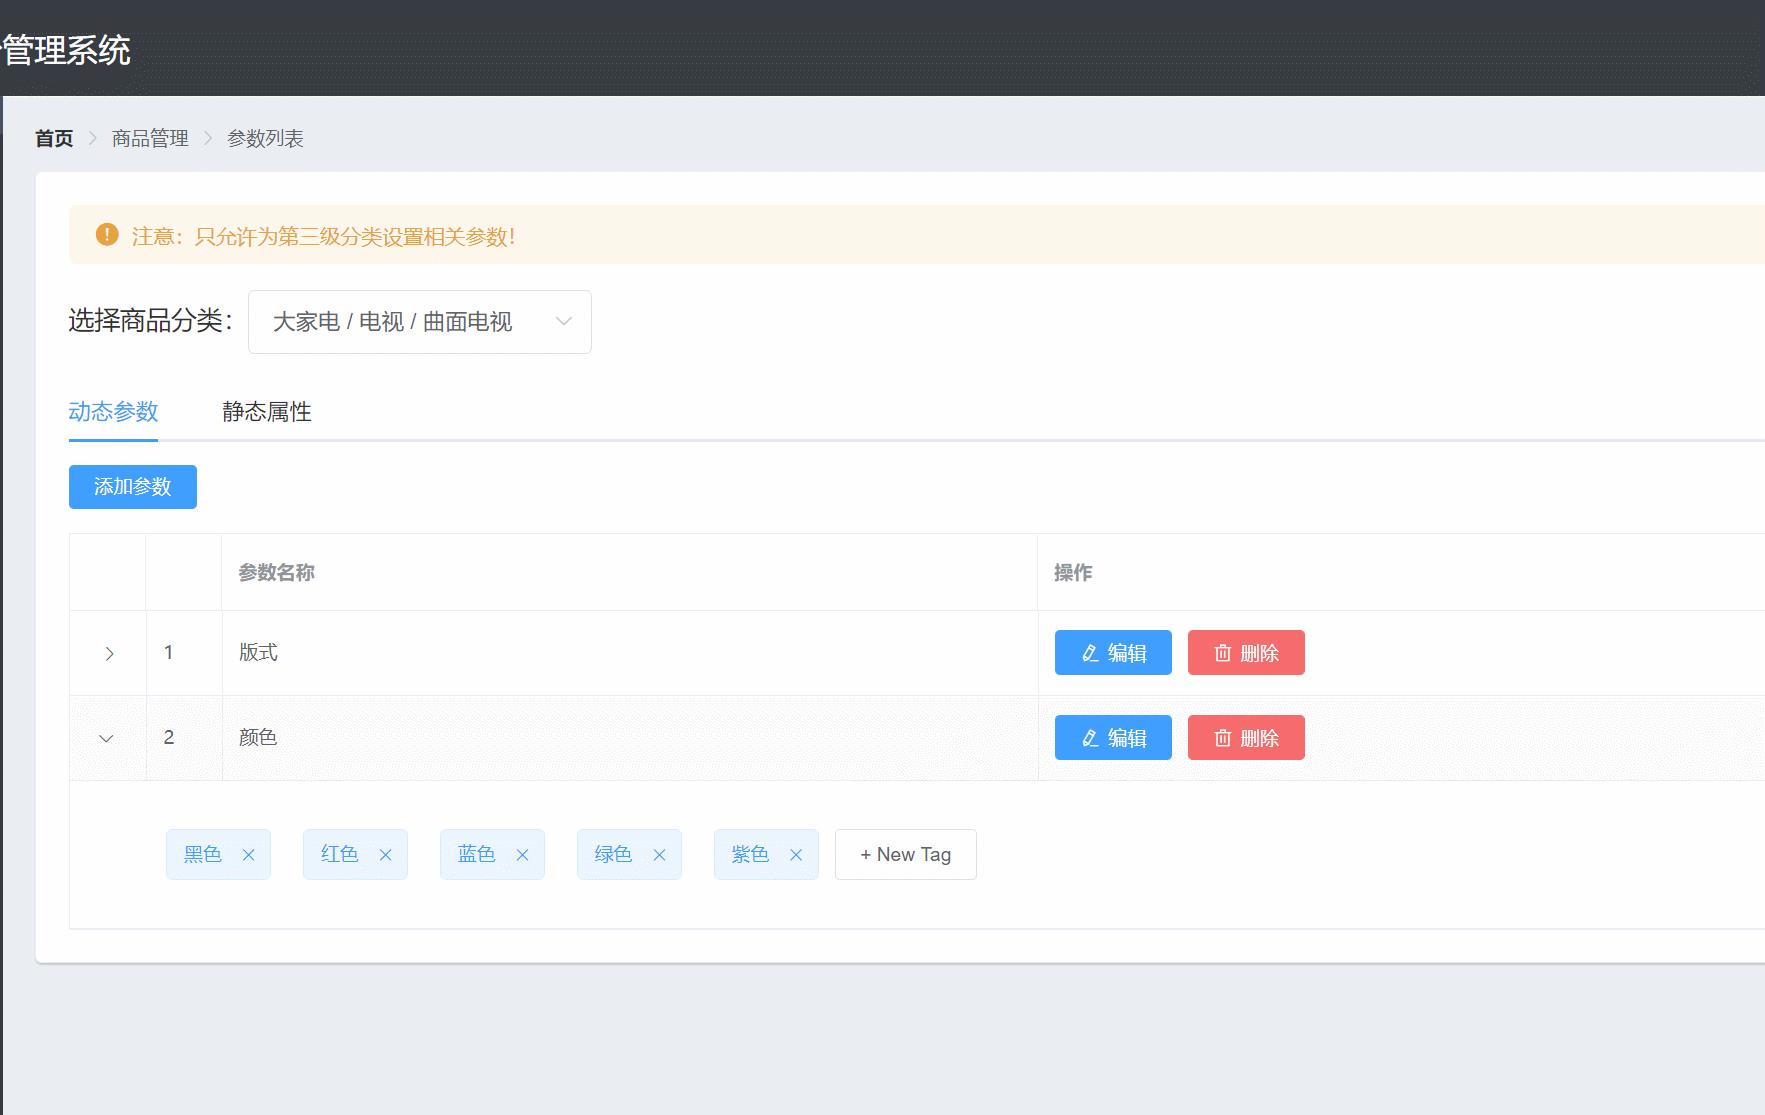
我们将上面的静态属性Tab页签下的所有展开行的逻辑代码,直接复制到静态属性Tab的展开行下就可以了,效果是一样的。
至此我们完成了渲染参数下的可选项的添加和删除功能。
四、合并商品分类分支代码
至此,参数管理模块的所有工作全部完成,我们需要将参数管理的分支代码合并到主分支master上。
首先使用“git branch”查看当前所在分支,是goods_params分支;然后使用“git add .”将修改内容添加到暂存区,然后执行“git commit”将修改内容提交至当前本地分支;然后使用“git push”将本地分支push到云端;最后通过“git checkout master”将分支切换到master分支,执行“git merge goods_params”将goods_params的内容合并至master主分支,然后将本地master分支推送到云端,此时master更新到了最新:
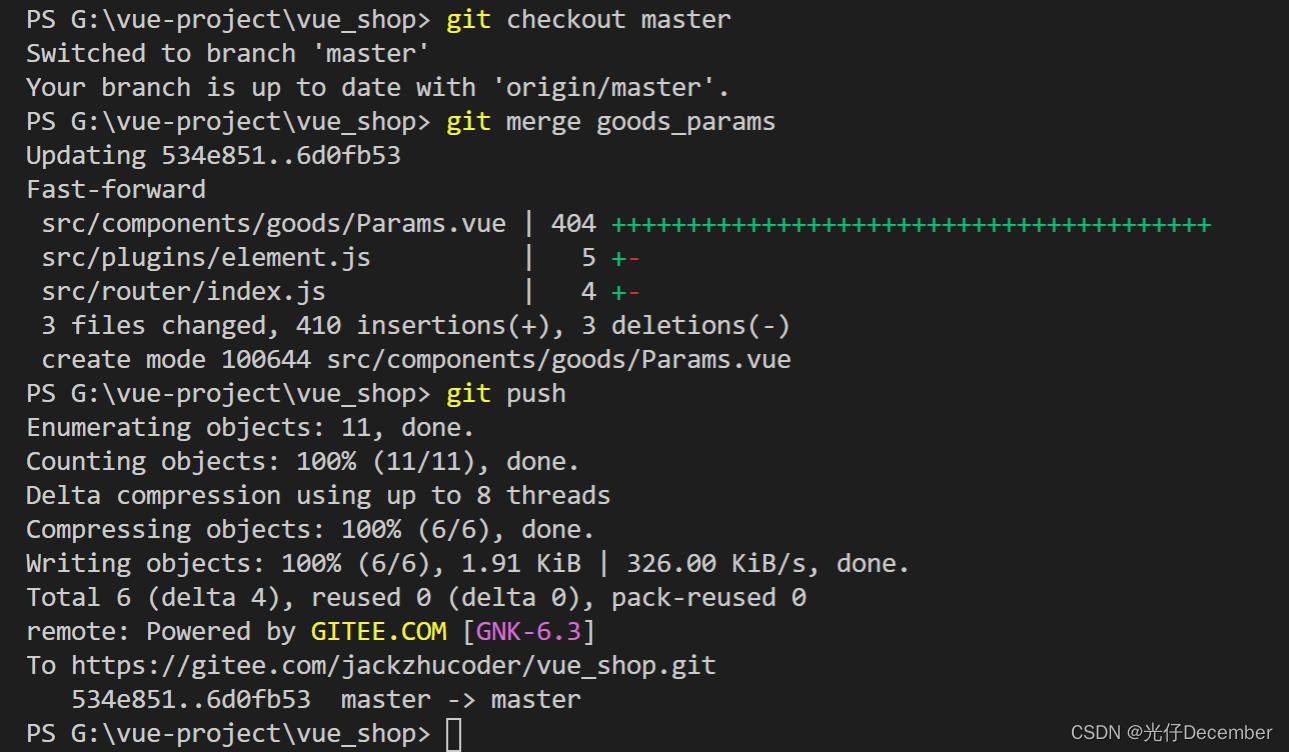
前往Gitee查看首页的提交记录,可以看到合并成功:
下一篇我们将开发新的模块————商品列表。
参考:黑马程序员(www.itheima.com)Vue项目实战教学视频
转载请注明出处:https://blog.csdn.net/acmman/article/details/124525310
 创作打卡挑战赛
 赢取流量/现金/CSDN周边激励大奖
以上是关于VUE项目实战48参数下可选项的增删改的主要内容,如果未能解决你的问题,请参考以下文章