windows10下python中selenium的chrome驱动安装与使用
Posted 我要出家当道士
tags:
篇首语:本文由小常识网(cha138.com)小编为大家整理,主要介绍了windows10下python中selenium的chrome驱动安装与使用相关的知识,希望对你有一定的参考价值。
目录
1、安装selenium模块
pip install selenium2、下载并使用selenum驱动
(1)下载驱动
首先在chrome浏览器中输入 chrome://version/ 查看chrome浏览器版本

之后登录下面的网址,寻找和你浏览器版本最符合的驱动(如果找不到完全一样的,找个最相近的)http://chromedriver.storage.googleapis.com/index.html? http://chromedriver.storage.googleapis.com/index.html?
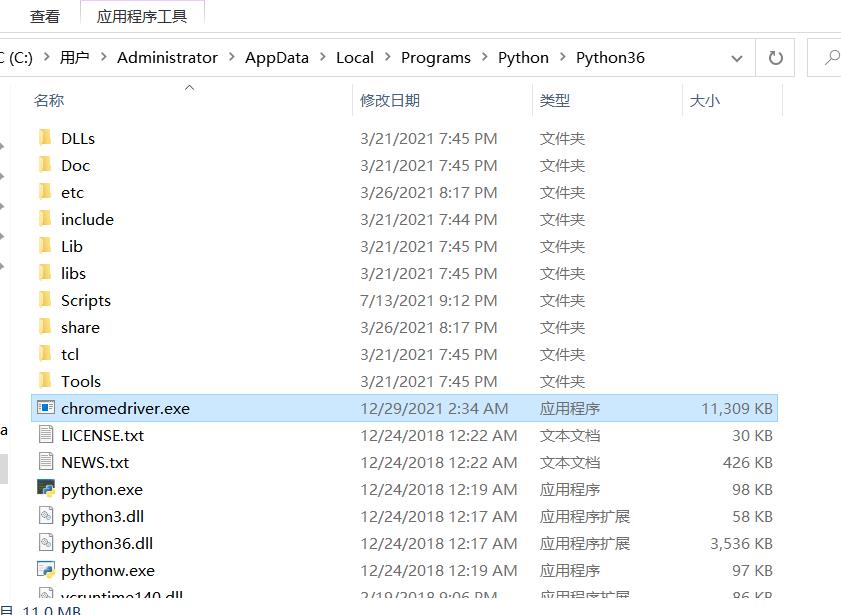
(2)放置驱动

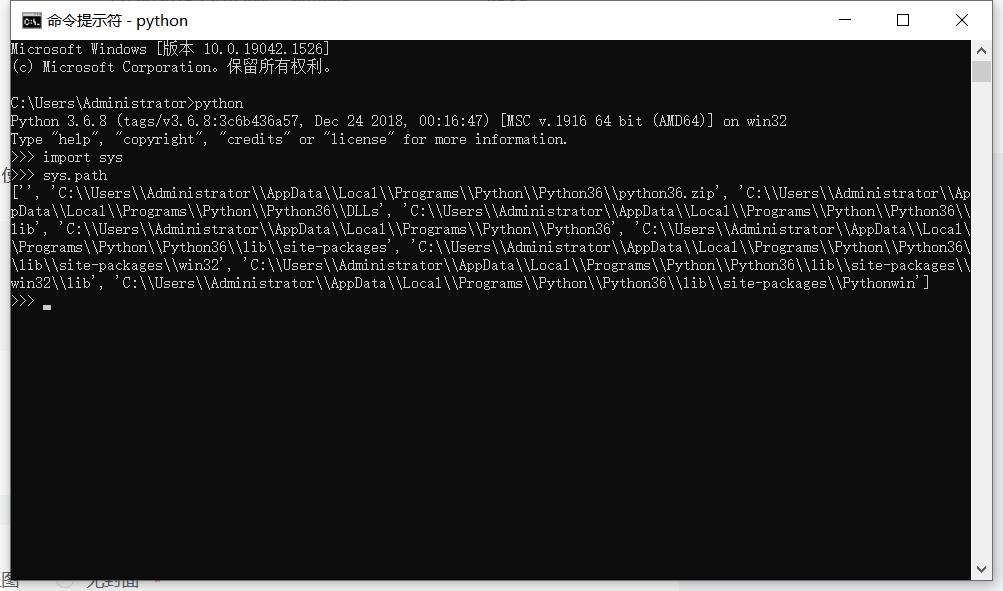
python安装目录可以在cmd中使用如下命令查看

3、示例
from selenium import webdriver
from selenium.webdriver import ChromeOptions
import time
from lxml import etree

class Test(object):

    def __init__(self):
        option = ChromeOptions()
        self.brower = webdriver.Chrome(options = option)

    #根据url,获取数据,
    def getData(self, url, page):

        self.brower.get(url)
        content = self.brower.page_source
        if "OVER" in content:
            print("爬取结束")
            return False
        sel = etree.HTML(content)
        print(sel)

        time.sleep(1)

    def run(self):
        #url = input("请输入URL")
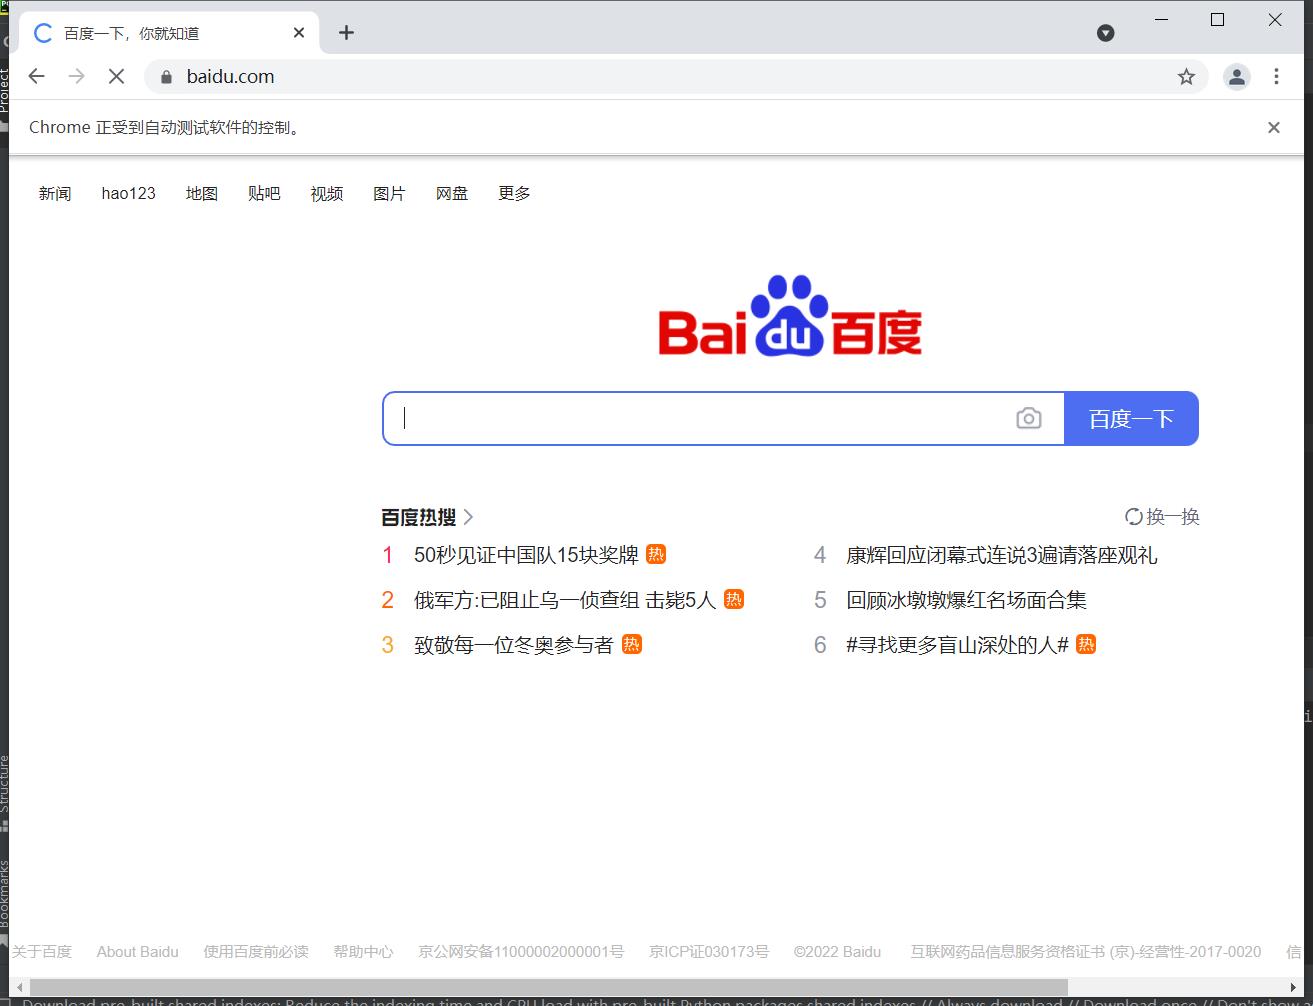
        url = "https://www.baidu.com/"
        self.getData(url, 50)
        time.sleep(5)

if __name__ == '__main__':
    test = Test()
    test.run()

以上是关于windows10下python中selenium的chrome驱动安装与使用的主要内容,如果未能解决你的问题,请参考以下文章