Kaggle入门预测赛,手写数字识别Digit Recognizer,使用Kaggle kernel作答,F=0.98
Posted 小哈里
tags:
篇首语:本文由小常识网(cha138.com)小编为大家整理,主要介绍了Kaggle入门预测赛,手写数字识别Digit Recognizer,使用Kaggle kernel作答,F=0.98相关的知识,希望对你有一定的参考价值。
1、问题和描述
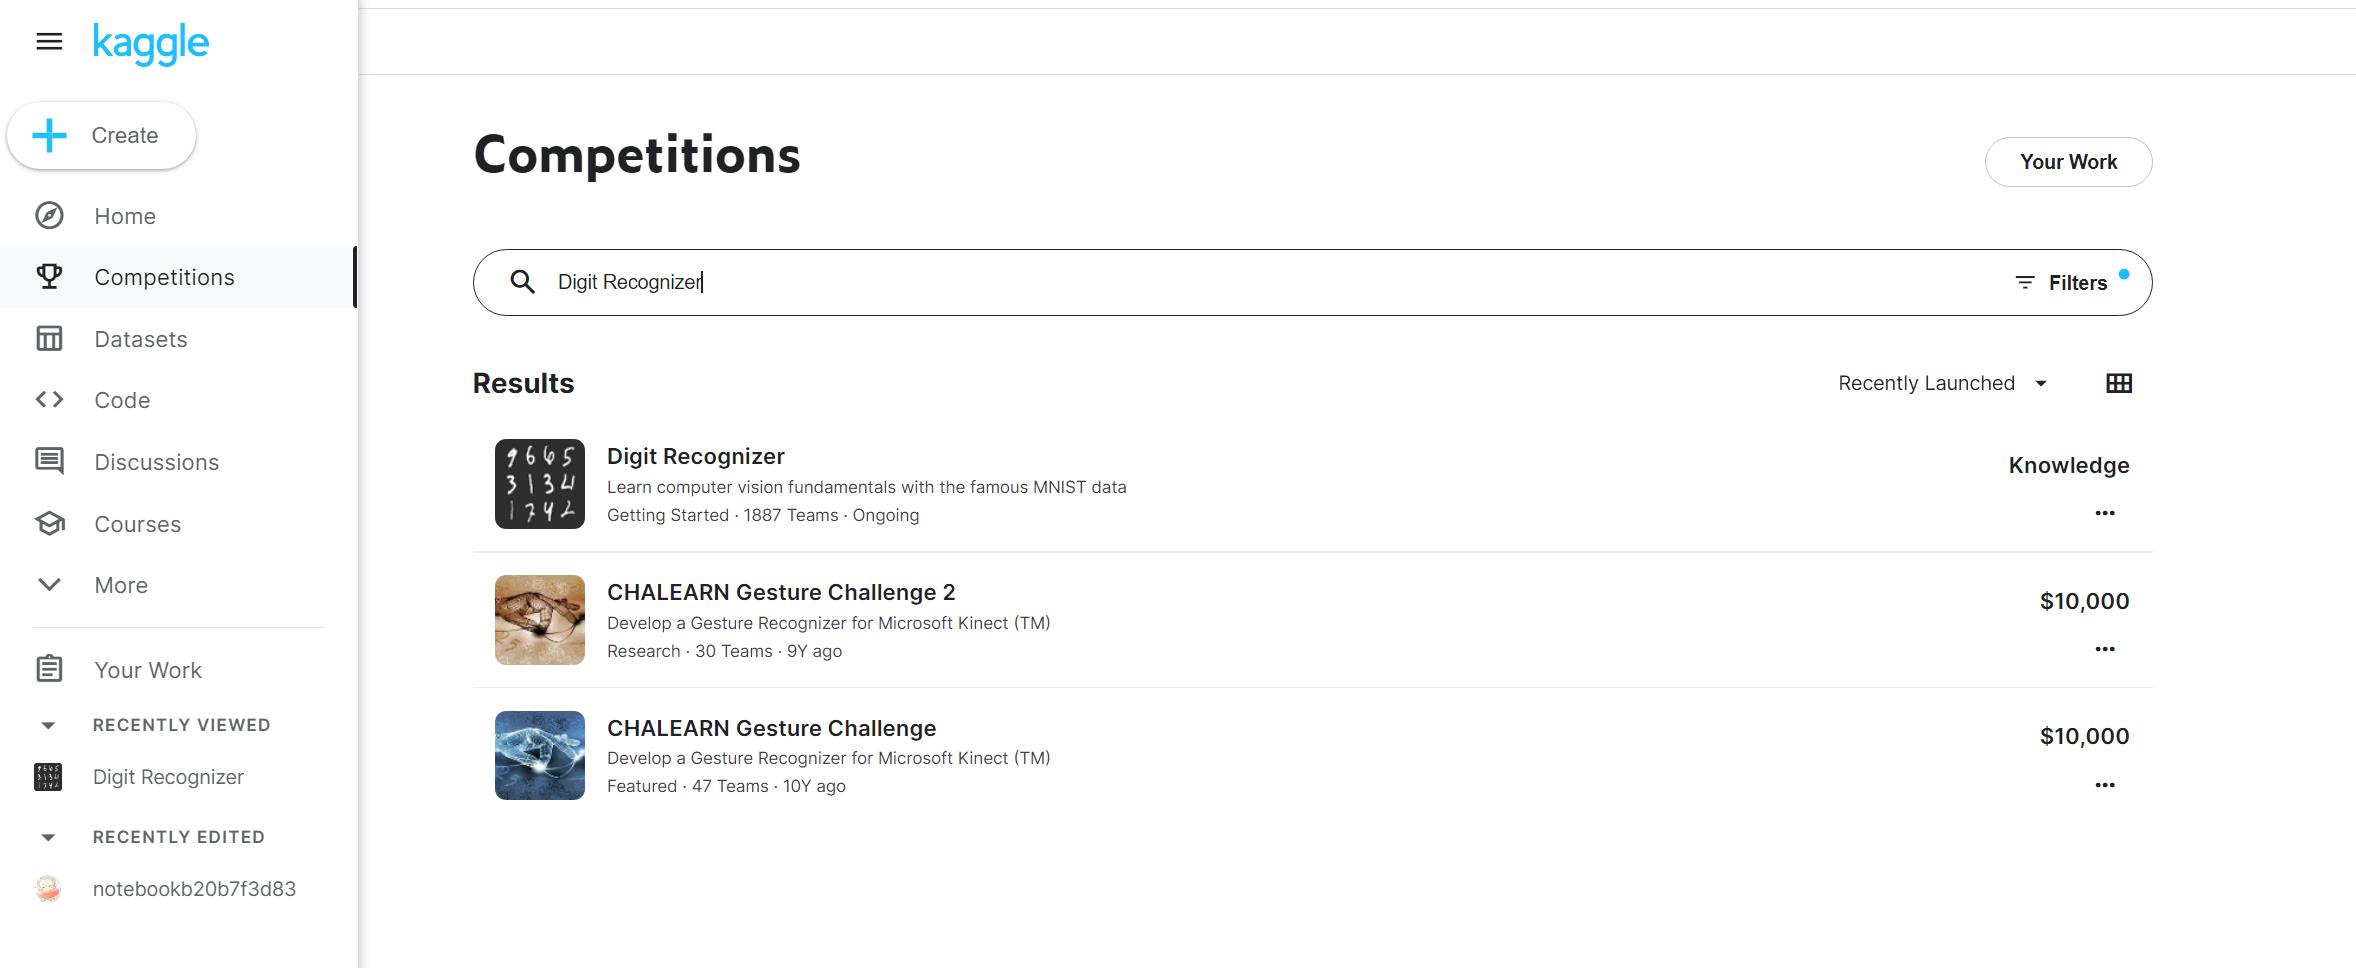
直接在kaggle左边的competition竞赛中搜索Digit Recognizer即可进入赛题页面:
https://www.kaggle.com/c/digit-recognizer/overview/description


- 这是一个预测练习赛,题目为识别数字0~9的。
- Overview是比赛的描述,说明参赛者需要解决的问题。
- Data是数据下载,参赛者用这些数据来训练自己的模型,得出结果,数据一般都是以csv格式给出。

train.csv是训练样本,test.csv是测试样本。

code当中是其他的代码笔记本,即题解。

最后关于submit,要求提交的文件是csv格式的,假如你将结果保存在result.csv,选中result.csv文件上传即可,系统将测试你提交的结果的准确率,然后排名。
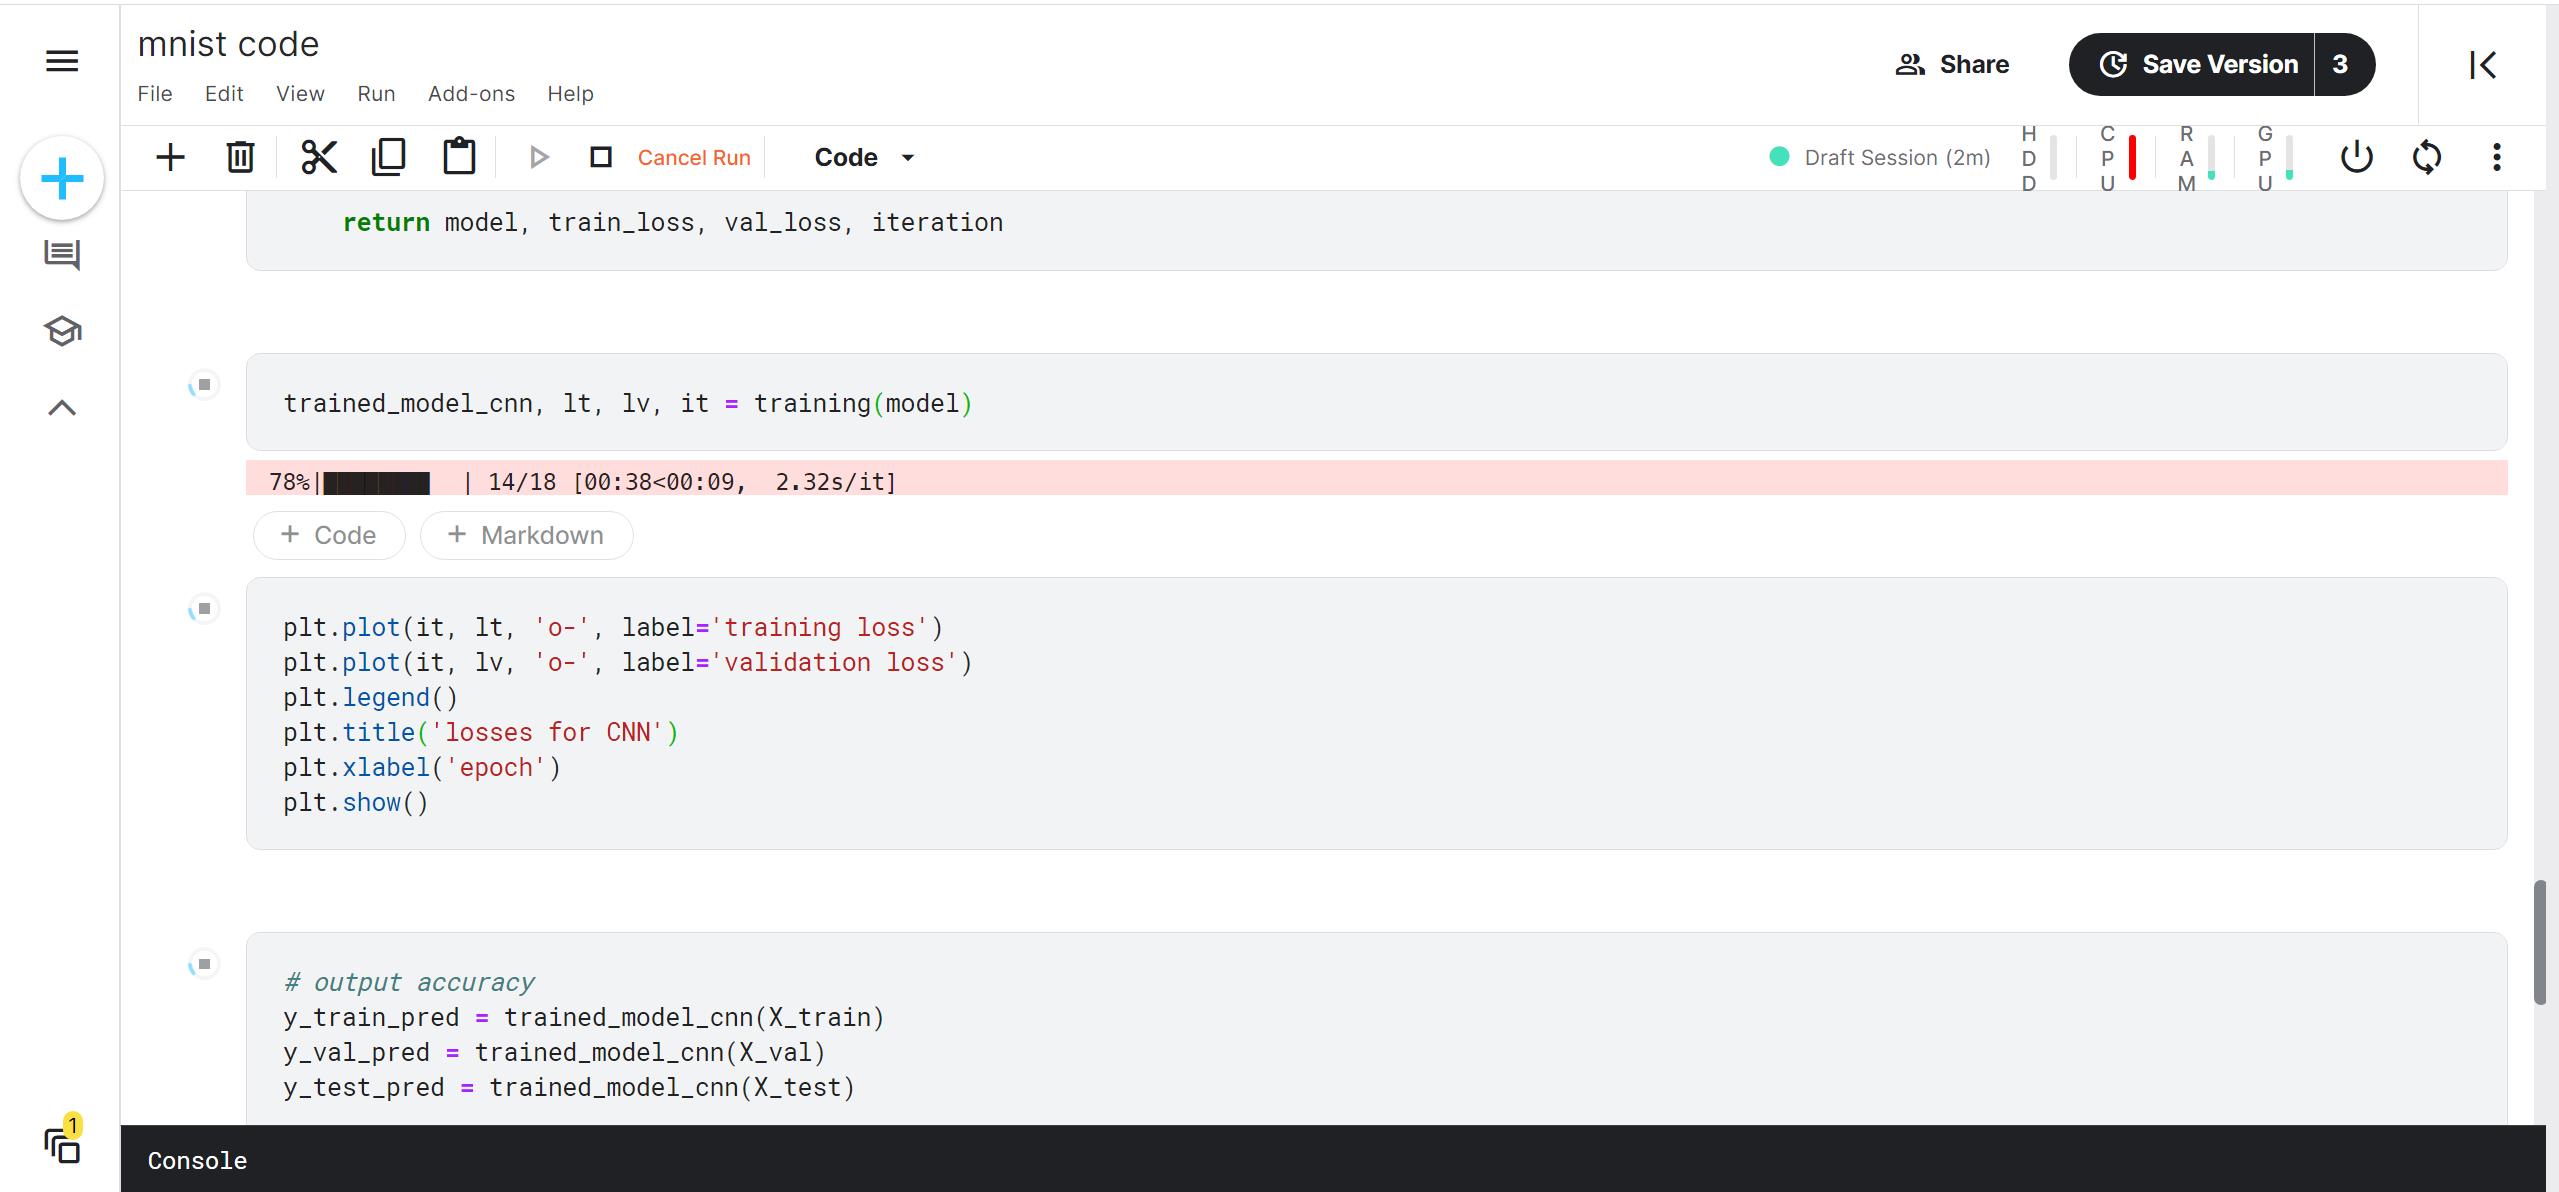
2、使用Kaggle kernel作答
Kaggle Kernels 是一个能在浏览器中运行 Jupyter Notebooks 的免费平台。
用户通过 Kaggle Kernels 可以免费使用 NVidia K80 GPU 。
经过 Kaggle 测试后显示,使用 GPU 后能让你训练深度学习模型的速度提高 12.5 倍。
GPU、TPU限制为每周使用不超过30小时。
创建notebook即可使用,GPU,TPU可以在右上方设置。

关于数据集,可以在右边的侧栏修改。

3、手写数字识别 cnn
#!/usr/bin/env python
# coding: utf-8
# ### This notebook trains a simple CNN to classify MNIST digits with a reasonable (>98%) accuracy.
# In[ ]:
import numpy as np
import matplotlib.pyplot as plt
import pandas as pd
import torch
from torch.utils.data import Dataset, DataLoader, TensorDataset
import torch.nn.functional as F
from torch import optim
from torch import nn
from tqdm import tqdm
from sklearn.model_selection import KFold
get_ipython().run_line_magic('matplotlib', 'inline')
get_ipython().run_line_magic('config', "InlineBackend.figure_format = 'retina'")
# In[ ]:
# use GPU!
if torch.cuda.is_available():
device = torch.device('cuda:0')
else:
device = torch.device('cpu')
print(device)
# In[ ]:
# read data
train = pd.read_csv('/kaggle/input/digit-recognizer/train.csv')
test = pd.read_csv('/kaggle/input/digit-recognizer/test.csv')
X, y = torch.FloatTensor(train.drop(['label'],axis=1).values), torch.tensor(train['label'].values)
training_size = 40000
X_train, y_train = X[:training_size], y[:training_size]
X_val, y_val = X[training_size:], y[training_size:]
X_test = torch.FloatTensor(test.values)
X_train, y_train, X_val, y_val, X_test = X_train.to(device), y_train.to(device), X_val.to(device), y_val.to(device), X_test.to(device).float()
print(X_train.shape)
print(X_val.shape)
print(X_test.shape)
# In[ ]:
# visualize one sample
plt.imshow(X_train[8].reshape(28,28).cpu())
plt.title(y_train[8].item())
plt.show()
# In[ ]:
# make dataset and dataloader
dataset_train = TensorDataset(X_train, y_train)
dataset_val = TensorDataset(X_val, y_val)
batch_size = 50
dataloader_train = DataLoader(dataset_train, batch_size=batch_size, shuffle=True)
dataloader_val = DataLoader(dataset_val, batch_size=batch_size, shuffle=False)
# In[ ]:
# build a CNN!
class mnist_CNN(nn.Module):
def __init__(self):
super().__init__()
self.conv1 = nn.Conv2d(1, 6, 3)
self.pool = nn.MaxPool2d(2, 2)
self.conv2 = nn.Conv2d(6, 16, 3)
self.fc1 = nn.Linear(400, 120)
self.fc2 = nn.Linear(120, 84)
self.fc3 = nn.Linear(84, 10)
def forward(self, xb):
xb = xb.view(-1, 1, 28, 28)
xb = self.pool(F.relu(self.conv1(xb)))
xb = self.pool(F.relu(self.conv2(xb)))
xb = torch.flatten(xb, 1)
xb = F.relu(self.fc1(xb))
xb = F.relu(self.fc2(xb))
xb = self.fc3(xb)
return xb
# In[ ]:
# loss function
loss_function = F.cross_entropy
# instantiate model
model = mnist_CNN().to(device)
# optimizer for updating weights
# optimizer = optim.SGD(model.parameters(), lr=0.5, momentum=0.9)
optimizer = optim.Adam(model.parameters())
# In[ ]:
# let's train
def training(model):
n_epochs = 18
train_loss = []
val_loss = []
iteration = []
for epoch in tqdm(range(n_epochs)):
iteration.append(epoch)
model.train()
for xb, yb in dataloader_train:
xb = xb.to(device)
yb = yb.to(device)
pred = model(xb)
loss = loss_function(pred, yb)
optimizer.zero_grad()
loss.backward()
optimizer.step()
model.eval()
with torch.no_grad():
train_loss.append(loss_function(model(X_train.to(device)), y_train.to(device)))
val_loss.append(loss_function(model(X_val.to(device)), y_val.to(device)))
return model, train_loss, val_loss, iteration
# In[ ]:
trained_model_cnn, lt, lv, it = training(model)
# In[ ]:
plt.plot(it, lt, 'o-', label='training loss')
plt.plot(it, lv, 'o-', label='validation loss')
plt.legend()
plt.title('losses for CNN')
plt.xlabel('epoch')
plt.show()
# In[ ]:
# output accuracy
y_train_pred = trained_model_cnn(X_train)
y_val_pred = trained_model_cnn(X_val)
y_test_pred = trained_model_cnn(X_test)
print('train accuracy (CNN): ' + str((y_train_pred.argmax(dim=1) == y_train).float().mean().item()))
print('val accuracy (CNN): ' + str((y_val_pred.argmax(dim=1) == y_val).float().mean().item()))
# In[ ]:
# save prediction
prediction = y_test_pred.argmax(dim=1)
# output to csv
t_np = prediction.cpu().detach().numpy()
df = pd.DataFrame(t_np, columns=['Label'])
df.reset_index(inplace=True)
df.rename(columns = 'index':'ImageId', inplace=True)
df['ImageId'] += 1
df.to_csv("/kaggle/working/submission.csv",index=False)
# reload
df = pd.read_csv("/kaggle/working/submission.csv")
df


以上是关于Kaggle入门预测赛,手写数字识别Digit Recognizer,使用Kaggle kernel作答,F=0.98的主要内容,如果未能解决你的问题,请参考以下文章