Spring Boot Admin监控搭建-nacos版本
Posted 大道坦荡
tags:
篇首语:本文由小常识网(cha138.com)小编为大家整理,主要介绍了Spring Boot Admin监控搭建-nacos版本相关的知识,希望对你有一定的参考价值。
Spring Boot Admin介绍
Spring Boot Admin 是github上一款用于Spring Boot 的监控管理的开源项目,通过http直接注册或者通过注册中心注册的方式,实现了Spring Boot应用上的一些常见监控项,具体功能点如下:
- 显示应用程序的监控状态
- 应用程序上下线监控
- 查看 JVM,线程信息
- 可视化的查看日志以及下载日志文件
- 动态切换日志级别
- Http 请求信息跟踪
- 其他监控点
详细监控项可到githup上去查看
地址:https://github.com/codecentric/spring-boot-admin
快速搭建
本文是基于nacos注册中心配置实现,在开始前需要安装好nacos服务端。
搭建服务:
- admin-server 监控服务端
- admin-client 被监控的客户端
创建Admin-server应用
添加pom依赖:
<properties>
    <maven.compiler.source>8</maven.compiler.source>
    <maven.compiler.target>8</maven.compiler.target>
    <maven.deploy.skip>true</maven.deploy.skip>
    <nacos.version>2.2.4.RELEASE</nacos.version>
    <spring-boot.version>2.2.5.RELEASE</spring-boot.version>
    <spring-boot.admin.version>2.2.2</spring-boot.admin.version>
    <spring-boot-starter-actuator.version>2.2.5.RELEASE</spring-boot-starter-actuator.version>
</properties>

<dependencies>
    <!--监控服务端 -->
    <dependency>
        <groupId>de.codecentric</groupId>
        <artifactId>spring-boot-admin-starter-server</artifactId>
        <version>$spring-boot.admin.version</version>
    </dependency>

    <dependency>
        <groupId>org.springframework.boot</groupId>
        <artifactId>spring-boot-starter-web</artifactId>
        <version>$spring-boot.version</version>
    </dependency>

    <!--nacos注册中心-->
    <dependency>
        <groupId>com.alibaba.cloud</groupId>
        <artifactId>spring-cloud-starter-alibaba-nacos-discovery</artifactId>
        <version>$nacos.version</version>
    </dependency>
    <dependency>
        <groupId>org.springframework.boot</groupId>
        <artifactId>spring-boot-starter-actuator</artifactId>
        <version>$spring-boot-starter-actuator.version</version>
    </dependency>
</dependencies>
添加配置
server:
  port: 8012

spring:
  application:
    name: admin-server
  #配置中心
  cloud:
    nacos:
      discovery:
        server-addr: 127.0.0.1:8848
        service:  $spring.application.name


# 暴露监控端点
management:
  endpoints:
    web:
      exposure:
        include: '*'
  endpoint:
    health:
      show-details: always
# 日志
logging:
  file: /application/applogs/admin.log
启动类增加注解
@EnableAdminServer 注解,开启监控服务端的功能
@EnableAdminServer
@SpringBootApplication
public class AdminServerApp

    public static void main(String[] args)

        SpringApplication.run(AdminServerApp.class, args);
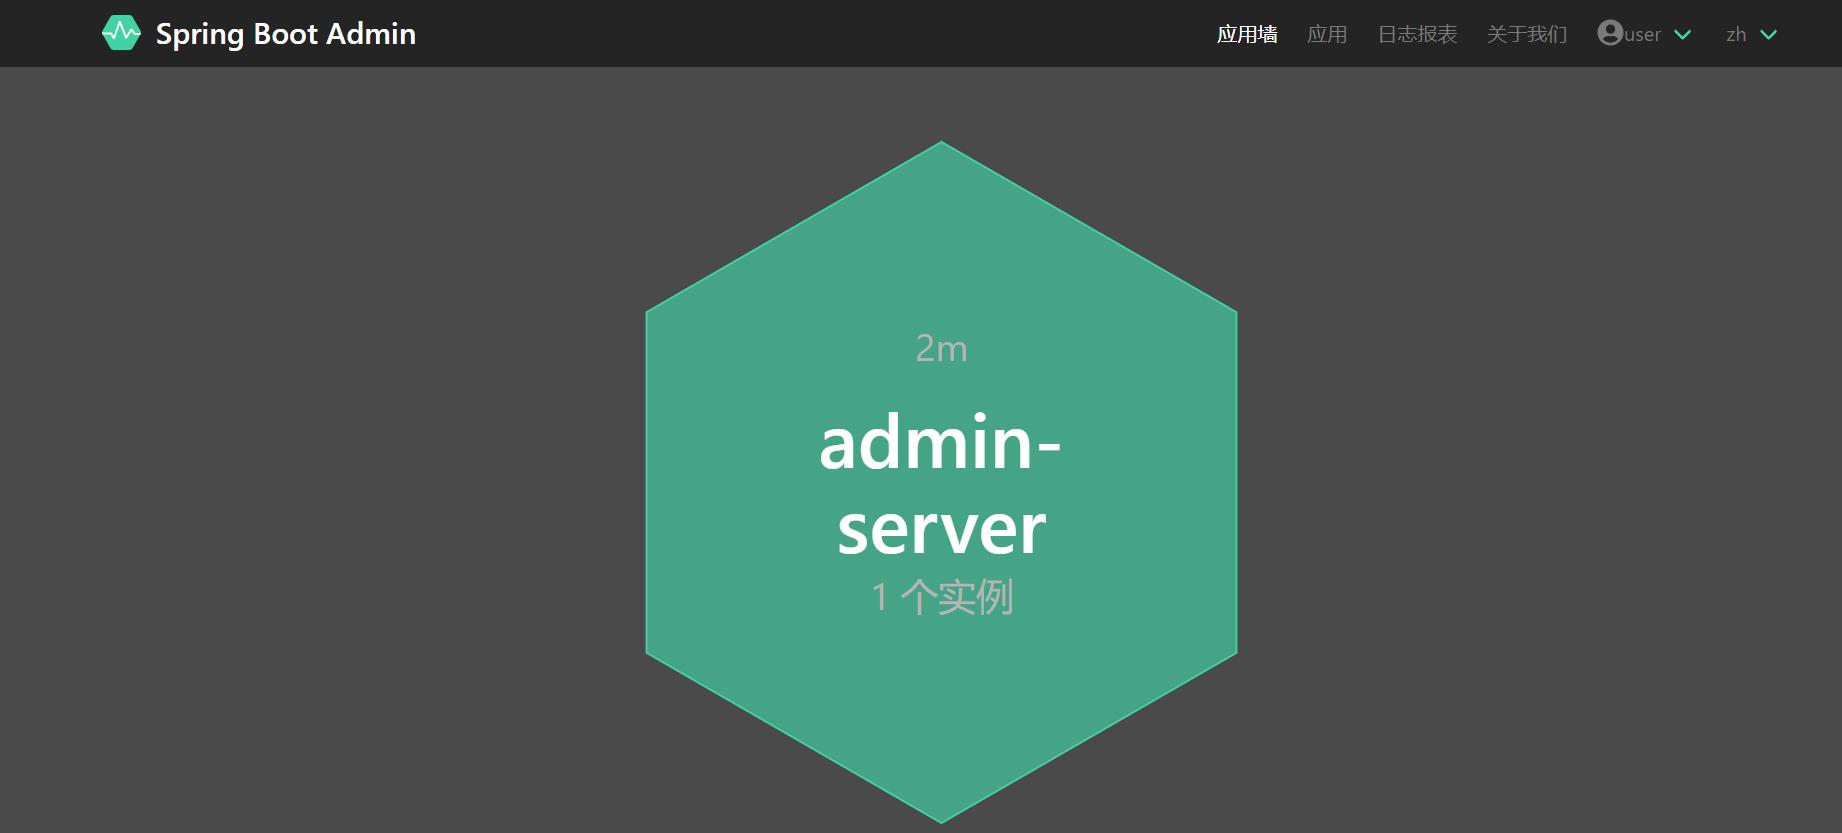
启动后,我们就可以看到
创建Admin-client应用
添加pom依赖
    <properties>
        <maven.compiler.source>8</maven.compiler.source>
        <maven.compiler.target>8</maven.compiler.target>
        <maven.deploy.skip>true</maven.deploy.skip>
        <nacos.version>2.2.4.RELEASE</nacos.version>
        <spring-boot.version>2.2.5.RELEASE</spring-boot.version>
        <spring-boot.admin.version>2.3.0</spring-boot.admin.version>
        <spring-boot-starter-actuator.version>2.2.5.RELEASE</spring-boot-starter-actuator.version>
    </properties>


    <dependencies>
        <dependency>
            <groupId>org.springframework.boot</groupId>
            <artifactId>spring-boot-starter-web</artifactId>
            <version>$spring-boot.version</version>
        </dependency>

        <!--nacos注册中心-->
        <dependency>
            <groupId>com.alibaba.cloud</groupId>
            <artifactId>spring-cloud-starter-alibaba-nacos-discovery</artifactId>
            <version>$nacos.version</version>
        </dependency>
        <dependency>
            <groupId>org.springframework.boot</groupId>
            <artifactId>spring-boot-starter-actuator</artifactId>
            <version>$spring-boot-starter-actuator.version</version>
        </dependency>
    </dependencies>
client是通过nacos向admin注册的,所以只需要开启nacos注册服务和actuator监控点的服务就可以了,
配置文件
server:
  port: 8013

spring:
  application:
    name: admin-client
  #配置中心
  cloud:
    nacos:
      discovery:
        server-addr: 127.0.0.1:8848
        service:  $spring.application.name


# 暴露监控端点
management:
  endpoints:
    web:
      exposure:
        include: '*'
  endpoint:
    health:
      show-details: always

logging:
  file: /application/applogs/admin.log
启动类
@SpringBootApplication
public class ClientApp

    public static void main(String[] args)

        SpringApplication.run(ClientApp.class, args);
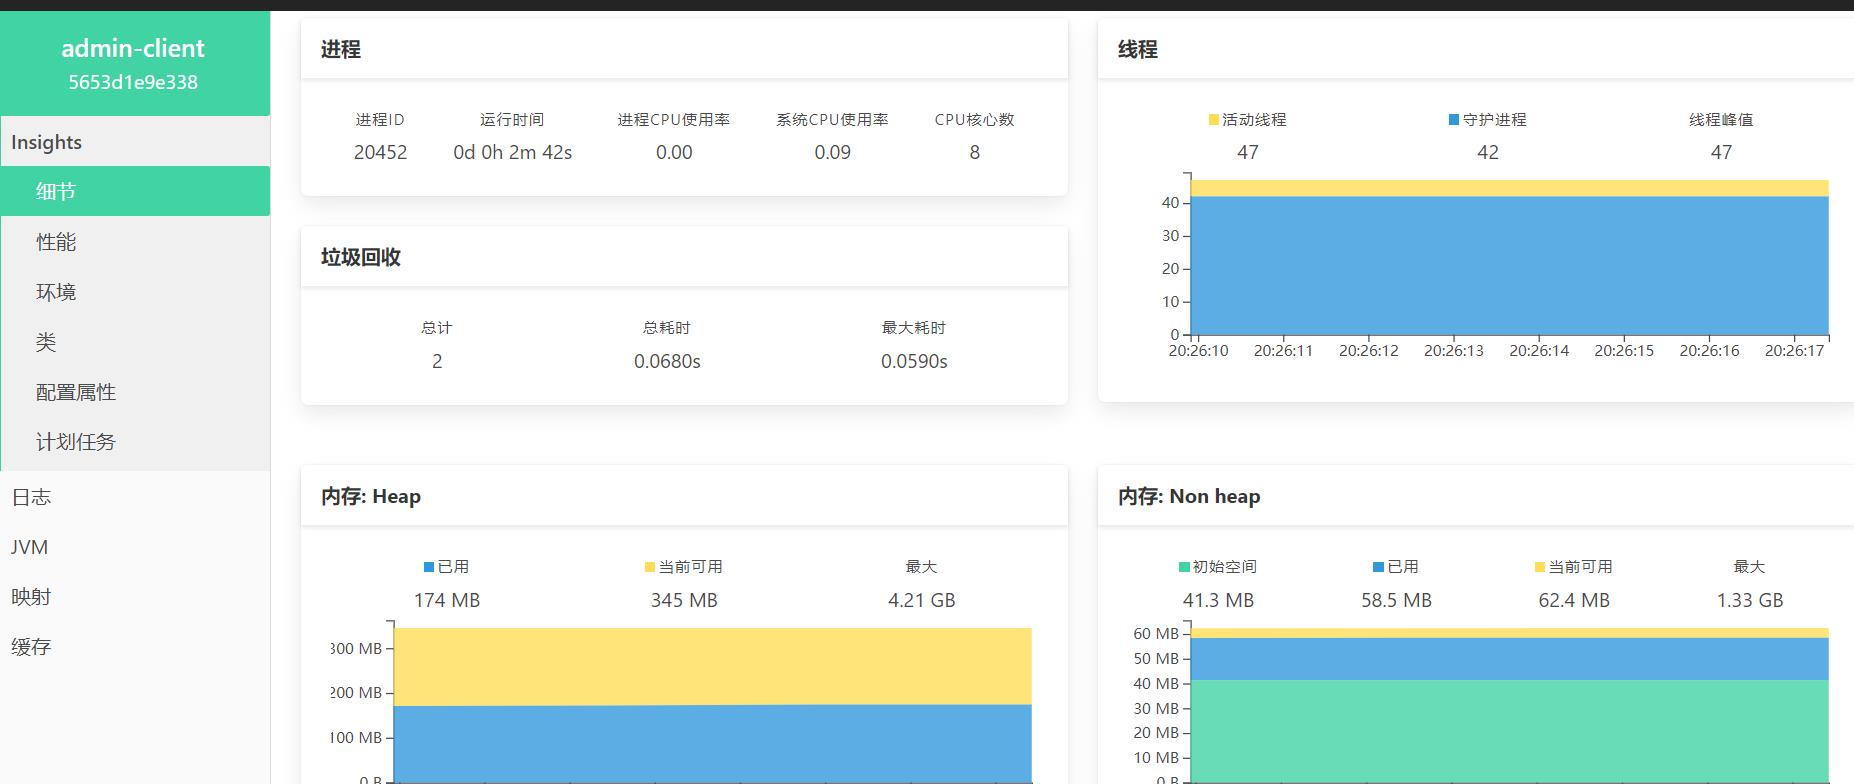
最普通的一个springboot应用,启动之后
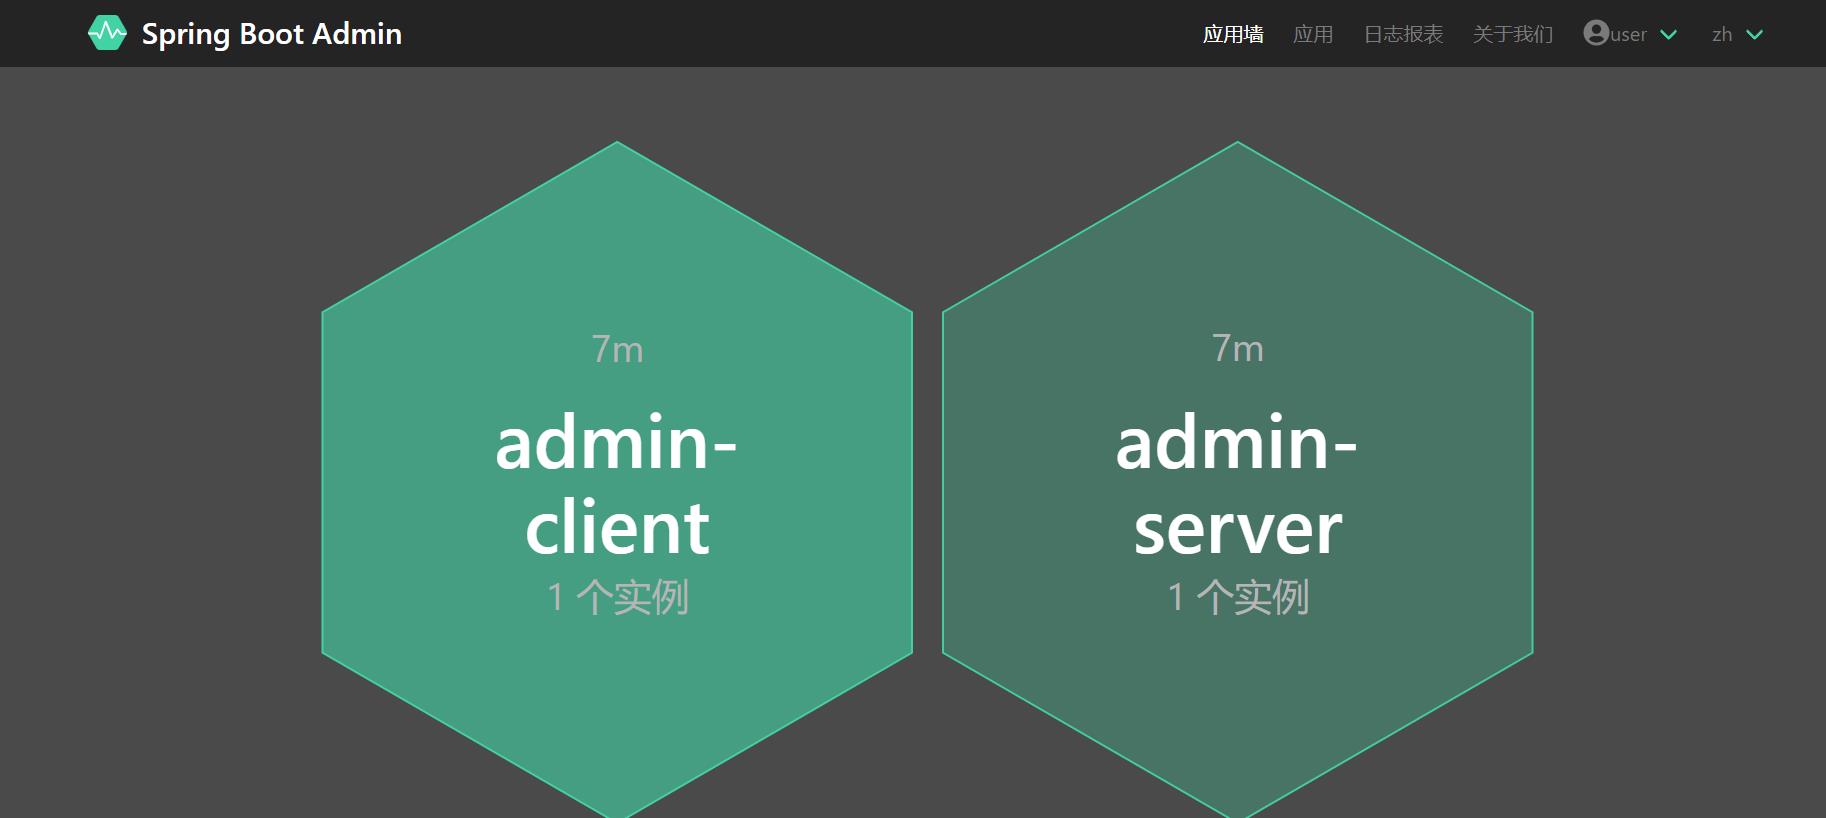
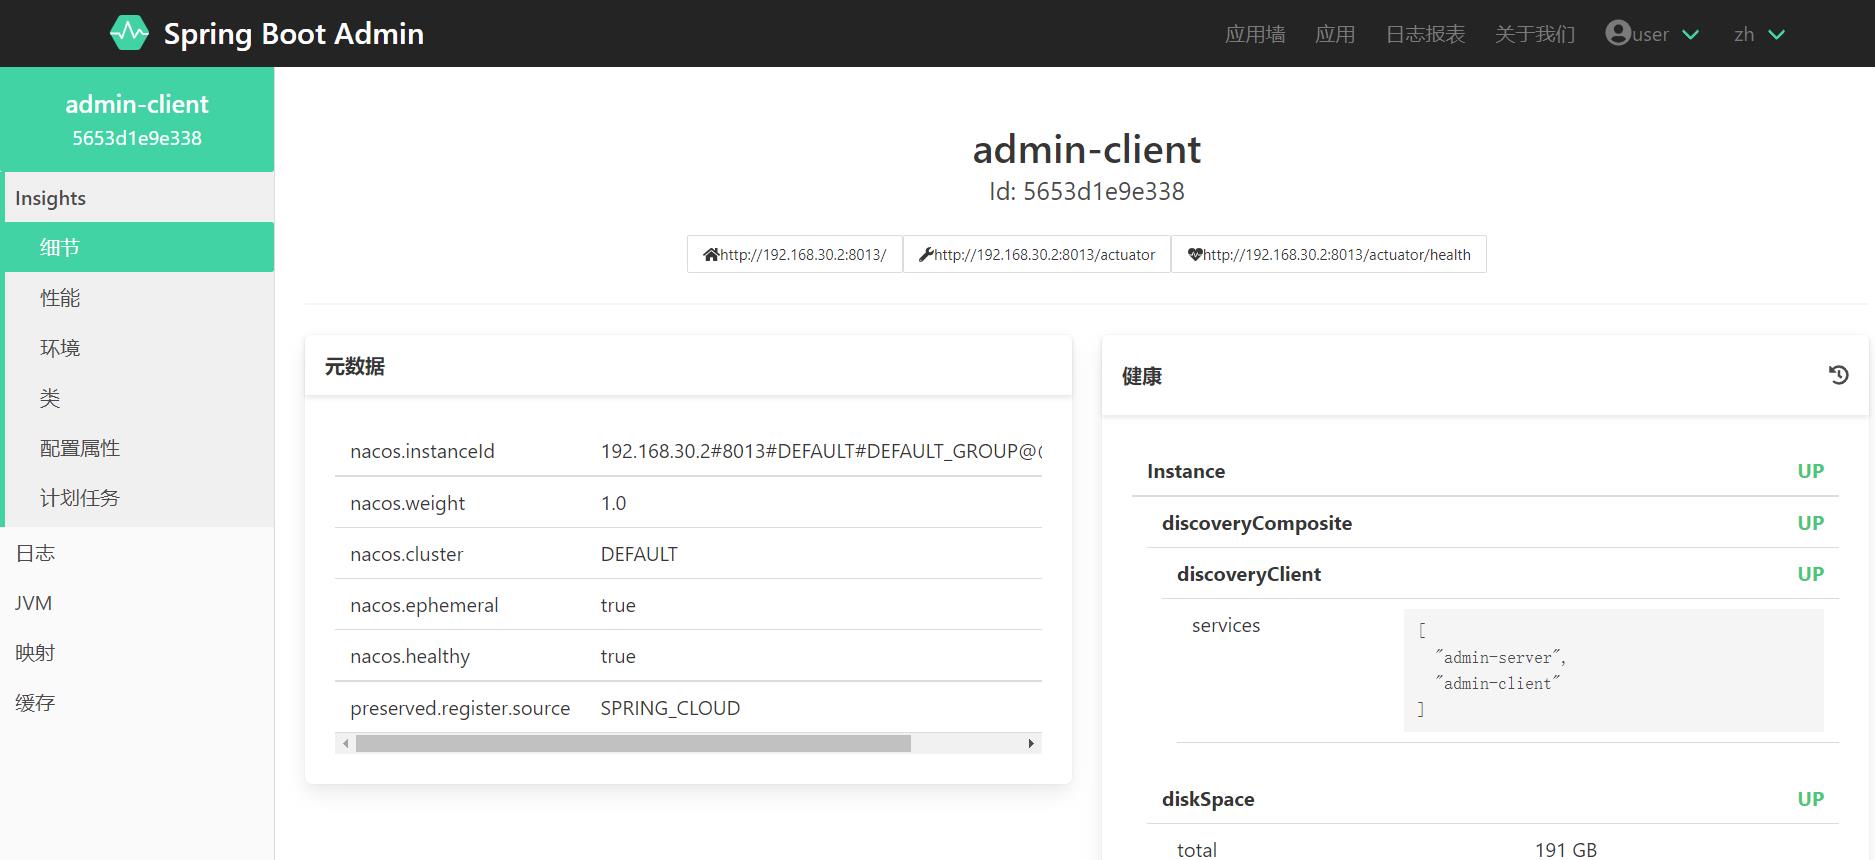
至此,监控应用已经搭建完成。
设置登录信息
admin默认启动时随机生成秘钥进行验证登录的,我们添加spring security 提供登录验证
admin-server添加依赖
<!--security -->
<dependency>
    <groupId>org.springframework.boot</groupId>
    <artifactId>spring-boot-starter-security</artifactId>
</dependency>
增加配置文件
server:
  port: 8012

spring:
  application:
    name: admin-server
  #配置中心
  cloud:
    nacos:
      discovery:
        server-addr: 127.0.0.1:8848
        service:  $spring.application.name
        metadata:
          user.name: admin
          user.password: 654321
  security:
    user:
      name: admin
      password:  654321

# 暴露监控端点
management:
  endpoints:
    web:
      exposure:
        include: '*'
  endpoint:
    health:
      show-details: always

logging:
  file: /application/applogs/admin.log
metadata 是向nacos注册时携带用户米密码,以防注册时被权限限制无法获取到数据,增加 security 配置,配置用户名 admin,密码654321
添加拦截配置
@Configuration
public class SecuritySecureConfig extends WebSecurityConfigurerAdapter

    private final String adminContextPath;

    public SecuritySecureConfig(AdminServerProperties adminServerProperties)

        this.adminContextPath = adminServerProperties.getContextPath();


    @Override
    protected void configure(HttpSecurity http) throws Exception

        // 登录成功处理类
        SavedRequestAwareAuthenticationSuccessHandler successHandler = new SavedRequestAwareAuthenticationSuccessHandler();
        successHandler.setTargetUrlParameter("redirectTo");
        successHandler.setDefaultTargetUrl(adminContextPath + "/");

        http.authorizeRequests()
                //静态文件允许访问
                .antMatchers(adminContextPath + "/assets/**").permitAll()
                //登录页面允许访问
                .antMatchers(adminContextPath + "/login", "/css/**", "/js/**", "/image/*").permitAll()
                //其他所有请求需要登录
                .anyRequest().authenticated()
                .and()
                //登录页面配置,用于替换security默认页面
                .formLogin().loginPage(adminContextPath + "/login").successHandler(successHandler).and()
                //登出页面配置,用于替换security默认页面
                .logout().logoutUrl(adminContextPath + "/logout").and()
                .httpBasic().and()
                .csrf()
                .csrfTokenRepository(CookieCsrfTokenRepository.withHttpOnlyFalse())
                .ignoringAntMatchers(
                        "/instances",
                        "/actuator/**"
                );
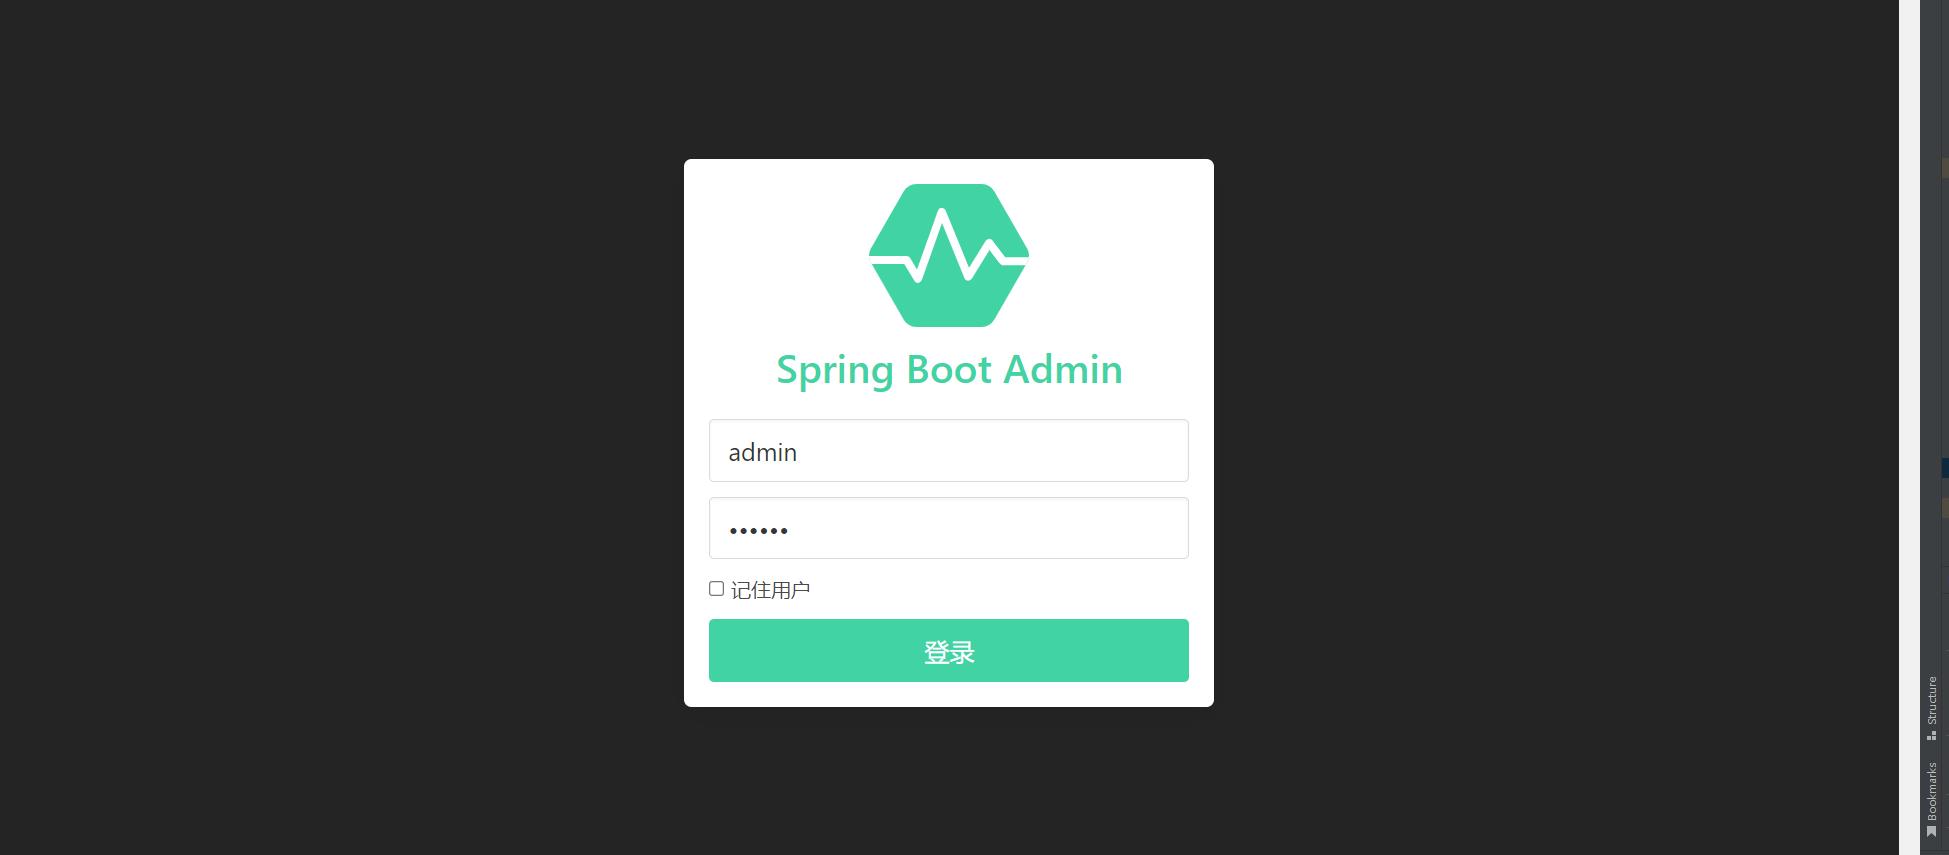
然后启动admin-server,输入用户名密码登录
以上是关于Spring Boot Admin监控搭建-nacos版本的主要内容,如果未能解决你的问题,请参考以下文章