Vue简明实用教程(06)——v-bind指令
Posted 谷哥的小弟
tags:
篇首语:本文由小常识网(cha138.com)小编为大家整理,主要介绍了Vue简明实用教程(06)——v-bind指令相关的知识,希望对你有一定的参考价值。
版权声明
- 本文原创作者:谷哥的小弟
- 作者博客地址:http://blog.csdn.net/lfdfhl
v-bind指令概述
v-bind指令用于将html标签某个属性绑定至vue实例,并由vue实例对其进行管理。在绑定之后,我们可通过vue动态修改标签的属性。
语法如下:
<标签名 v-bind:属性名="属性值"></标签名>
简化写法:
<标签名 :属性名="属性值"></标签名>
v-bind指令示例
在此,以示例形式详细介绍v-bind指令的基本使用。
示例1
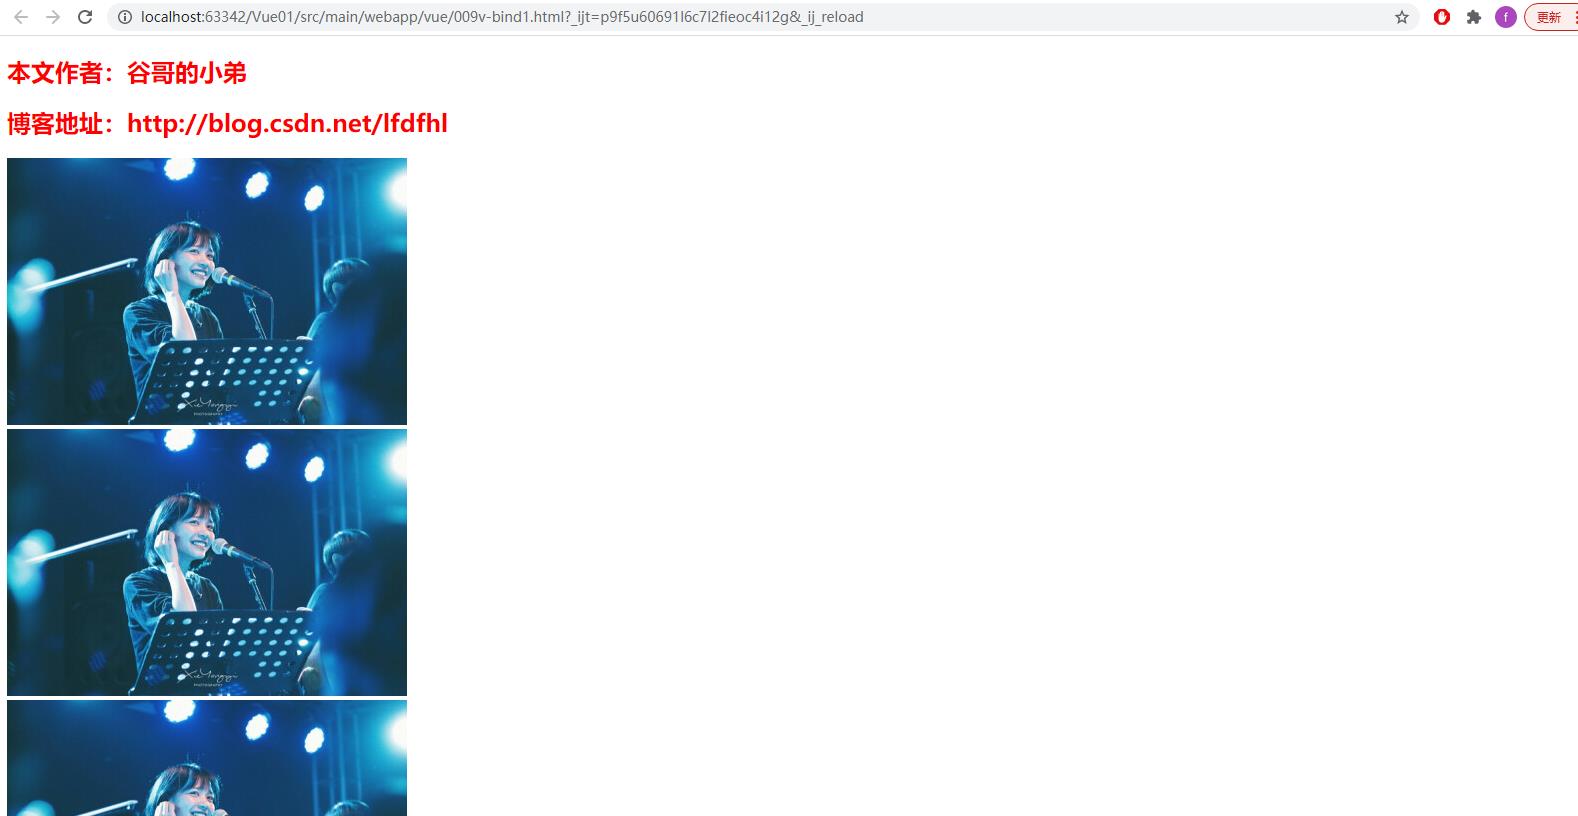
在本示例中利用v-bind绑定的最基本使用。
<!DOCTYPE html>
<!-- 引入v-bind命名空间 -->
<html lang="en" xmlns:v-bind="http://www.w3.org/1999/xhtml">
<head>
    <meta charset="UTF-8">
    <title>Vue</title>
    <!-- 引入vue -->
    <script src="js/vue.js"></script>
    <script type="text/javascript">
        // 入口函数
        window.onload = function ()
            new Vue(
                el: "#div1",
                data:
                    name: "谷哥的小弟",
                    number: 9527,
                    imgSrc: "img/1.jpg",
                    imgWidth: 400,
                    imgHeight: 267
                ,
                methods:
                    // 修改data中的数据
                    showImg1()
                        this.imgSrc="img/1.jpg";
                        this.imgWidth=400;
                        this.imgWidth=267;
                    ,
                    // 修改data中的数据
                    showImg2()
                        this.imgSrc="img/2.jpg";
                        this.imgWidth=658;
                        this.imgWidth=658;
                    ,

            );

    </script>
</head>
<body>
    <h2 style="color: red;">本文作者:谷哥的小弟</h2>
    <h2 style="color: red;">博客地址:http://blog.csdn.net/lfdfhl</h2>
    <div id="div1">
        <!--利用img标签显示图片-->
        <img src="img/1.jpg" width="400" height="267"/>
        <br/>

        <!--利用img标签并结合v-bind显示图片-->
        <img v-bind:src="imgSrc" v-bind:height="imgHeight" v-bind:width="imgWeight"/>
        <br/>
        <!--利用img标签并结合v-bind简便写法显示图片-->
        <!--
        <img :src="imgSrc" :height="imgHeight" :width="imgWeight"/>
        <br/>
        -->

        <!--利用img标签并结合v-bind切换图片-->
        <img v-bind:src="imgSrc" v-bind:height="imgHeight" v-bind:width="imgWeight" @mouseover="showImg2" @mouseout="showImg1"/>

        <!--利用img标签并结合v-bind简便写法切换图片-->
        <!--
        <img :src="imgSrc" :height="imgHeight" :width="imgWeight" @mouseover="showImg2" @mouseout="showImg1"/>
        -->

    </div>
</body>
</html>


示例2
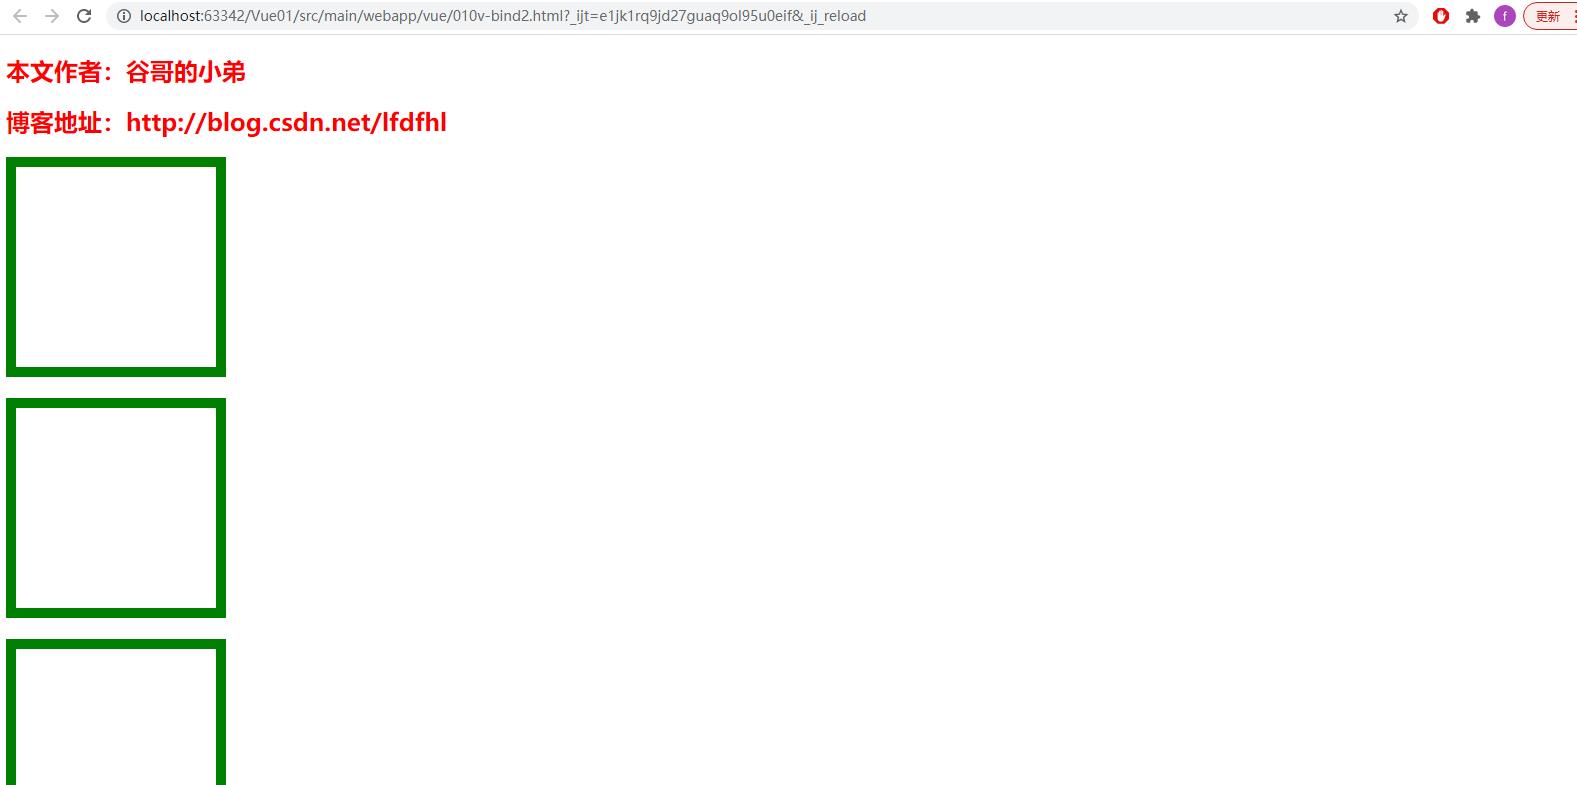
在本示例中利用v-bind绑定选择器。
重点如下:
<div v-bind:class="'s1'"></div>
注意事项:
在给v-bind:class复制时注意使用单引号。假若不使用单引号,则会将值视为data中数据而非选择器名。
示例如下:
<!DOCTYPE html>
<!-- 引入v-bind命名空间 -->
<html lang="en" xmlns:v-bind="http://www.w3.org/1999/xhtml">
<head>
    <meta charset="UTF-8">
    <title>Vue</title>
    <!-- 引入vue -->
    <script src="js/vue.js"></script>
    <!-- 定义选择器 -->
    <style>
        .s1
            width: 200px;
            height: 200px;
            border: 10px green solid;

        .s2
            width: 200px;
            height: 200px;
            border: 10px red dashed;

    </style>
    <script type="text/javascript">
        // 入口函数
        window.onload = function ()
            new Vue(
                el: "#div1",
                data:
                    name: "谷哥的小弟",
                    flag: true
                ,
                methods:
                    // 修改data中的数据
                    fun1()
                        this.flag = true;
                    ,
                    // 修改data中的数据
                    fun2()
                        this.flag = false;
                    ,

            );

    </script>
</head>
<body>
    <h2 style="color: red;">本文作者:谷哥的小弟</h2>
    <h2 style="color: red;">博客地址:http://blog.csdn.net/lfdfhl</h2>
    <div id="div1">
        <!-- 利用v-bind绑定选择器 -->
        <div v-bind:class="'s1'"></div>
        <br/>
        <!-- 利用v-bind绑定选择器并进行切换 -->
        <div v-bind:class="flag?'s1':'s2'" @mouseover="fun2" @mouseout="fun1"></div>
        <br/>
        <!-- 利用v-bind的简便写法绑定选择器并进行切换 -->
        <div :class="flag?'s1':'s2'" @mouseover="fun2" @mouseout="fun1"></div>
    </div>
</body>
</html>


以上是关于Vue简明实用教程(06)——v-bind指令的主要内容,如果未能解决你的问题,请参考以下文章