使用Nexus 3.x搭建Maven私服并部署Gradle仓库
Posted 魏晓蕾
tags:
篇首语:本文由小常识网(cha138.com)小编为大家整理,主要介绍了使用Nexus 3.x搭建Maven私服并部署Gradle仓库相关的知识,希望对你有一定的参考价值。
1、下载Nexus Repository Manager OSS 3.x
官网下载地址:https://www.sonatype.com/products/repository-oss-download
我下载的是Windows版本nexus-3.37.0-01-win64.zip。
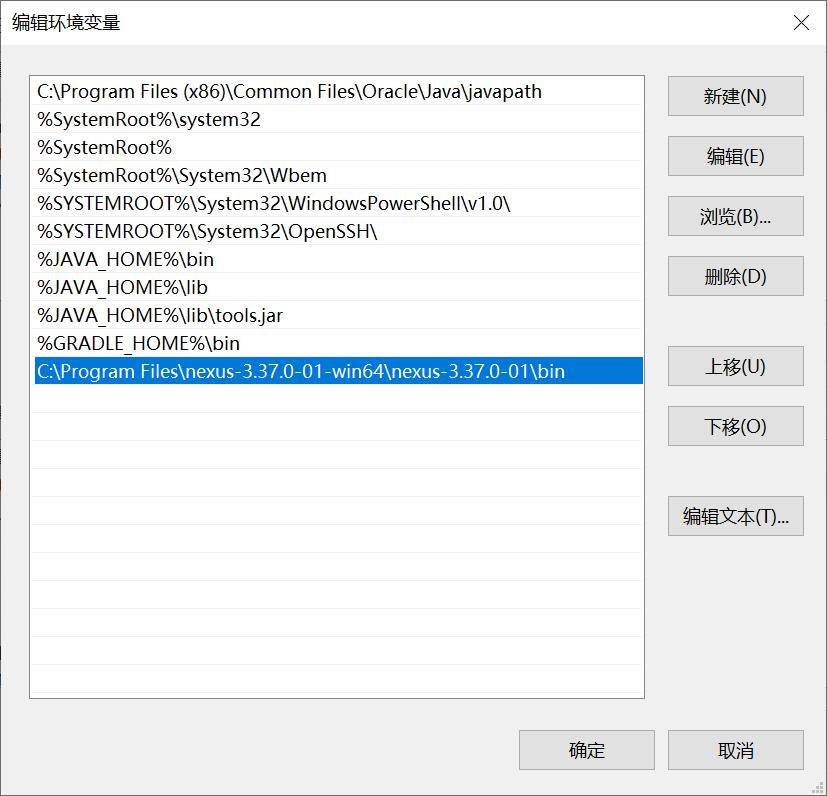
解压下载的压缩包到目录:C:\\Program Files\\nexus-3.37.0-01-win64\\nexus-3.37.0-01\\bin,将该目录加入Path环境变量。
2、nexus服务启动
以管理员方式运行“命令提示符”,输入以下命令:
C:\\Windows\\system32>nexus.exe/install
Installed service 'nexus'.

C:\\Windows\\system32>nexus.exe/start
Starting service 'nexus'.
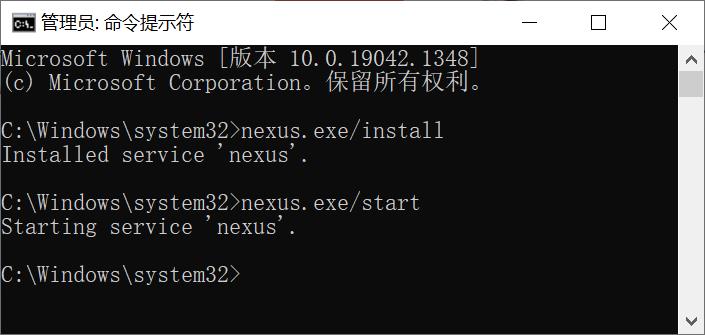
nexus服务命令如下:
/install:安装
/uninstall:卸载
/stop:停止后台运行
/start:后台运行
/status:查看运行状态
/run:前台运行,可在cmd命令行查看log
/run-redirect:前台运行
浏览器端输入以下网址:http://localhost:8081/,打开如下界面即表示nexus已启动成功。
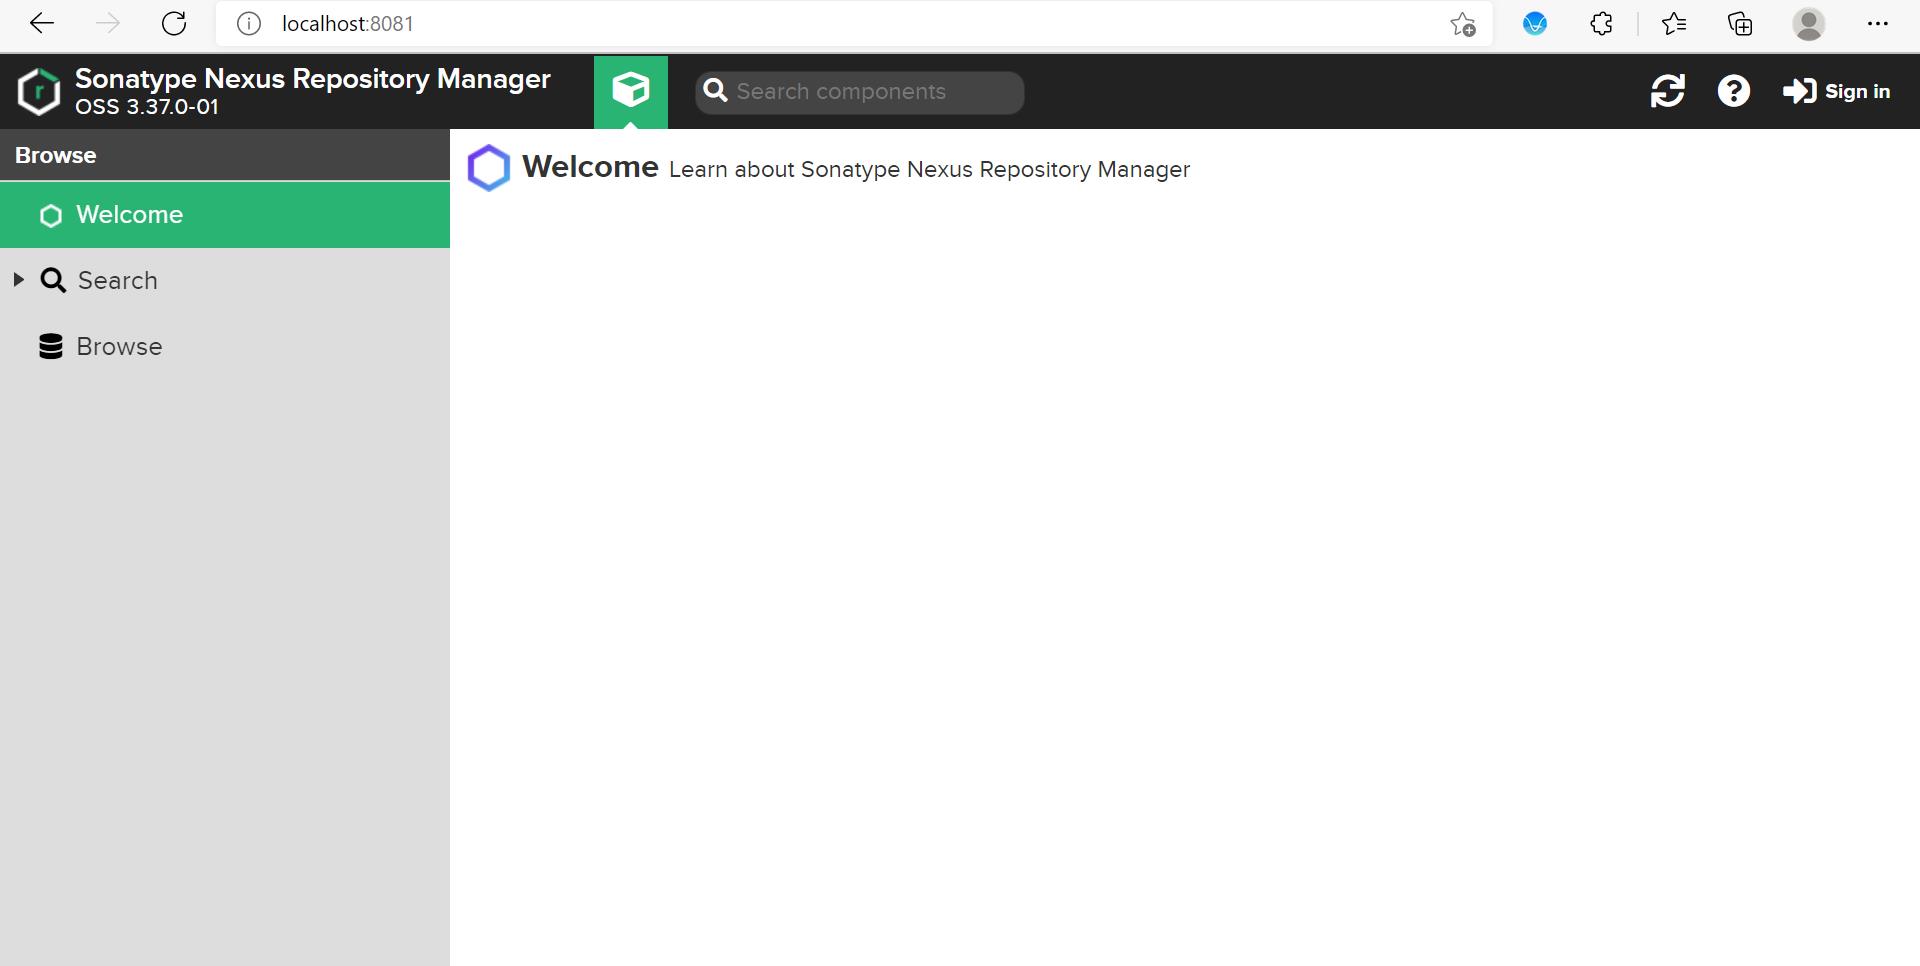
8081是默认的端口号,要修改端口号,进入C:\\Program Files\\nexus-3.37.0-01-win64\\nexus-3.37.0-01\\etc\\nexus-default.properties文件,修改application-port属性值就可以了。
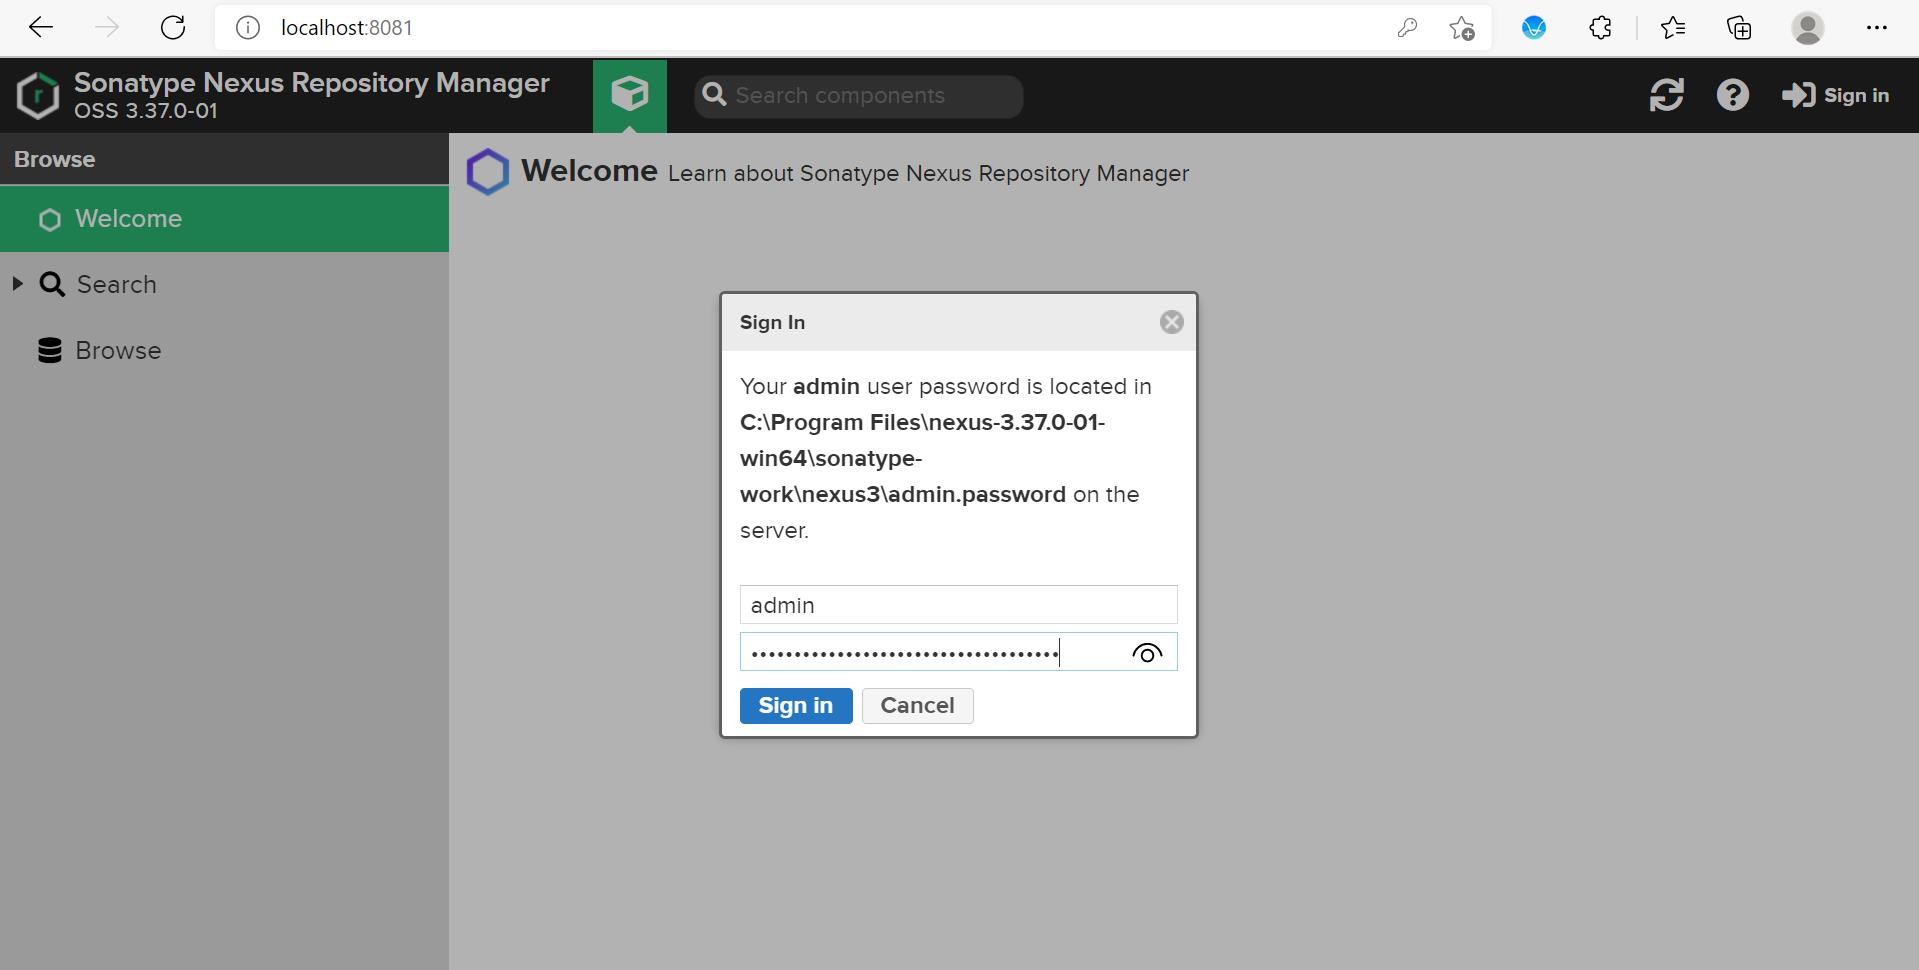
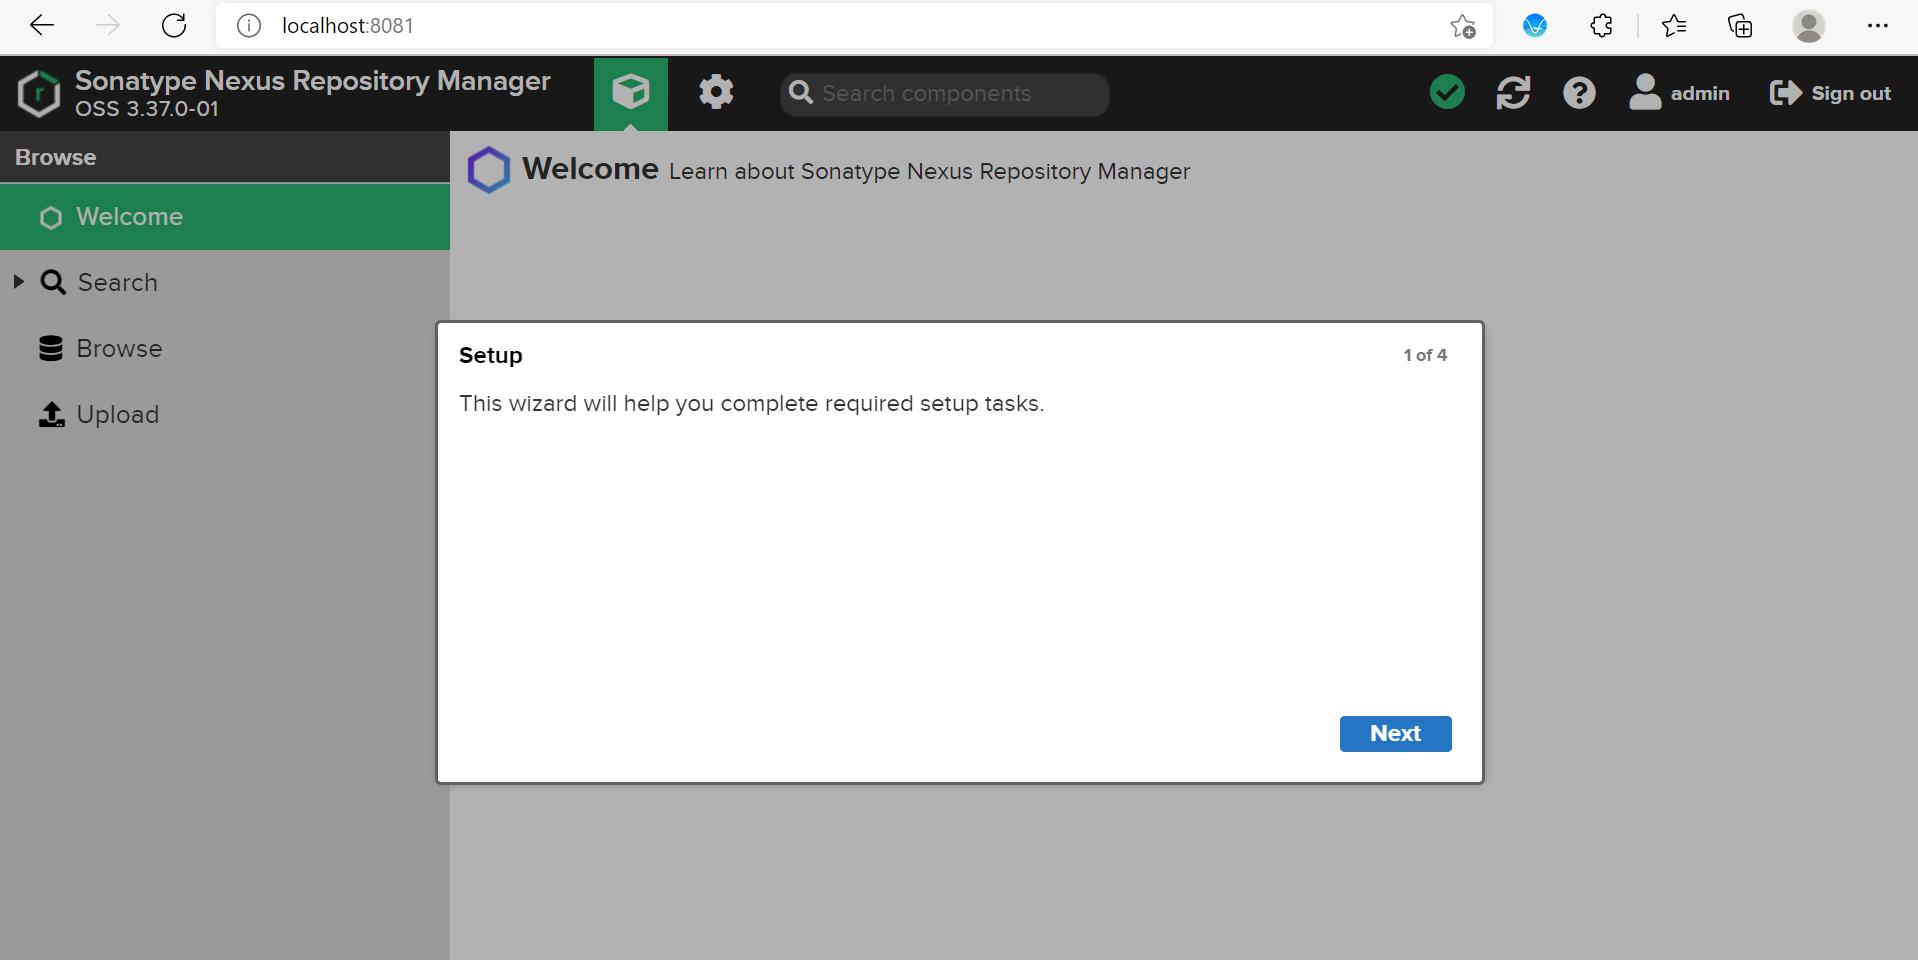
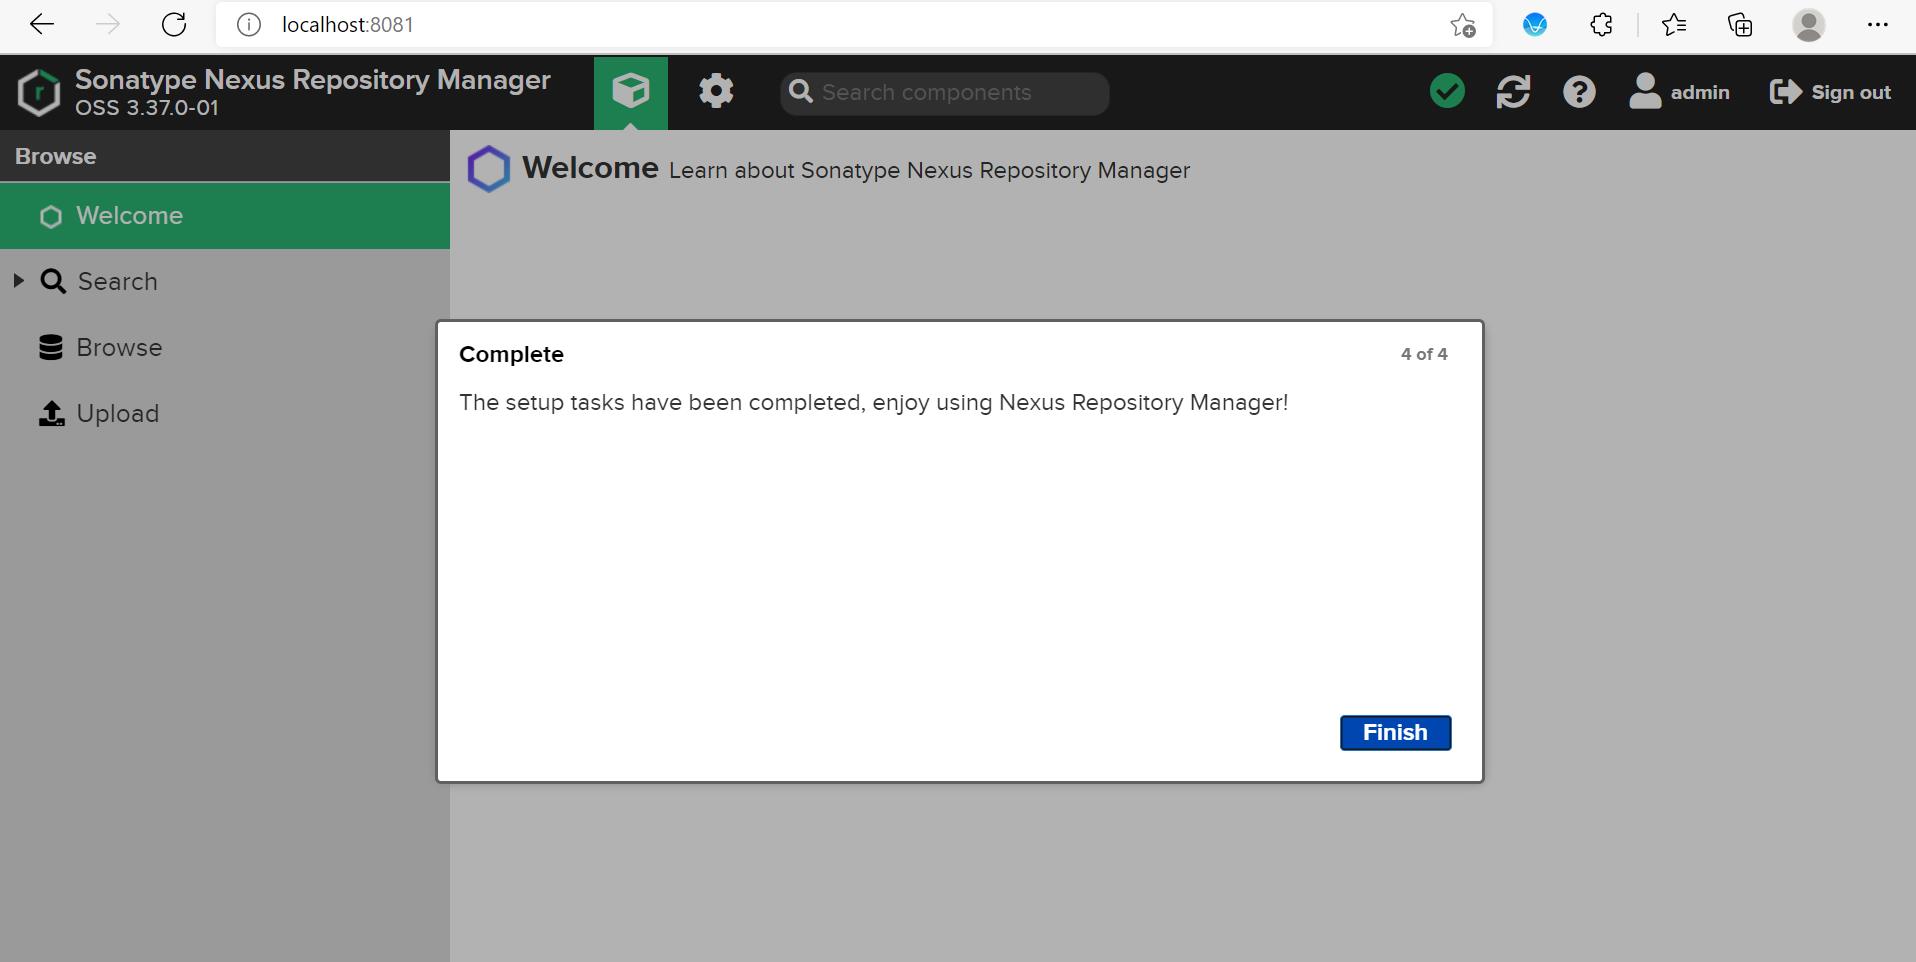
默认的用户名是admin,默认密码存储在C:\\Program Files\\nexus-3.37.0-01-win64\\sonatype-work\\nexus3\\admin.password中。点击右上角的Sign in,登录后如图所示:
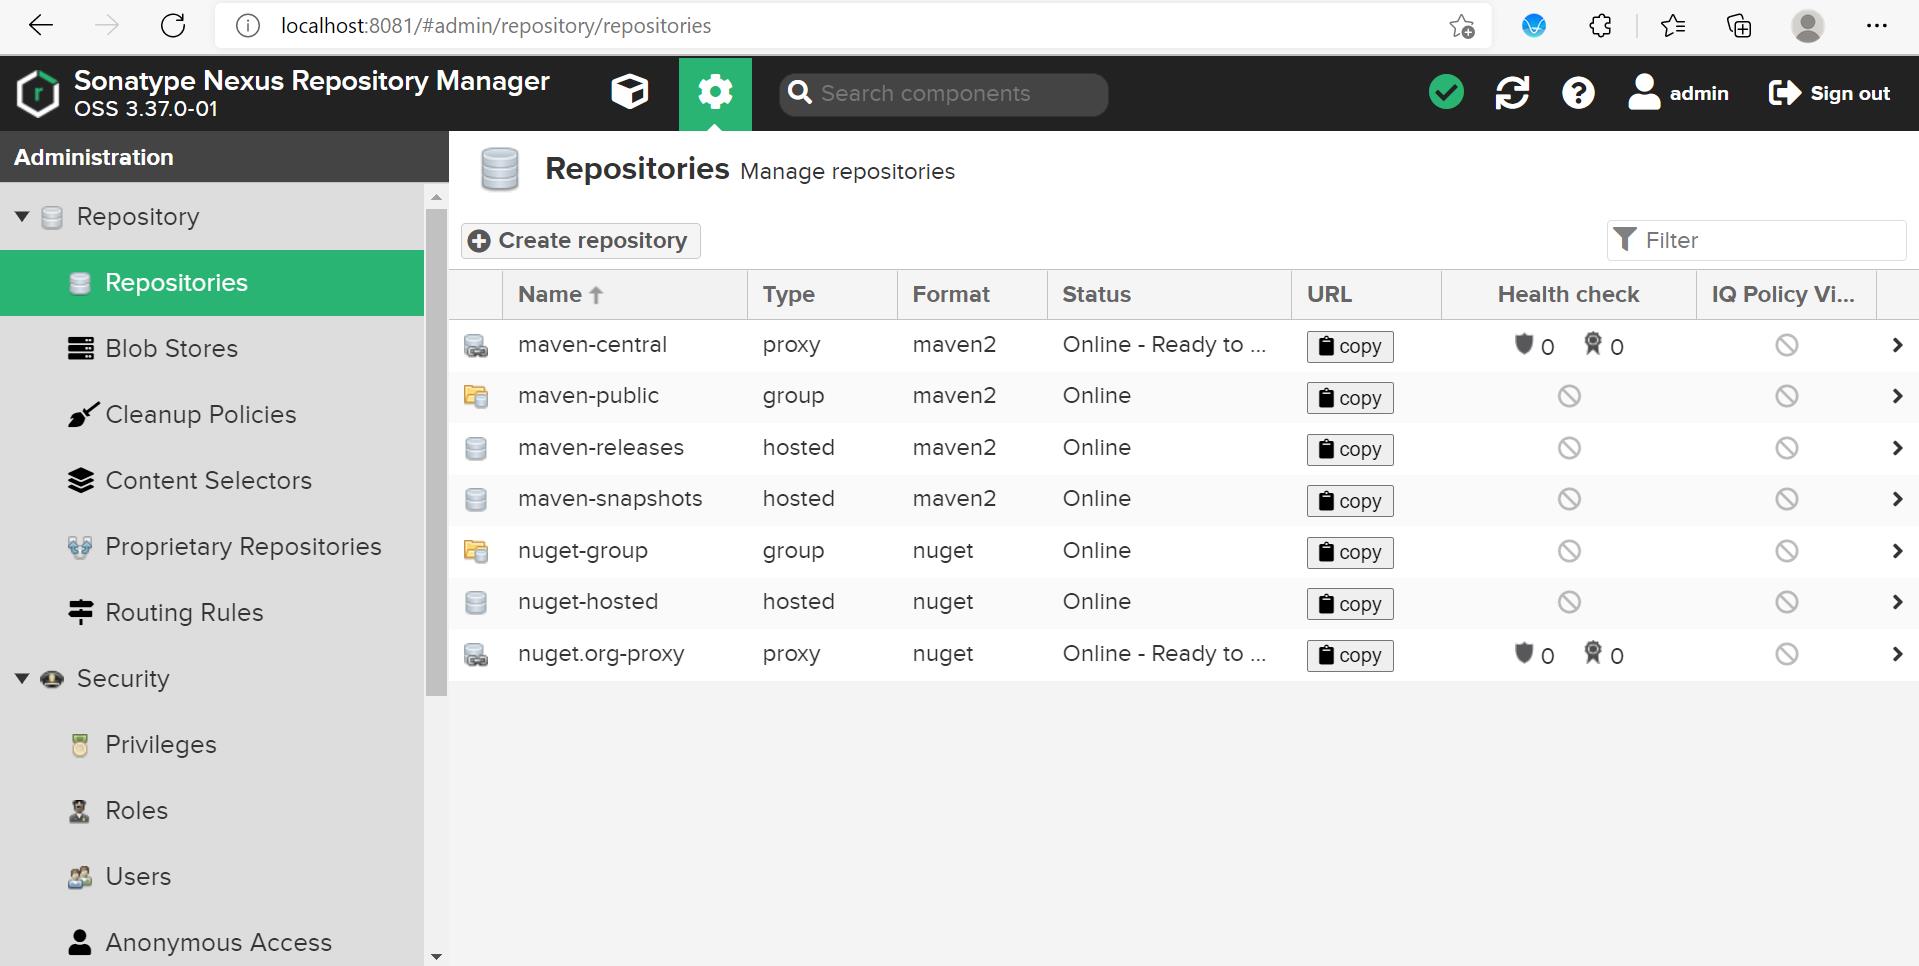
点击左侧的 Browse 查看现有的仓库列表:
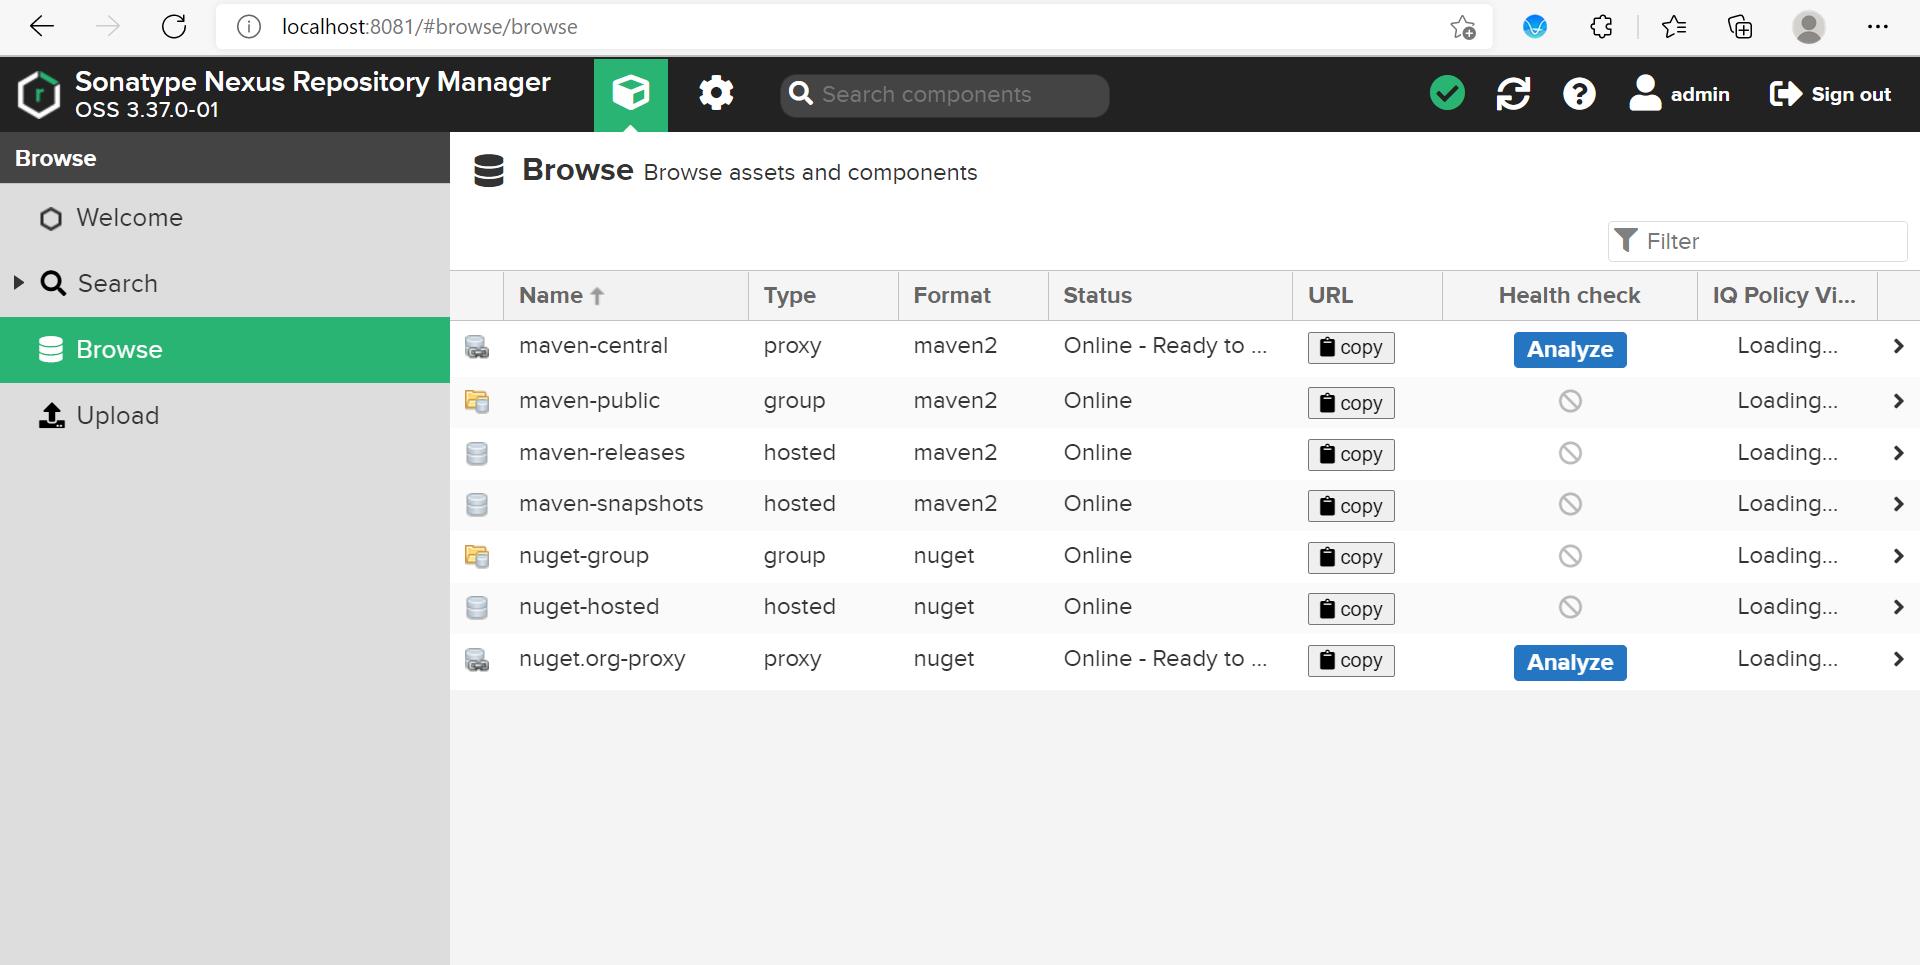
3、Nexus仓库类型
Nexus的仓库分了四种类型:
- hosted(宿主仓库):用来部署自己的构件、第三方或者公共仓库的构件
- proxy(代理仓库):代理远程仓库
- virtual(虚拟仓库):默认提供了一个 Central M1虚拟仓库,用来将maven 2适配为maven 1
- group(仓库组):统一管理多个仓库
- Public Repositories(仓库组):
(1)3rd party:无法从公共仓库获得的第三方发布版本的构件仓库
(2)Apache Snapshots:用了代理ApacheMaven仓库快照版本的构件仓库
(3)Central:用来代理maven中央仓库中发布版本构件的仓库
(4)Central M1 shadow:用于提供中央仓库中M1格式的发布版本的构件镜像仓库
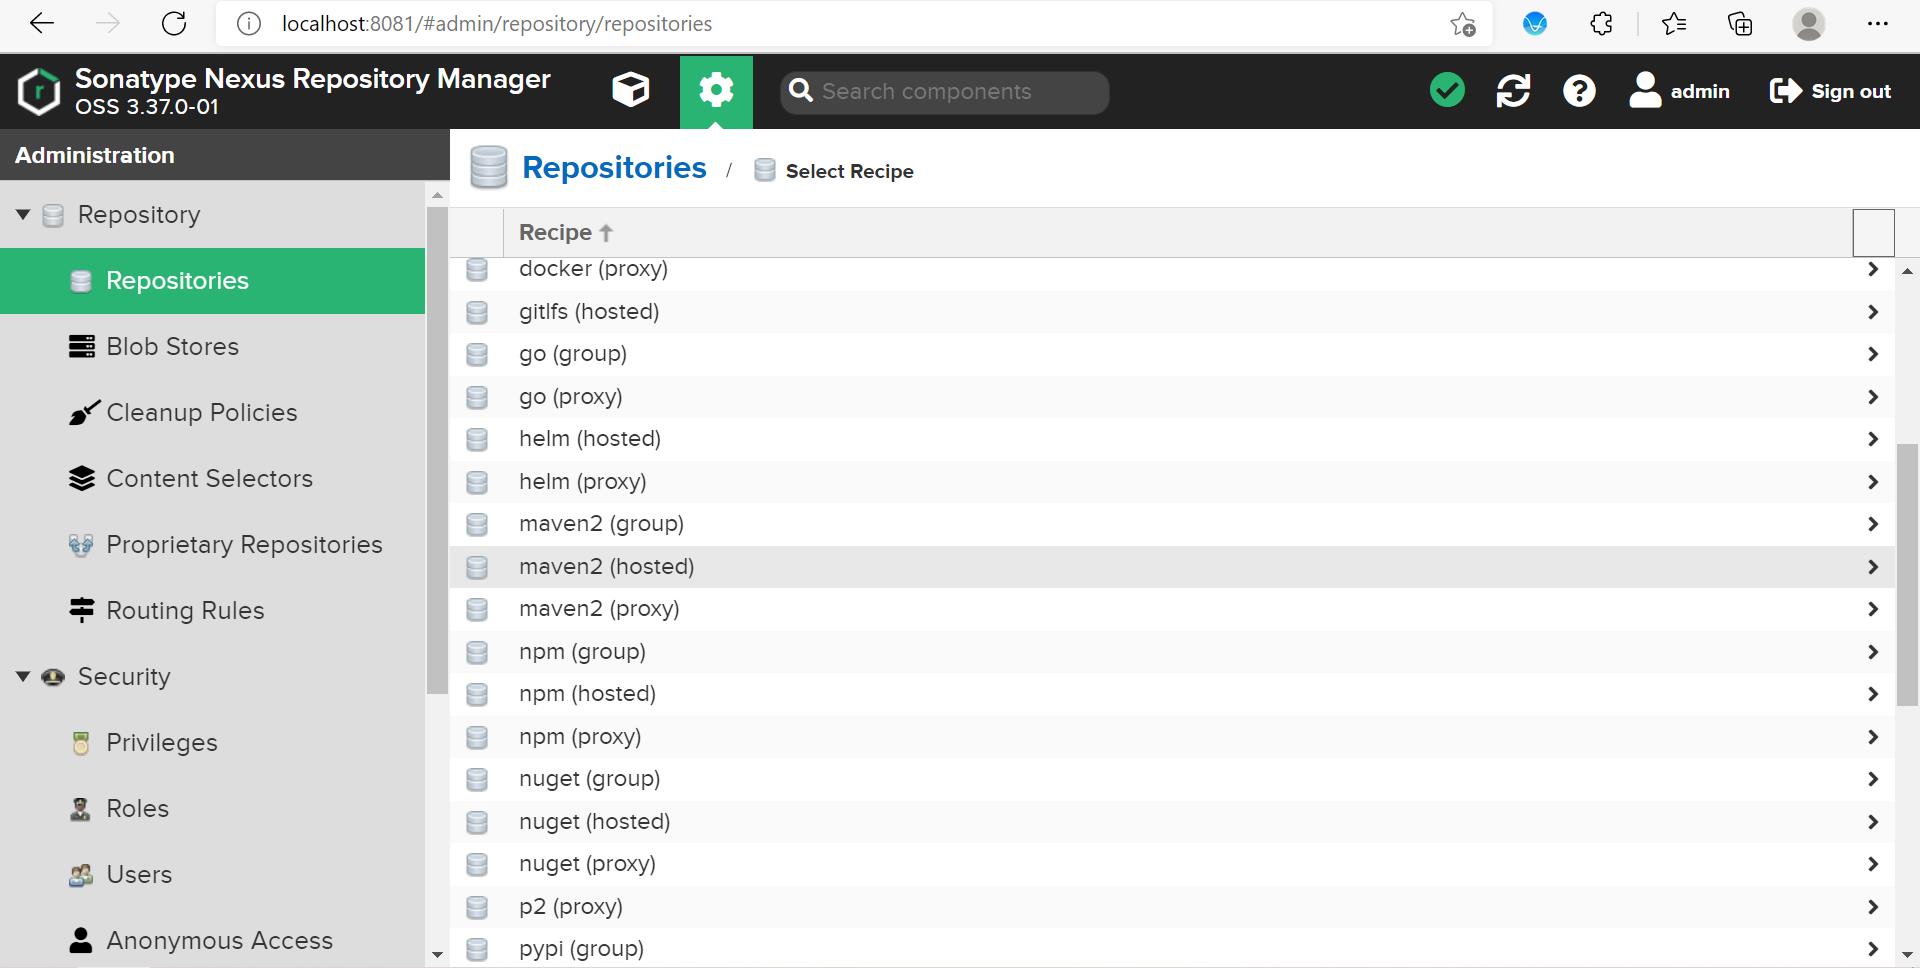
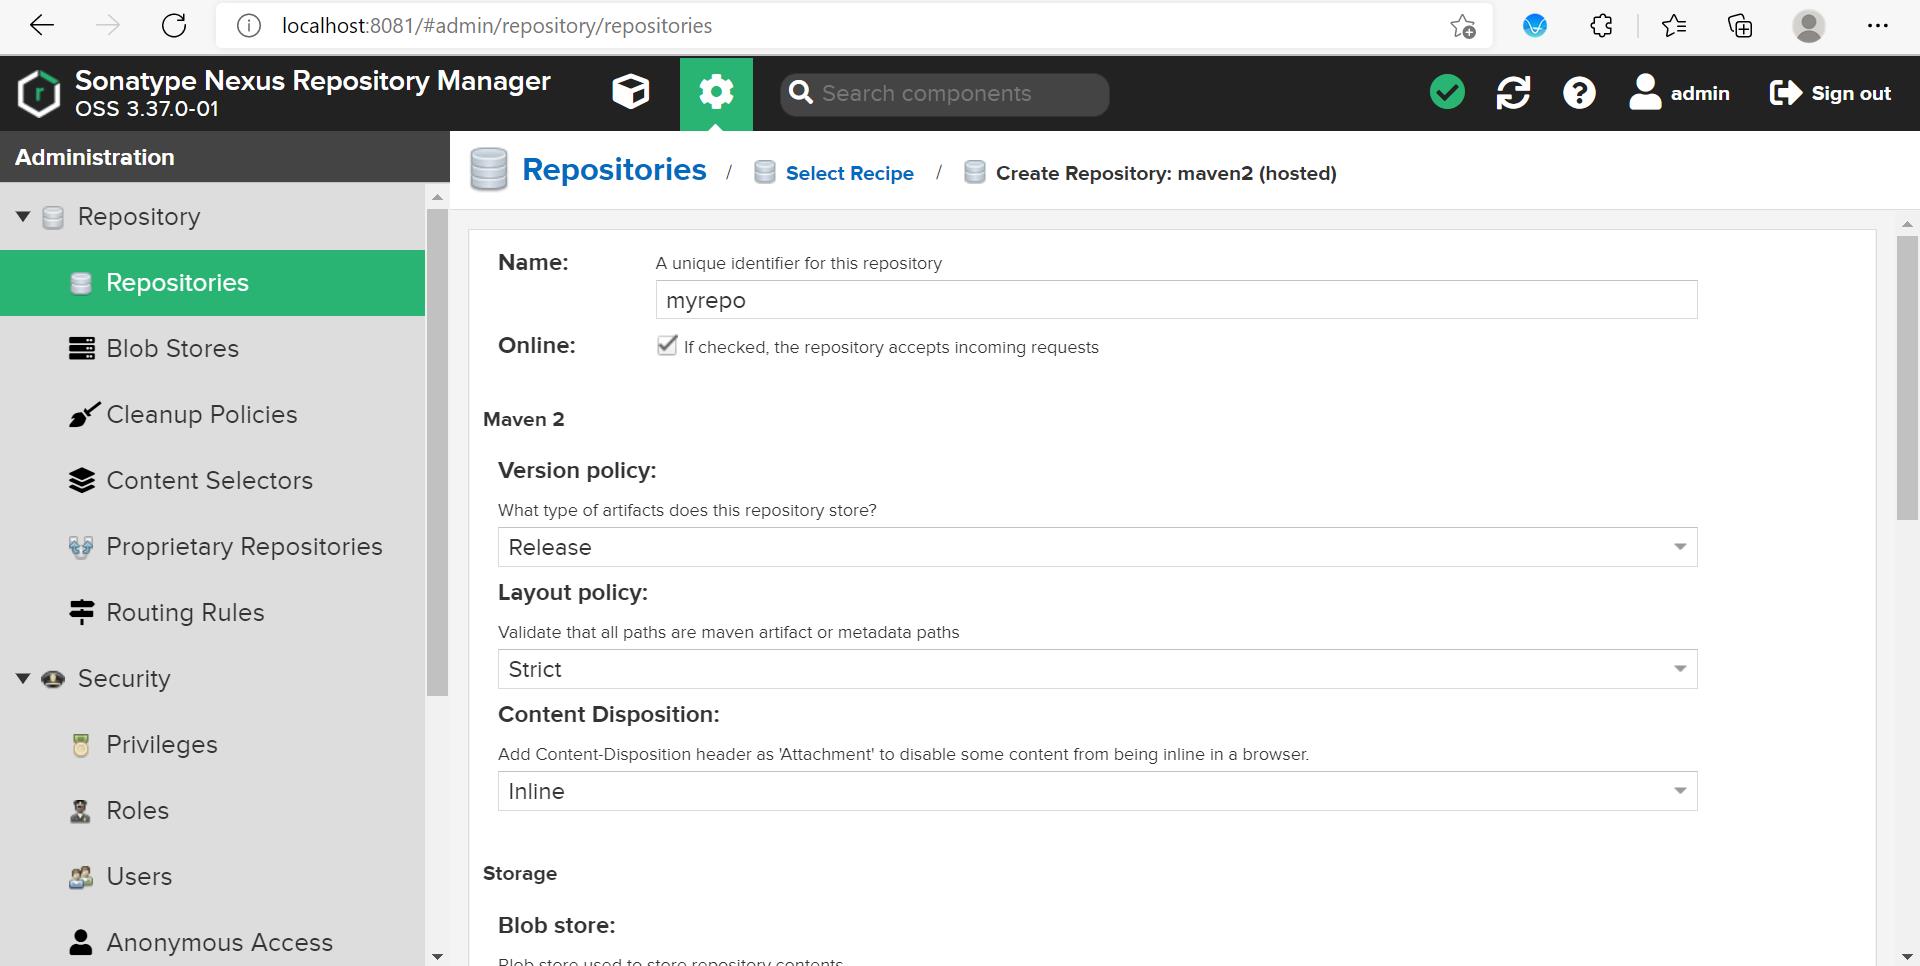
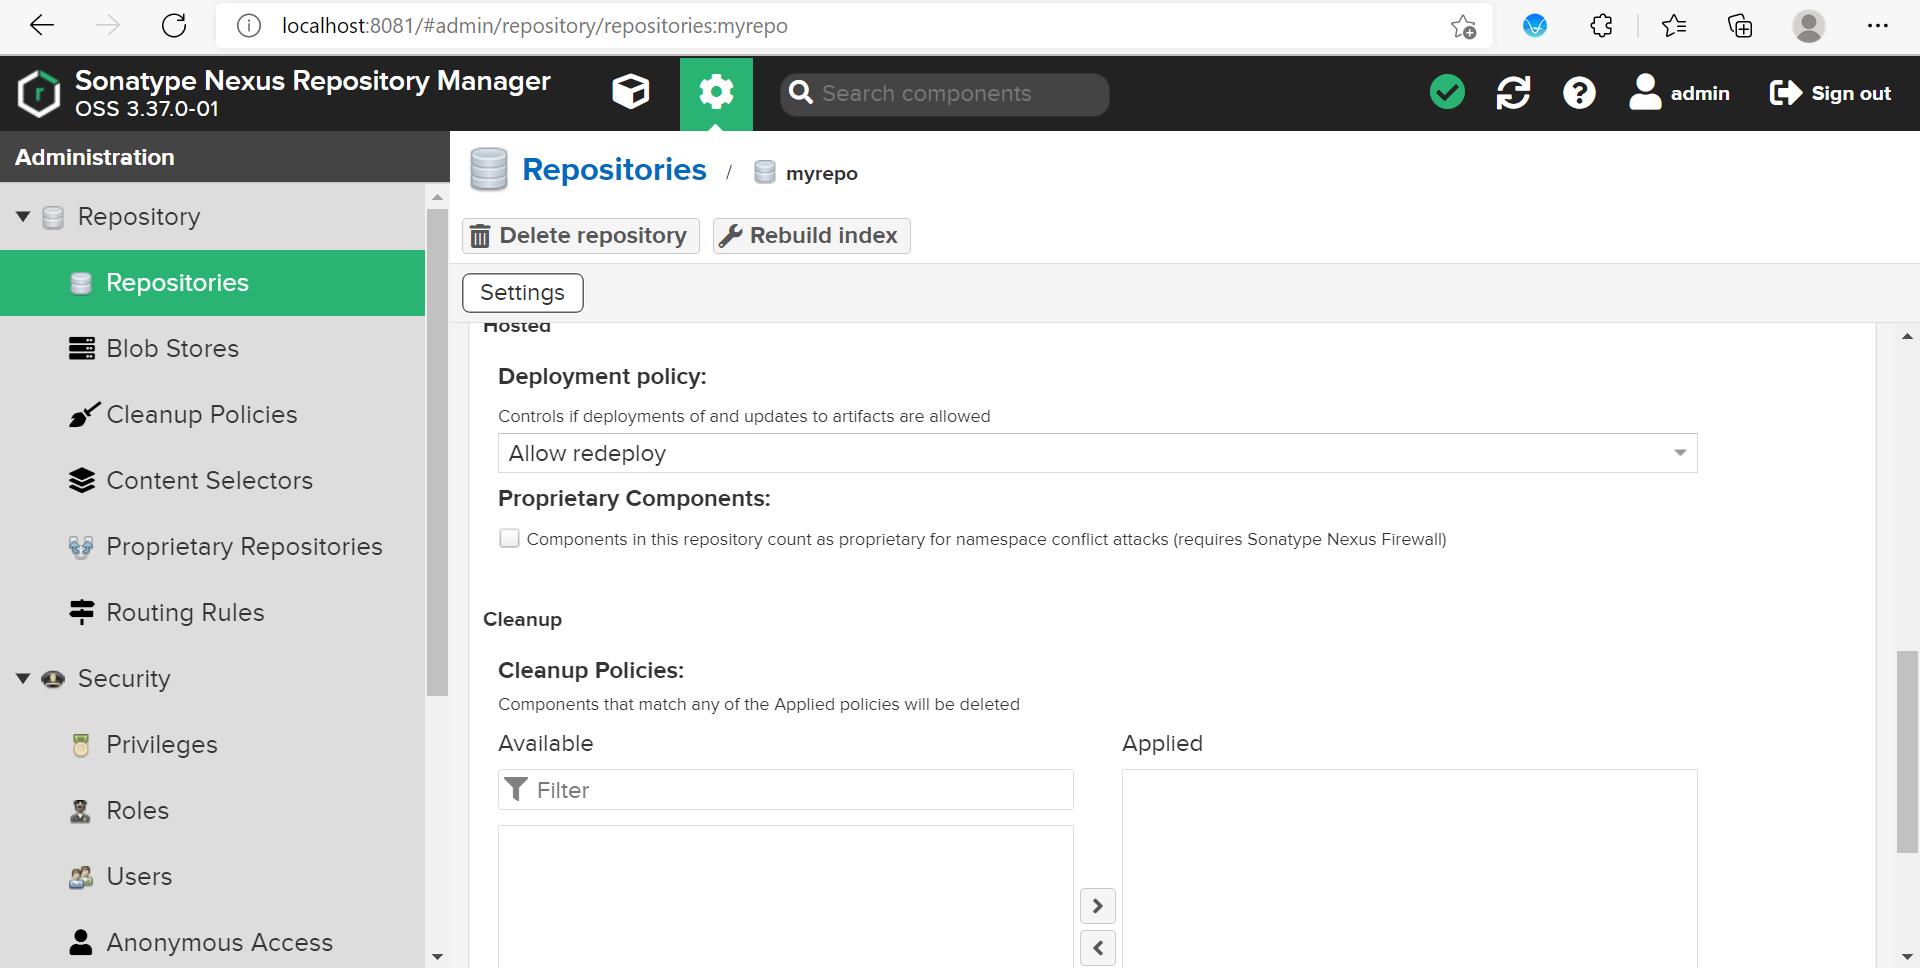
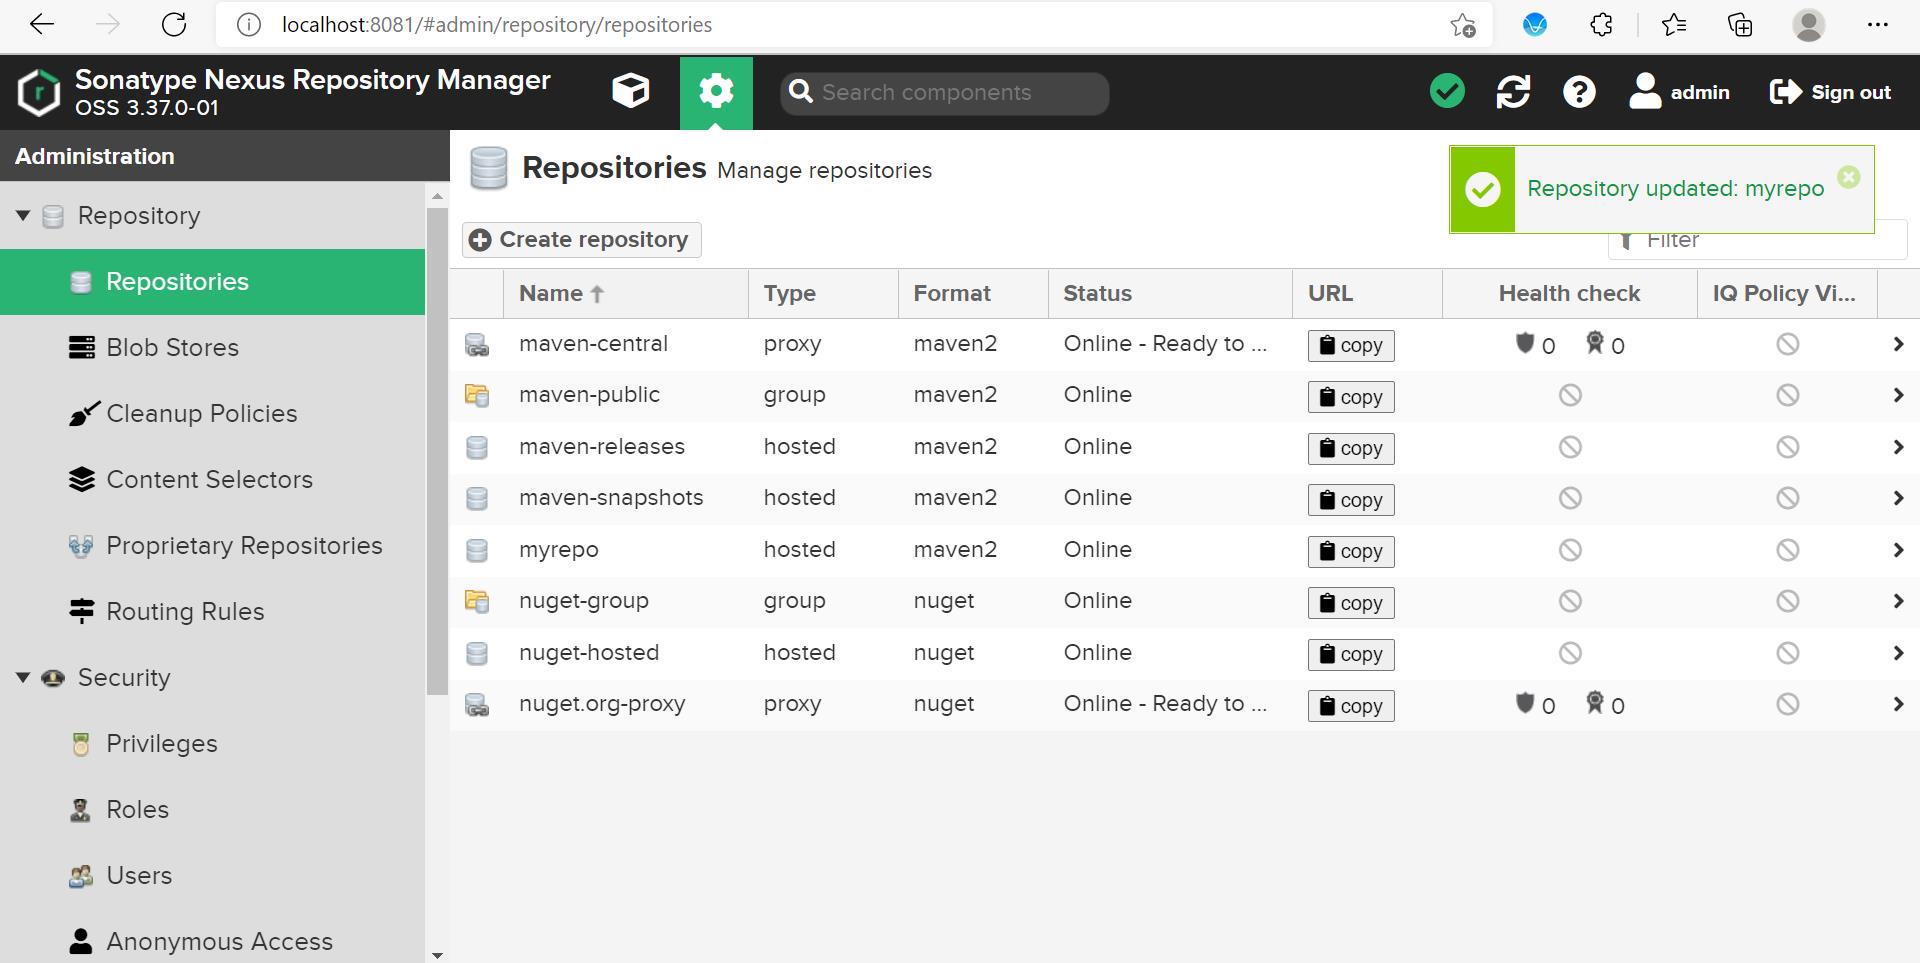
4、新建Nexus宿主仓库
5、代码库上传
配置上传gradle脚本。在需要上传的子模块下的build.gradle文件中编辑以下脚本:
plugins
    id 'java'
    id 'maven'


group 'com.htsc.opstech.common'
version '1.2.3'

repositories
    mavenCentral()


dependencies
    testCompile group: 'junit', name: 'junit', version: '4.12'


uploadArchives
    repositories
        mavenDeployer
            //仓库地址
            repository(url: "http://localhost:8081/repository/myrepo/")
                // 验证账号,即nexus服务管理账号
                authentication(userName: "admin", password: "admin")

            pom.groupId = 'com.htsc.opstech' // 组织id,一般习惯用包名标识
            pom.artifactId = 'common-utils' // 项目名
            pom.version = '1.2.3' //发布版本号

            // 下面内容可选,需要描述许可证的情况下
            pom.project
                licenses
                    license
                        name 'The Apache Software License, Version 2.0'
                        url 'http://www.apache.org/licenses/LICENSE-2.0.txt'
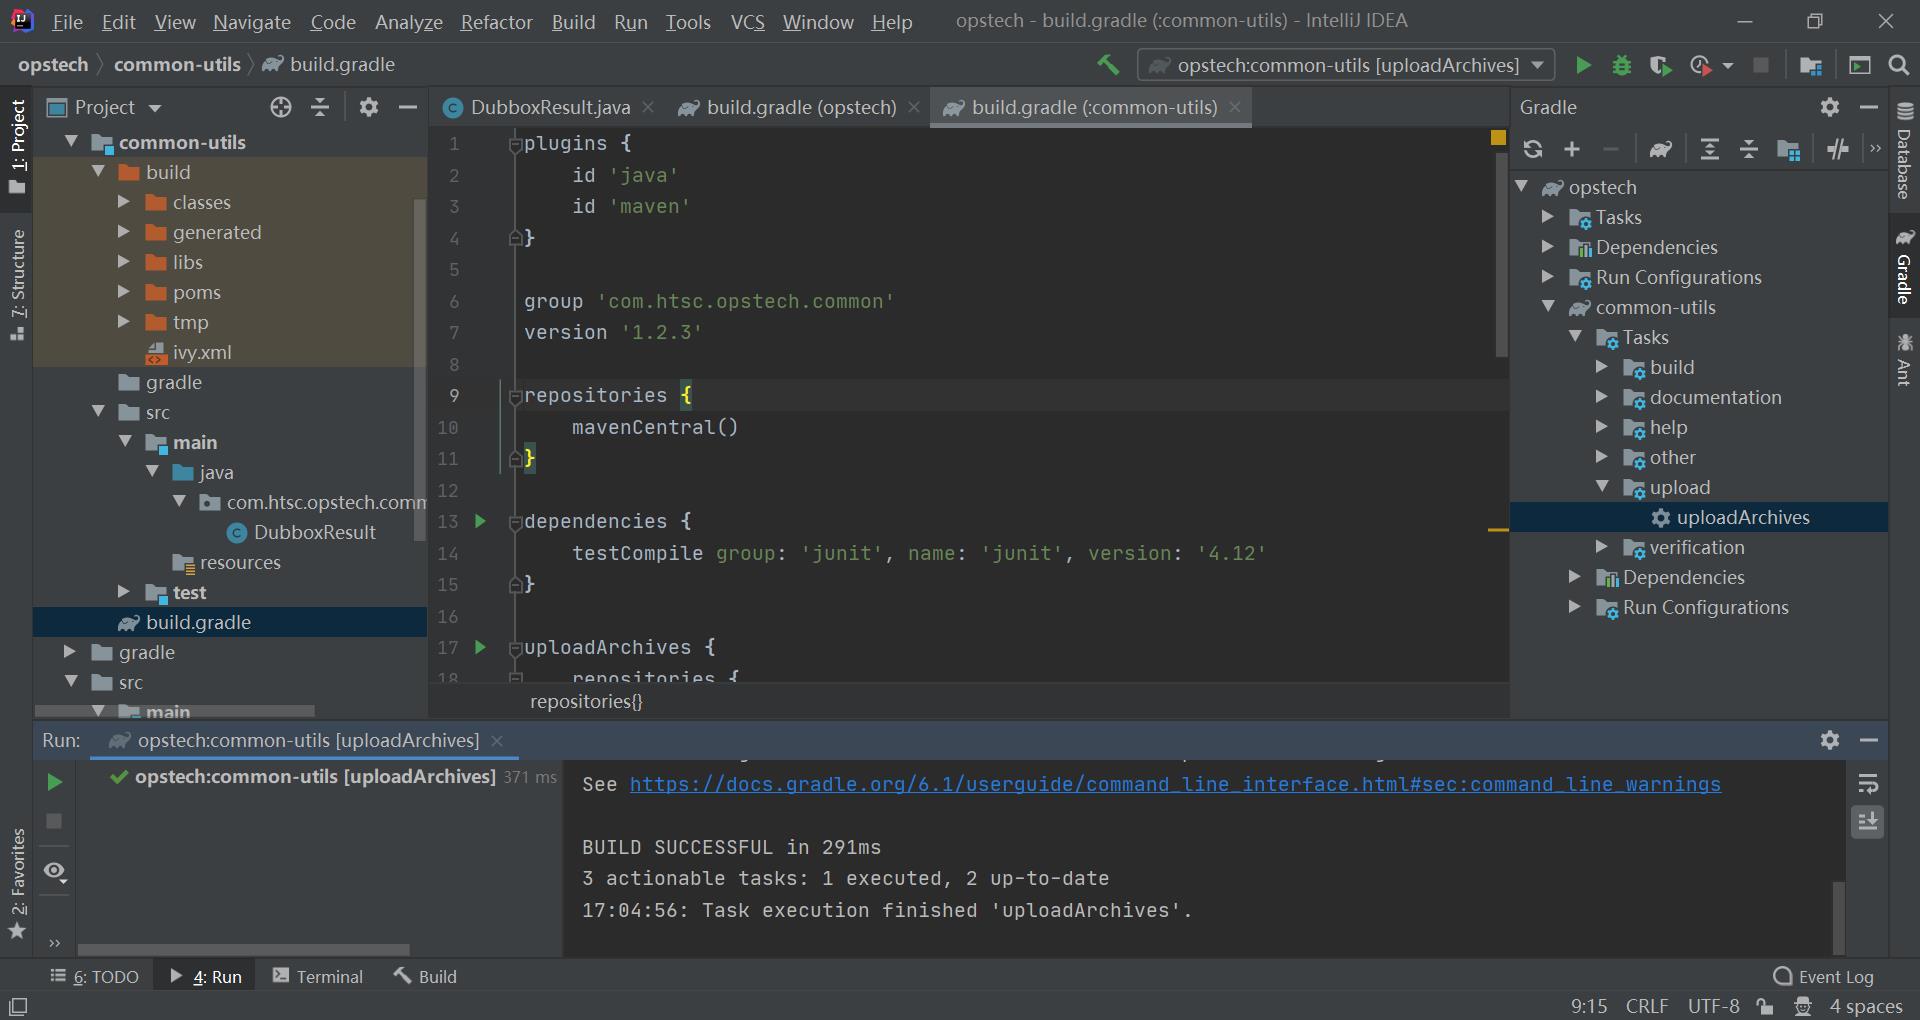
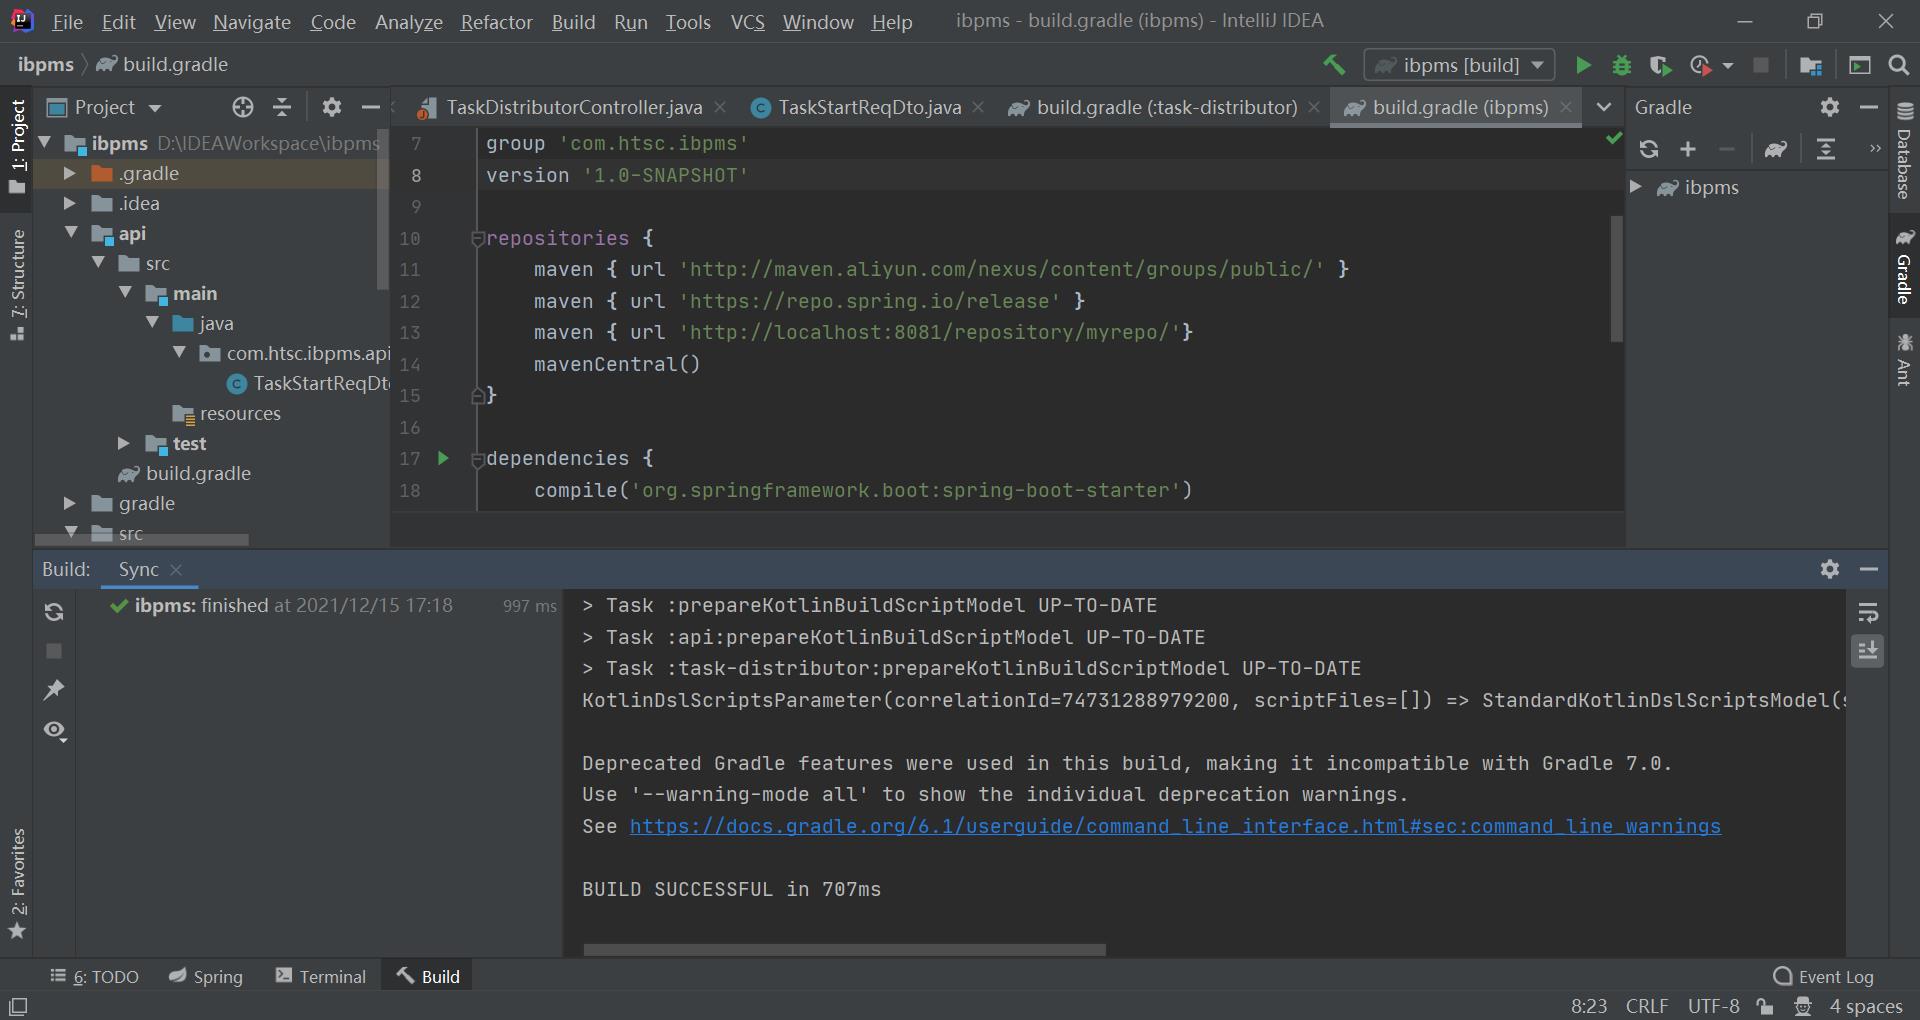
修改完毕build.gradle后,点击Reimport All Gradle Projects->upload->uploadArchives,构建好的包上传成功。
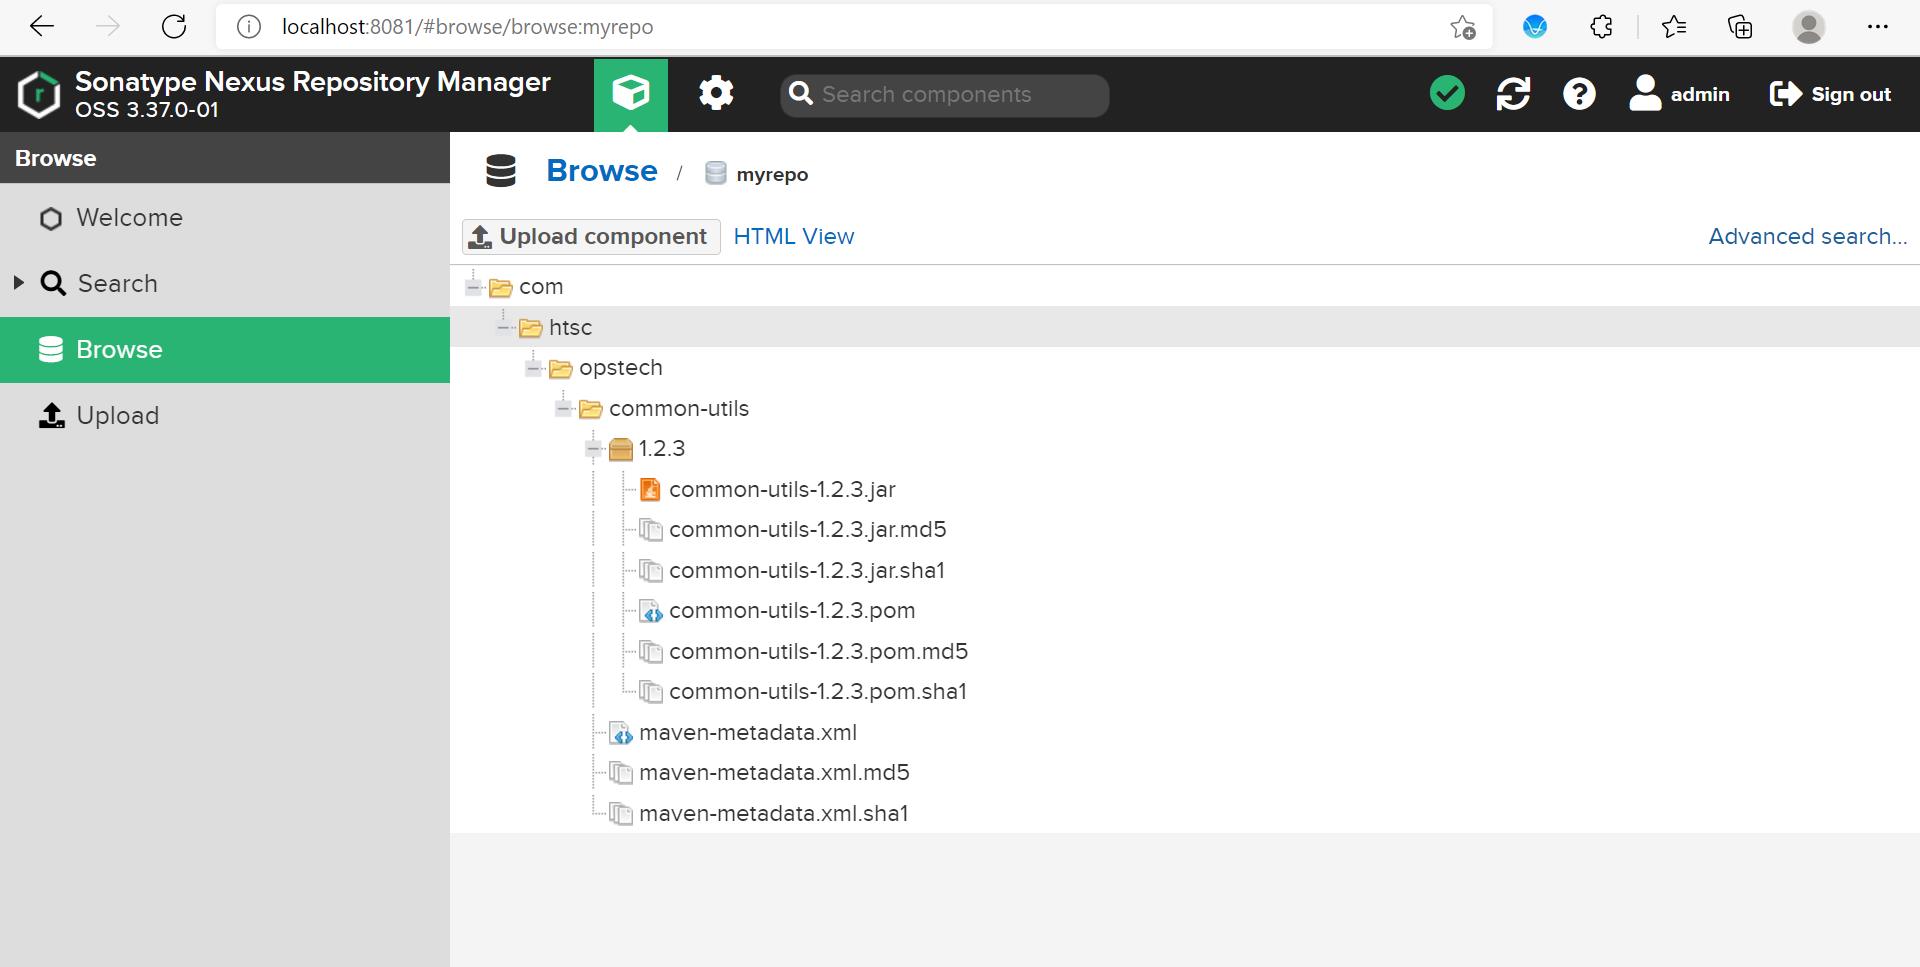
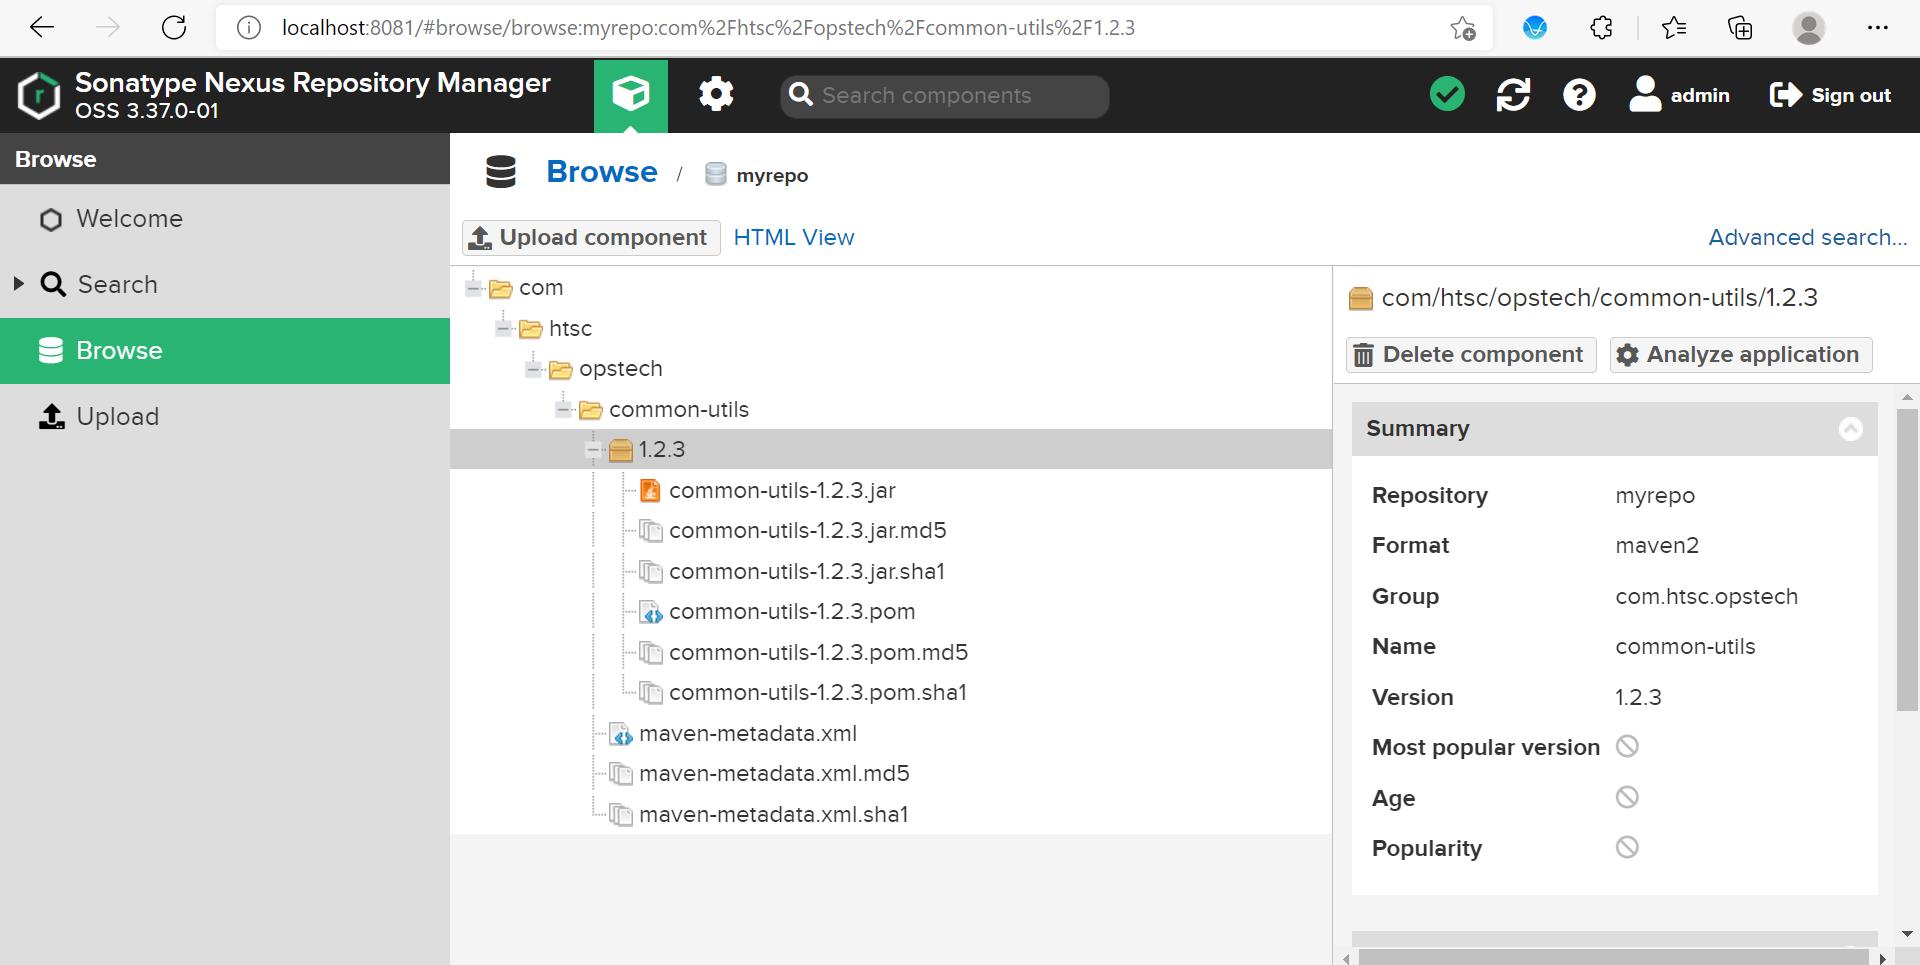
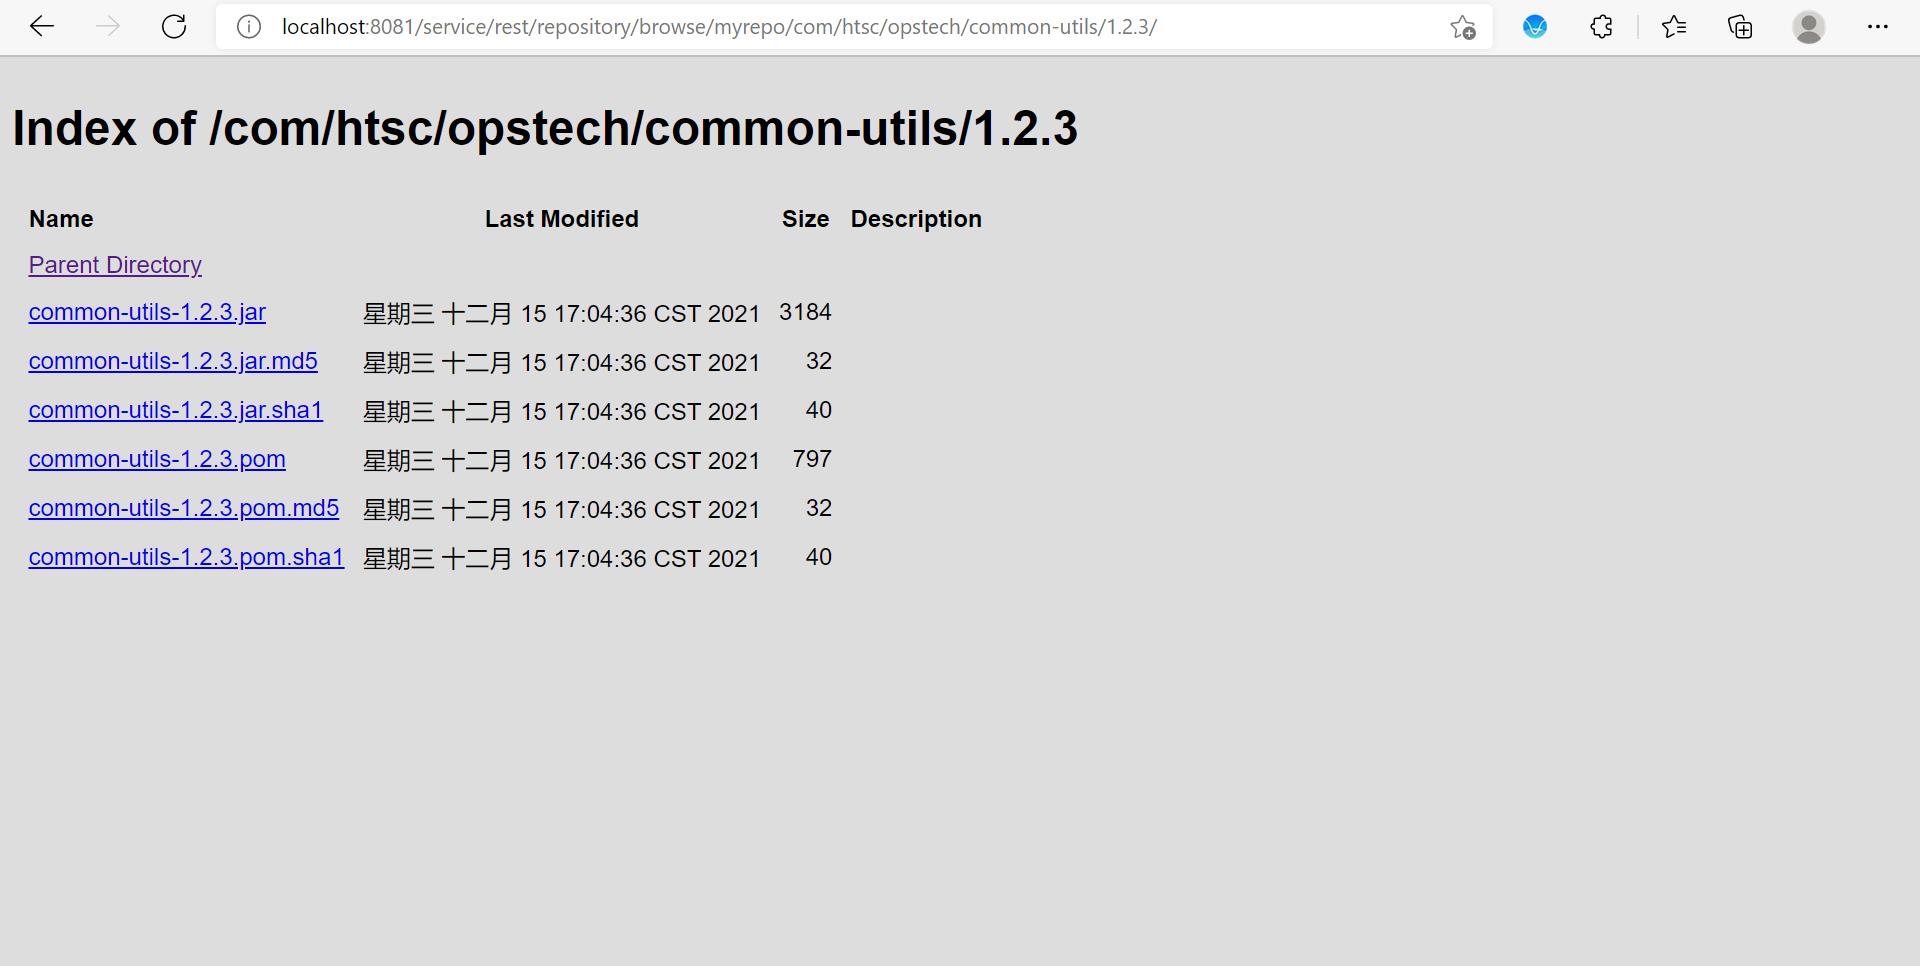
回到浏览器,打开自己创建的仓库,可以看到包已经上传。
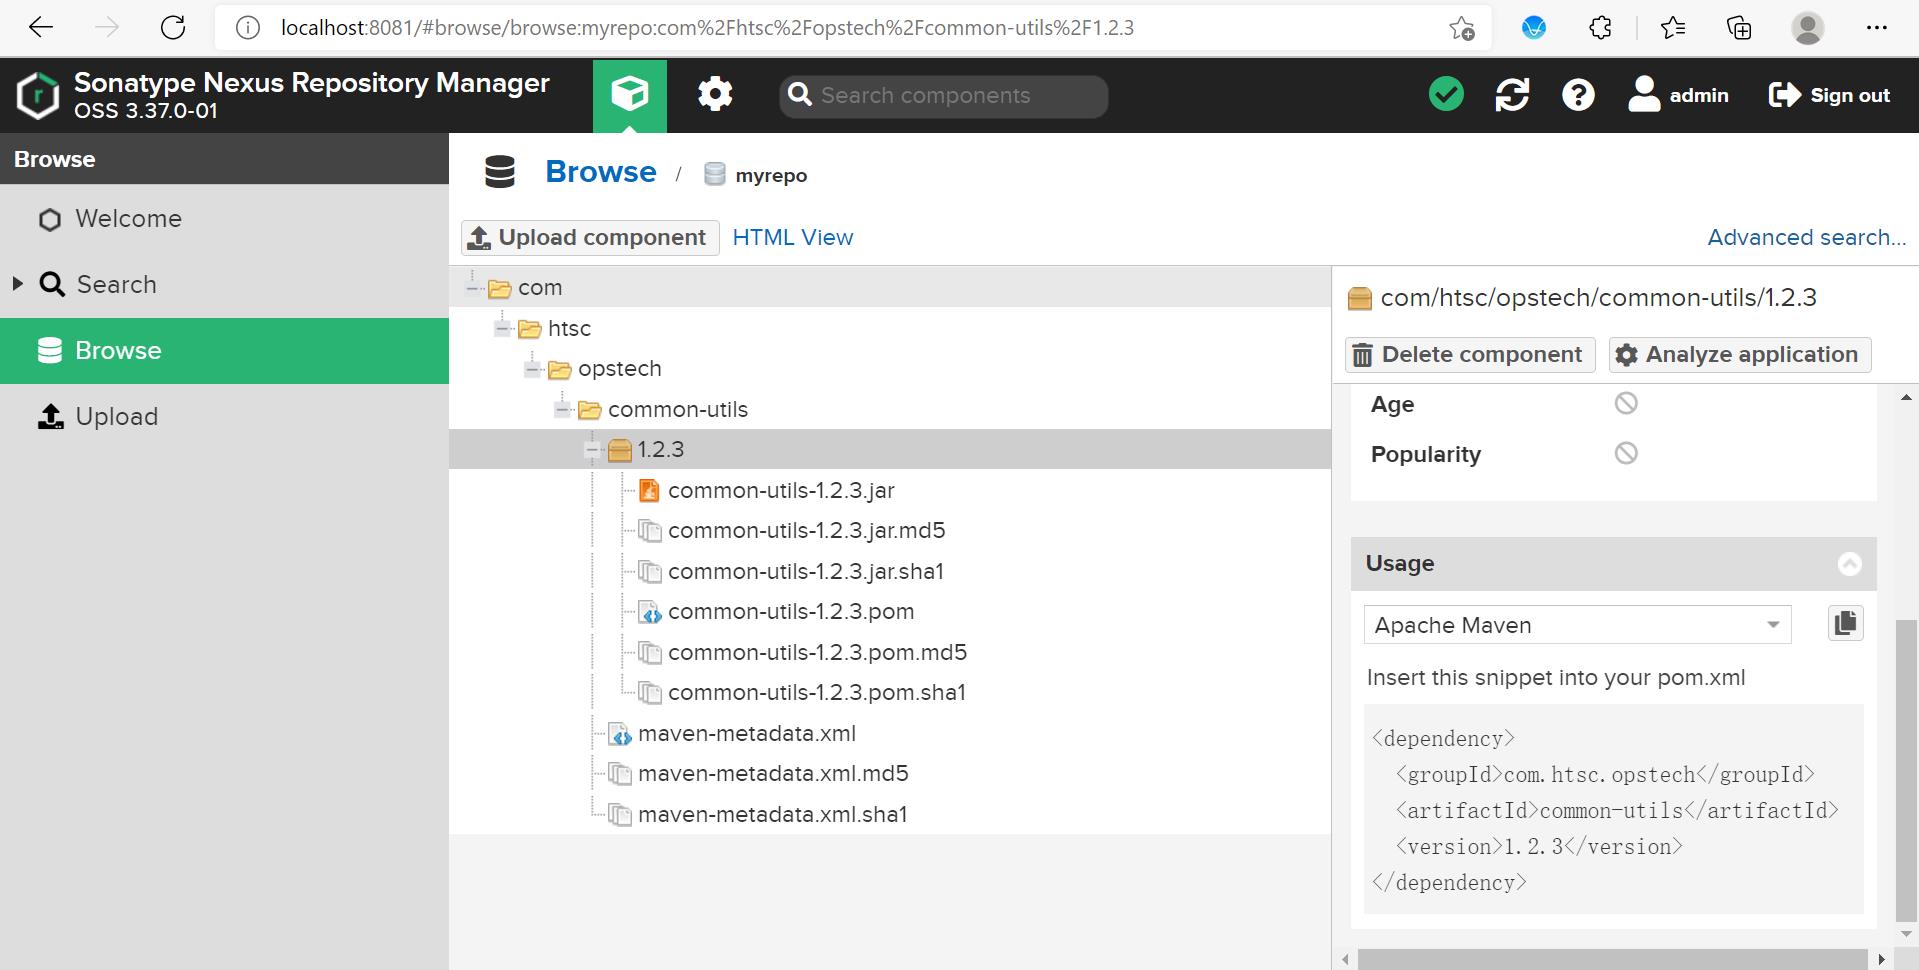
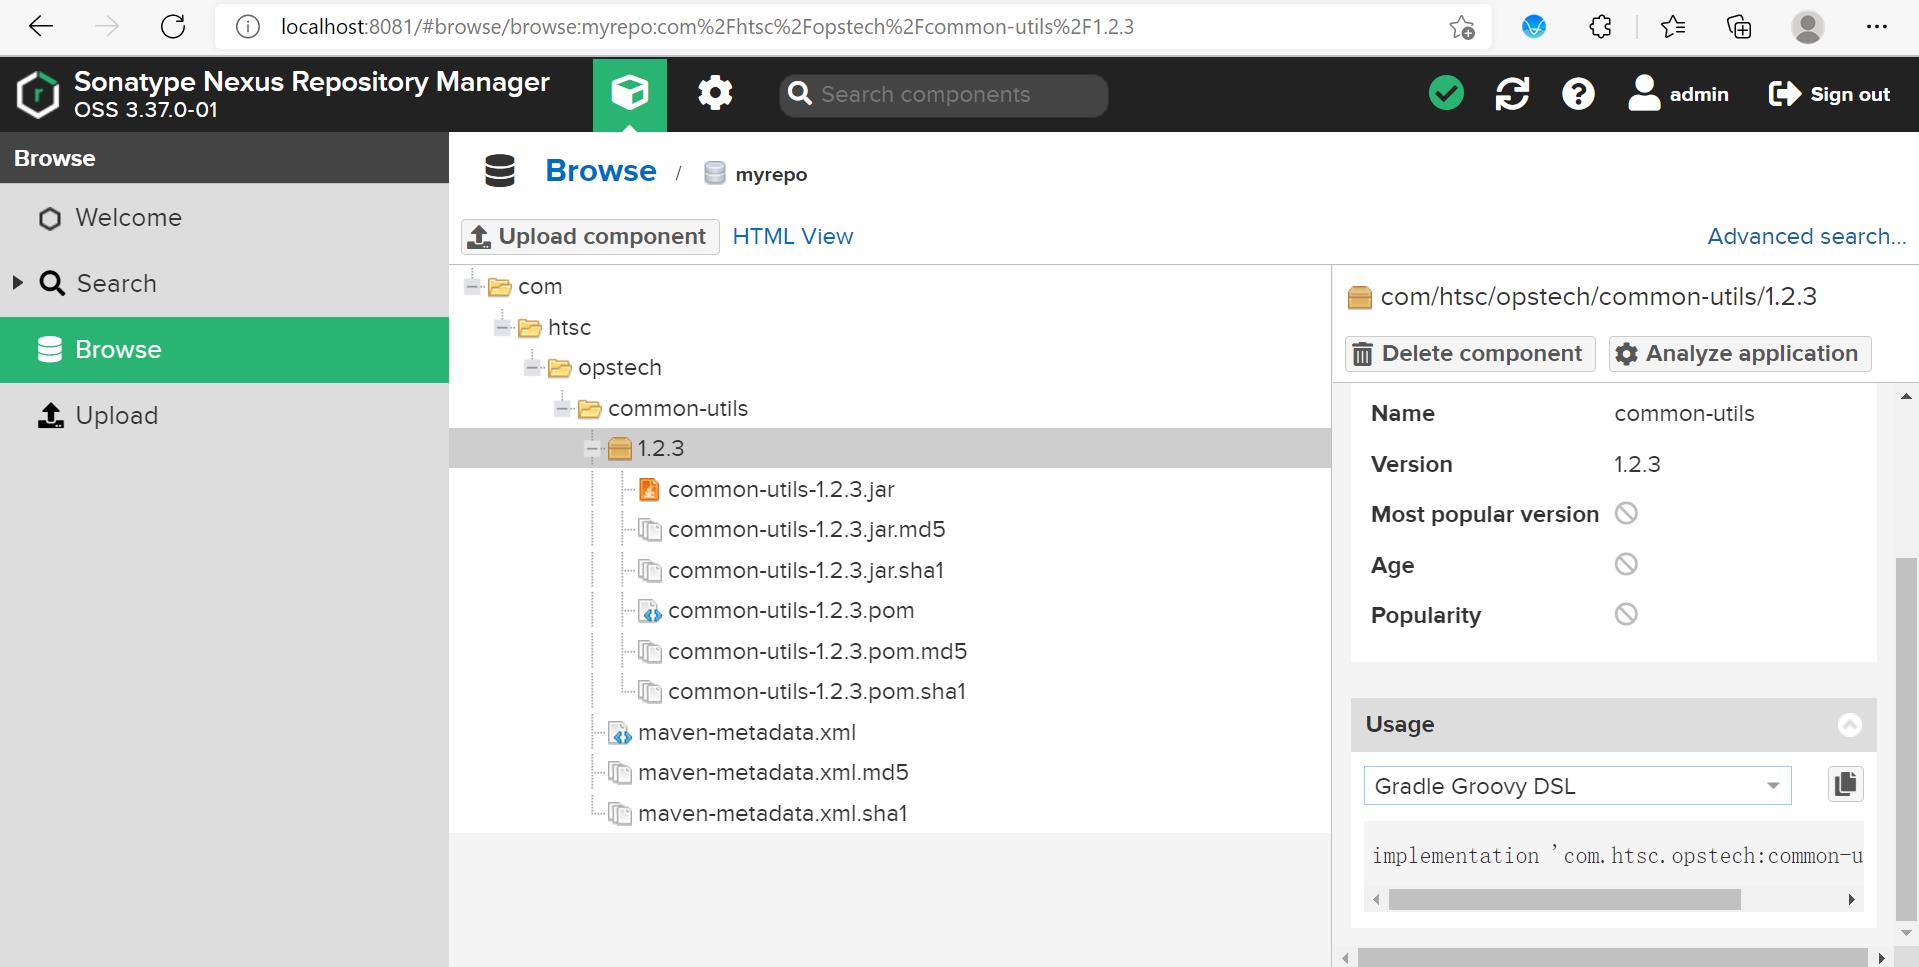
可以看到Maven引用如下:
<dependency>
  <groupId>com.htsc.opstech</groupId>
  <artifactId>common-utils</artifactId>
  <version>1.2.3</version>
</dependency>
gradle引用如下:
implementation 'com.htsc.opstech:common-utils:1.2.3'
6、项目中引用
在需要引用的项目中的build.gradle中添加如下配置:
plugins
    id 'java'
    id 'org.springframework.boot' version '2.1.7.RELEASE'
    id 'io.spring.dependency-management' version '1.0.11.RELEASE'


group 'com.htsc.ibpms'
version '1.0-SNAPSHOT'

repositories
    maven  url 'http://maven.aliyun.com/nexus/content/groups/public/'
    maven  url 'https://repo.spring.io/release'
    maven  url 'http://localhost:8081/repository/myrepo/'
    mavenCentral()


dependencies
    compile('org.springframework.boot:spring-boot-starter')
    compile('org.springframework.boot:spring-boot-configuration-processor')
    compile('io.springfox:springfox-swagger2:2.9.2')
    compile('io.springfox:springfox-swagger-ui:2.9.2')
    compile('org.springframework.statemachine:spring-statemachine-core:2.1.3.RELEASE')
    compile('com.htsc.opstech:common-utils:1.2.3')
    compileOnly('org.projectlombok:lombok')
    annotationProcessor('org.projectlombok:lombok')
    testCompile('org.springframework.boot:spring-boot-starter-test')
重新gradle build,构建成功。
以上是关于使用Nexus 3.x搭建Maven私服并部署Gradle仓库的主要内容,如果未能解决你的问题,请参考以下文章