elk,centos7,filebeat,elasticsearch-head集成搭建
Posted Jt00
tags:
篇首语:本文由小常识网(cha138.com)小编为大家整理,主要介绍了elk,centos7,filebeat,elasticsearch-head集成搭建相关的知识,希望对你有一定的参考价值。
1.安装
elasticsearch-5.2.2.tar.gz
cd elasticsearch-5.2.2/bin
./elasticsearch -Ecluster.name=my_cluster_name -Enode.name=my_node_name
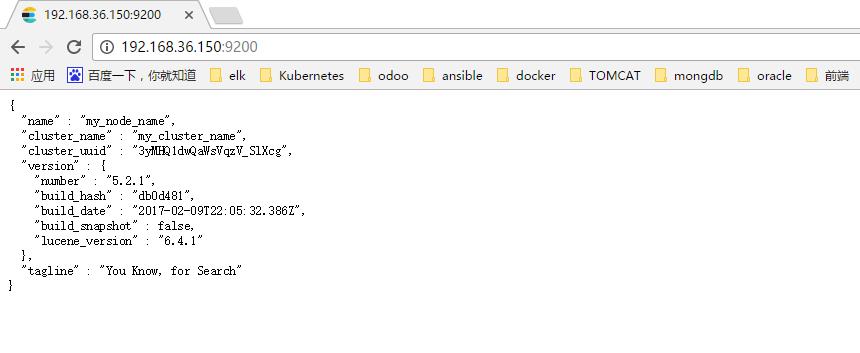
2.健康检测:
启动kibana:
然后访问这个地址:http://192.168.36.150:5601/app/kibana#/dev_tools/console?load_from=https:%2F%2Fwww.elastic.co%2Fguide%2Fen%2Felasticsearch%2Freference%2F5.2%2Fsnippets%2F_cluster_health%2F1.json&_g=()

GET /_cat/health?v
GET /_cat/nodes?v
运行即可!!!!
fuAz2ib8fnTjTY4PcsQoCbHA
http://192.168.36.150:5601/status#?_g=()
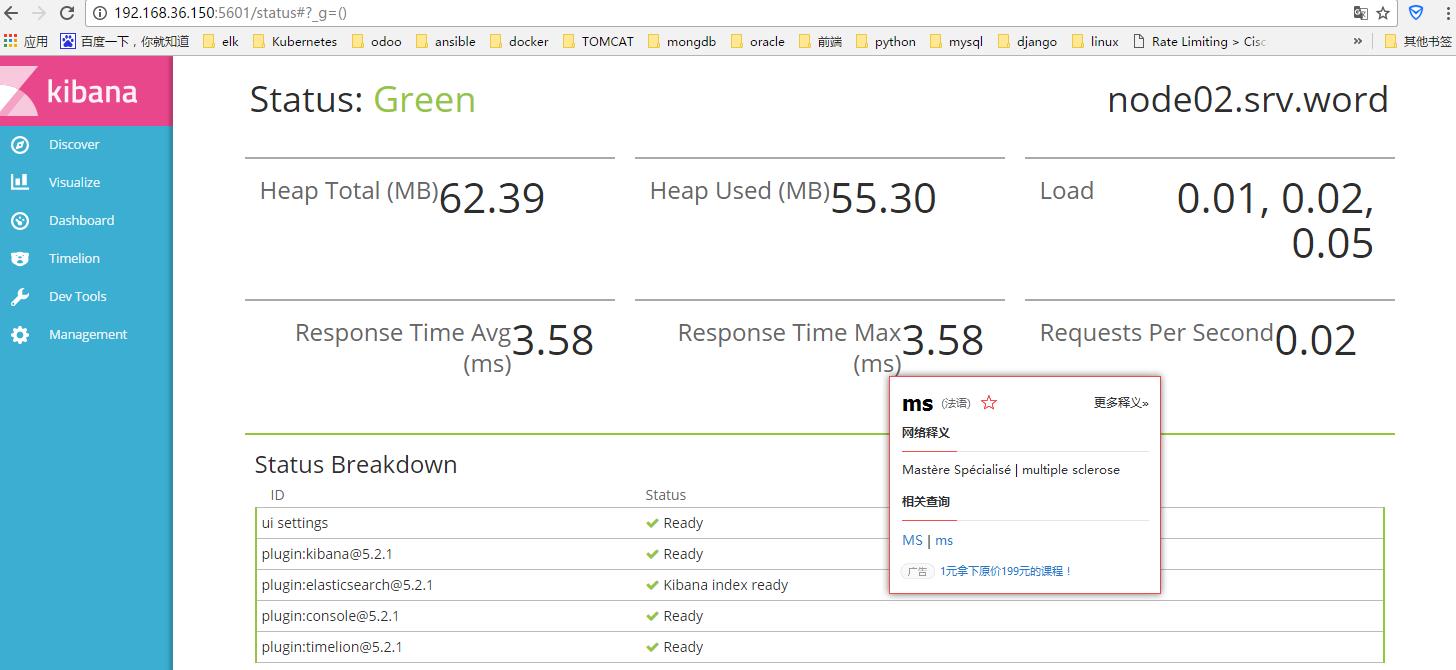
kibana成功!!!!
4.logstash
vi first-pipeline.conf
input {
beats {
port => 5043
# ssl => true
# ssl_certificate => "/etc/pki/tls/certs/logstash-forwarder.crt"
# ssl_key => "/etc/pki/tls/private/logstash-forwarder.key"
}
}
filter {
if [type] == "syslog" {
grok {
match => { "message" => "%{SYSLOGTIMESTAMP:syslog_timestamp} %{SYSLOGHOST:syslog_hostname} %{DATA:syslog_program}(?:\\[%{POSINT:syslog_pid}\\])?: %{GREEDYDATA:syslog_message}" }
add_field => [ "received_at", "%{@timestamp}" ]
add_field => [ "received_from", "%{host}" ]
}
syslog_pri { }
date {
match => [ "syslog_timestamp", "MMM d HH:mm:ss", "MMM dd HH:mm:ss" ]
}
}
}
output {
elasticsearch {
hosts => ["192.168.36.150:9200"]
sniffing => true
manage_template => false
index => "%{[@metadata][beat]}-%{+YYYY.MM.dd}"
document_type => "%{[@metadata][type]}"
}
}
bin/logstash -f first-pipeline.conf --config.test_and_exit 测试
bin/logstash -f first-pipeline.conf --config.reload.automatic 自动运行
5.filebeat
[root@node01 ~]# cat /etc/filebeat/filebeat.yml
#filebeat.prospectors:
#- input_type: log
# paths:
# - /root/logstash-tutorial.log
#output.logstash:
# hosts: ["192.168.36.150:5043"]
filebeat.prospectors:
- input_type: log
paths:
- /var/log/secure
- /var/log/messages
# - /var/log/*.log
fields:
type: syslog
output.logstash:
hosts: ["192.168.36.150:5043"]
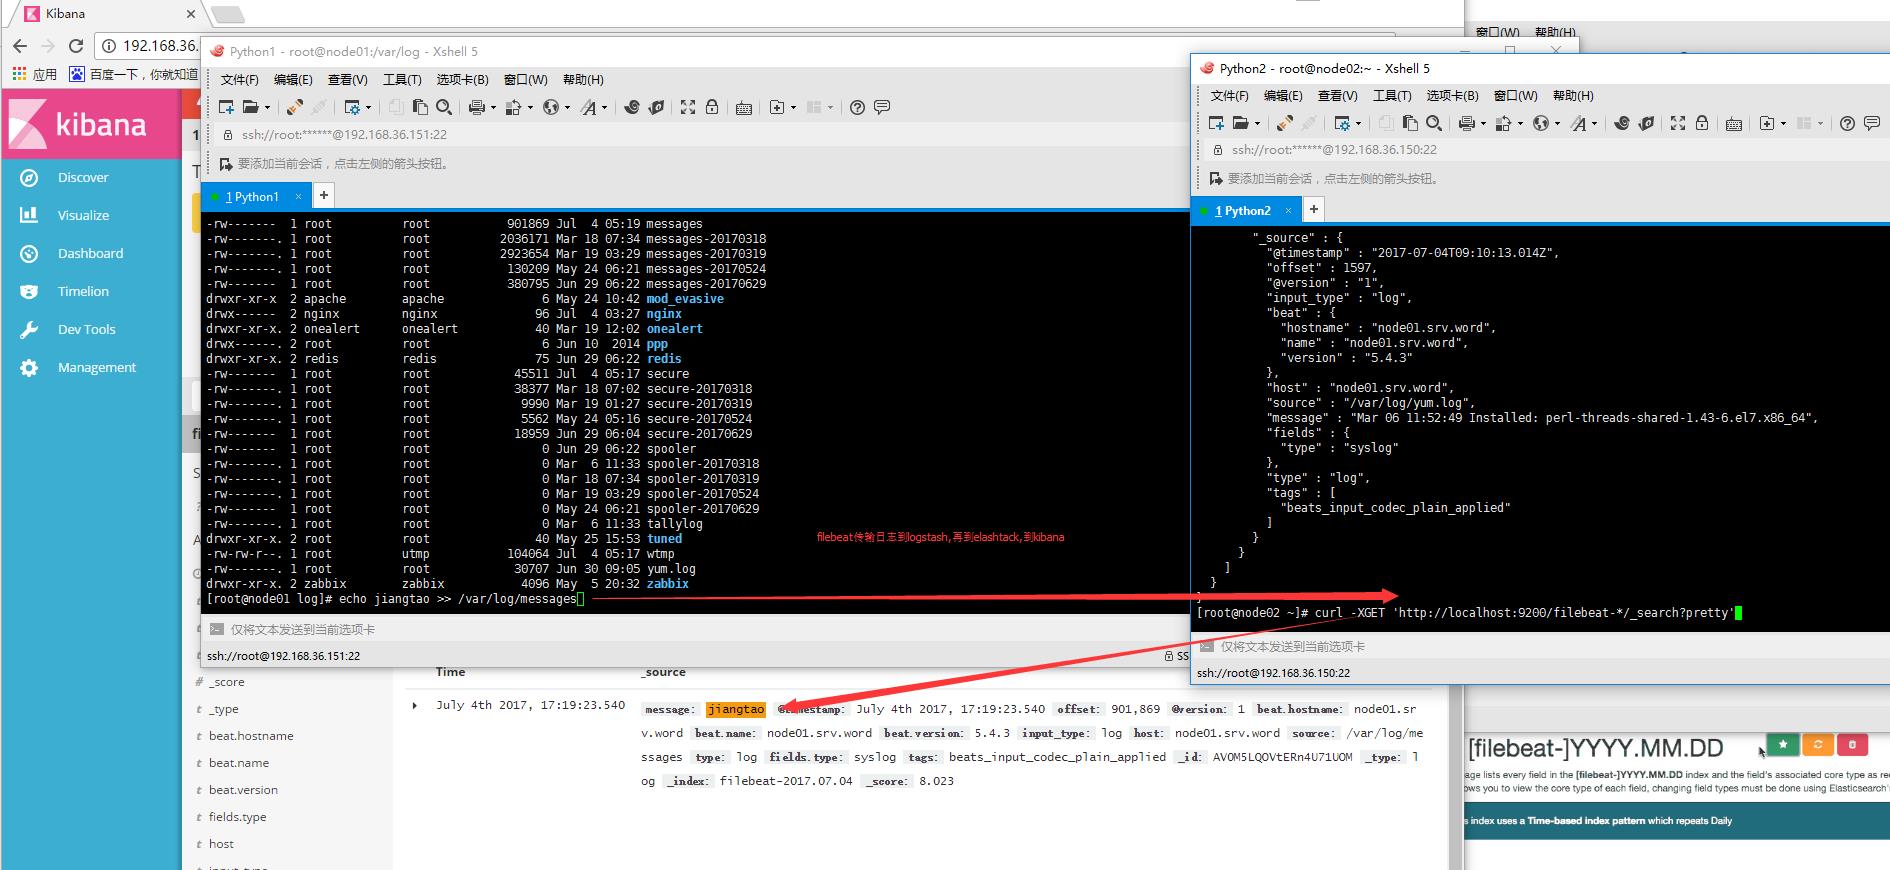
filebeat.sh -e -c /etc/filebeat/filebeat.yml -d "publish" 启动
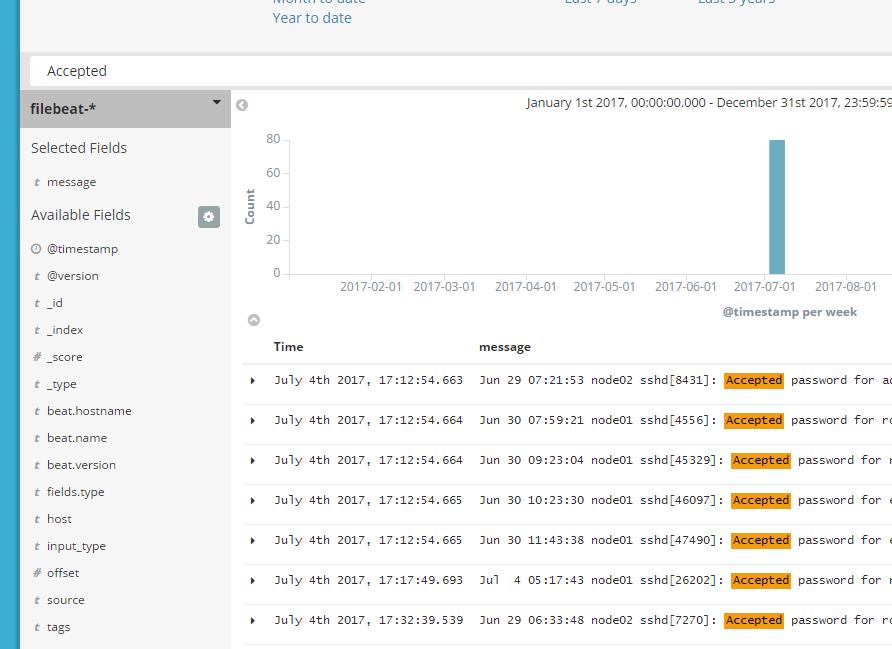
6.最后kibana成功展示:
7.最后装个插件 Elasticsearch-head:
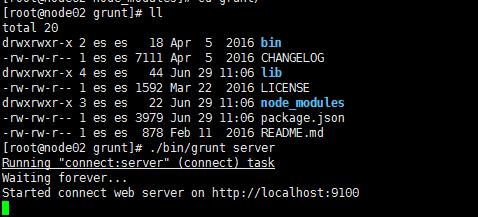
页面显示:
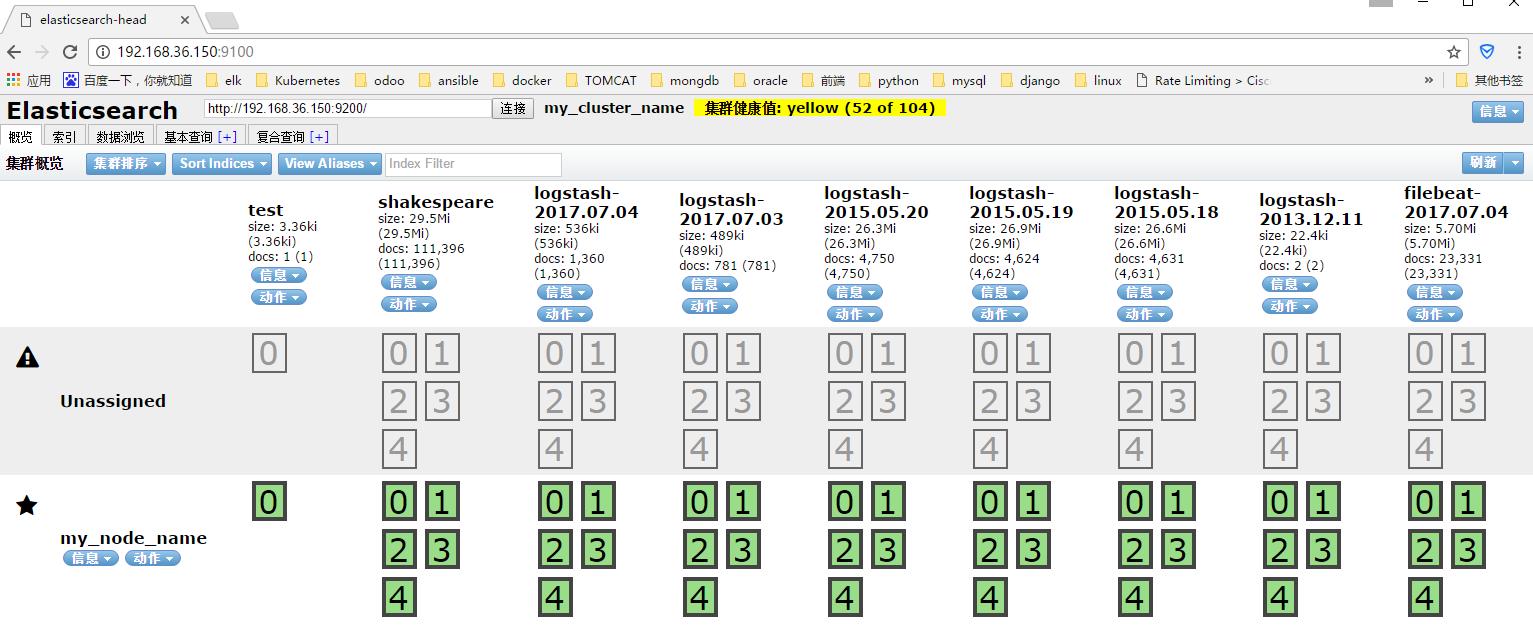
不管怎么说,花了几天时间跑通了,剩下的就是慢慢摸索了,稍后再来一次,并记录详细步骤!
以上是关于elk,centos7,filebeat,elasticsearch-head集成搭建的主要内容,如果未能解决你的问题,请参考以下文章