Mac 终端定制(iTerm2 + oh-my-zsh + Powerline + solarized + agnoster)
Posted 老周聊架构
tags:
篇首语:本文由小常识网(cha138.com)小编为大家整理,主要介绍了Mac 终端定制(iTerm2 + oh-my-zsh + Powerline + solarized + agnoster)相关的知识,希望对你有一定的参考价值。
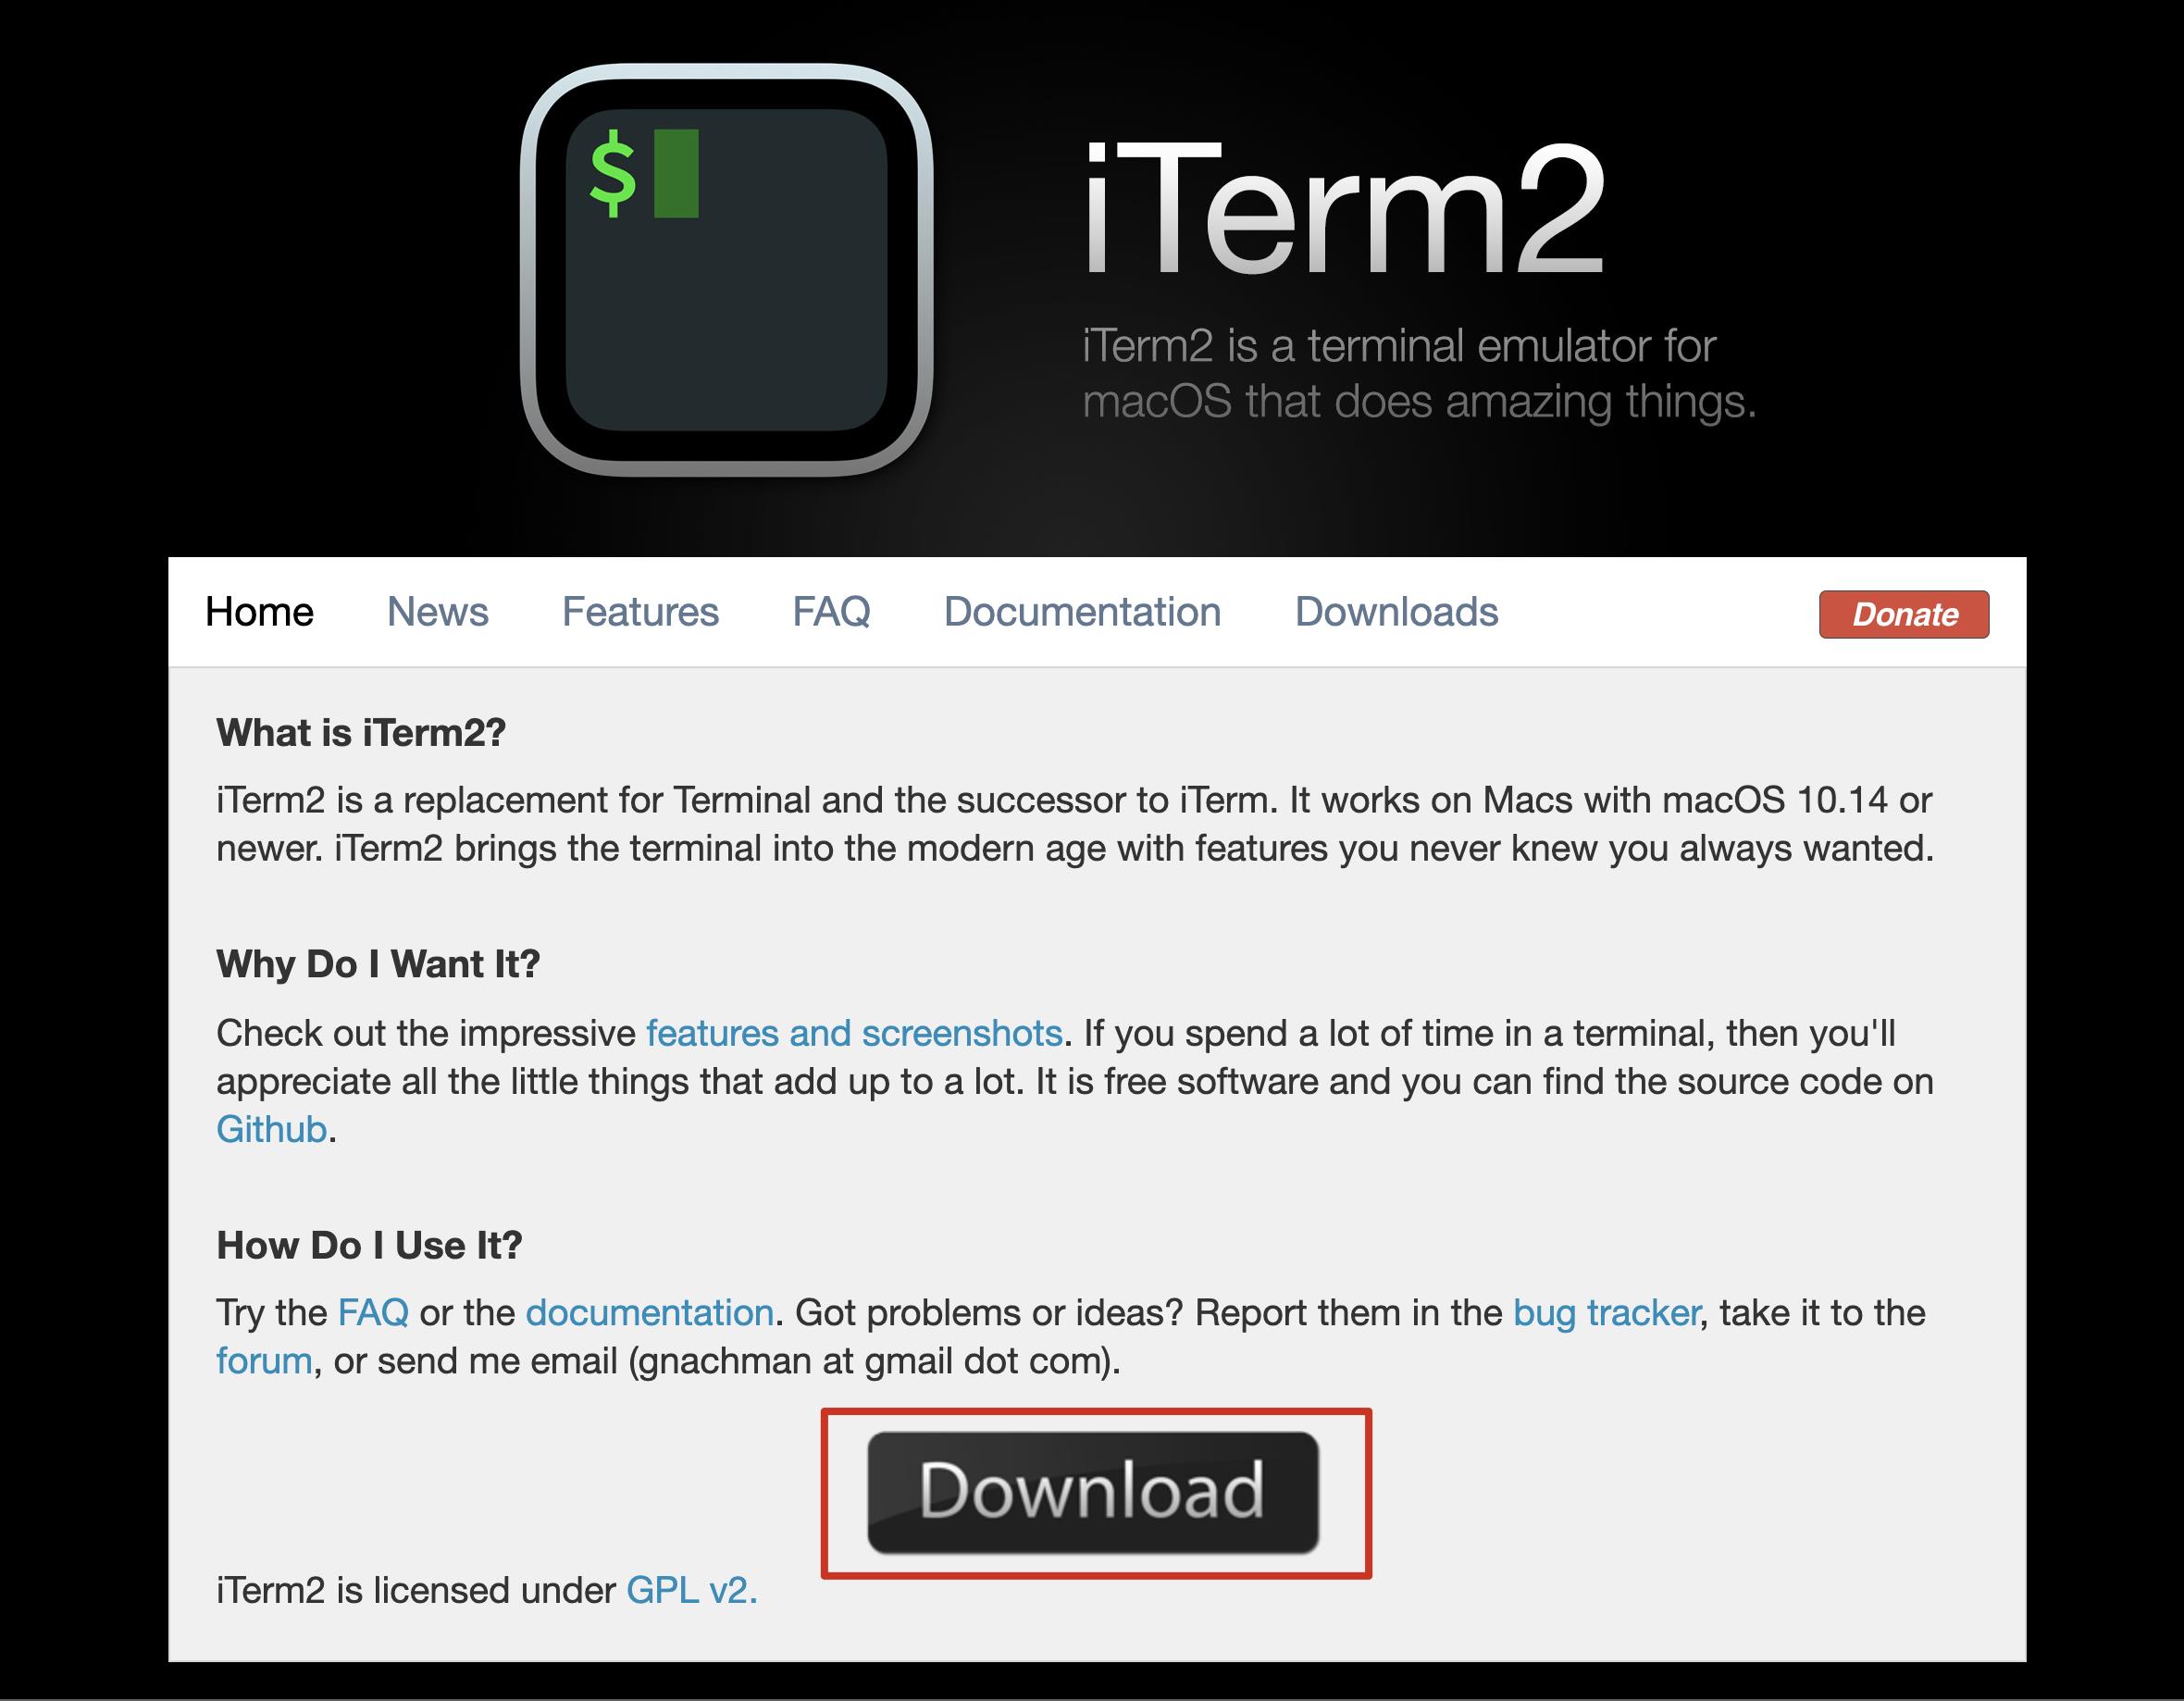
一、安装 iTerm2
二、安装 oh-my-zsh
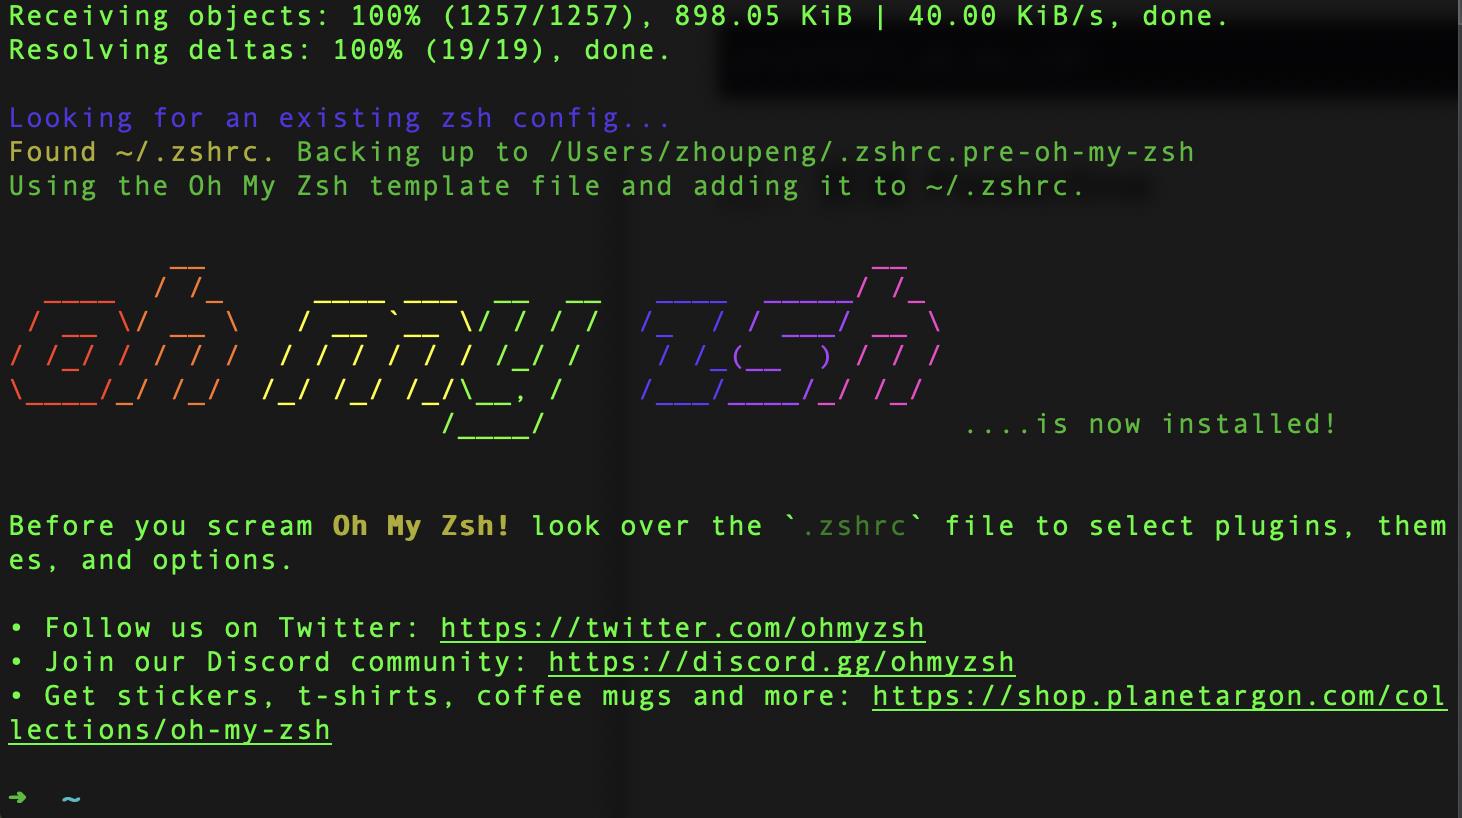
2.1 安装
sh -c "$(curl -fsSL https://raw.github.com/robbyrussell/oh-my-zsh/master/tools/install.sh)"
2.2 卸载
uninstall_oh_my_zsh
oh-my-zsh 安装成功效果图:
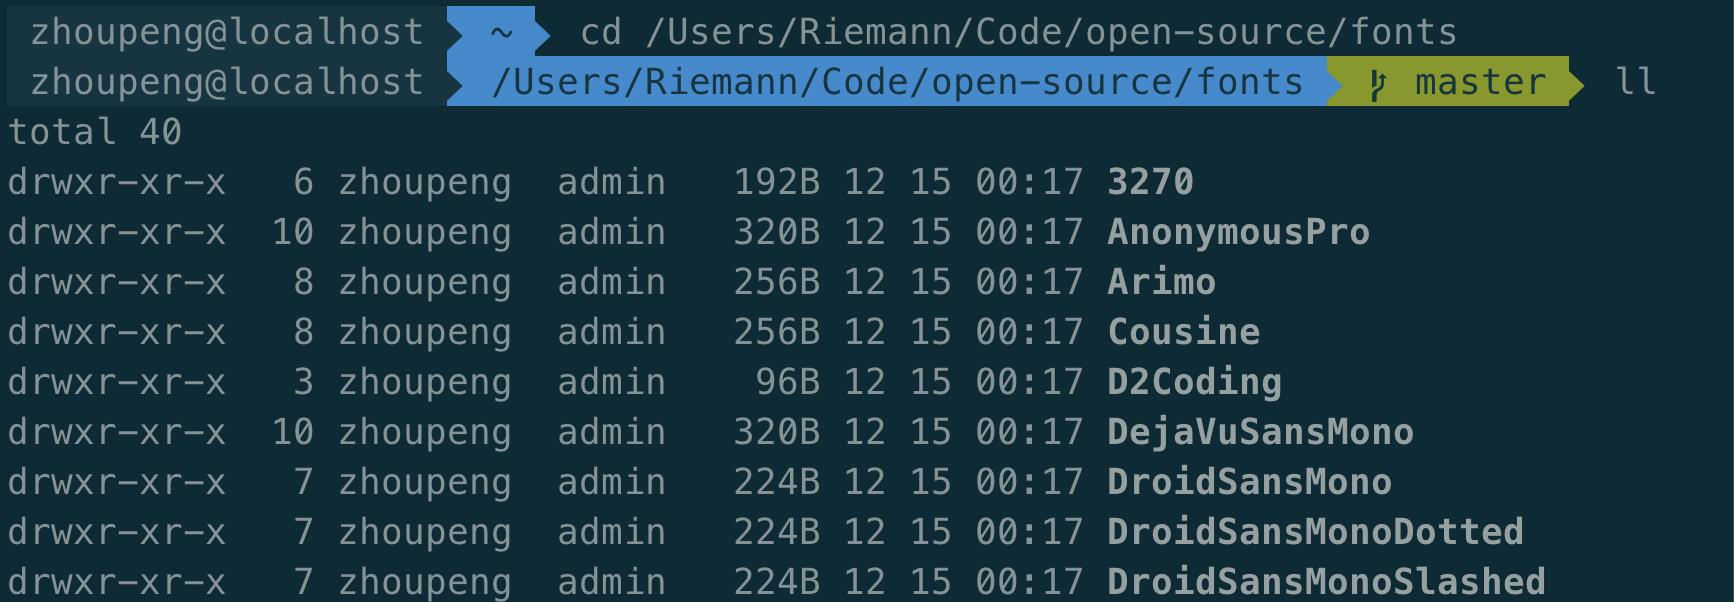
三、安装 Powerline 字体库
git clone git@github.com:powerline/fonts.git
cd fonts
./install.sh
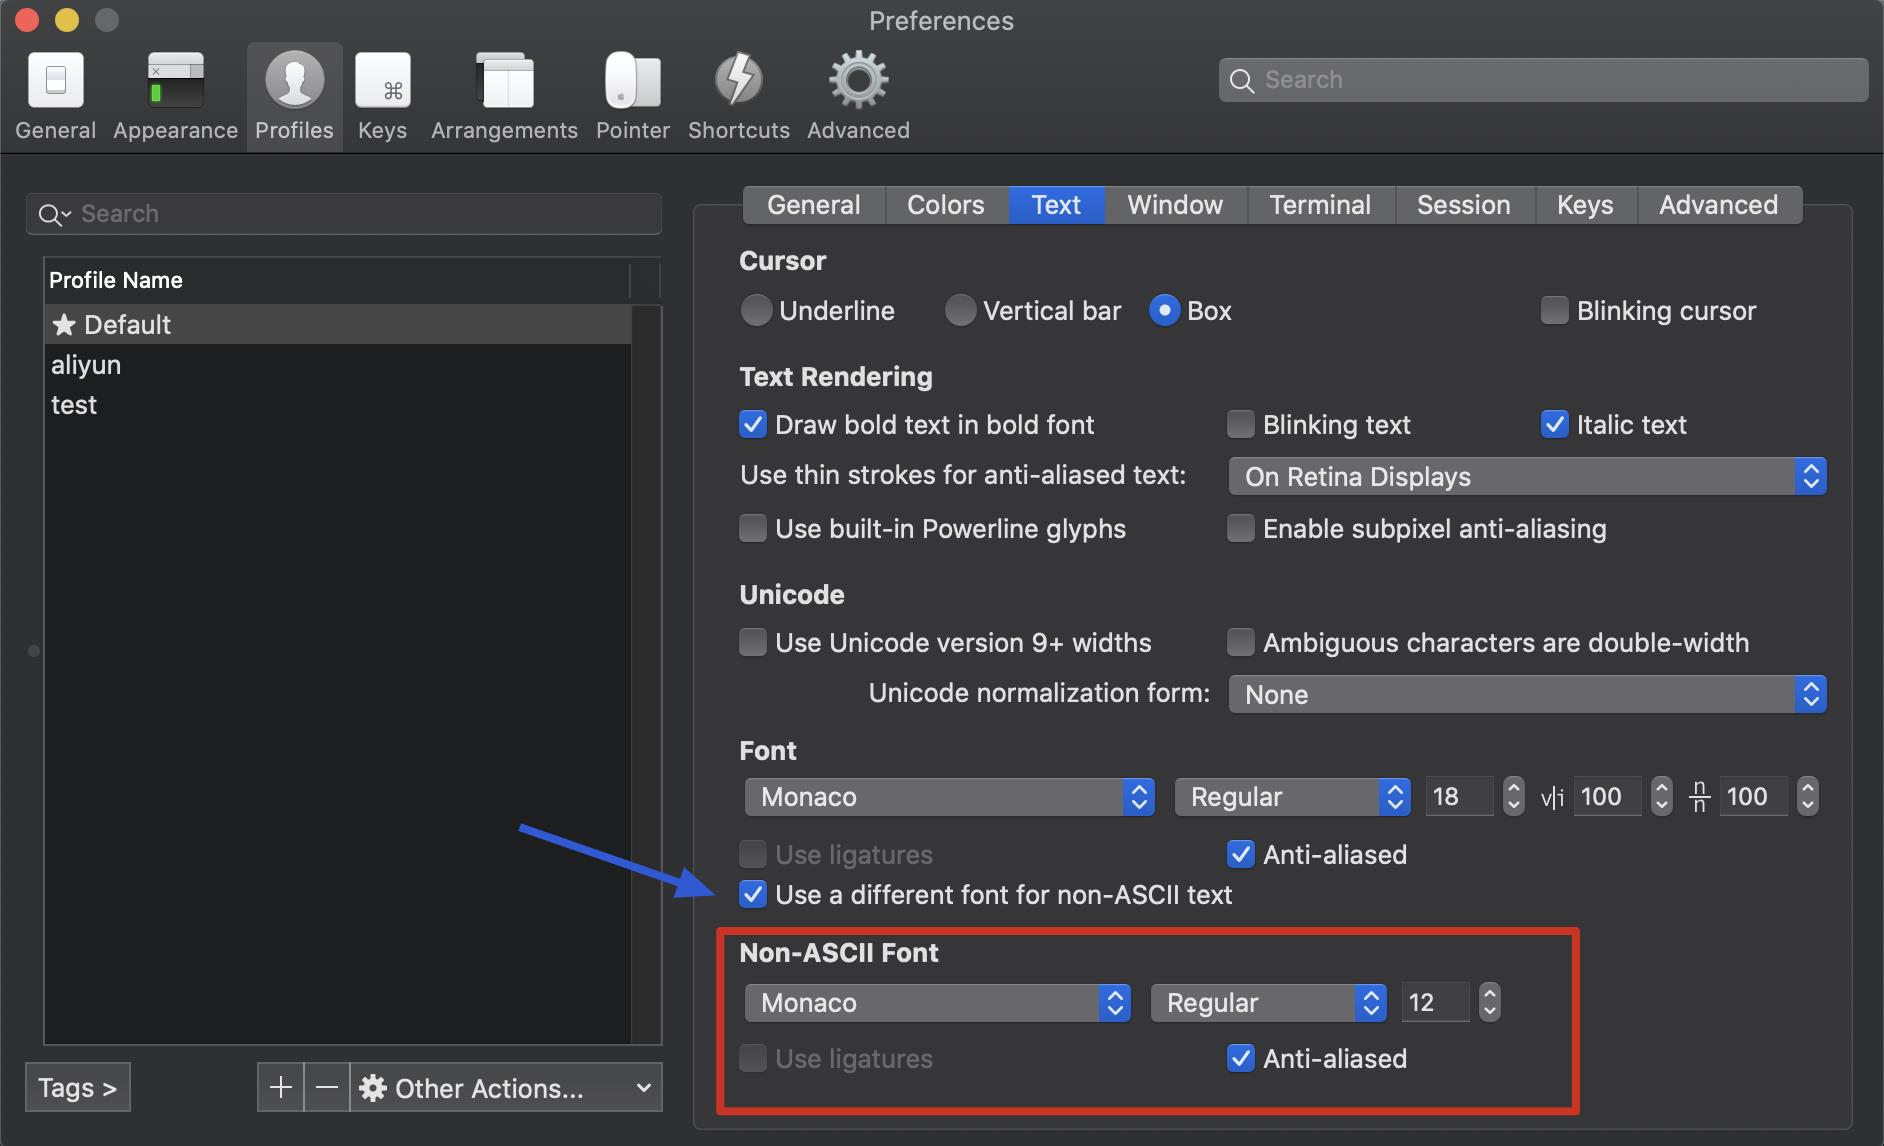
配置 iTerm2:(iTerm2>Preferences>Profiles>Text>Change Font),如下图:
如果没有发现红色框的 Non-ASCII Font,先在蓝色箭头所指的地方打钩,然后再重启。
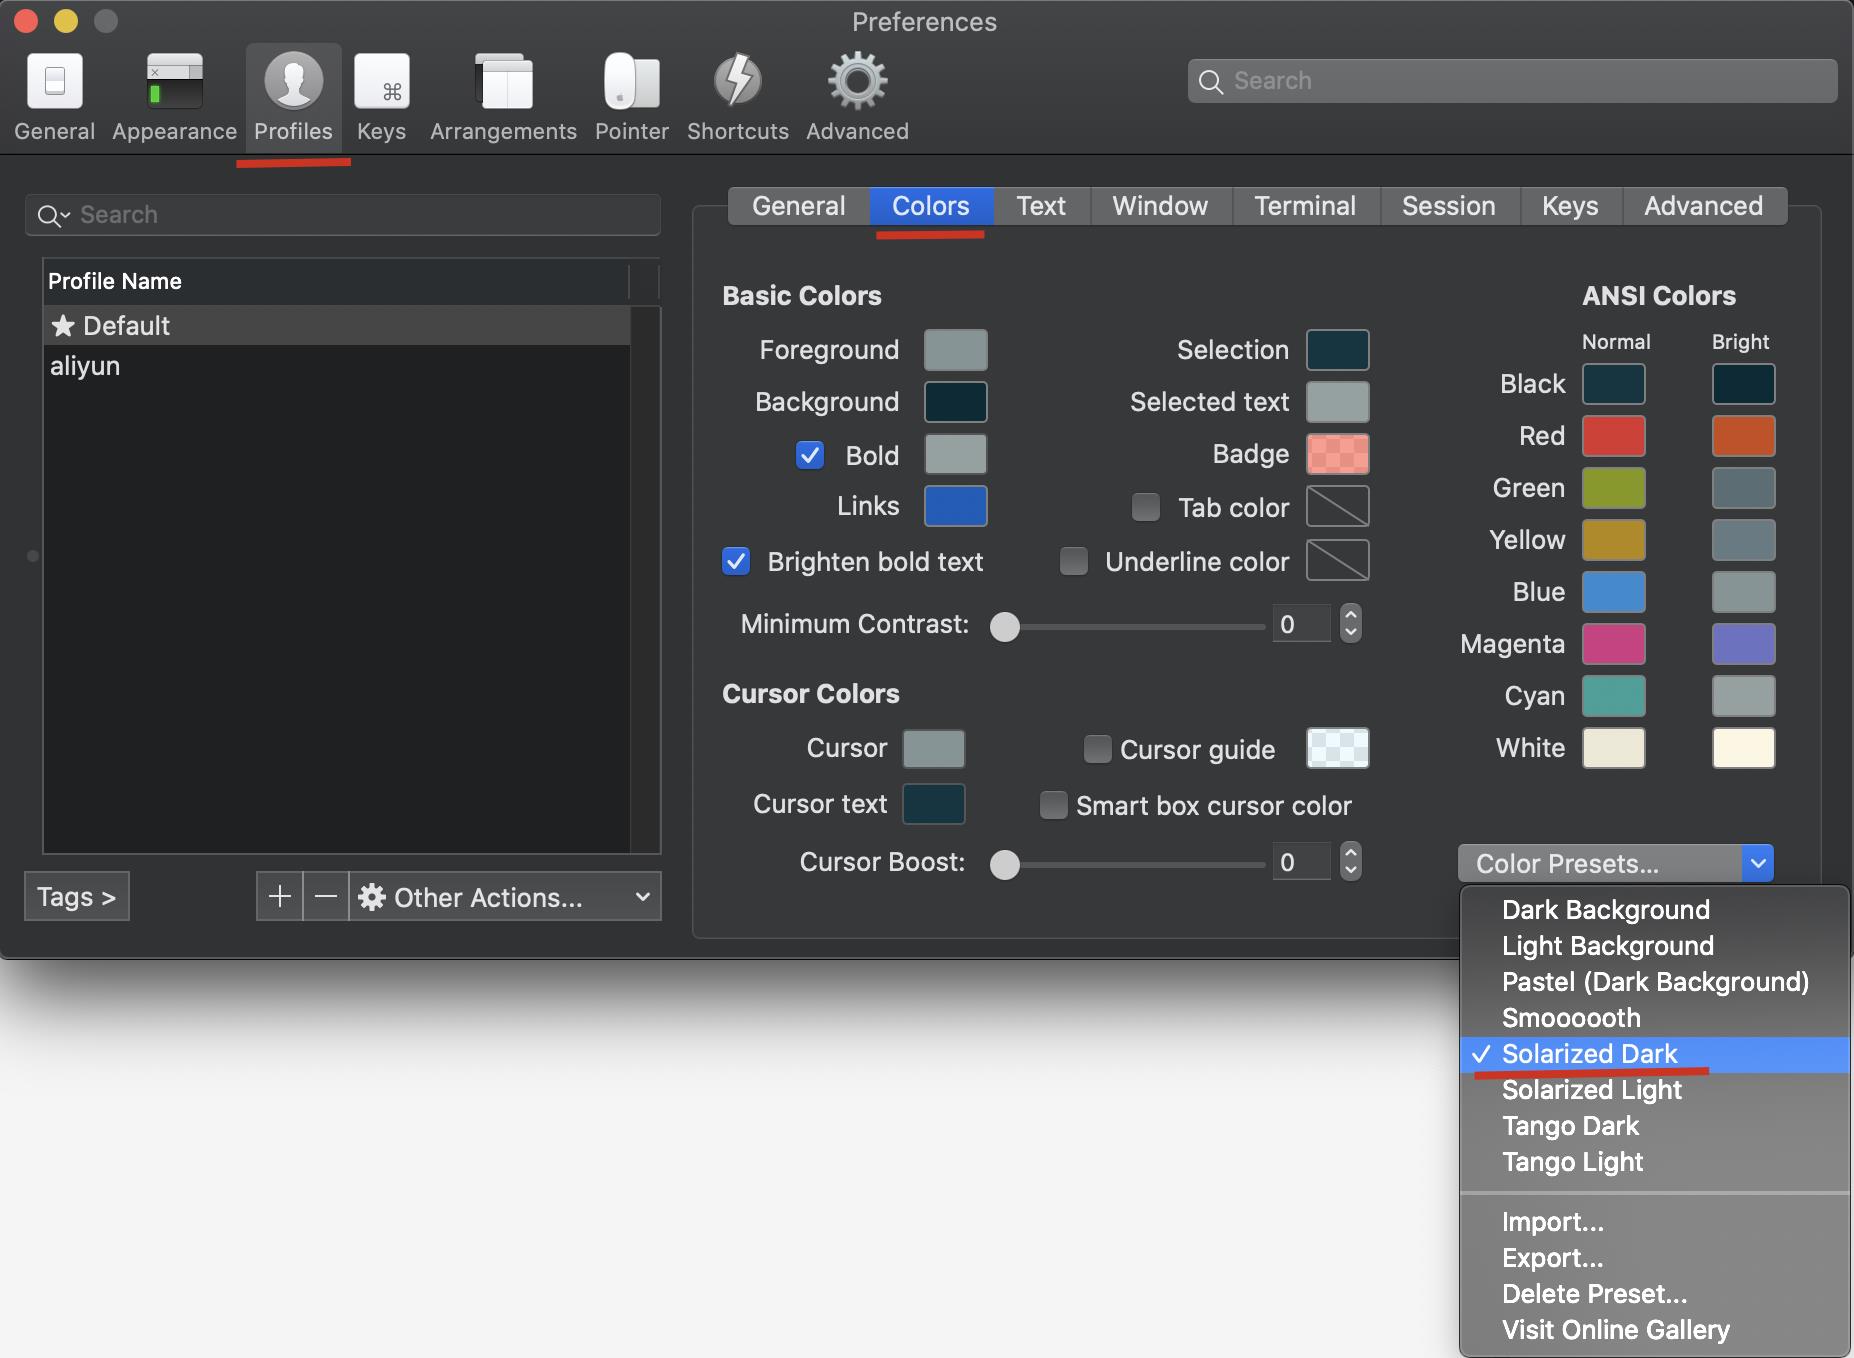
四、安装 solarized 配色方案
在下图中所指的地方直接选择就行
五、安装 agnoster 主题
oh-my-zsh 已经内置该主题,不用再单独下载了,直接配置就行了。
进入根目录
用 vim 编辑器打开隐藏文件 .zshrc,将 ZSH_THEME 后面字段改为 agnoster。
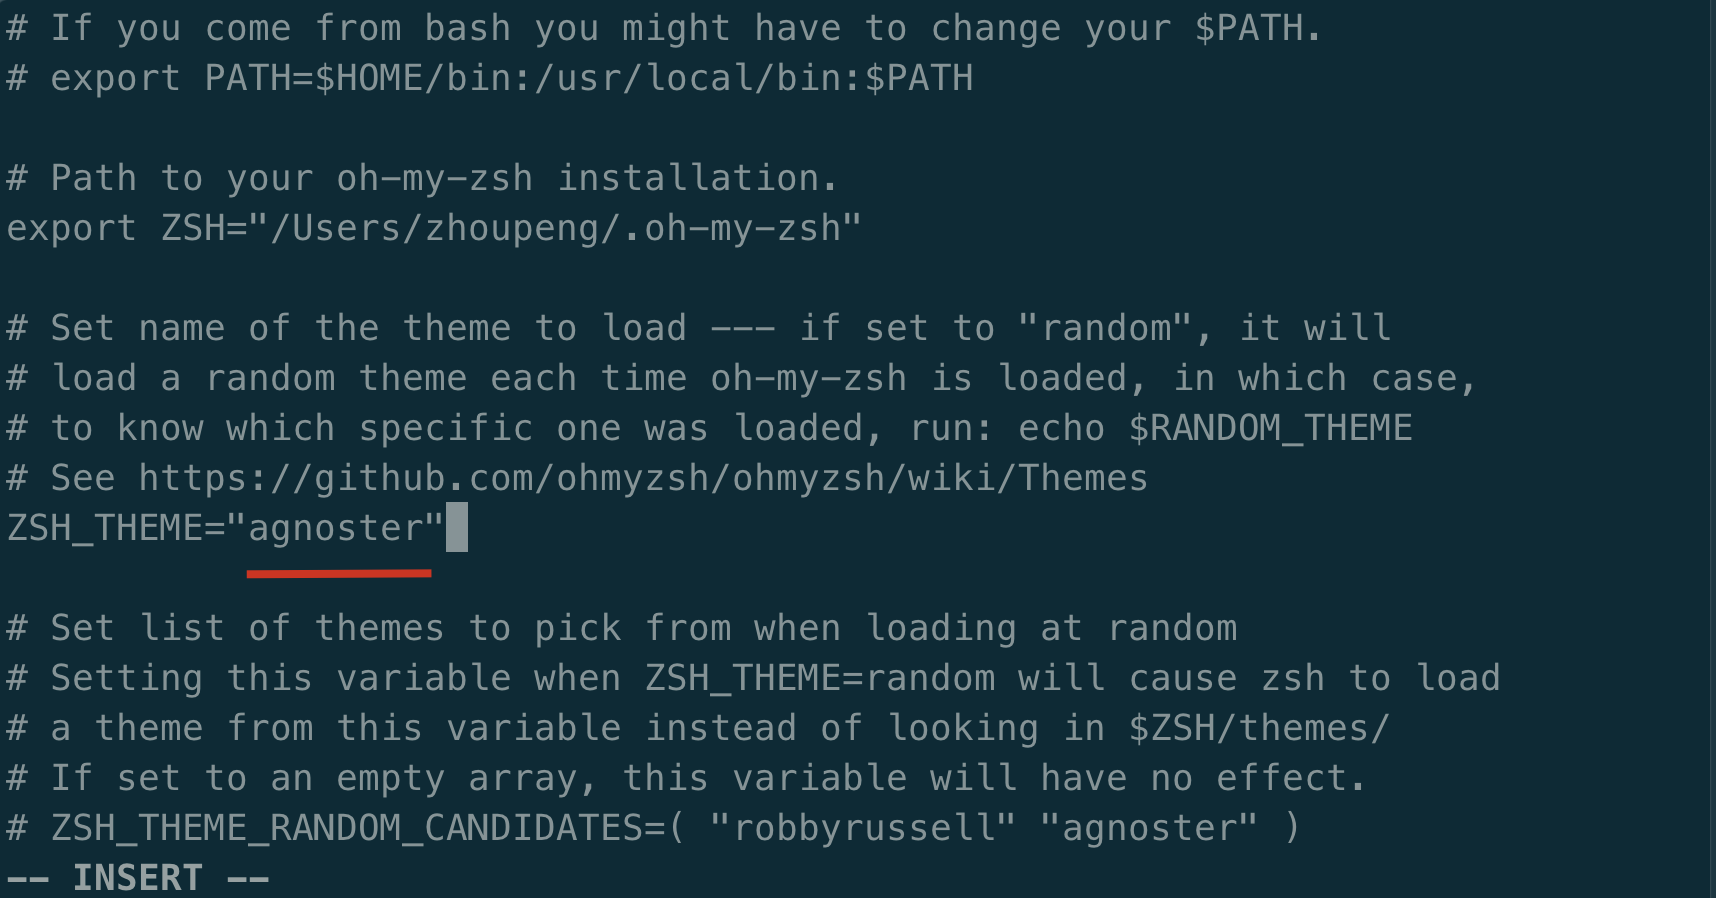
更改完成后执行下面的命令:
source ~/.zshrc
效果如下:
六、设置语法高亮
-
直接使用
homebrew安装zsh-syntax-highlighting插件brew install zsh-syntax-highlighting -
然后在根目录下
.zshrc中插入下面内容source /usr/local/share/zsh-syntax-highlighting/zsh-syntax-highlighting.zsh -
在
.zshrc中插入下面内容plugins=( git zsh-syntax-highlighting )
七、隐藏名字和主机名
这个名字是不是不太想暴露出来?没关系,下面可以把它隐藏起来。我这里直接设置成 🍺,你可以设置空或者其它的。
-
进入主题目录
cd ~/.oh-my-zsh/themes -
打开
agnoster主题,按红框里面的编辑保存完退出就好了vim agnoster.zsh-theme source agnoster.zsh-theme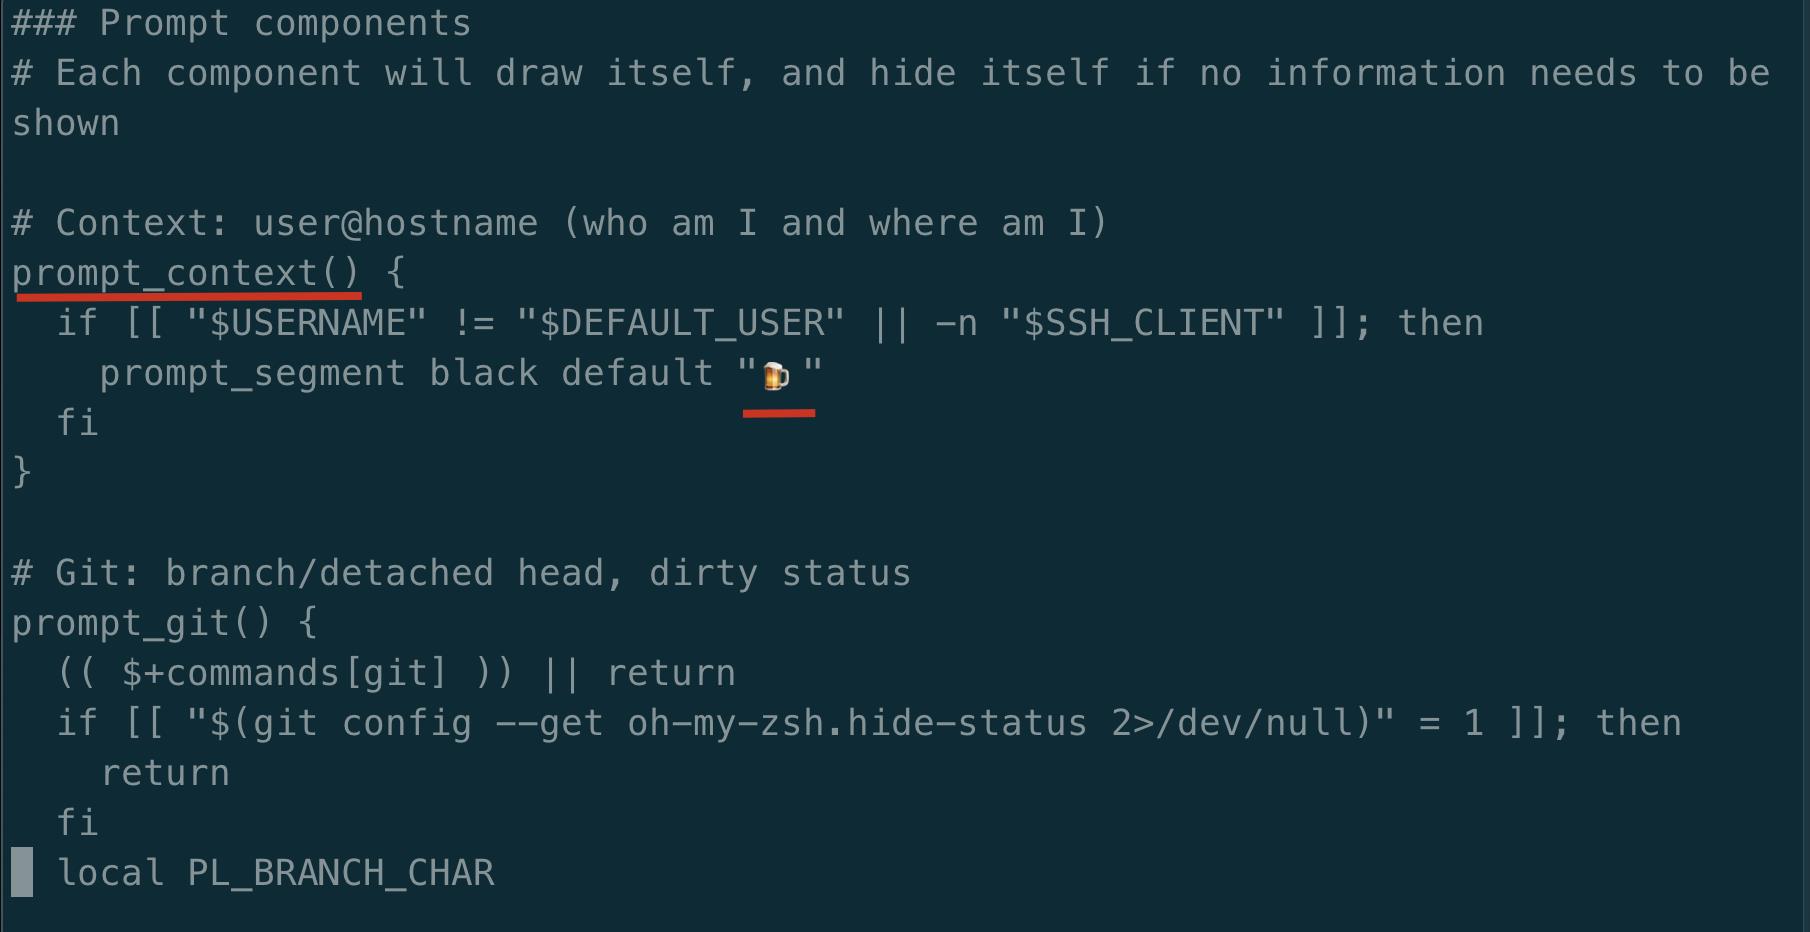

ok,搞定,希望对你有帮助。
以上是关于Mac 终端定制(iTerm2 + oh-my-zsh + Powerline + solarized + agnoster)的主要内容,如果未能解决你的问题,请参考以下文章
Mac 终端定制(iTerm2 + oh-my-zsh + Powerline + solarized + agnoster)
Mac 终端定制(iTerm2 + oh-my-zsh + Powerline + solarized + agnoster)