vue3.x源码剖析之初始化过程
Posted 天上的星星不让我说话
tags:
篇首语:本文由小常识网(cha138.com)小编为大家整理,主要介绍了vue3.x源码剖析之初始化过程相关的知识,希望对你有一定的参考价值。
前言
vue3.x比vue2.x在很多方面都优于vue2.x,比如vue3.x的可扩展性;下面我们一起学习一下vue3.x源码的初始化过程
测试代码
<div id="app">
  title
  <comp></comp>
</div>

<script src="../dist/vue.global.js"></script>
<script>
  // vue3里面没有全局api了,都是一些实例的方法
  // createApp() => mount() => render() =>patch(判断一开始初始化的结果存不存在,然后有两条路线要走) => processComponent() =>mountComponet():整个大致的流程;
  // createRenderer
  const  createApp  = Vue
  createApp(
    data()
      return
        title: '如果太晚了,就看看电视睡了吧'

    ,
  )
  .component('comp',
    template: '<div>comp</div>'
  )
  .mount('#app')
</script>
正文
打断点,ready go
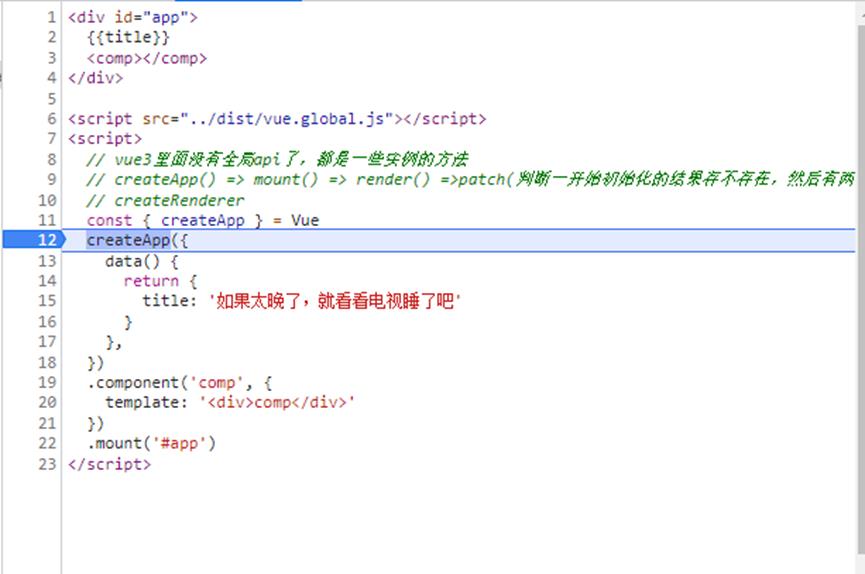
进入渲染器,创建实例,进去之后会得到应用程序的实例,没有的话就创建一个;
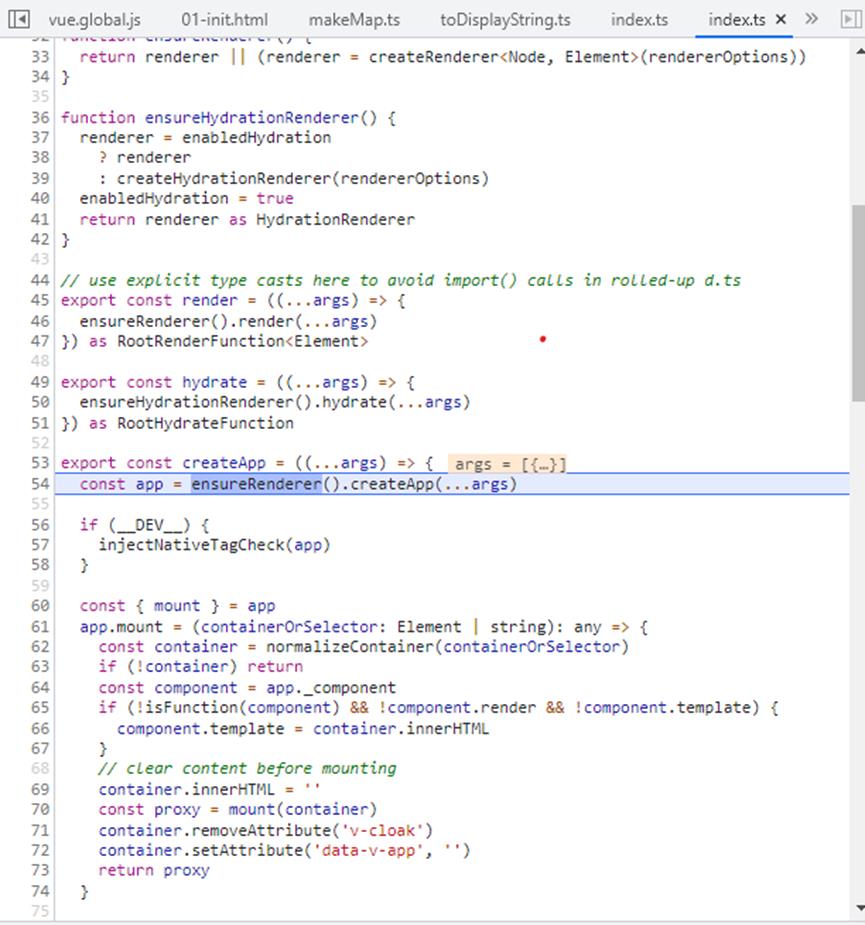
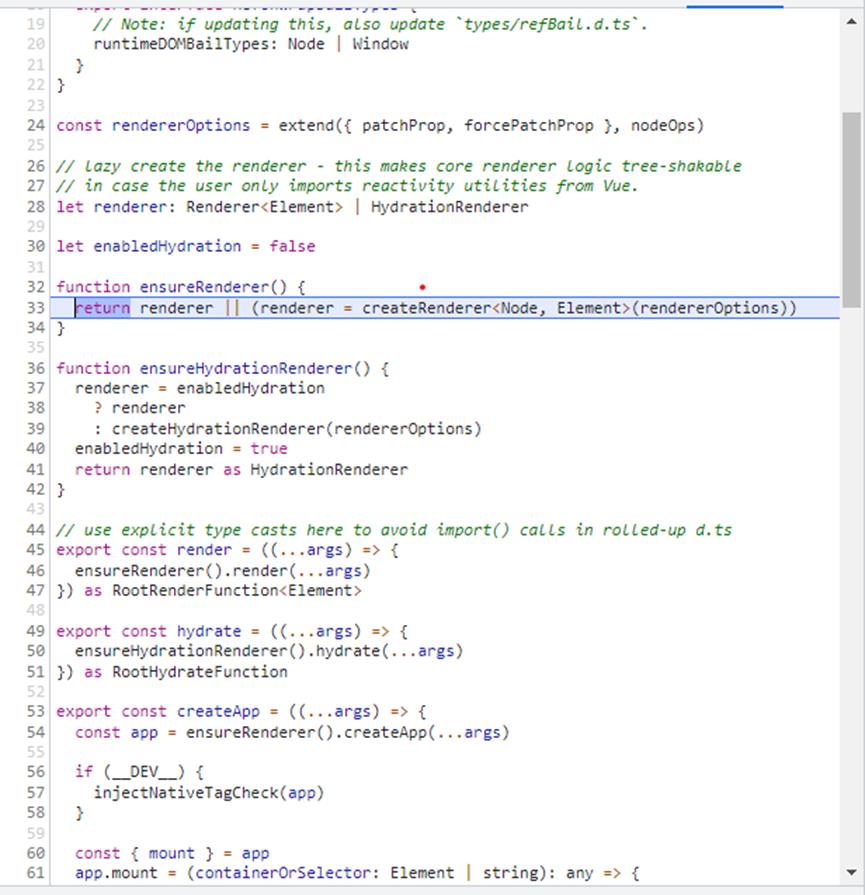
进入到createAppAPI,这个方法很复杂,但是是初始化的核心方法;创建根组件实例,根组件实例就是data里面的内容,再往下走会创建应用程序的上下文并保存状态;
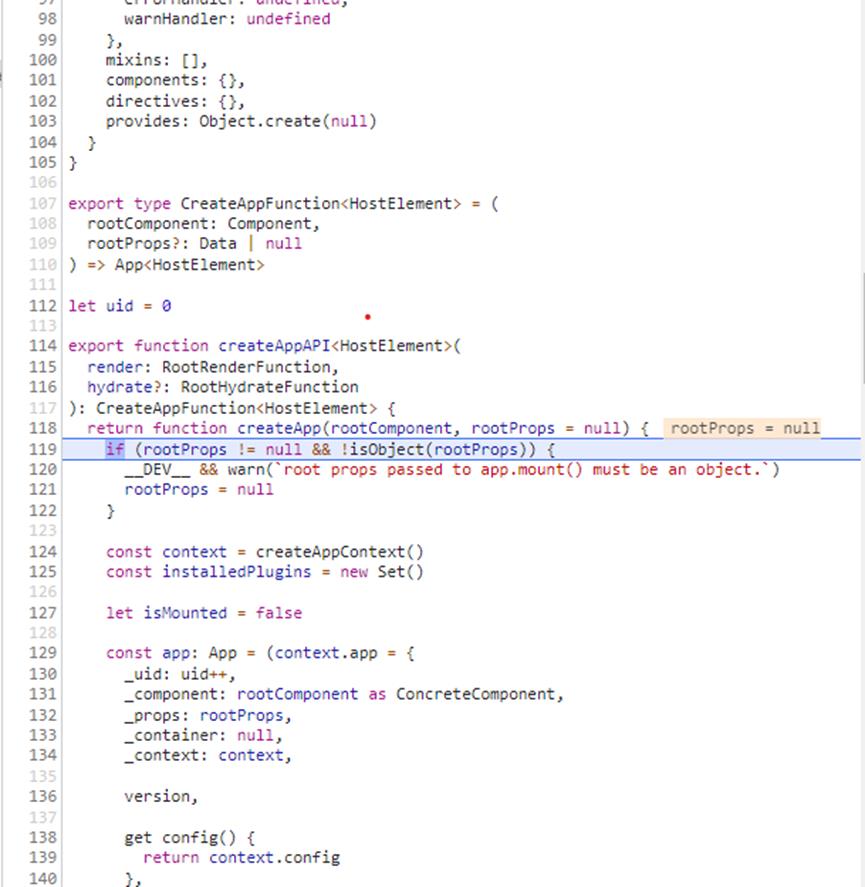
在这里可以看到,在这里面可以看到创建一个对象,这个实例里面有很多属性以及方法;
const app: App = (context.app =
      _uid: uid++,
      _component: rootComponent as ConcreteComponent,
      _props: rootProps,
      _container: null,
      _context: context,
往下看会看到以下的方法,这里面挂载实例方法,在vue3里面全部变成了实例方法,不存在静态方法,也不存在全局方法,这样的好处是按需加载,这样写的代码就不会死,我们最后输出的包也会变小。继续往下看会发现vue3.0里面的filter方法被遗弃了。
 use(plugin: Plugin, ...options: any[])
        if (installedPlugins.has(plugin))
          __DEV__ && warn(`Plugin has already been applied to target app.`)
         else if (plugin && isFunction(plugin.install))
          installedPlugins.add(plugin)
          plugin.install(app, ...options)
         else if (isFunction(plugin))
          installedPlugins.add(plugin)
          plugin(app, ...options)
         else if (__DEV__)
          warn(
            `A plugin must either be a function or an object with an "install" ` +
              `function.`
                       else if (isFunction(plugin))
          installedPlugins.add(plugin)
          plugin(app, ...options)
         else if (__DEV__)
          warn(
            `A plugin must either be a function or an object with an "install" ` +
              `function.`
          )

        return app
      ,
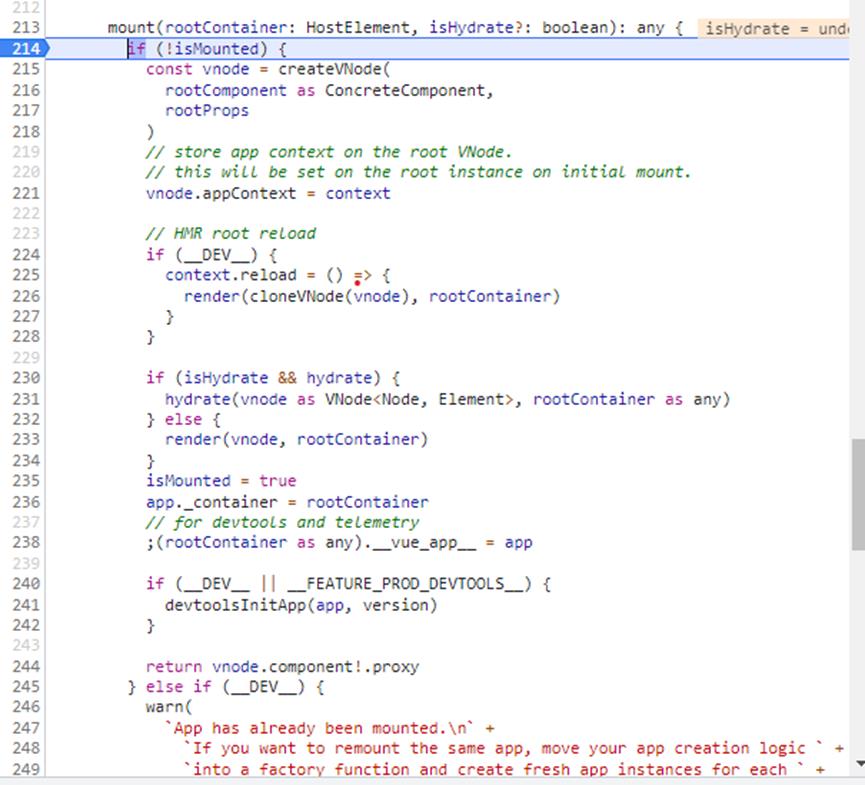
在214行打断点看挂载过程,
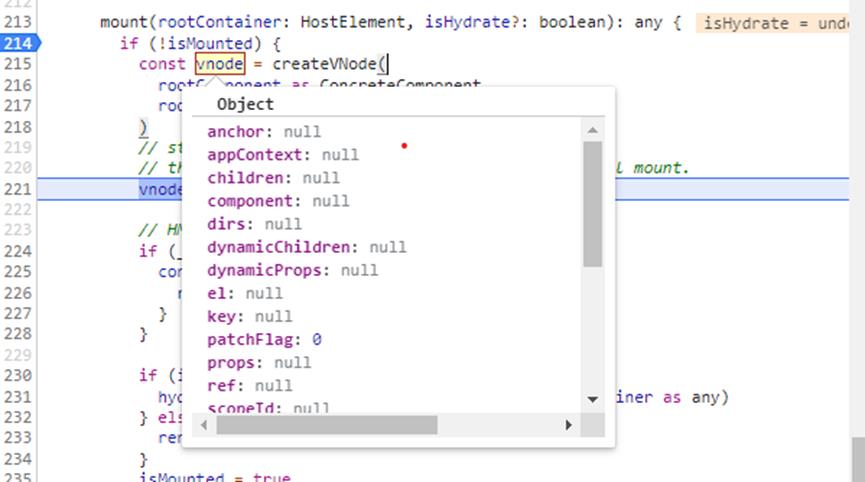
查看虚拟节点,会发现和以前很多不一样的地方,这里不一一深究了。
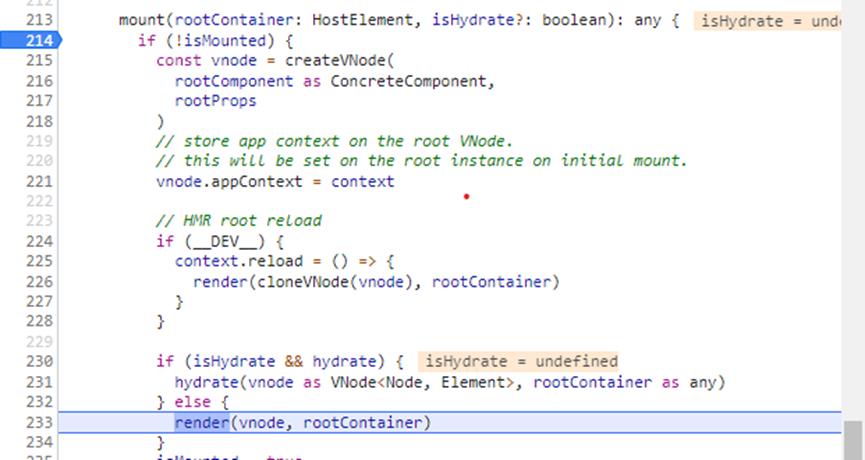
执行到233行的时候,这一个方法的作用是将虚拟节点挂载到真实的dom上面;
进入语句,会出现渲染传入vnode,到指定容器中,这个就是用来做渲染器的,如果想重新写一个平台的代码的话可以直接重写这个代码,这个就相当于给第三方提供了一个很好的接口。
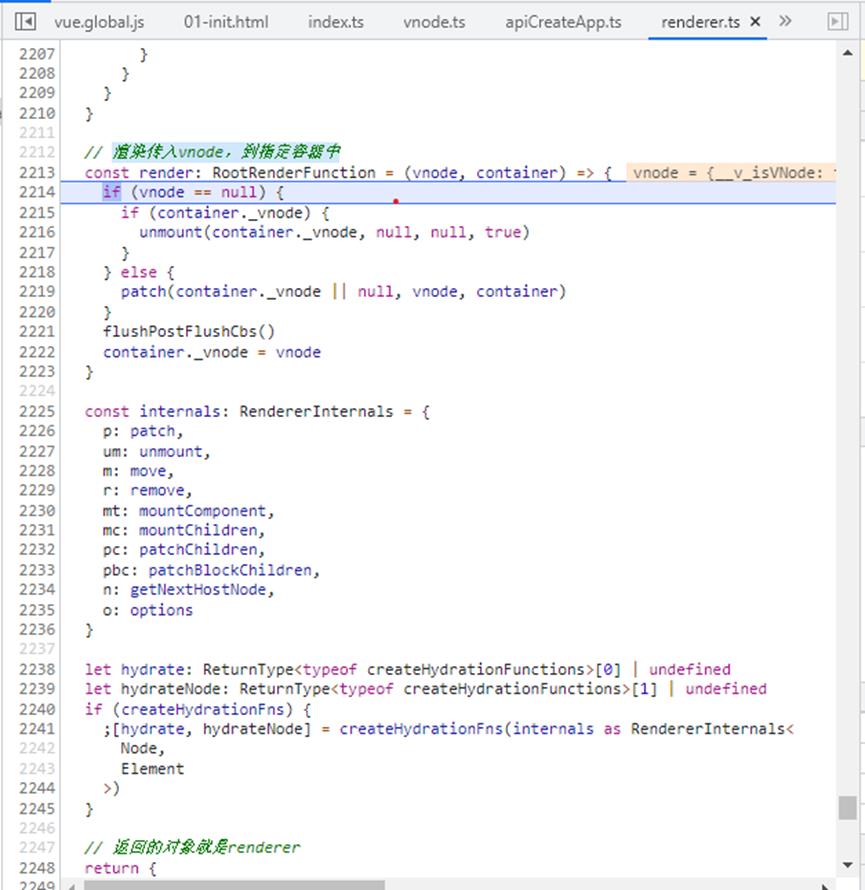
执行patch,如果之前有虚拟dom的话,就会执行大名鼎鼎的diff算法,没有的话就会直接创建虚拟dom;
const render: RootRenderFunction = (vnode, container) =>
    if (vnode == null)
      if (container._vnode)
        unmount(container._vnode, null, null, true)

     else
      patch(container._vnode || null, vnode, container)

    flushPostFlushCbs()
    container._vnode = vnode
继续往下执行,执行到469行的 switch,然后执行default;
const  type, ref, shapeFlag  = n2
    switch (type)
      case Text:
        processText(n1, n2, container, anchor)
        break
      case Comment:
        processCommentNode(n1, n2, container, anchor)
        break
      case Static:
        if (n1 == null)
          mountStaticNode(n2, container, anchor, isSVG)
         else if (__DEV__)
          patchStaticNode(n1, n2, container, isSVG)

        break
      case Fragment:
        processFragment(
          n1,
          n2,
          container,
          anchor,
          parentComponent,
          parentSuspense,
          isSVG,
          optimized
        )
        break
      default:
初始化流程的代码会执行下面几行代码
else if (shapeFlag & ShapeFlags.COMPONENT)
          // 初始化走这个
          processComponent(
            n1,
            n2,
            container,
            anchor,
            parentComponent,
            parentSuspense,
            isSVG,
            optimized
          )
进入语句,其中关键的步骤mountComponent(挂载组件的过程),初始化走挂载流程
  const processComponent = (
    n1: VNode | null,
    n2: VNode,
    container: RendererElement,
    anchor: RendererNode | null,
    parentComponent: ComponentInternalInstance | null,
    parentSuspense: SuspenseBoundary | null,
    isSVG: boolean,
    optimized: boolean
  ) =>
    if (n1 == null)
      if (n2.shapeFlag & ShapeFlags.COMPONENT_KEPT_ALIVE)
        ;(parentComponent!.ctx as KeepAliveContext).activate(
          n2,
          container,
          anchor,
          isSVG,
          optimized
        )
       else
        // 初始化走挂载流程
        mountComponent(
          n2,
          container,
          anchor,
          parentComponent,
          parentSuspense,
          isSVG,
          optimized
        )

     else
      updateComponent(n1, n2, optimized)
到这里,我们梳理一下大致的流程,核心的一些流程为createApp()=>mount()=>render=>patch()=>processComponent()=>mountComponent();
进入到mountComponent里面,会执行创建组件实例;如下代码所示;
    const instance: ComponentInternalInstance = (initialVNode.component = createComponentInstance(
      initialVNode,
      parentComponent,
      parentSuspense
))
查看instance,会发现里面有一些和以前不一样的地方,其中bc、bm、bu、bum为那些生命周期函数钩子的缩写,这里面有个ctx,以前vue2.x里面的实例实际上是vue3.x里面的ctx;
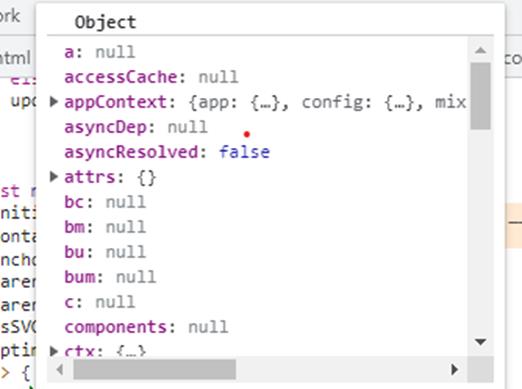
然后执行setupComponent(instance),安装实例,进入之后,会在代码里面看到会对属性、插槽做初始化,如果是状态形组件,代码会走setupStatefulComponent
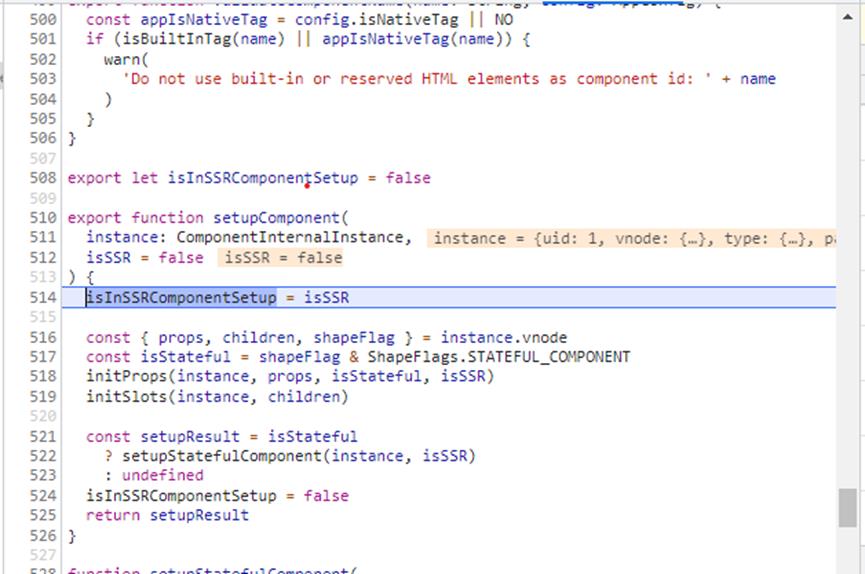
继续往下看,在这里面可以看到proxy,其中proxy做代理在这里面是响应式的,如果想实现响应式的话,不能在ctx里面去实现,应该考虑去用proxy实现;再往下面就是和组合式api相关的内容了,这里就不一一赘述了;
  instance.accessCache =
  // 1. create public instance / render proxy
  // also mark it raw so it's never observed
  instance.proxy = new Proxy(instance.ctx, PublicInstanceProxyHandlers)
  if (__DEV__)
    exposePropsOnRenderContext(instance)

  // 2. call setup()
  const  setup  = Component
  if (setup)
    const setupContext = (instance.setupContext =
      setup.length > 1 ? createSetupContext(instance) : null)

    currentInstance = instance
    pauseTracking()
    const setupResult = callWithErrorHandling(
      setup,
      instance,
      ErrorCodes.SETUP_FUNCTION,
      [__DEV__ ? shallowReadonly(instance.props) : instance.props, setupContext]
    )
    resetTracking()
    currentInstance = null
继续往下执行,执行依赖收集,这也是响应式里面很核心的一个内容,这里就不细看了;
  setupRenderEffect(
      instance,
      initialVNode,
      container,
      anchor,
      parentSuspense,
      isSVG,
      optimized
    )

    if (__DEV__)
      popWarningContext()
      endMeasure(instance, `mount`)
继续往下看,执行patch,初始化的时候没有旧的虚拟dom;执行完patch之后,整个程序就到此结束了;左面的效果也全部出来了;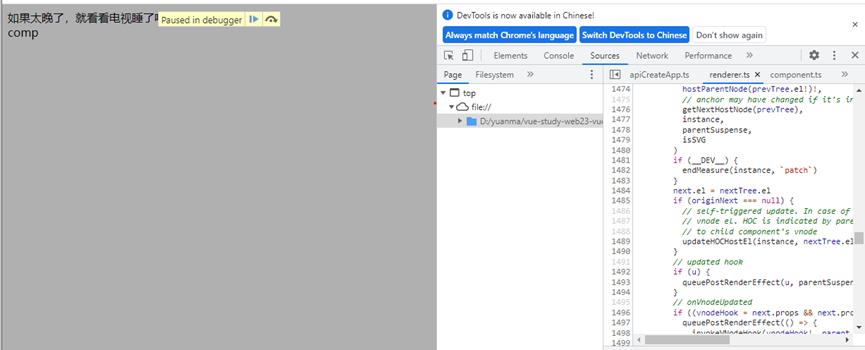

结尾
从初始化流程来看,vue3.x的源码和vue2.x源码大不相同,个人感觉相对复杂不少,很多地方都不一样,其中比较秒的地方就是vue3.x对外提供一个渲染器,也就相当于一个接口,扩展性大幅度提高。这样第三方就可以很巧妙的通过这个接口去搭建自己的平台,像uniapp以前必须要从头到尾去改vue的源码,但是现在uniapp可以通过这个接口来进行二次开发,可以节省很多的时间和精力。水平有限,如有不足,还请大佬多多指教。下次会补充初始化里面的组合式api的相关内容。
以上是关于vue3.x源码剖析之初始化过程的主要内容,如果未能解决你的问题,请参考以下文章