windows环境实现批量加密文件,并创建加密文件同名(不带后缀)的文件夹,然后把加密文件和图片和文本放入这个文件夹。
Posted chen.yu
tags:
篇首语:本文由小常识网(cha138.com)小编为大家整理,主要介绍了windows环境实现批量加密文件,并创建加密文件同名(不带后缀)的文件夹,然后把加密文件和图片和文本放入这个文件夹。相关的知识,希望对你有一定的参考价值。
1、 需求
我想把资源文件先加密成压缩文件,然后同时创建每个加密压缩文件同名的文件夹,同时需要把这个加密文件拷贝到这个同名的文件夹,然后还需要把一个图片和一个文本文档同时放进这个文件夹,然后在不加密压缩这个文件夹,上次这个资源到百度网盘。
2、思路
1)、windows环境用python来实现,能实现生成同名文件夹,然后拷贝文件的时候中文名的文件拷贝都文件夹有问题,估计是编码格式不对,对python不是很熟悉,然后放弃python来处理。
2)、用java来实现,遍历加密文件,然后创建同名(不带后缀)的文件夹,然后把这个加密文件拷贝到这个文件夹,然后删除加密文件,再拷贝图片和文本到这个加密文件夹。
3、具体代码实现过程
1)、批量加密文件
windows环境批量加密文件,我们在需要加密的文件目录新建1.bat文件,内容如下
for %%X in (*) do "C:\\Program Files\\7-Zip\\7z.exe" a "%%~dpnX.7z" "%%X" -pcch1233nxecc -mhe -mx=0注意这里-p后面是密码,这里的密码是cch1233nxecc,用户可以自己设置,点击1.bat就能加密批量压缩。
2)、把压缩成7z的文件手动拿出来,放到一个文件夹里面去,我放在这个目录
F:\\didi1\\all11_30\\C++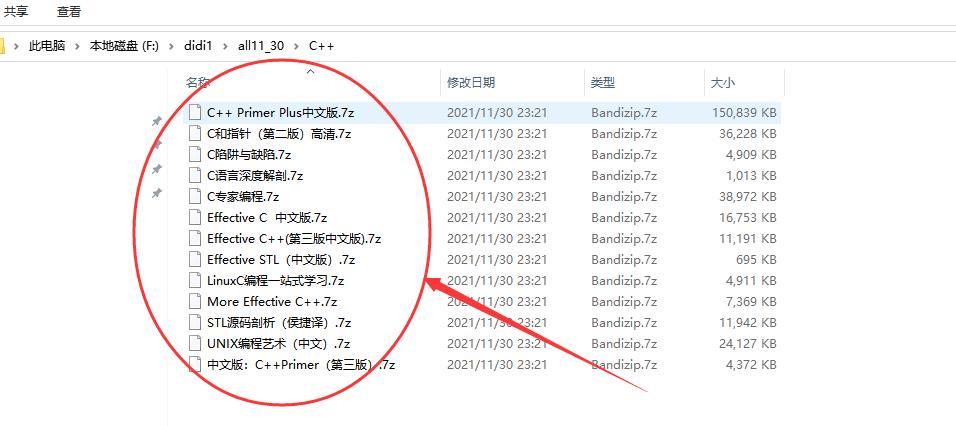
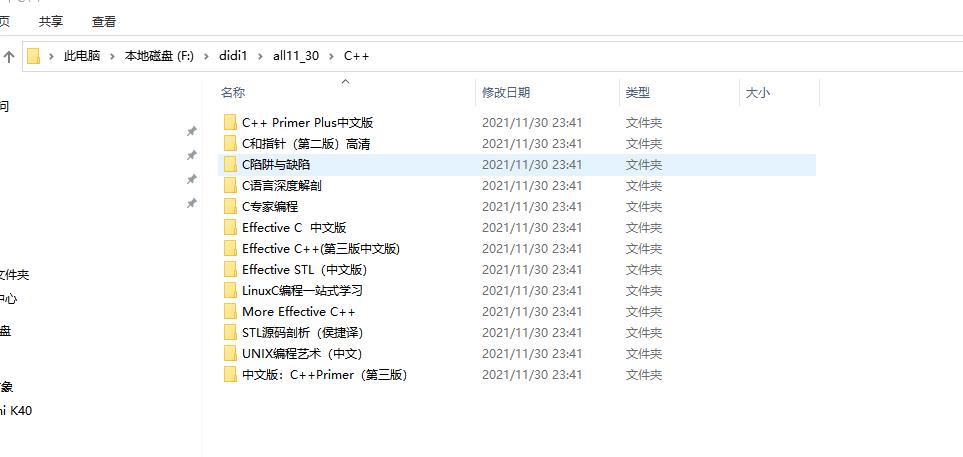
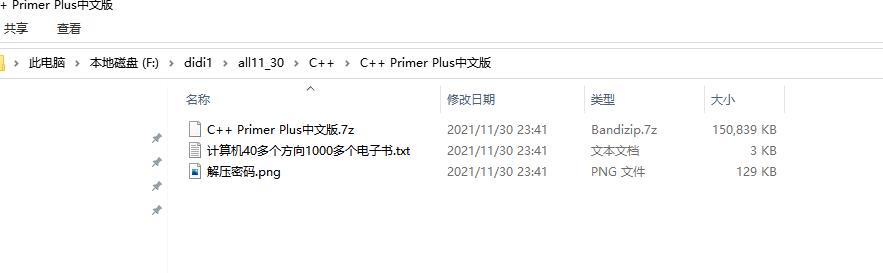
3)、用java代码实现创建文件夹,然后放拷贝文件进去,然后删除加密文件,然后拷贝具体图片和文本文档到这个文件夹,解压密码图片和文本地址如下
F:\\\\didi1\\\\all11_30\\\\解压密码.png
F:\\\\didi1\\\\all11_30\\\\计算机40多个方向1000多个电子书.txt
代码实现如下
package com.chenyu;

import java.io.File;

public class Test
	public static void main(String[] args)

		System.out.println("chen");
		String path = "F:\\\\didi1\\\\all11_30\\\\C++";
		File decodePwdPngFile = new File("F:\\\\didi1\\\\all11_30\\\\解压密码.png");
		File txtFile = new File("F:\\\\didi1\\\\all11_30\\\\计算机40多个方向1000多个电子书.txt");
		FileUtil.handleFile(path, decodePwdPngFile, txtFile);
FileUtil.java文件如下
package com.chenyu;

import java.io.BufferedReader;
import java.io.File;
import java.io.FileInputStream;
import java.io.FileOutputStream;
import java.io.IOException;
import java.io.InputStream;
import java.io.InputStreamReader;
import java.nio.channels.FileChannel;

public class FileUtil

	/**
	 * 创建新的文件夹
	 * @param file
	 * @return
	 */
	public static String getNewDirectoryPath(File file)
		if (file == null)
			return "chenyu";
		String dirPath = file.getAbsolutePath() + File.separator + file.getName();
		if (dirPath.contains("."))
			int index = dirPath.indexOf('.');
			dirPath = dirPath.substring(0, index);
		 else
			dirPath = dirPath + "1";

		return dirPath;


	/**
	 * 处理文件,创建文件夹,然后拷贝文件进去
	 * @param path
	 */
	public static void handleFile(String path, File decodePwdPngFile, File txtFile)
		if (path == null || "".equals(path) || decodePwdPngFile == null || txtFile == null)
			return;
		File file = new File(path);
		if (!file.exists())
			return;
		File[] files = file.listFiles();
		if (files == null || files.length == 0)
			return;
		try
			for (File childFile : files)
				if (childFile.isDirectory())
					System.out.println("文件夹路径是:" + childFile.getAbsolutePath());
					handleFile(childFile.getAbsolutePath(), decodePwdPngFile, txtFile);
				 else
					System.out.println("文件路径是:" + childFile.getAbsolutePath());
					if (childFile.getAbsolutePath() == null)
						return;
					if (childFile.getName() == null)
						return;
					//得到新的目录
					String dirPath = getNewDirectoryPath(childFile);
					System.out.println("dirPath路径是:" + dirPath);
					File fileDir = new File(dirPath);
					//创建新的目录
					if (!fileDir.exists())
						fileDir.mkdirs();

					//构建资源zip文件
					File fileTmp = new File(dirPath, childFile.getName());
					if (!fileTmp.exists())
						fileTmp.createNewFile();

					//复制资源zip文件到新的文件夹
					copyFile(childFile, fileTmp);
					//删除zip文件
					childFile.delete();
					//拷贝图片到这个dirPath目录来
					File decodePwdPng = new File(dirPath, "解压密码.png");
					if (!decodePwdPng.exists())
						decodePwdPng.createNewFile();

					copyFile(decodePwdPngFile, decodePwdPng);
					//拷贝txt文件到这个dirPath目录来
					File newTxtFile = new File(dirPath, "计算机40多个方向1000多个电子书.txt");
					if (!newTxtFile.exists())
						newTxtFile.createNewFile();

					copyFile(txtFile, newTxtFile);


		 catch (Exception e)
			e.printStackTrace();


	/**
	 * 文件复制
	 * @param srcFile
	 * @param dstFile
	 * @throws IOException
	 */
	public static void copyFile(File srcFile, File dstFile) throws IOException
		if (srcFile == null || !srcFile.exists())
			return;

		if (dstFile == null || !dstFile.exists())
			return;


		FileInputStream fileIns = null;
		FileOutputStream fileOuts = null;
		FileChannel source = null;
		FileChannel destination = null;

		try
			fileIns = new FileInputStream(srcFile);
			fileOuts = new FileOutputStream(dstFile);
			source = fileIns.getChannel();
			destination = fileOuts.getChannel();
			destination.transferFrom(source, 0, source.size());
		 catch (Exception e)
			e.printStackTrace();
		 finally
			if (fileIns != null)
				fileIns.close();
			if (fileOuts != null)
				fileOuts.close();
			if (source != null)
				source.close();
			if (destination != null)
				destination.close();
控制台打印
chen
文件路径是:F:\\didi1\\all11_30\\C++\\C++ Primer Plus中文版.7z
dirPath路径是:F:\\didi1\\all11_30\\C++\\C++ Primer Plus中文版
文件路径是:F:\\didi1\\all11_30\\C++\\C专家编程.7z
dirPath路径是:F:\\didi1\\all11_30\\C++\\C专家编程
文件路径是:F:\\didi1\\all11_30\\C++\\C和指针(第二版)高清.7z
dirPath路径是:F:\\didi1\\all11_30\\C++\\C和指针(第二版)高清
文件路径是:F:\\didi1\\all11_30\\C++\\C语言深度解剖.7z
dirPath路径是:F:\\didi1\\all11_30\\C++\\C语言深度解剖
文件路径是:F:\\didi1\\all11_30\\C++\\C陷阱与缺陷.7z
dirPath路径是:F:\\didi1\\all11_30\\C++\\C陷阱与缺陷
文件路径是:F:\\didi1\\all11_30\\C++\\Effective C  中文版.7z
dirPath路径是:F:\\didi1\\all11_30\\C++\\Effective C  中文版
文件路径是:F:\\didi1\\all11_30\\C++\\Effective C++(第三版中文版).7z
dirPath路径是:F:\\didi1\\all11_30\\C++\\Effective C++(第三版中文版)
文件路径是:F:\\didi1\\all11_30\\C++\\Effective STL(中文版).7z
dirPath路径是:F:\\didi1\\all11_30\\C++\\Effective STL(中文版)
文件路径是:F:\\didi1\\all11_30\\C++\\LinuxC编程一站式学习.7z
dirPath路径是:F:\\didi1\\all11_30\\C++\\LinuxC编程一站式学习
文件路径是:F:\\didi1\\all11_30\\C++\\More Effective C++.7z
dirPath路径是:F:\\didi1\\all11_30\\C++\\More Effective C++
文件路径是:F:\\didi1\\all11_30\\C++\\STL源码剖析(侯捷译).7z
dirPath路径是:F:\\didi1\\all11_30\\C++\\STL源码剖析(侯捷译)
文件路径是:F:\\didi1\\all11_30\\C++\\UNIX编程艺术(中文).7z
dirPath路径是:F:\\didi1\\all11_30\\C++\\UNIX编程艺术(中文)
文件路径是:F:\\didi1\\all11_30\\C++\\中文版:C++Primer(第三版).7z
dirPath路径是:F:\\didi1\\all11_30\\C++\\中文版:C++Primer(第三版)
这里就可以得到我们的结果了
但是我们还需要再把这个文件夹批量不加密压缩,我们依然还是新建2.bat,内容如下
for /d %%X in (*) do "c:\\Program Files\\7-Zip\\7z.exe" a "%%X.7z" "%%X\\"点击2.bat文件,效果如下
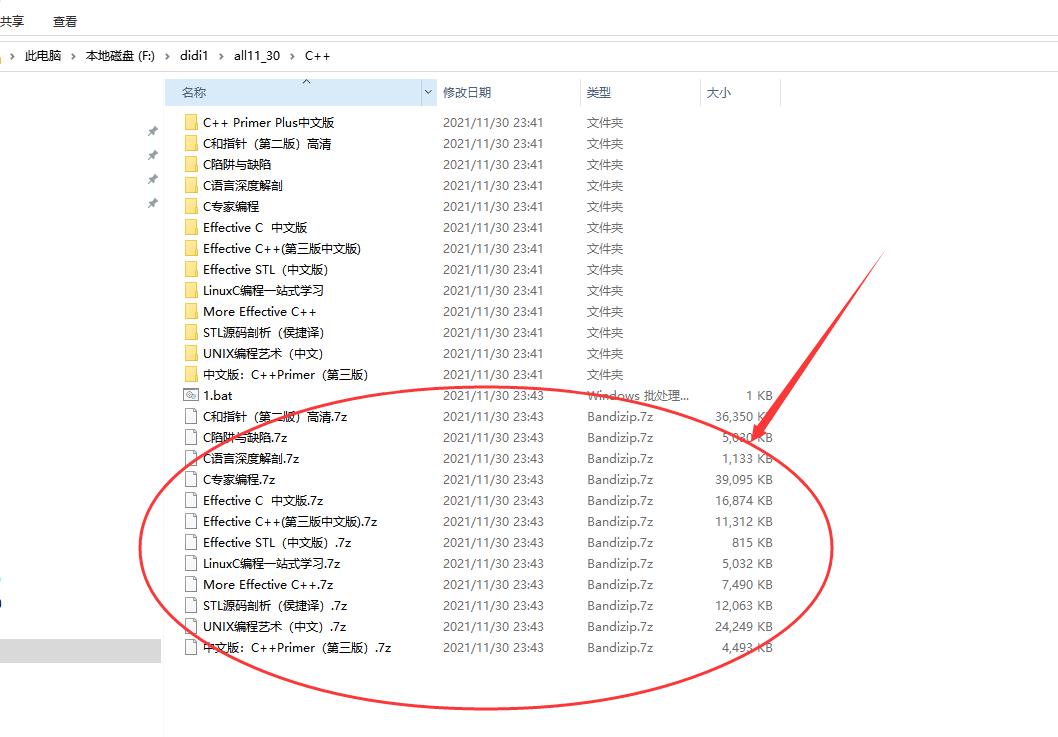
这里的内容就是我们需要的内容,然后我们需要批量单个上传,我有工具,非常方便。
以上是关于windows环境实现批量加密文件,并创建加密文件同名(不带后缀)的文件夹,然后把加密文件和图片和文本放入这个文件夹。的主要内容,如果未能解决你的问题,请参考以下文章