03mmaction2 行为识别商用级别使用mmaction搭建faster rcnn批量检测图片输出为via格式
Posted 计算机视觉-杨帆
tags:
篇首语:本文由小常识网(cha138.com)小编为大家整理,主要介绍了03mmaction2 行为识别商用级别使用mmaction搭建faster rcnn批量检测图片输出为via格式相关的知识,希望对你有一定的参考价值。
github:https://github.com/Whiffe/YF-OpenLib-mmaction2.git
码云:https://gitee.com/YFwinston/YF-OpenLib-mmaction2.git
B站:https://www.bilibili.com/video/BV1tb4y1b7cy#reply5831466042
上一个mmaction2项目:【mmaction2 slowfast 行为分析(商用级别)】总目录
平台:极链AI
0,前言
在之前,我使用了mmaction2做了slowfast商用项目的检测,这次是对之前的项目的优化,如:faster rcnn时如何在mmaction2中使用的、如何把faster rcnn替换成yolo或者其他的。
1,快速搭建mmacton2
进入AI平台
选择一块GPU
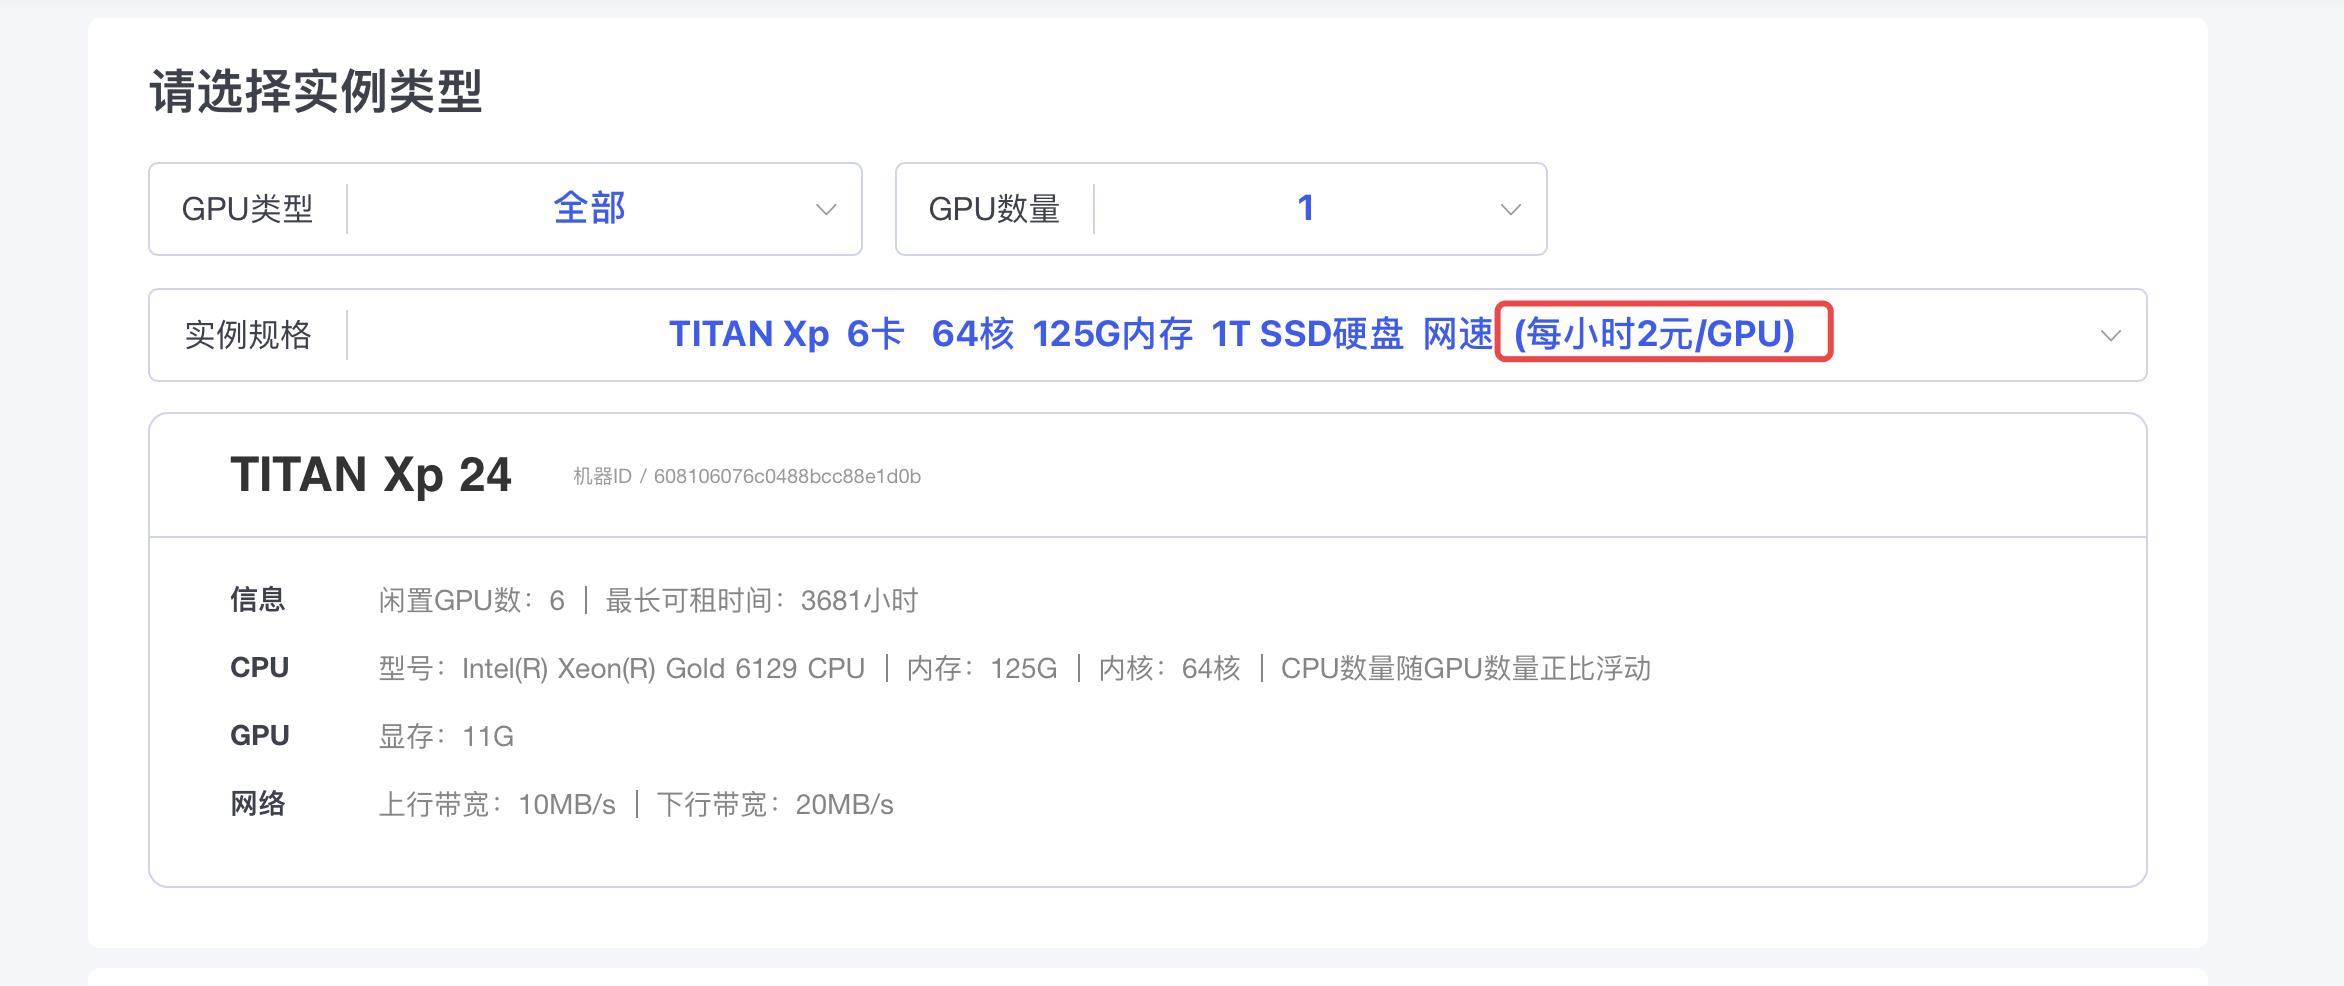
选择镜像版本(记住pytorch的版本和cuda的版本,待会儿要用)

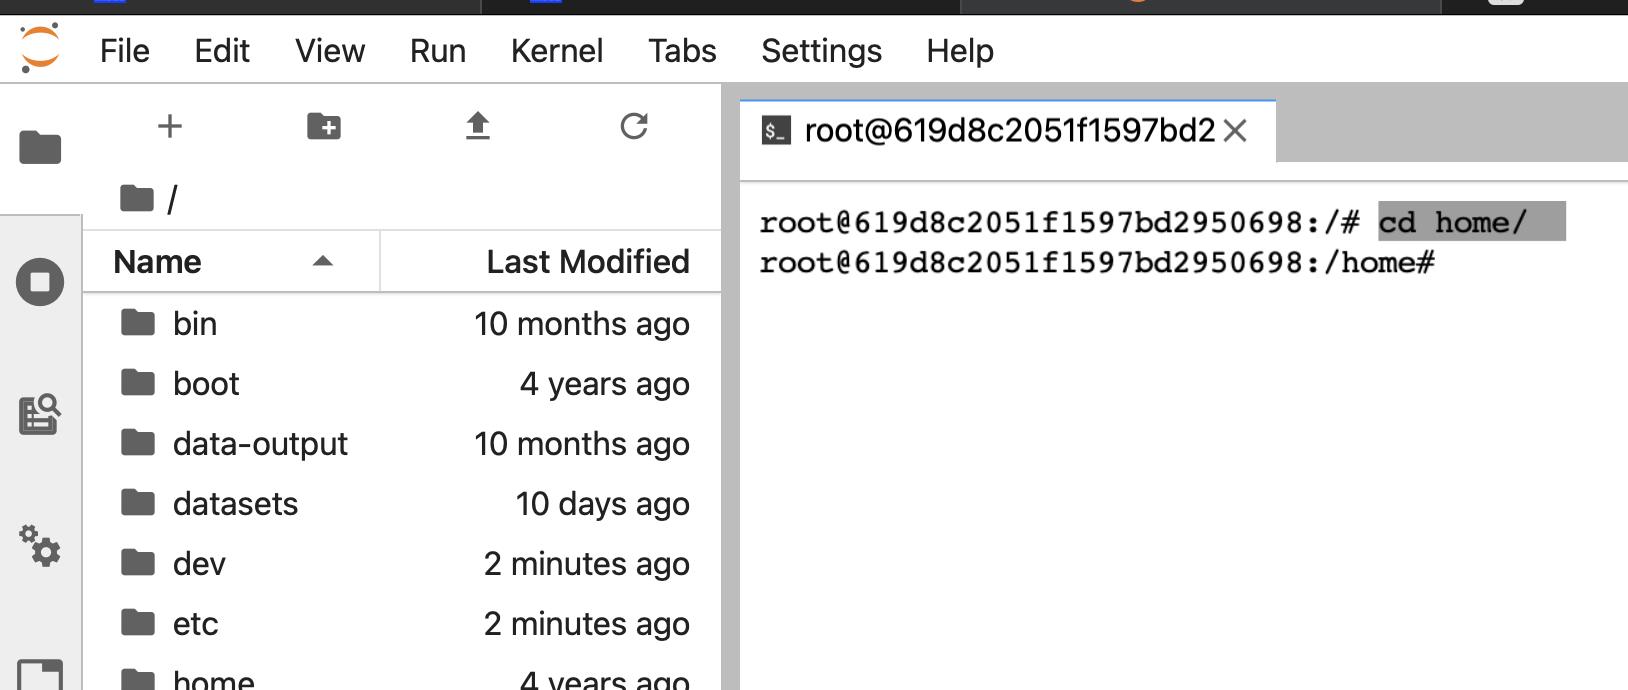
然后进入jupyter,打开终端
进入home
cd home/
下载项目:
git clone https://gitee.com/YFwinston/YF-OpenLib-mmaction2.git

安装mmcv
pip install mmcv-full==1.2.7 -f https://download.openmmlab.com/mmcv/dist/cu102/torch1.6.0/index.html
安装mmpycocotools
pip install mmpycocotools
安装其它
pip install moviepy  opencv-python terminaltables seaborn decord -i https://pypi.douban.com/simple
pip install colorama
进入YF-OpenLib-mmaction2
cd YF-OpenLib-mmaction2/
运行setup/py
python setup.py develop
2,如何搭建faster rcnn配置文件
下图是之前的faster rcnn的代码
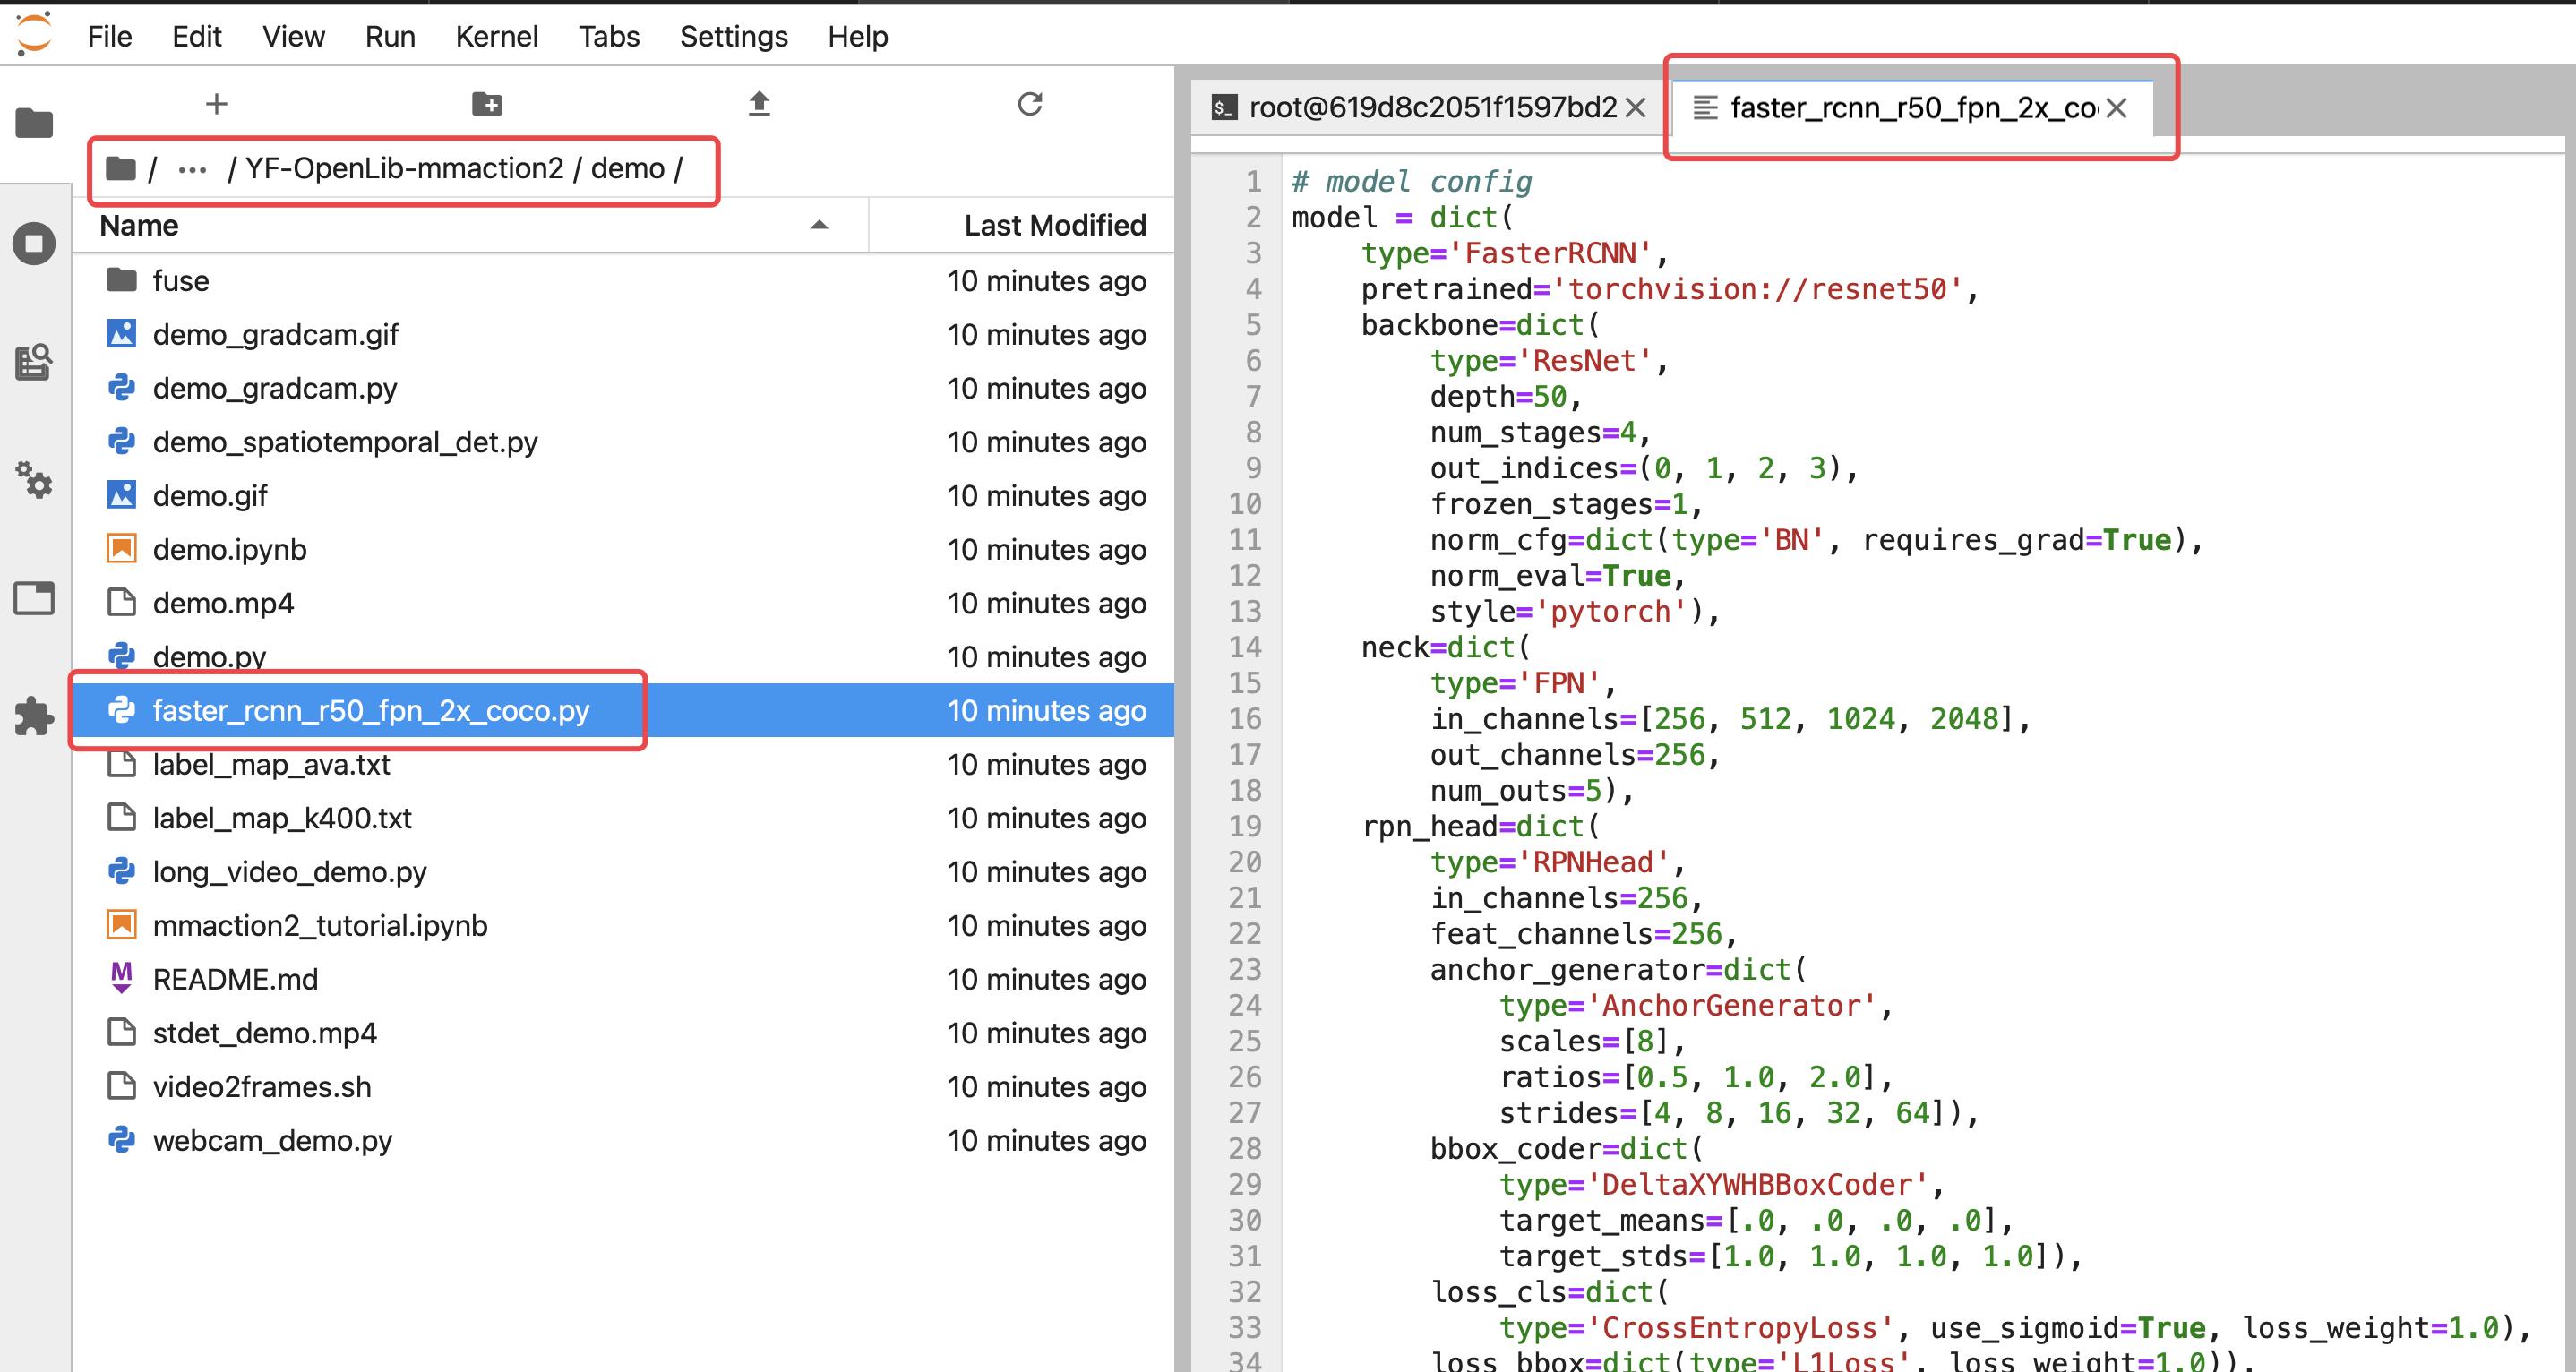
那么这个文件是如何得到的呢?
了解到这个文件如何写成,有助于我们对其它网络的搭建。
2.1 在mmdetection中找到对应网络
mmdetection与mmaction都是同一个团队做出来的,那么mmaction也是具有使用mmdetection中网络的功能。
首先,进入mmdetection的guthub:
https://github.com/open-mmlab/mmdetection
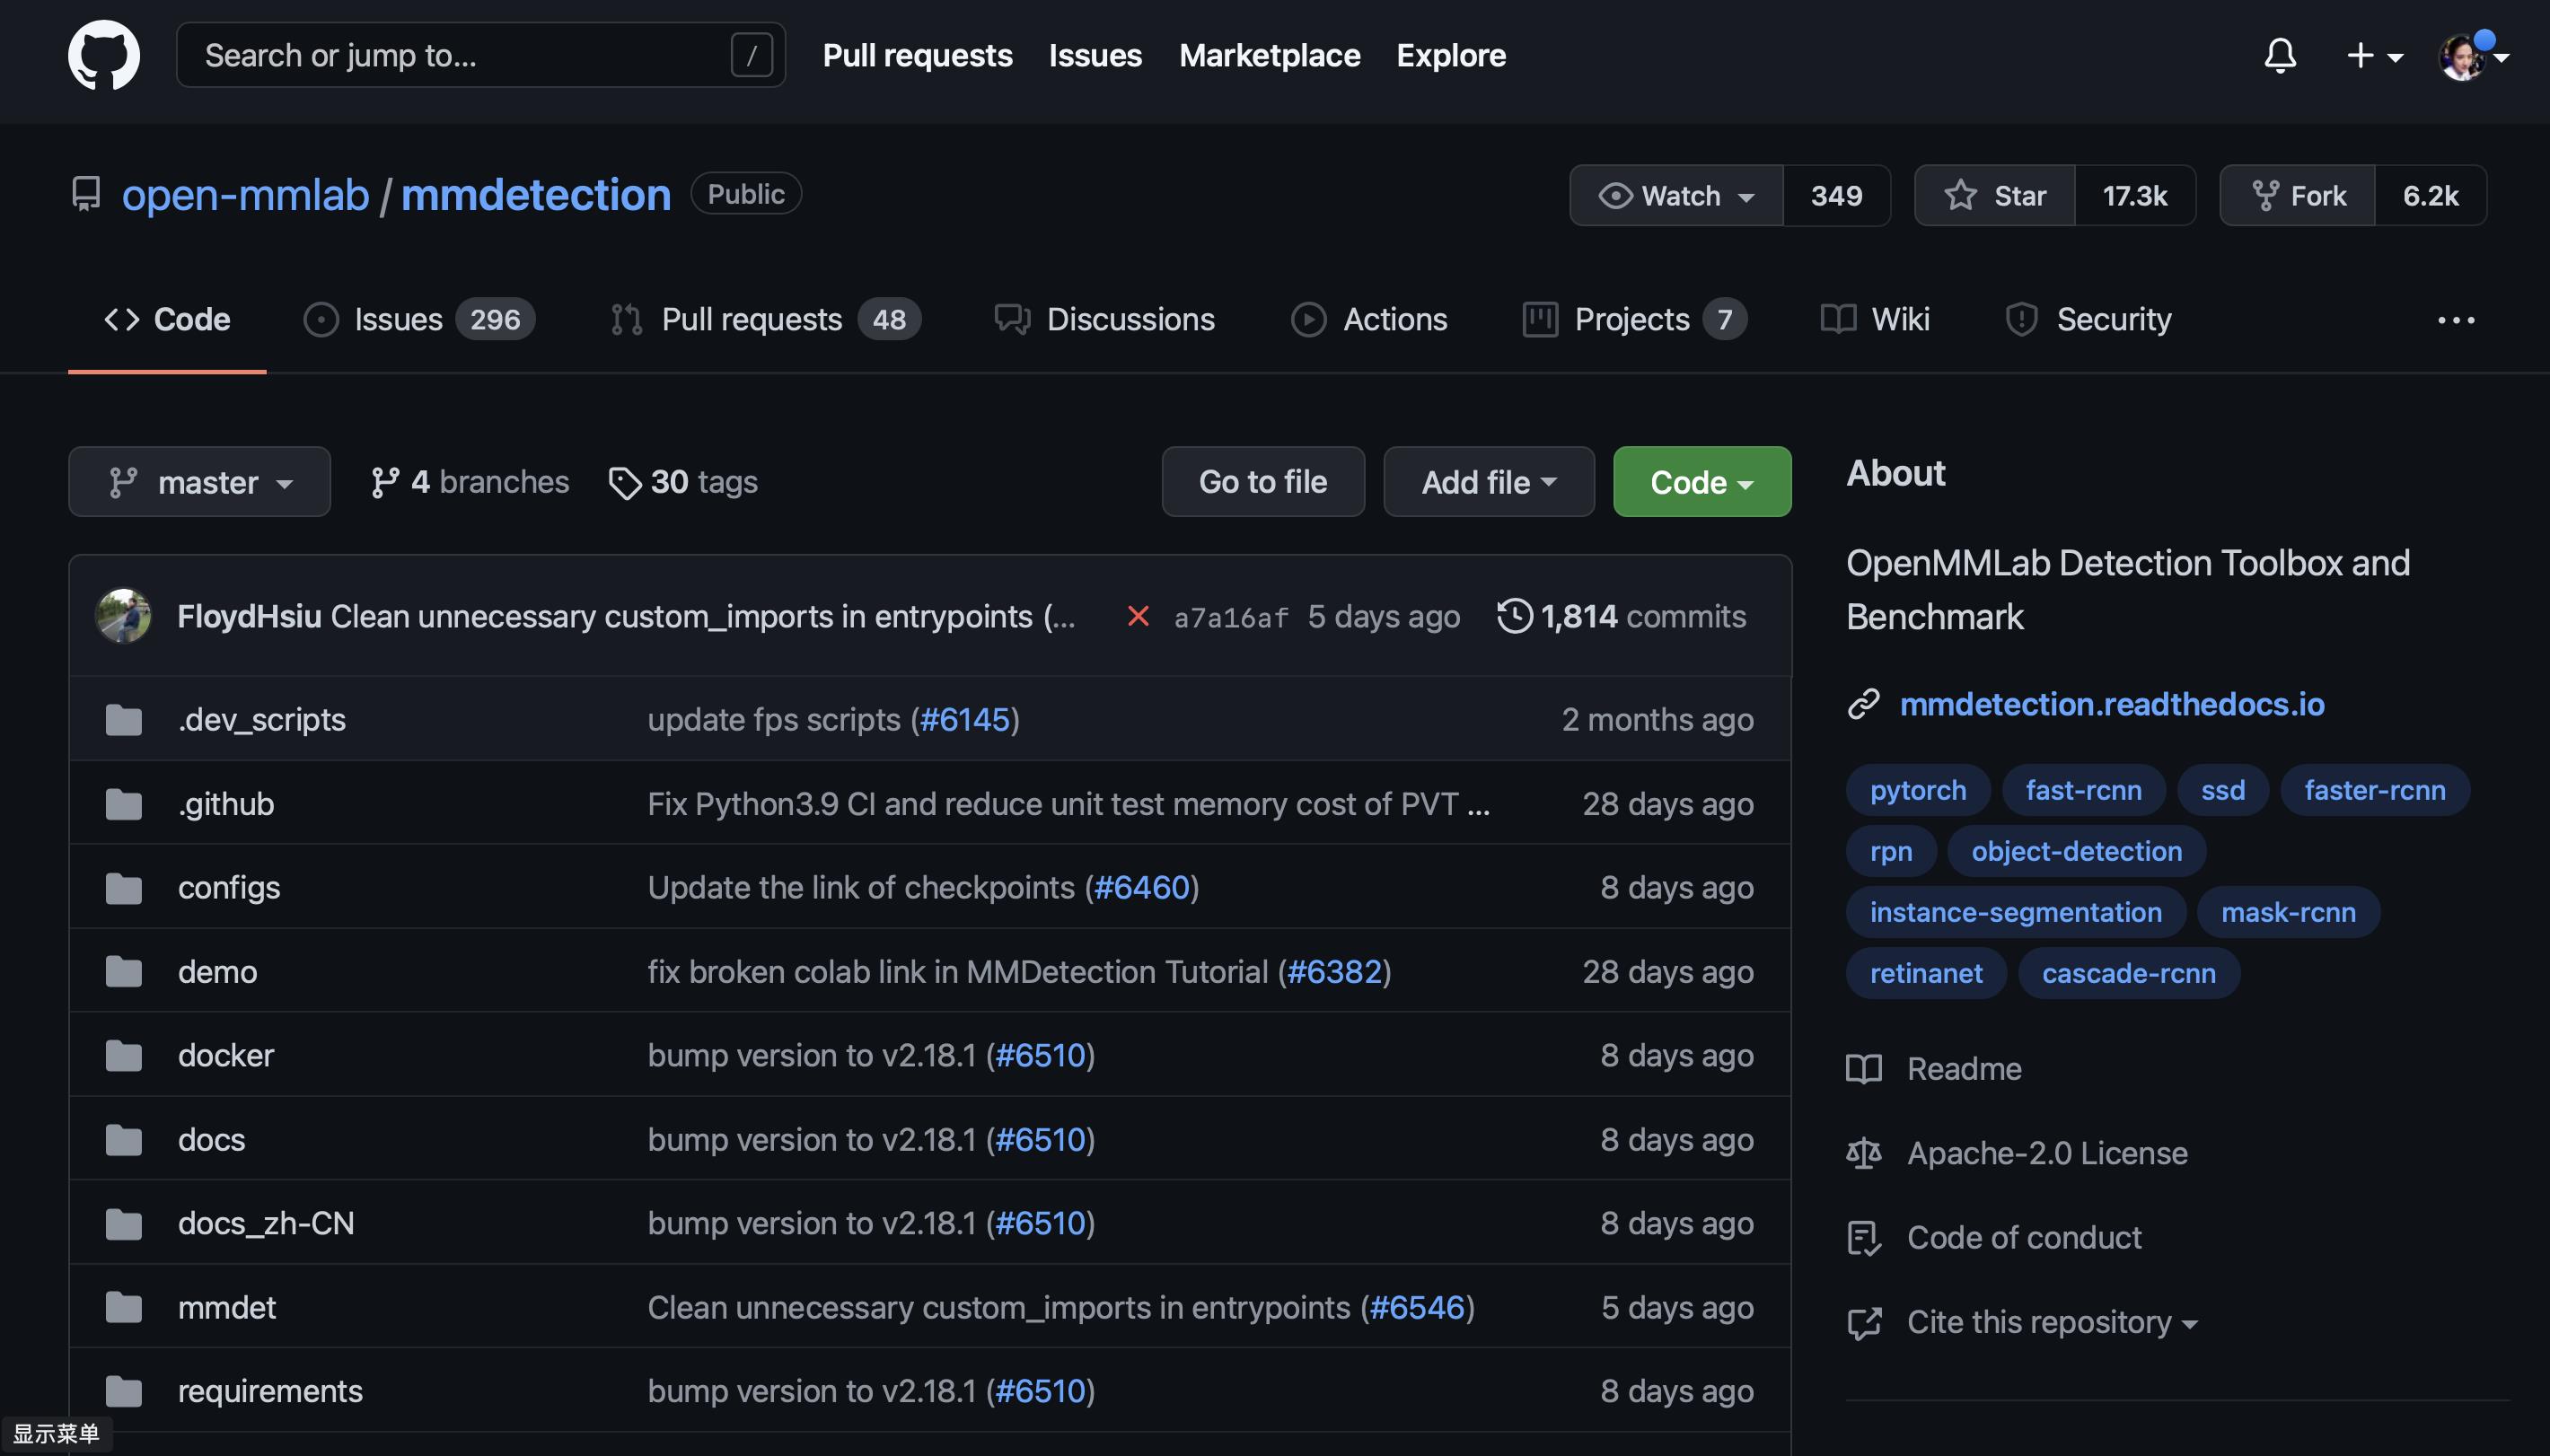
进入到:mmdetection/configs/faster_rcnn/
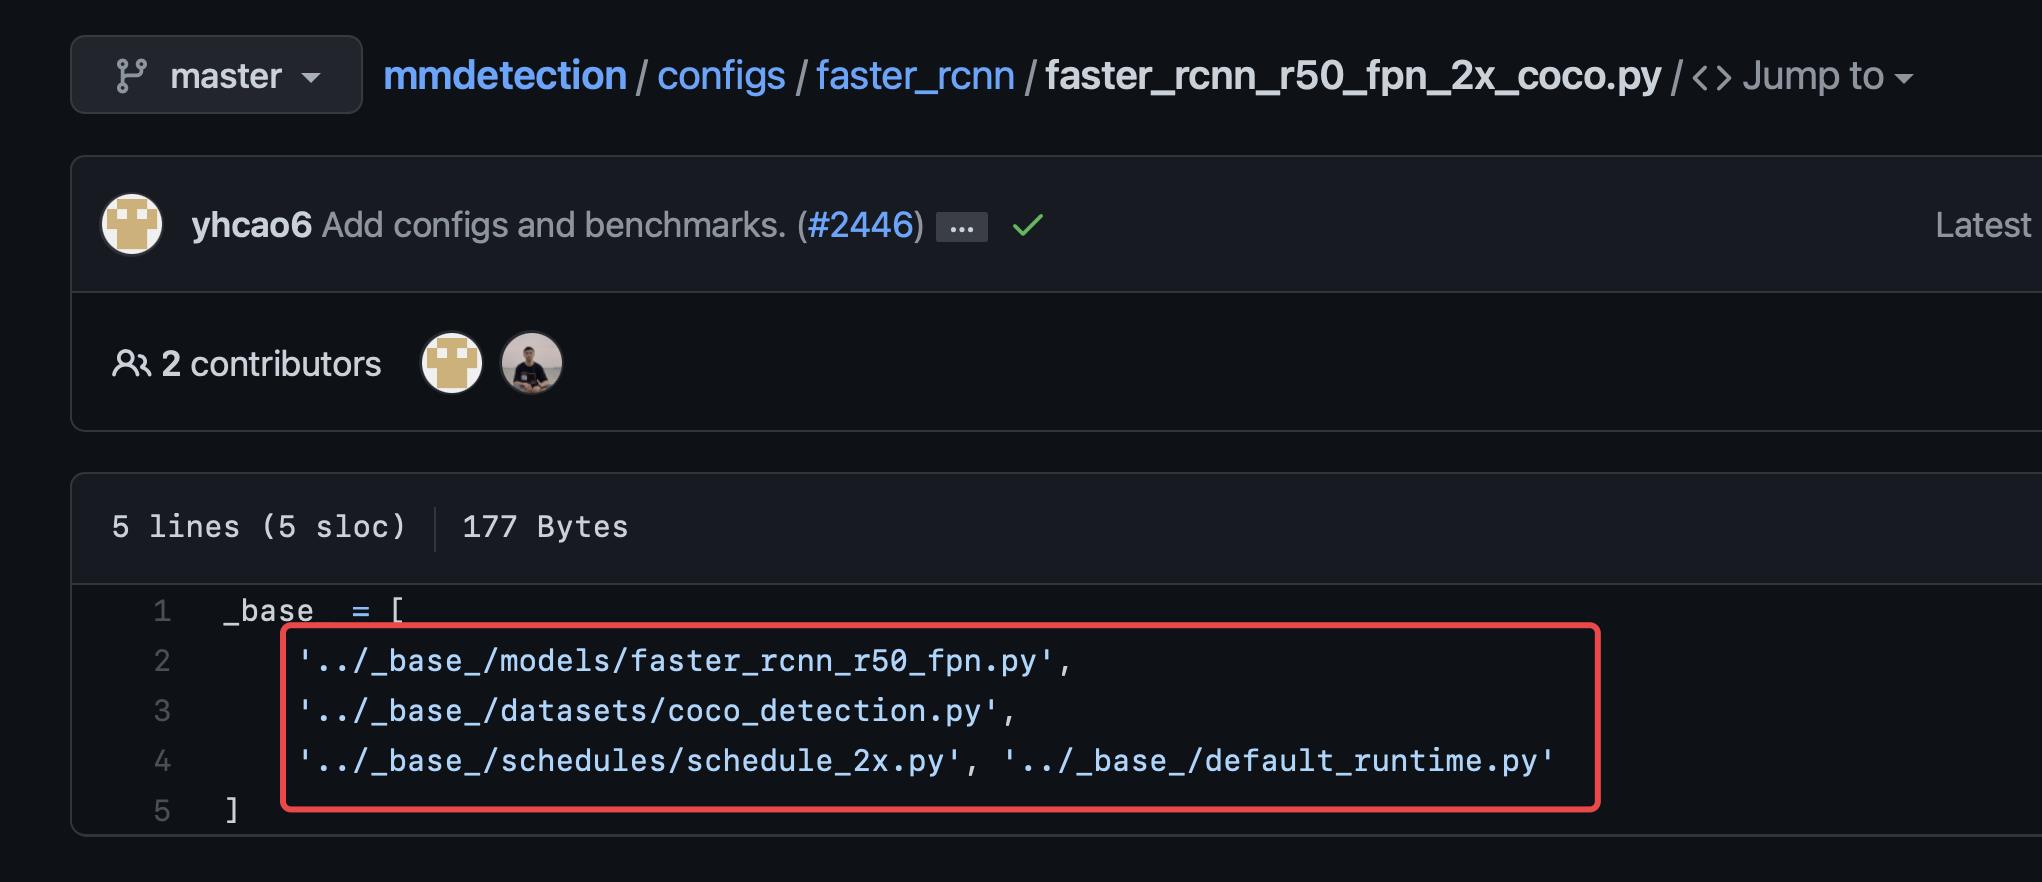
找到 faster_rcnn_r50_fpn_2x_coco.py

点开后,文件内容如下:
2.2 代码拼接
我们就根据这个目录,把这些python文件按照顺序进行拼接。
我们将拼接内容写在:/home/YF-OpenLib-mmaction2/configs/fasterRcnn/faster_rcnn_r50_fpn_2x_coco.py

但是有一处需要修改(删除我框出来的地方,然后在上方重写一个)
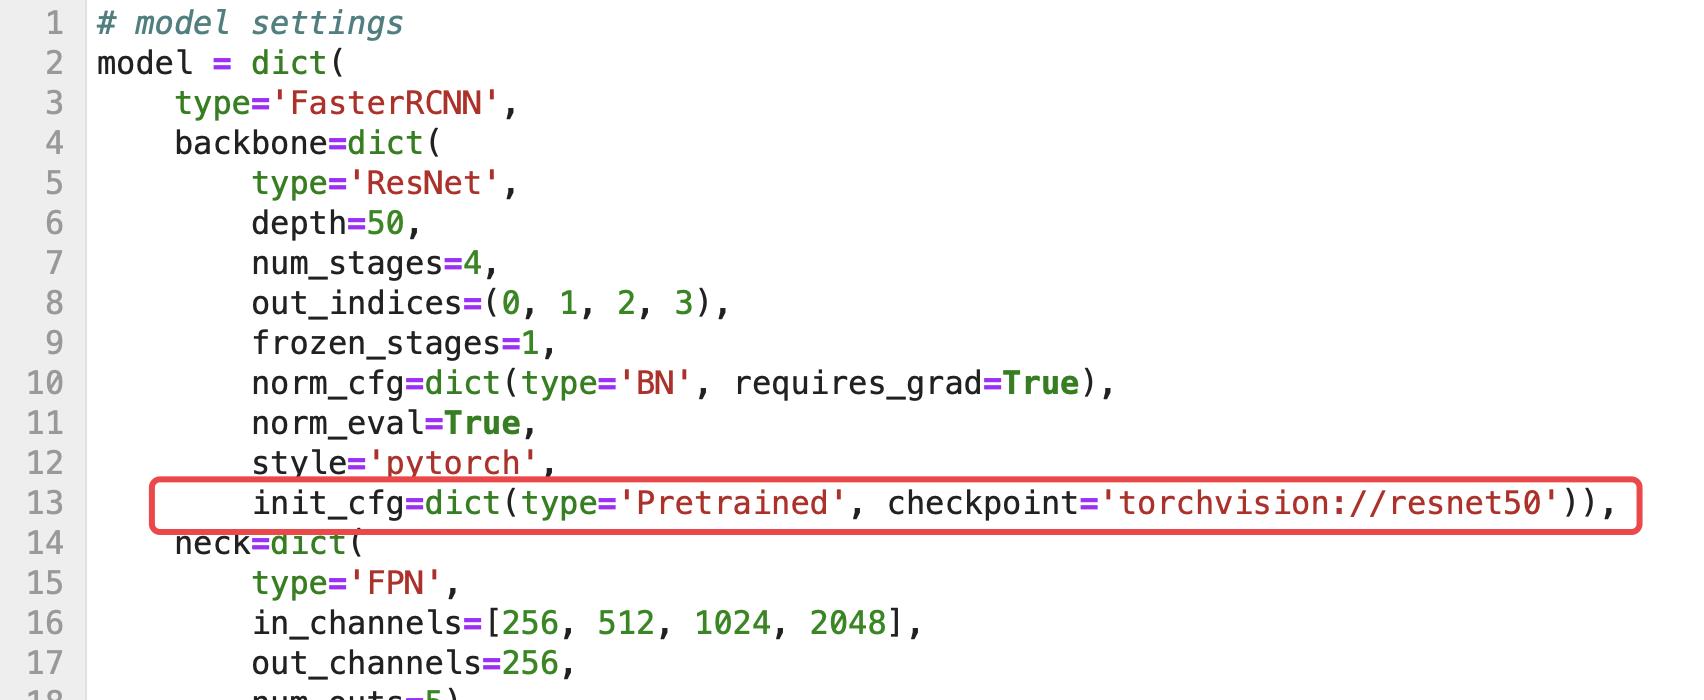
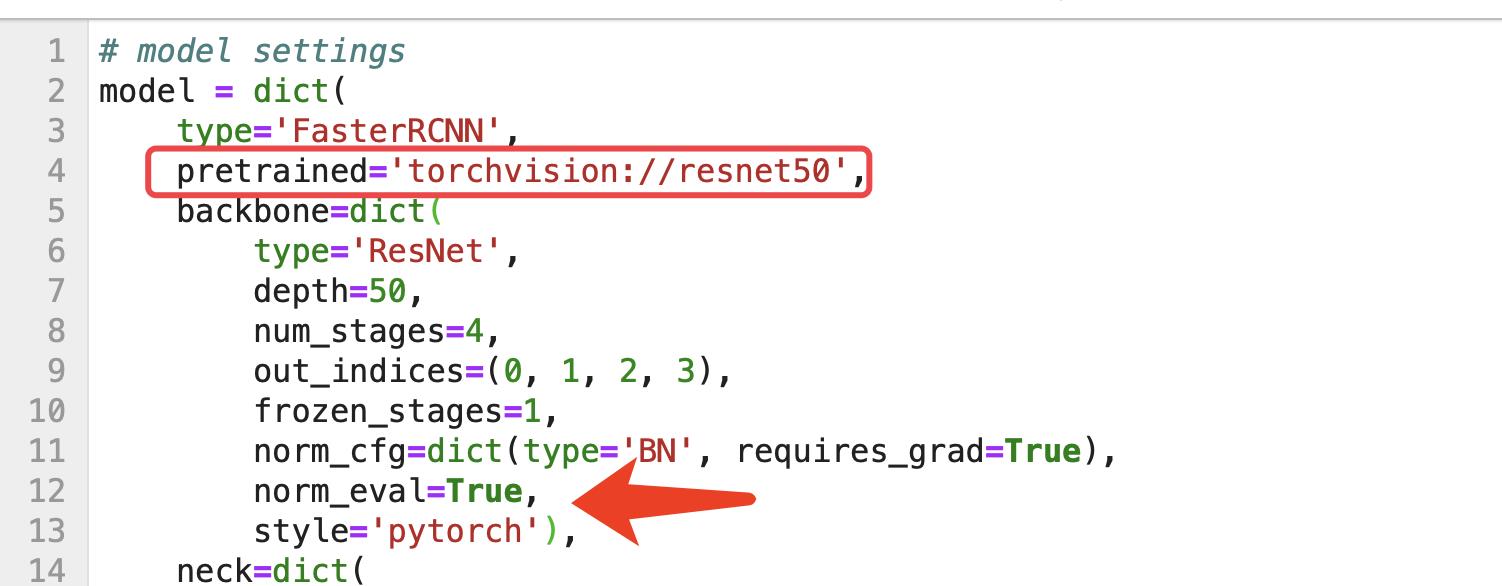
修改后代码如下:
# model settings
model = dict(
    type='FasterRCNN',
    pretrained='torchvision://resnet50',
    backbone=dict(
        type='ResNet',
        depth=50,
        num_stages=4,
        out_indices=(0, 1, 2, 3),
        frozen_stages=1,
        norm_cfg=dict(type='BN', requires_grad=True),
        norm_eval=True,
        style='pytorch'),
    neck=dict(
        type='FPN',
        in_channels=[256, 512, 1024, 2048],
        out_channels=256,
        num_outs=5),
    rpn_head=dict(
        type='RPNHead',
        in_channels=256,
        feat_channels=256,
        anchor_generator=dict(
            type='AnchorGenerator',
            scales=[8],
            ratios=[0.5, 1.0, 2.0],
            strides=[4, 8, 16, 32, 64]),
        bbox_coder=dict(
            type='DeltaXYWHBBoxCoder',
            target_means=[.0, .0, .0, .0],
            target_stds=[1.0, 1.0, 1.0, 1.0]),
        loss_cls=dict(
            type='CrossEntropyLoss', use_sigmoid=True, loss_weight=1.0),
        loss_bbox=dict(type='L1Loss', loss_weight=1.0)),
    roi_head=dict(
        type='StandardRoIHead',
        bbox_roi_extractor=dict(
            type='SingleRoIExtractor',
            roi_layer=dict(type='RoIAlign', output_size=7, sampling_ratio=0),
            out_channels=256,
            featmap_strides=[4, 8, 16, 32]),
        bbox_head=dict(
            type='Shared2FCBBoxHead',
            in_channels=256,
            fc_out_channels=1024,
            roi_feat_size=7,
            num_classes=80,
            bbox_coder=dict(
                type='DeltaXYWHBBoxCoder',
                target_means=[0., 0., 0., 0.],
                target_stds=[0.1, 0.1, 0.2, 0.2]),
            reg_class_agnostic=False,
            loss_cls=dict(
                type='CrossEntropyLoss', use_sigmoid=False, loss_weight=1.0),
            loss_bbox=dict(type='L1Loss', loss_weight=1.0))),
    # model training and testing settings
    train_cfg=dict(
        rpn=dict(
            assigner=dict(
                type='MaxIoUAssigner',
                pos_iou_thr=0.7,
                neg_iou_thr=0.3,
                min_pos_iou=0.3,
                match_low_quality=True,
                ignore_iof_thr=-1),
            sampler=dict(
                type='RandomSampler',
                num=256,
                pos_fraction=0.5,
                neg_pos_ub=-1,
                add_gt_as_proposals=False),
            allowed_border=-1,
            pos_weight=-1,
            debug=False),
        rpn_proposal=dict(
            nms_pre=2000,
            max_per_img=1000,
            nms=dict(type='nms', iou_threshold=0.7),
            min_bbox_size=0),
        rcnn=dict(
            assigner=dict(
                type='MaxIoUAssigner',
                pos_iou_thr=0.5,
                neg_iou_thr=0.5,
                min_pos_iou=0.5,
                match_low_quality=False,
                ignore_iof_thr=-1),
            sampler=dict(
                type='RandomSampler',
                num=512,
                pos_fraction=0.25,
                neg_pos_ub=-1,
                add_gt_as_proposals=True),
            pos_weight=-1,
            debug=False)),
    test_cfg=dict(
        rpn=dict(
            nms_pre=1000,
            max_per_img=1000,
            nms=dict(type='nms', iou_threshold=0.7),
            min_bbox_size=0),
        rcnn=dict(
            score_thr=0.05,
            nms=dict(type='nms', iou_threshold=0.5),
            max_per_img=100)
        # soft-nms is also supported for rcnn testing
        # e.g., nms=dict(type='soft_nms', iou_threshold=0.5, min_score=0.05)
    ))

# dataset settings
dataset_type = 'CocoDataset'
data_root = 'data/coco/'
img_norm_cfg = dict(
    mean=[123.675, 116.28, 103.53], std=[58.395, 57.12, 57.375], to_rgb=True)
train_pipeline = [
    dict(type='LoadImageFromFile'),
    dict(type='LoadAnnotations', with_bbox=True),
    dict(type='Resize', img_scale=(1333, 800), keep_ratio=True),
    dict(type='RandomFlip', flip_ratio=0.5),
    dict(type='Normalize', **img_norm_cfg),
    dict(type='Pad', size_divisor=32),
    dict(type='DefaultFormatBundle'),
    dict(type='Collect', keys=['img', 'gt_bboxes', 'gt_labels']),
]
test_pipeline = [
    dict(type='LoadImageFromFile'),
    dict(
        type='MultiScaleFlipAug',
        img_scale=(1333, 800),
        flip=False,
        transforms=[
            dict(type='Resize', keep_ratio=True),
            dict(type='RandomFlip'),
            dict(type='Normalize', **img_norm_cfg),
            dict(type='Pad', size_divisor=32),
            dict(type='ImageToTensor', keys=['img']),
            dict(type='Collect', keys=['img']),
        ])
]
data = dict(
    samples_per_gpu=2,
    workers_per_gpu=2,
    train=dict(
        type=dataset_type,
        ann_file=data_root + 'annotations/instances_train2017.json',
        img_prefix=data_root + 'train2017/',
        pipeline=train_pipeline),
    val=dict(
        type=dataset_type,
        ann_file=data_root + 'annotations/instances_val2017.json',
        img_prefix=data_root + 'val2017/',
        pipeline=test_pipeline),
    test=dict(
        type=dataset_type,
        ann_file=data_root + 'annotations/instances_val2017.json',
        img_prefix=data_root + 'val2017/',
        pipeline=test_pipeline))
evaluation = dict(interval=1, metric='bbox')

# optimizer
optimizer = dict(type='SGD', lr=0.02, momentum=0.9, weight_decay=0.0001)
optimizer_config = dict(grad_clip=None)
# learning policy
lr_config = dict(
    policy='step',
    warmup='linear',
    warmup_iters=500,
    warmup_ratio=0.001,
    step=[16, 22])
#runner = dict(type='EpochBasedRunner', max_epochs=24)
checkpoint_config = dict(interval=1)
log_config = dict(
    interval=20,
    hooks=[
        dict(type='TextLoggerHook'),
        # dict(type='TensorboardLoggerHook'),
    ])
# runtime settings
dist_params = dict(backend='nccl')
log_level = 'INFO'
load_from = None
resume_from = None
workflow = [('train', 1)]
2.3 下载对应权重
下载权重的地方仍然在mmdetection:https://github.com/open-mmlab/mmdetection/tree/master/configs/faster_rcnn
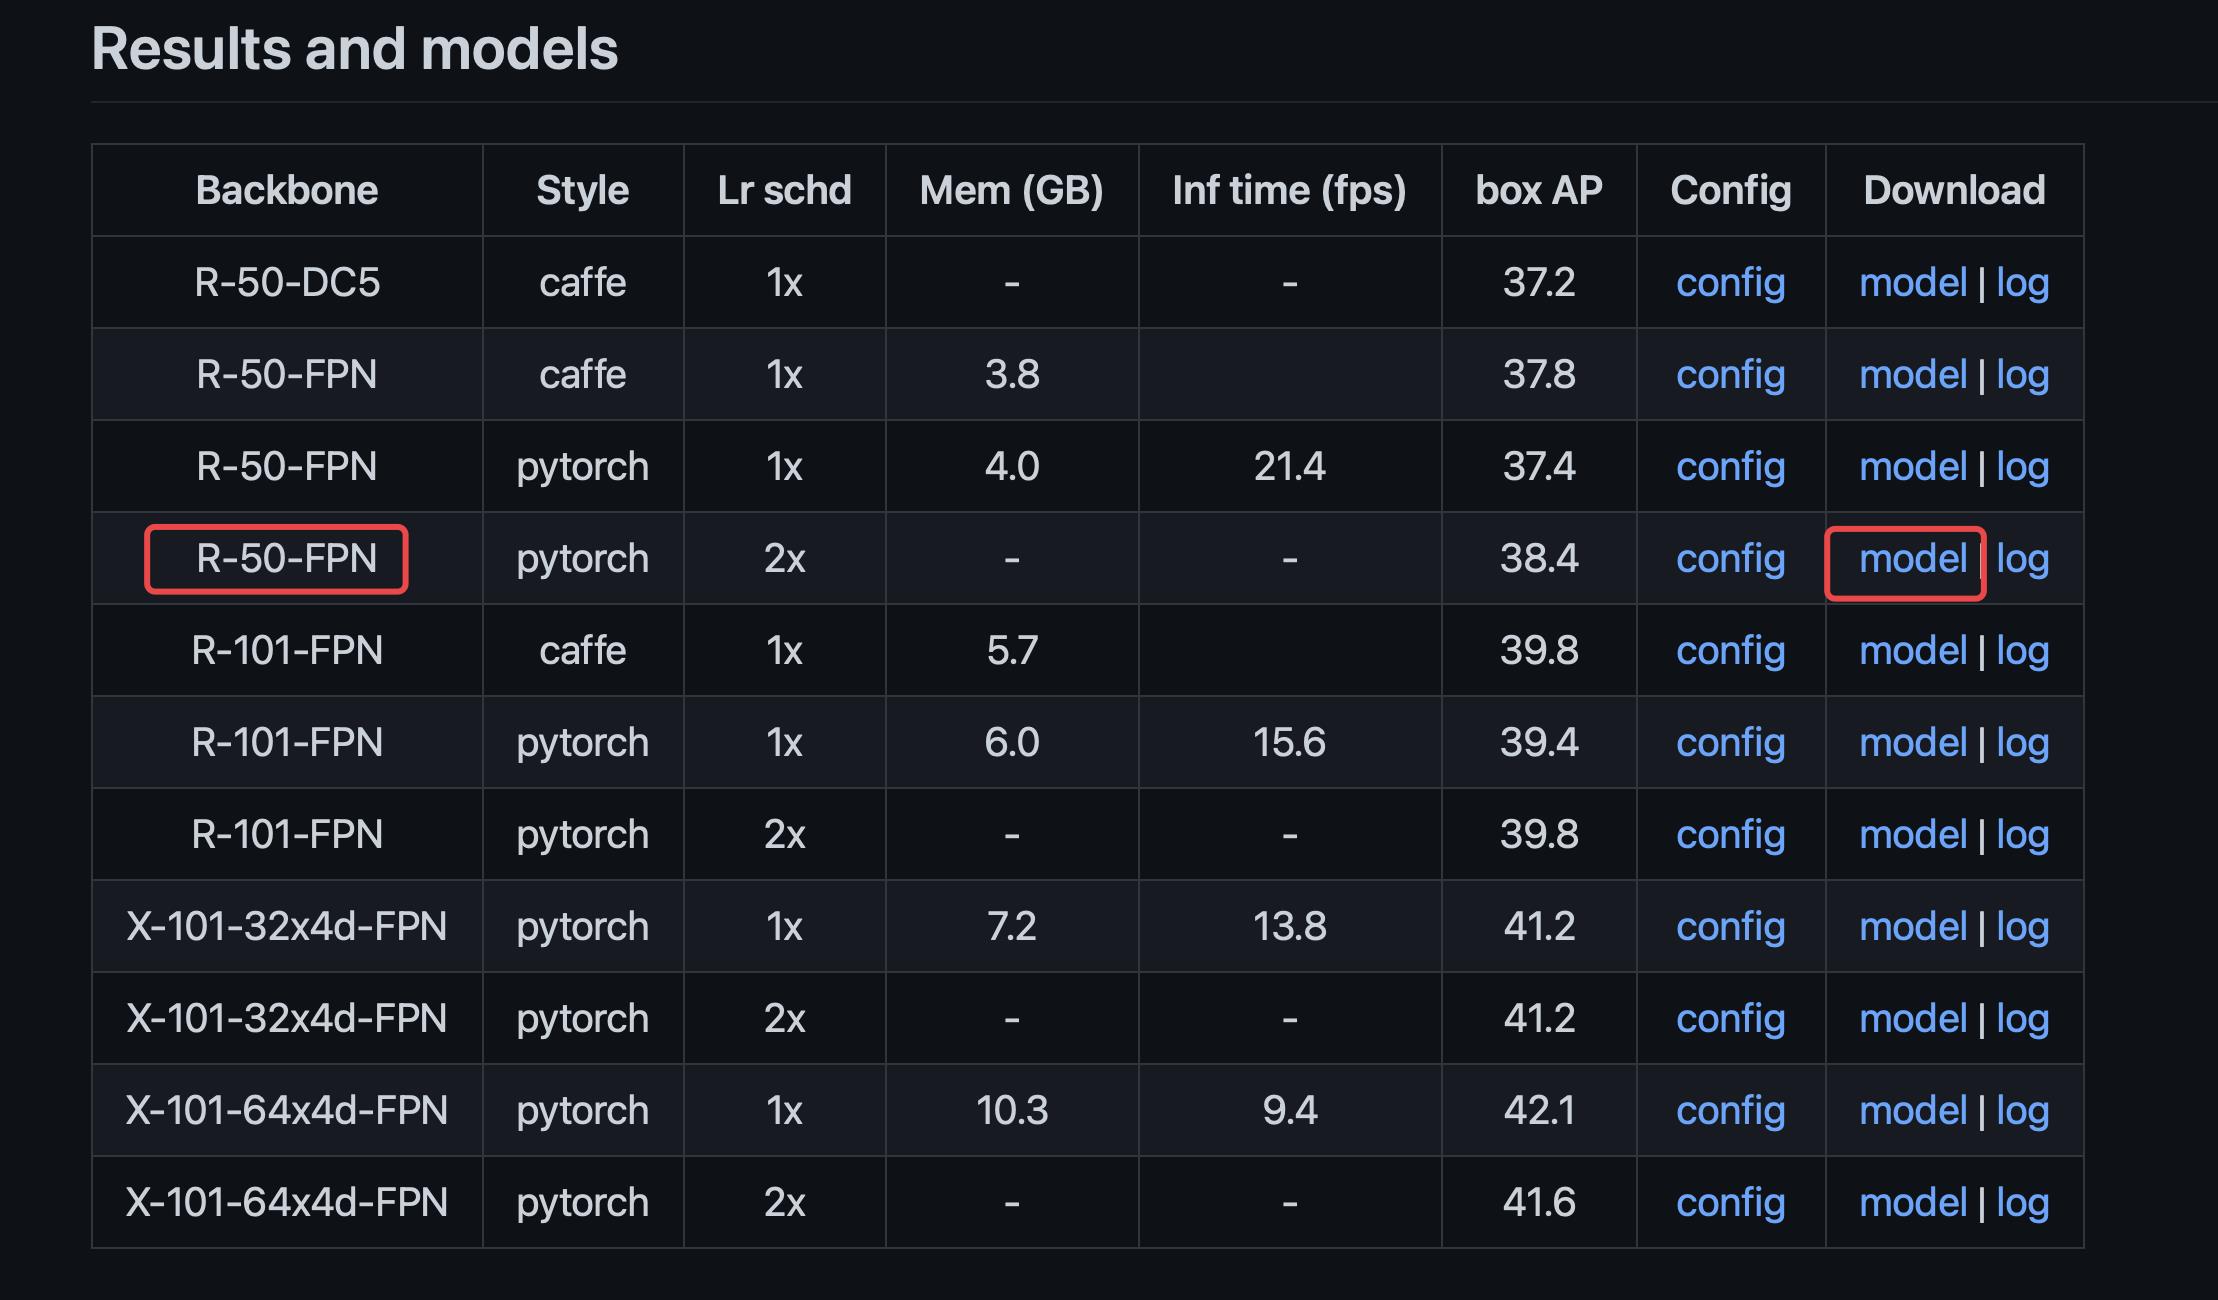
复制权重下载链接:
https://download.openmmlab.com/mmdetection/v2.0/faster_rcnn/faster_rcnn_r50_fpn_2x_coco/faster_rcnn_r50_fpn_2x_coco_bbox_mAP-0.384_20200504_210434-a5d8aa15.pth
然后进入AI平台,进入终端
创建 ./Checkpionts/mmdetection/
mkdir -p ./Checkpionts/mmdetection/

进入/home/YF-OpenLib-mmaction2/Checkpionts/mmdetection/
在终端下载权重:
wget https://download.openmmlab.com/mmdetection/v2.0/faster_rcnn/faster_rcnn_r50_fpn_2x_coco/faster_rcnn_r50_fpn_2x_coco_bbox_mAP-0.384_20200504_210434-a5d8aa15.pth

3,使用mmaction中的faster rcnn检测多张图片并转化为via标注工具格式
使用mmaction中的faster rcnn检测多张图片并转化为via标注工具格式,这一步是我之前博客写过,如何将faster rcnn检测结果转化为via标注工具可以识别的json文件:【mmaction2 slowfast 行为分析(商用级别)】视频转图片帧,faster cnn检测图片并转化为via格式
这次也是类似的,但是,我们在检测前,加一个检测结果的输出,方便我们看检测过程:/home/YF-OpenLib-mmaction2/mywork/detection2_outvia3.py
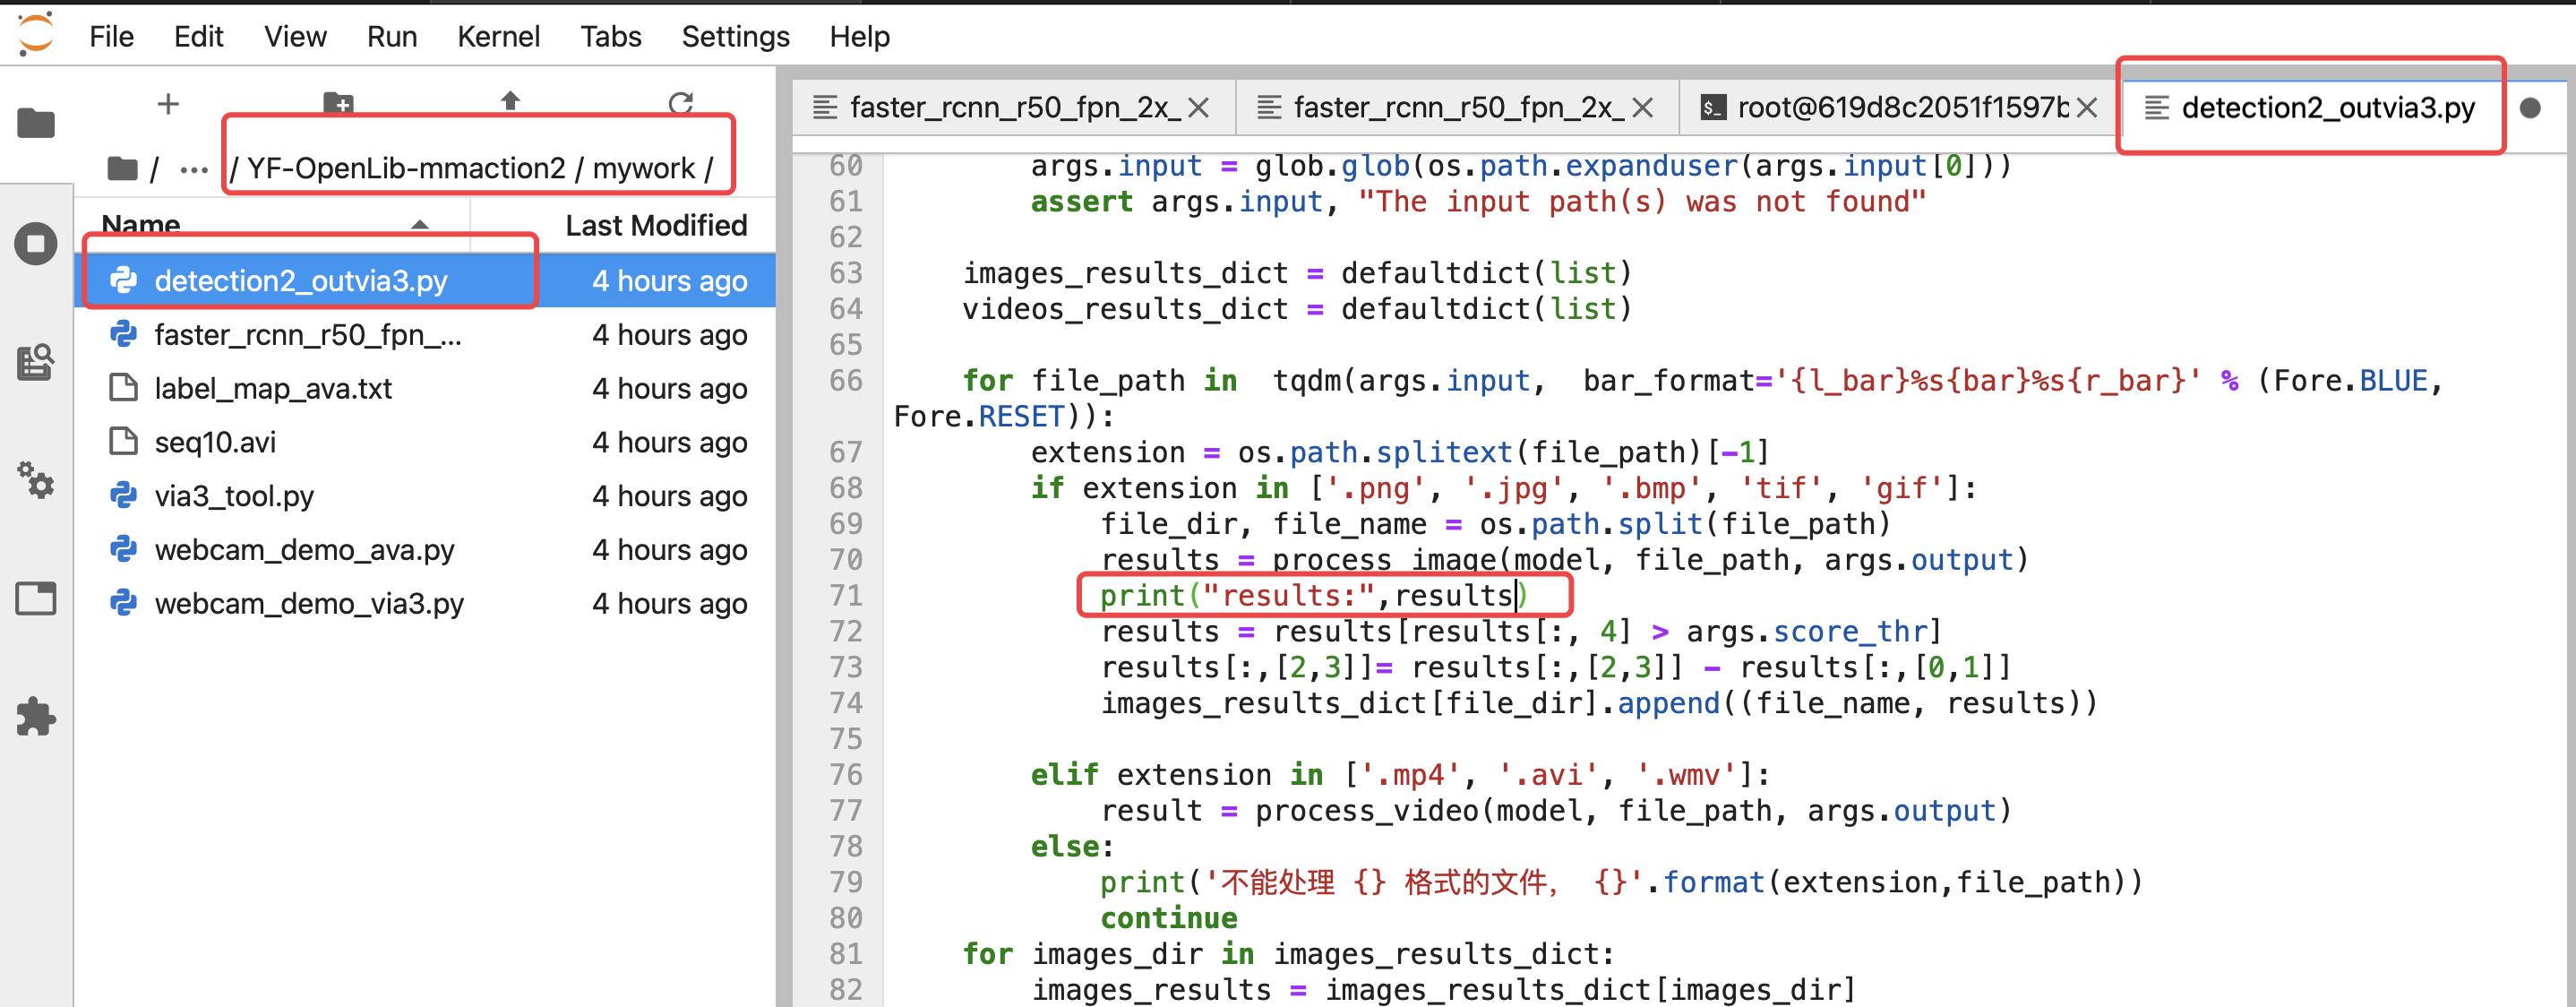
在/home/YF-OpenLib-mmaction2下输入:
python mywork/detection2_outvia3.py /home/YF-OpenLib-mmaction2/configs/fasterRcnn/faster_rcnn_r50_fpn_2x_coco.py /home/YF-OpenLib-mmaction2/Checkpionts/mmdetection/faster_rcnn_r50_fpn_2x_coco_bbox_mAP-0.384_20200504_210434-a5d8aa15.pth --input /user-data/mmactionVideo/frames/*/*.jpg --gen_via3 --output /user-data/mmactionVideo/annotations_proposal --score-thr 0.5 --show
以上是关于03mmaction2 行为识别商用级别使用mmaction搭建faster rcnn批量检测图片输出为via格式的主要内容,如果未能解决你的问题,请参考以下文章