php+mysql实现留言板
Posted quan-
tags:
篇首语:本文由小常识网(cha138.com)小编为大家整理,主要介绍了php+mysql实现留言板相关的知识,希望对你有一定的参考价值。
1、我的html代码为
<html>
<head>
    <meta charset='utf-8'>
    <title>留言板</title>
    <style>
        .a width:100%;
            margin:0 auto;

        textarea
            width: 100%;
            height:100px;
            margin-bottom:10px;
         .b
            border:  solid 1px #28e7d7;margin-top:10px; padding:5px;

         .u
            float:left;

          .s
            float:right;

    </style>

</head>
<body>
     <div calss='a'>
     <form action="db.php" method="POST">
        <textarea name='content'></textarea>
        <input name='username'  type='text'/>
        <input class='s'type='submit'  value='提交'/>
        <div style='clear:both;'></div>
    </div>
    </form>
    <div class='a'>
        <?php
        foreach ($rows as $key => $test)
        ?>
        <div class='b'>
            <p><?php echo $test['username'];?></p>
            <p><?php echo $test['content'];?></p>

        </div >
        <?php

        ?>
    </div>
</body>
</html>
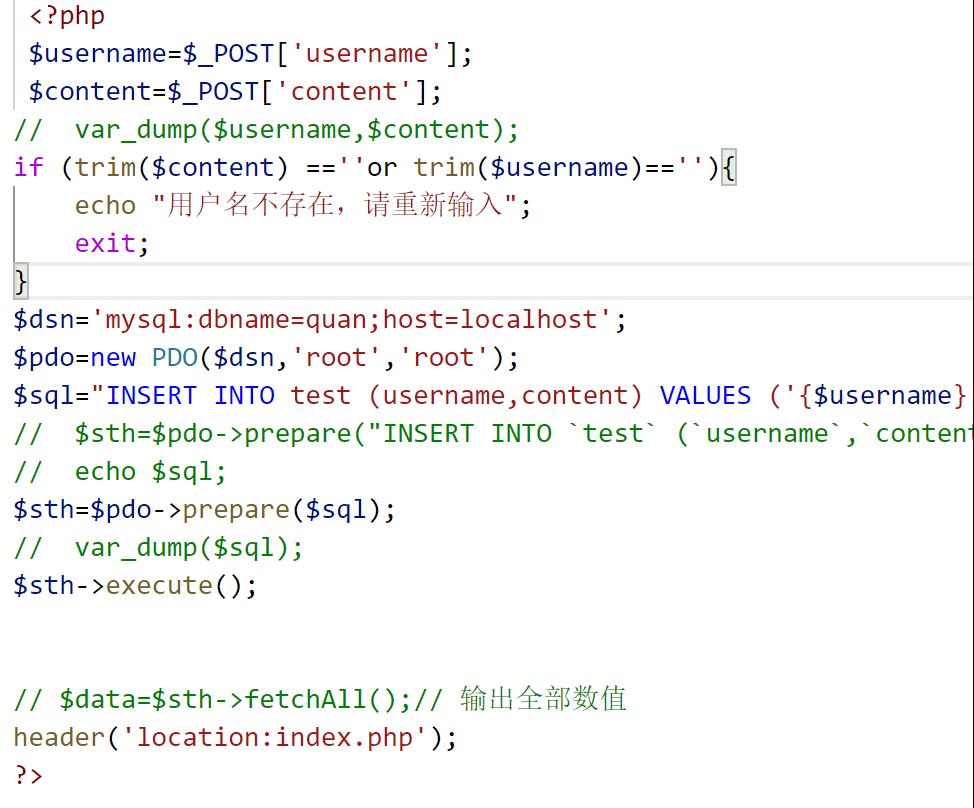
2、连接mysql的代码
<?php
 $username=$_POST['username'];
 $content=$_POST['content'];
 var_dump($username,$content);// 检验传来的数据是否有误
$dsn='mysql:dbname=quan;host=localhost';
$pdo=new PDO($dsn,'root','root');// 上一行以及这一行是连接数据库
$sql="INSERT INTO test (username,content) VALUES
('$username','$content')";// 插入语句到test表中,数值为values后的两个
//  echo $sql;//检验是否可以输出
$sth=$pdo->prepare($sql);// 准备执行
//  var_dump($sql);
$sth->execute();// 执行
header('location:index.php');//完成上述操作后回到留言板界面
?>
扩充:trim函数(自动删除代码之中的空格键)

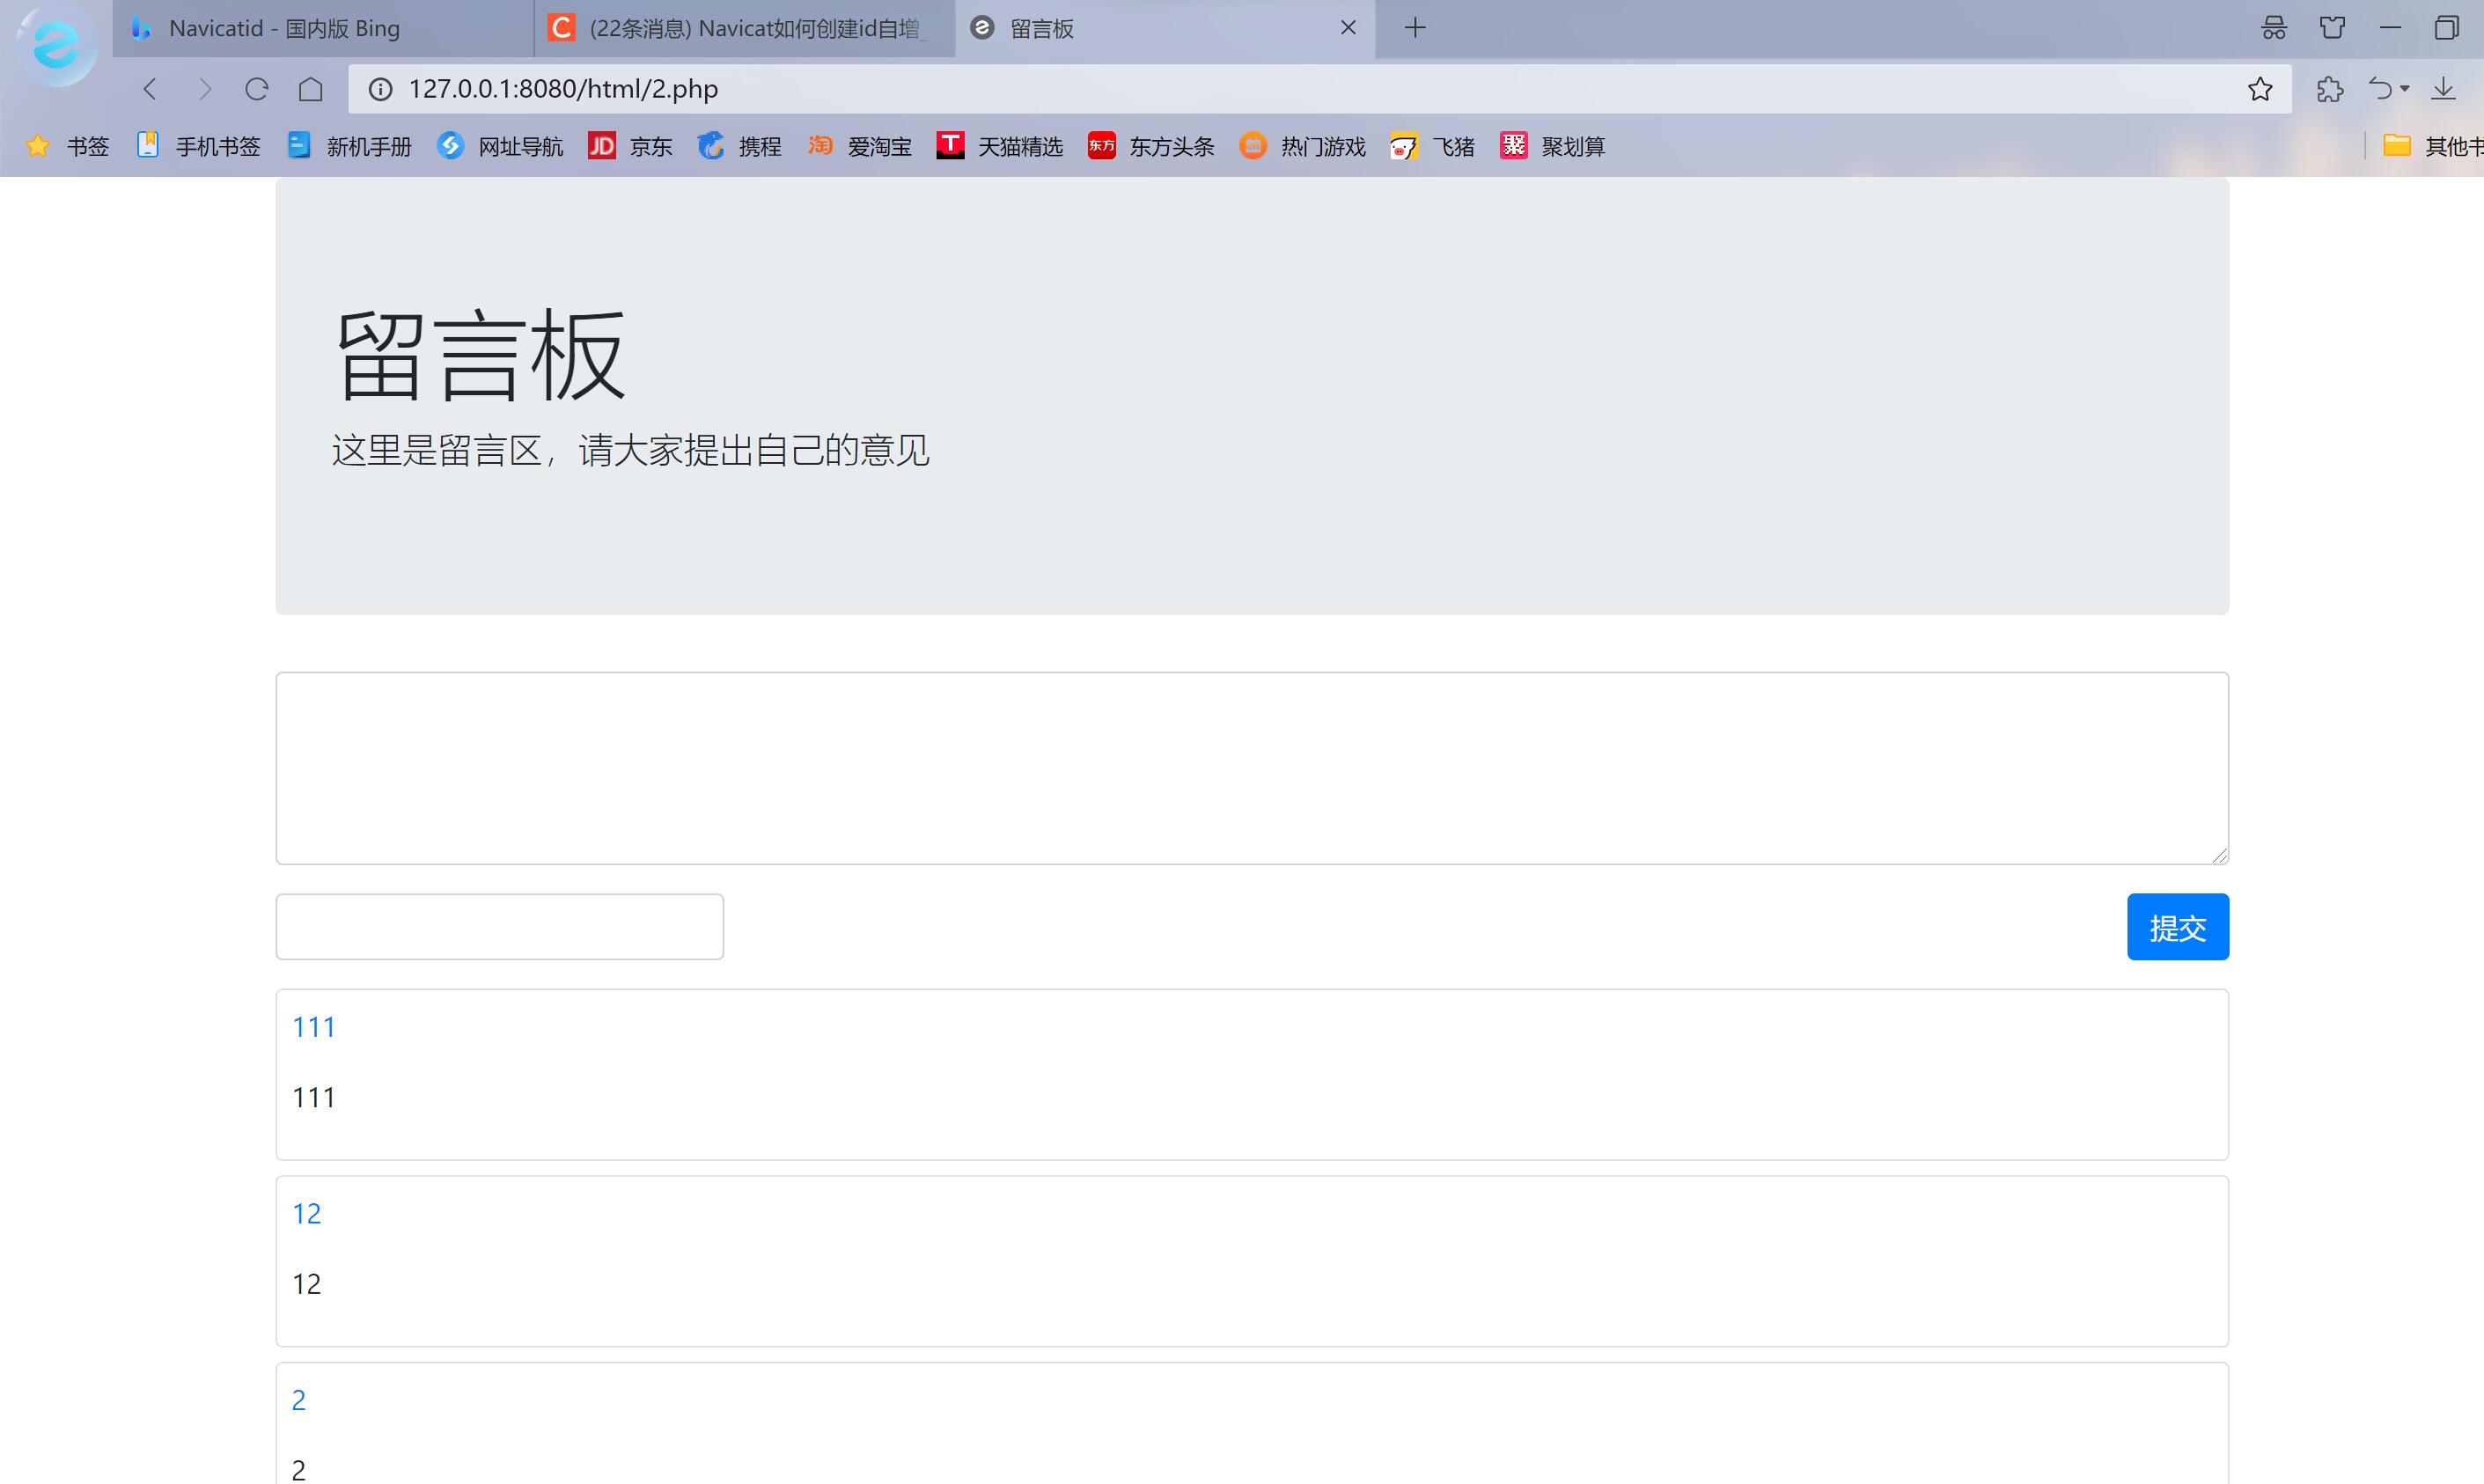
3、利用bootstrap美化
这里是链接
这是之后的代码(其中我将公用连接mysql的代码单独放置于一文件中,如果不理解,可以观看编程狮十天学会php)来了解
下面分别是留言板界面和数据库语句界面
<?php
include('7.php');
$sql = "SELECT * FROM `test` ORDER BY  id DESC";
$rows=read($pdo, $sql);
?>
<!doctype html>
<html lang="en">

<head>
  <!-- Required meta tags -->
  <meta charset="utf-8">
  <meta name="viewport" content="width=device-width, initial-scale=1, shrink-to-fit=no">

  <!-- Bootstrap CSS -->
  <link rel="stylesheet" href="https://stackpath.bootstrapcdn.com/bootstrap/4.3.1/css/bootstrap.min.css">

  <title>留言板</title>
</head>

<body>
  <div class="container">
    <div class="jumbotron">
      <h1 class="display-4">留言板</h1>
      <p class="lead">这里是留言区,请大家提出自己的意见</p>
    </div>
    <form action="db.php" method="POST">
      <div class='row'>
        <div class='col-12'>
          <div class='form-group'>
            <textarea name='content' class="form-control" rows='4'></textarea>
          </div>
        </div>
        <div class='col-3'>
          <div class='form-group'>
            <input name='username' class='form-control' type='text' />
          </div>
        </div>
        <div class='col-9 d-flex'>
          <div class="form-group ml-auto">
            <input class='btn btn-primary' type='submit' value='提交' />
          </div>
        </div>
      </div>
    </form>
    <div class='row'>
      <?php
      foreach ($rows as $key => $tesy)
      ?>
        <div class='col-12'>
          <div class='border rounded p-2 mb-2'>
            <div class='text-primary'>
              <p><?php echo $tesy['username']; ?></p>
            </div>
            <div>
              <p><?php echo $tesy['content']; ?></p>
            </div>
          </div>
        </div>
      <?php

      ?>
    </div>
  </div>
</body>

</html>
数据库界面(上述代码中7.php为下面代码的文件名)
<?php
$dsn='mysql:dbname=test;host=127.0.0.1';
$pdo=new PDO($dsn,'root','root');

function write($pdo,$sql)
$sth=$pdo->prepare($sql);
return $sth->execute();


function read($pdo,$sql)
$sth=$pdo->prepare($sql);
$sth->execute();
$rows=$sth->fetchAll();
return $rows;

?>
实现效果


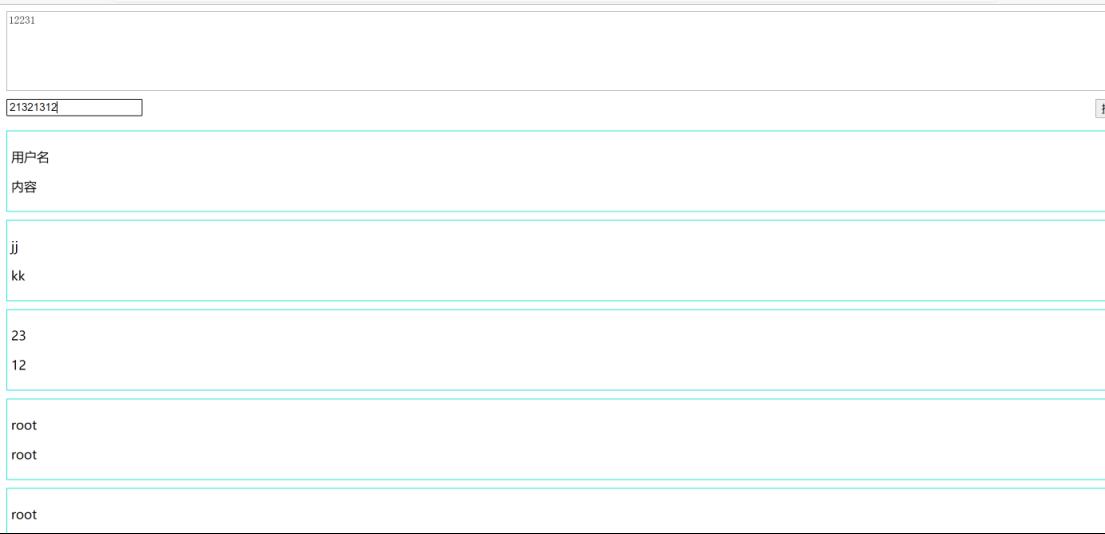
下面与我自己的代码界面进行对比(7.php不再写,与上面一致)
<?php
    include('7.php');
    $sql="SELECT * FROM `test` ORDER BY  id DESC";
    $sth= $pdo->prepare($sql);
    $sth->execute();
    $rows=$sth->fetchAll();
?>
<html>
<head>
    <meta charset='utf-8'>
    <title>留言板</title>
    <style>
        .a width:100%;
            margin:0 auto;

        textarea
            width: 100%;
            height:100px;
            margin-bottom:10px;
         .b
            border:  solid 1px #28e7d7;margin-top:10px; padding:5px;

         .u
            float:left;

          .s
            float:right;

    </style>

</head>
<body>
     <div calss='a'>
     <form action="db.php" method="POST">
        <textarea name='content'></textarea>
        <input name='username'  type='text'/>
        <input class='s'type='submit'  value='提交'/>
        <div style='clear:both;'></div>
    </div>
    </form>
    <div class='a'>
        <?php
        foreach ($rows as $key => $test)
        ?>
        <div class='b'>
            <p><?php echo $test['username'];?></p>
            <p><?php echo $test['content'];?></p>

        </div >
        <?php

        ?>
    </div>
</body>
</html>
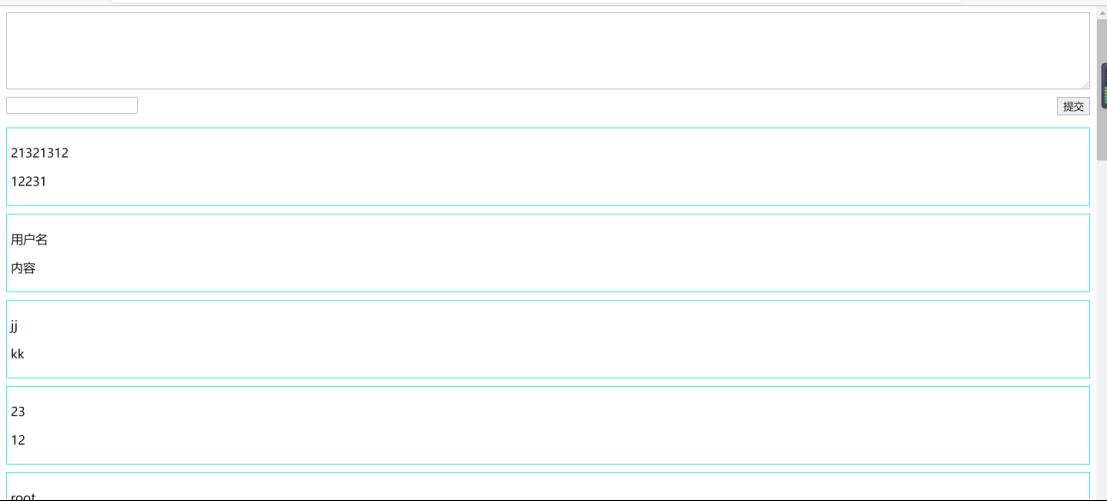
输出结果


可见bootstarp对于我这种无想象力的小白作用是非常之大的,大家也可以借鉴bootstarp来美化自己的界面
以上是关于php+mysql实现留言板的主要内容,如果未能解决你的问题,请参考以下文章