跑通一篇博客代码假装自己会Vue
Posted xlcaoyi
tags:
篇首语:本文由小常识网(cha138.com)小编为大家整理,主要介绍了跑通一篇博客代码假装自己会Vue相关的知识,希望对你有一定的参考价值。
本文是《跑通一篇博客代码假装自己会Java》的母亲篇,Vue是目前比较流行的前端框架。博主本人在两个月前对Java一窍不通,发配帝都出差一个月后,对Java,包括前端和后端都稍有熟悉。这篇博文主要介绍Vue的快速入门。
前端说得更准确是web前端,一般包括html、CSS、javascript三个部分。其中,HTML负责网页内容的搭建;CSS负责调整HTML中的元素属性,让他们更好看;Javascript负责业务逻辑。严格来说,Javascript算是一种计算机语言,HTML和CSS只能算是一种格式。Vue最简单、最主要的用法就是连接HTML和Javascript,通过Javascript,动态调整HTML。
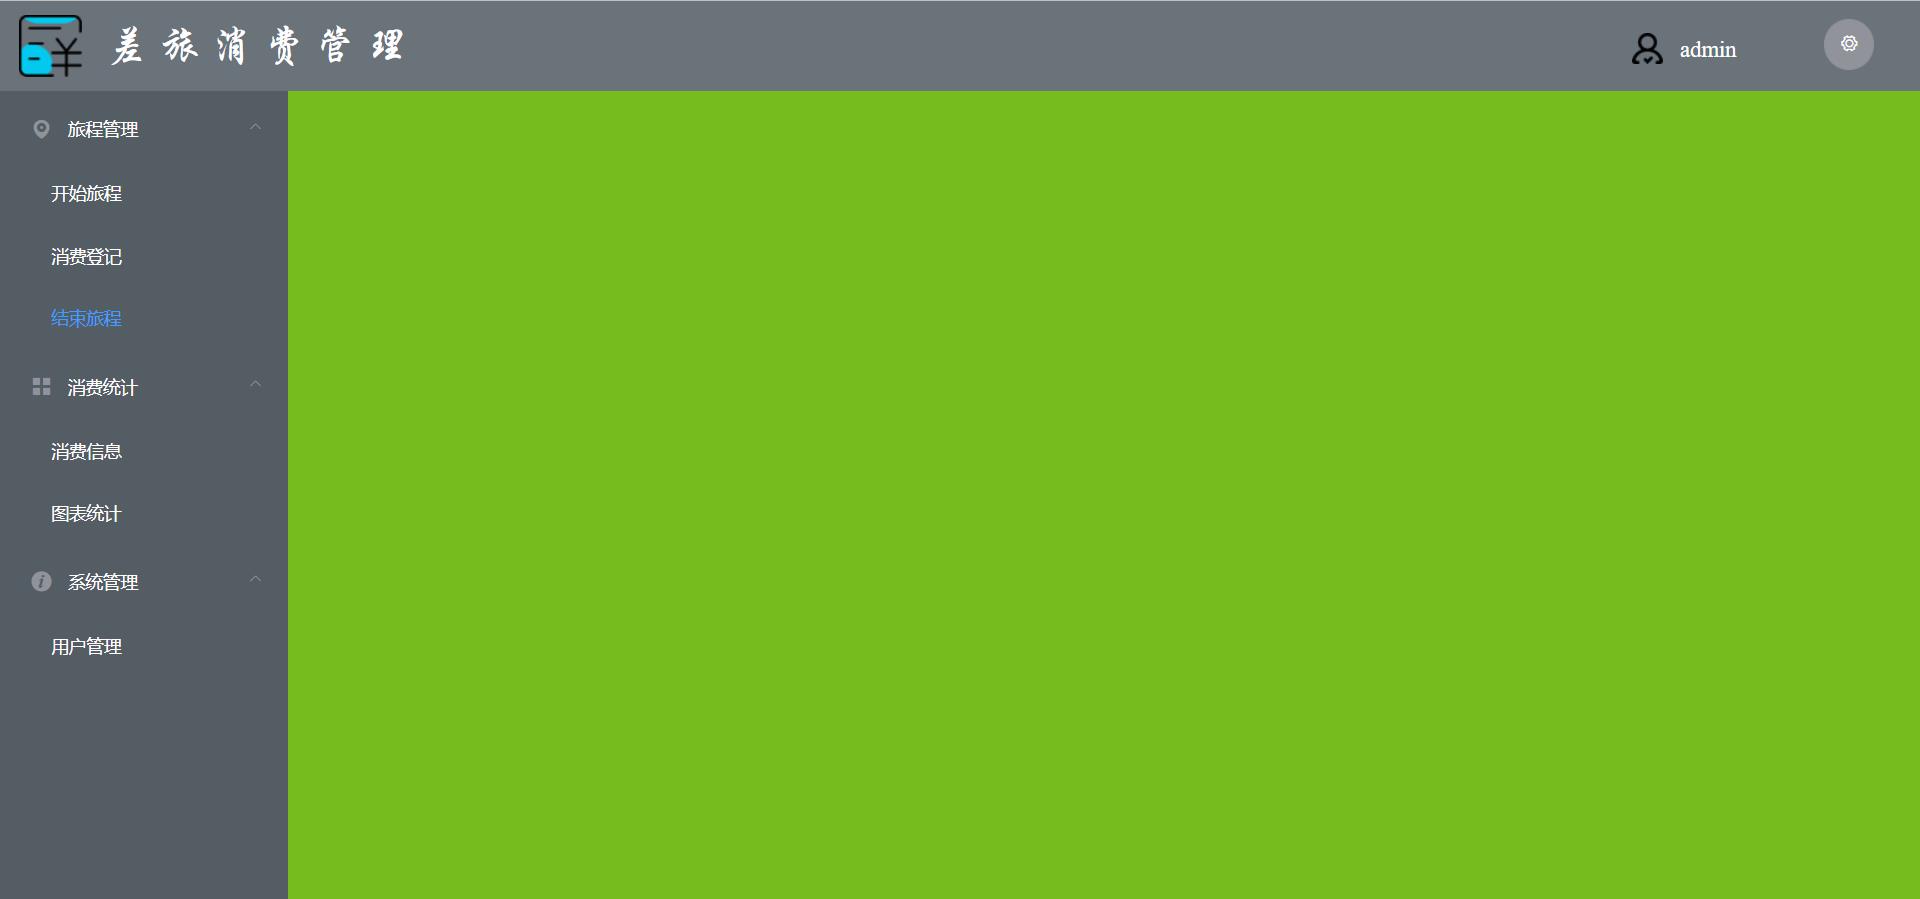
首先本文目标是入门Vue,做一个最简单的系统Demo。功能是通过选择左侧不同的菜单项,实现不同页面的切换。
1.首先,安装webstorm:WebStorm: The Smartest JavaScript IDE, by JetBrains
2.然后,安装Node.js:下载 | Node.js (nodejs.org),本文安装路径 D:\\Program Files\\nodejs(Node.js强制管理员模式安装,所以后面的所有操作都在管理员模式下操作)
3.安装Node.js后,验证npm能不能用,这玩意和python的pip差不多,用来管理包的。找不到npm命令就把 D:\\Program Files\\nodejs加到环境变量。
4.给npm设置个墙外代理:npm config set registry https://registry.npm.taobao.org
5.下载Vue的框架:npm install -g vue-cli
6.新建一个vue工程:vue init webpack vue_test
- Project name:vue_test(这是文件名)
- Project desc...:(随便)
- Auther:(随便)
- Vue build:Runtime + Compiler
- Install vue-rooter:No
- Use ESLint:No
- set up unit tests: No
- setup e2e tests...:No
- Should we run...:Yes,use NPM
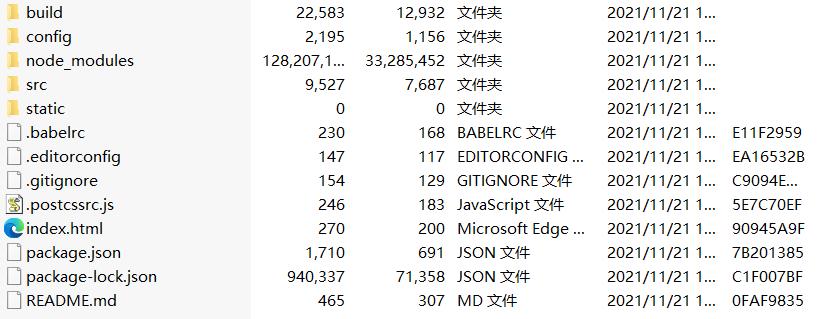
生成的vue项目如图所示:
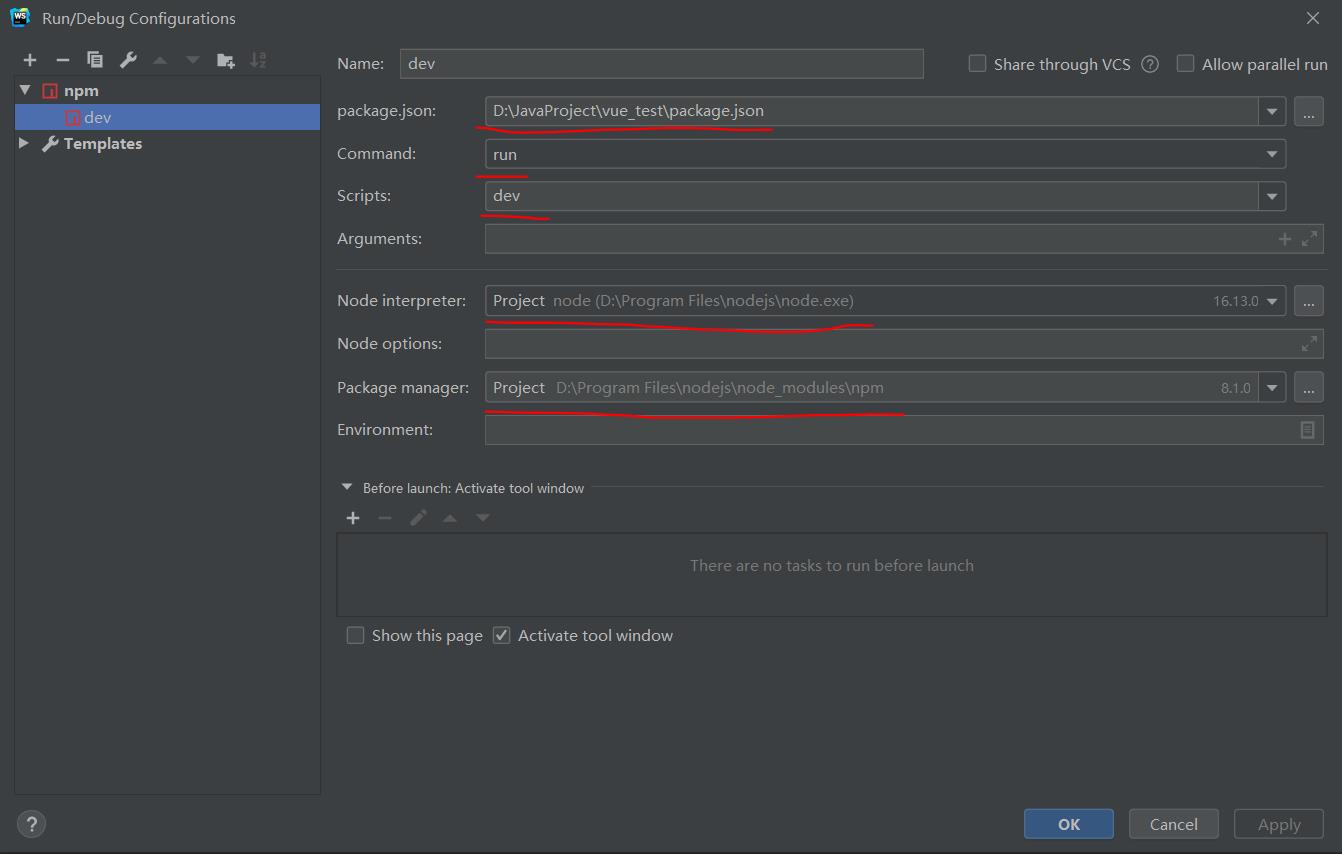
7.用webstorm打开这个项目,给项目添加配置环境:
先  ,然后
,然后  ,选择npm,然后如下图配置,路径改成自己的Node.js安装路径。
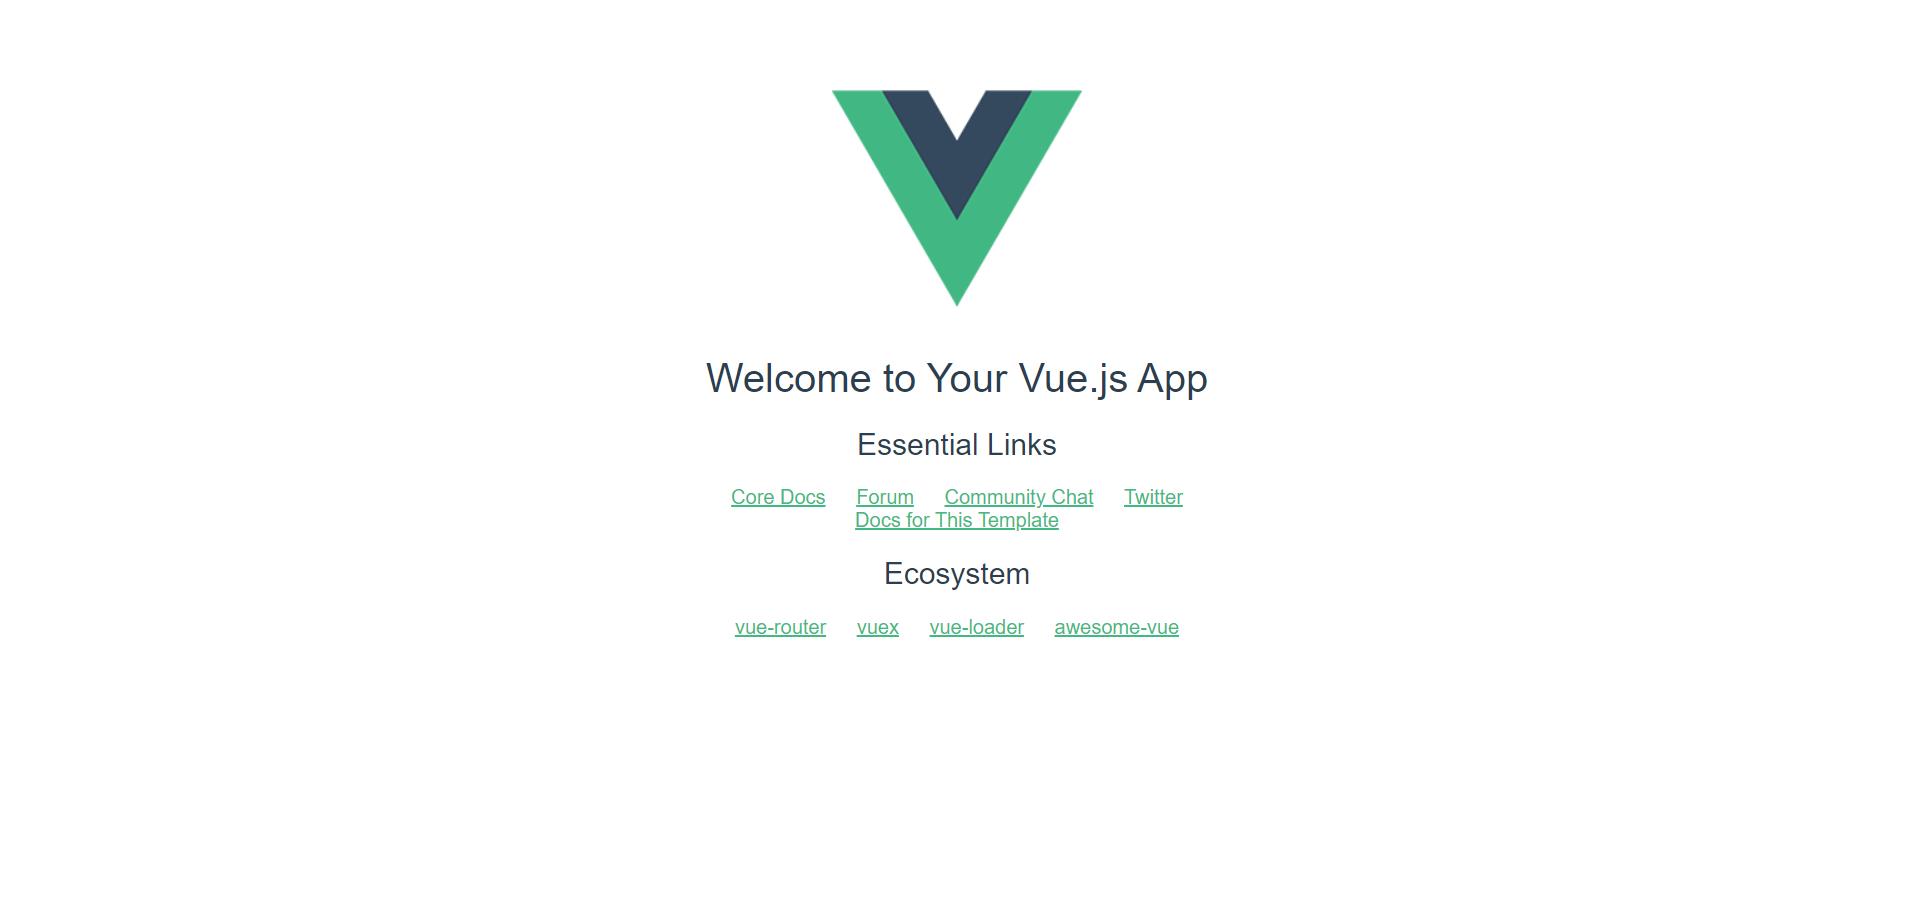
8.运行,webstorm给出网址,点击网址,出现vue的官方Demo。

9.分析一波这个Demo工程。
工程的入口是index.html,index.html里面只有一个div,id叫app,对应main.js的vue实例。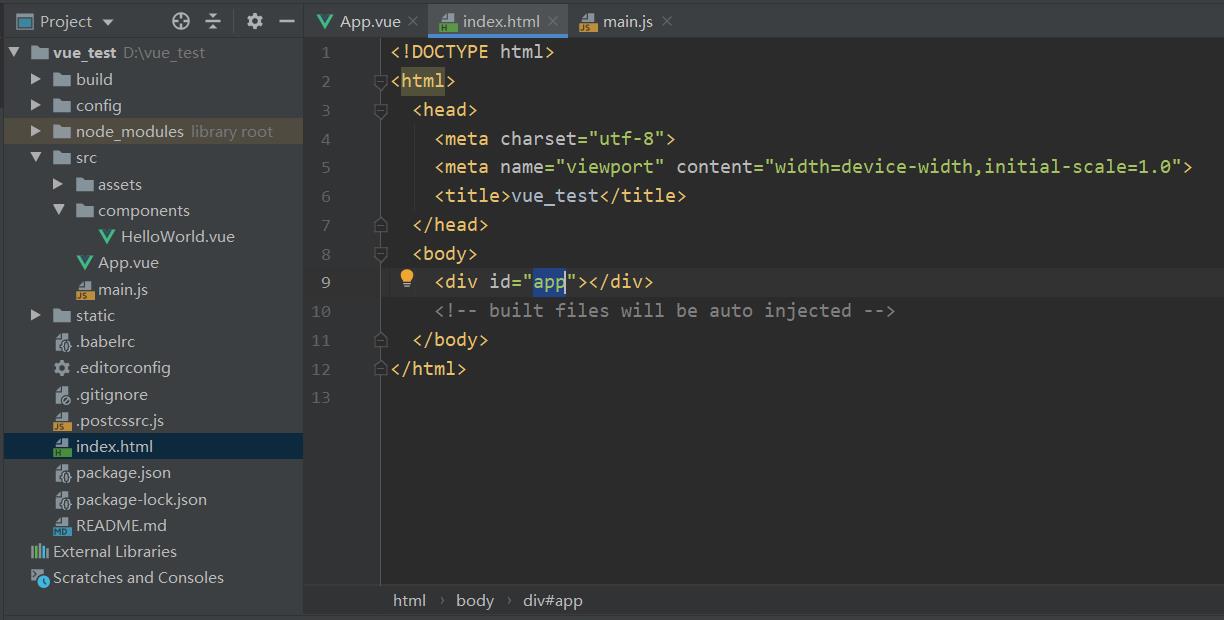
vue实例绑定了<App/>这个template,对应App.vue中的template,也就是说,最终显示的是App.vue的内容。
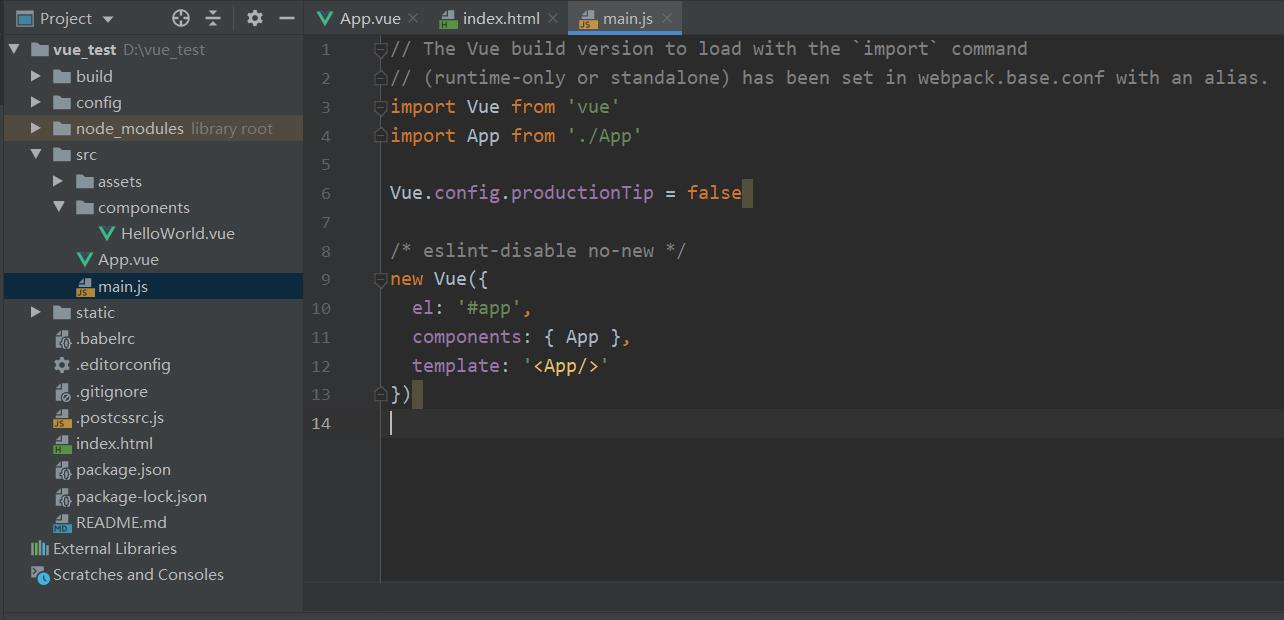
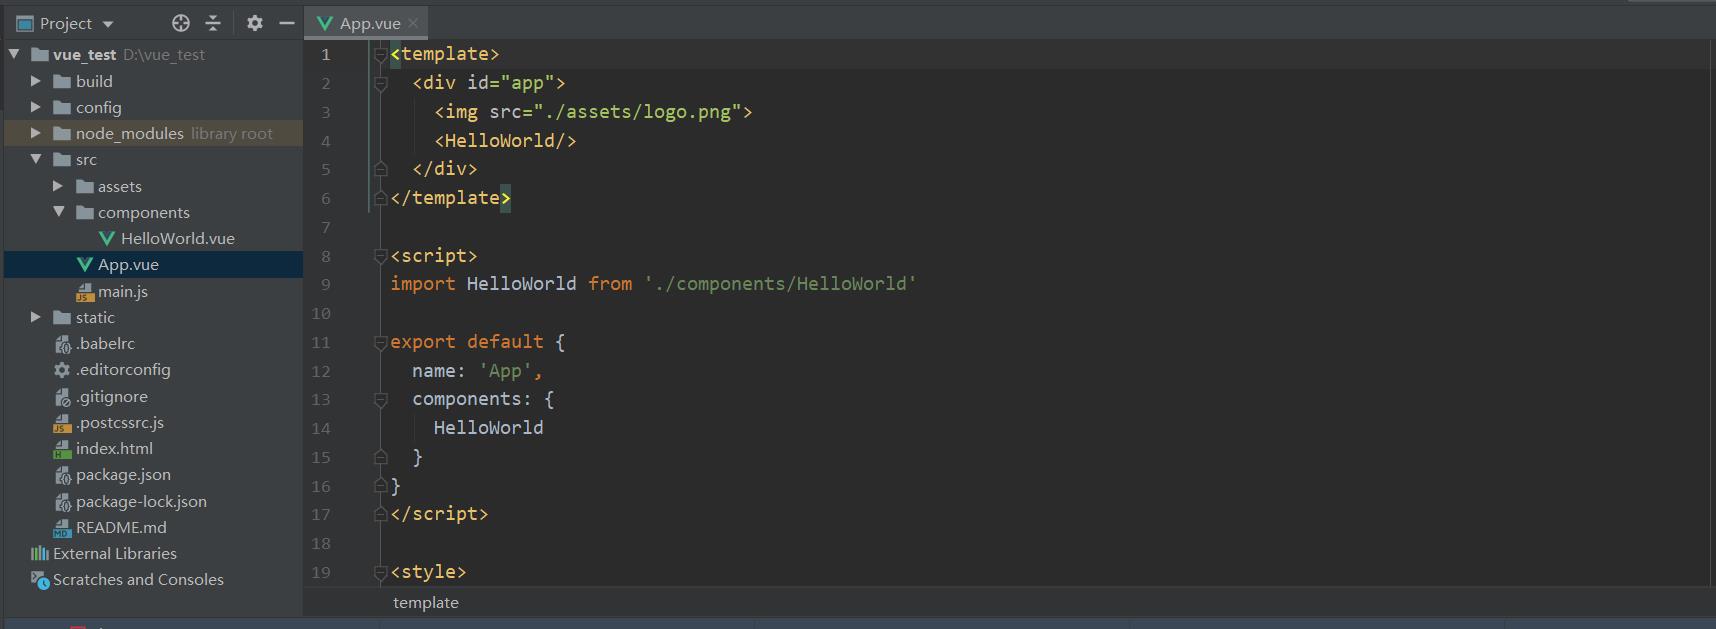
App.vue的<template>中,div里面只有两个东西,一个是一张图片,一个是另一个页面HelloWorld.vue的内容。
HelloWorld.vue的div包括五个标签,刚好对应页面显示的内容。
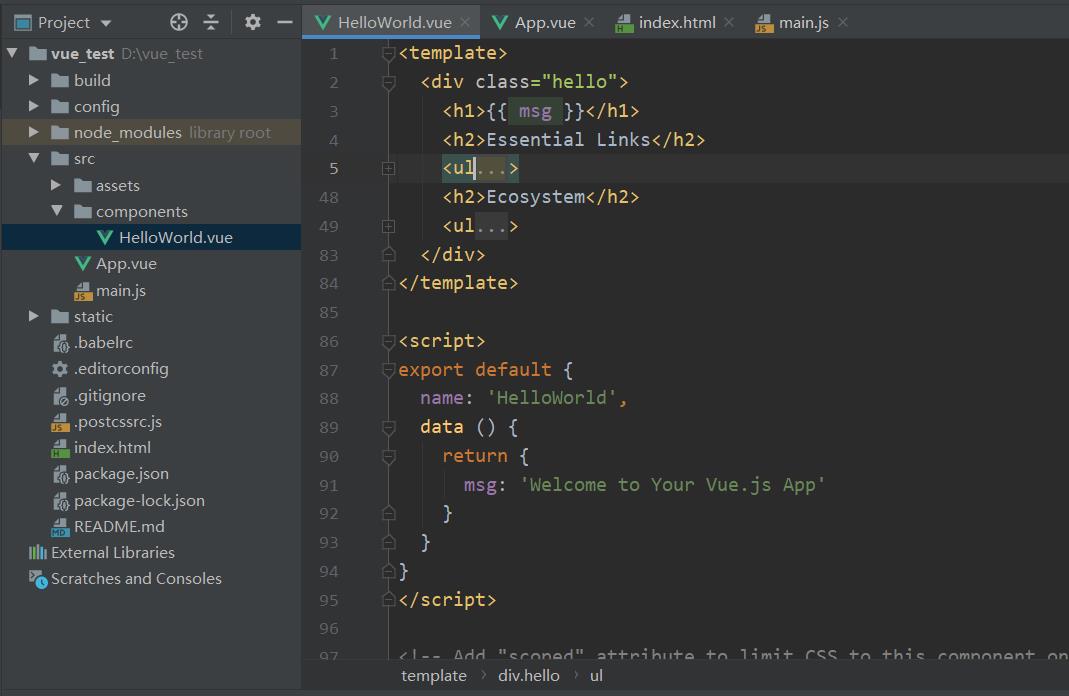
大概看一看就能明白,vue文件整合了HTML,CSS,Javascript三个东西,写在一个文件里面。<template>就是HTML,<script>是Javascript,<style>是CSS。
10.加载UI组件库,本文用的element-ui。安装指令:npm i element-ui -S。
然后在main.js加如下代码:
import ElementUI from 'element-ui';
import 'element-ui/lib/theme-chalk/index.css';
Vue.use(ElementUI)11.修改App.vue,让程序运行我们自己的页面。这里我们绑定的是Main.vue。步骤12会建立一个Main.vue文件。
<template>
  <div id="app">
    <Main/>
  </div>
</template>

<script>
import Main from "./components/Main"

export default
  name: 'App',
  components:
    Main


</script>

<style>
  body
    margin: 0;
    overflow: hidden;

</style>
12.在components文件夹新建Main.vue文件,代码如下:代码功能主要是通过鼠标选择主页面不同的菜单项,显示不同的子页面。子页面还没做,所以只有不同颜色来区分。
<template>
<div>
<div class="header">
<div id="system-logo"></div>
<div id="system-label"> 差 旅 消 费 管 理</div>
<div id="user-logo"></div>
<div id="user-name-label">userName</div>
<el-button
id="setting-button"
type="info"
icon="el-icon-setting"
@click="handleClick()"
circle></el-button>
</div>
<div class="body">
<div class="left-menu">
<el-menu
default-active="2-2"
background-color="#545c64"
text-color="#fff"
@open="handleOpen"
@close="handleClose"
@select="handleSelect">
<el-submenu index="1">
<template slot="title">
<i class="el-icon-location"></i>
<span>旅程管理</span>
</template>
<el-menu-item index="1-1">开始旅程</el-menu-item>
<el-menu-item index="1-2">消费登记</el-menu-item>
<el-menu-item index="1-3">结束旅程</el-menu-item>
</el-submenu>
<el-submenu index="2">
<template slot="title">
<i class="el-icon-menu"></i>
<span>消费统计</span>
</template>
<el-menu-item index="2-1">消费信息</el-menu-item>
<el-menu-item index="2-2">图表统计</el-menu-item>
</el-submenu>
<el-submenu index="3">
<template slot="title">
<i class="el-icon-info"></i>
<span>系统管理</span>
</template>
<el-menu-item index="3-1">用户管理</el-menu-item>
</el-submenu>
</el-menu>
</div>
<div class="right-content">
<StartJourneyPanel v-if="isShowStartJourneyPanel === true"></StartJourneyPanel>
<ConsumeRecordPanel v-if="isShowConsumeRecordPanel === true"></ConsumeRecordPanel>
<EndJourneyPanel v-if="isShowEndJourneyPanel === true"></EndJourneyPanel>
<ChartStatisticsPanel v-if="isShowChartStatisticsPanel === true"></ChartStatisticsPanel>
<ConsumeInfoPanel v-if="isShowConsumeInfoPanel === true"></ConsumeInfoPanel>
<UserManagePanel v-if="isShowUserManagePanel === true"></UserManagePanel>
</div>
<div class="setting-panel" v-if="isShowSettingPanel === true">
<SettingPanel></SettingPanel>
</div>
</div>
</div>
</template>
<script>
import SettingPanel from "./SettingPanel";
import StartJourneyPanel from "./JourneyManage/StartJourneyPanel";
import ConsumeRecordPanel from "./JourneyManage/ConsumeRecordPanel";
import EndJourneyPanel from "./JourneyManage/EndJourneyPanel";
import ChartStatisticsPanel from "./ConsumeStatistics/ChartStatisticsPanel";
import ConsumeInfoPanel from "./ConsumeStatistics/ConsumeInfoPanel";
import UserManagePanel from "./SystemManage/UserManagePanel";
export default
components:
SettingPanel,
StartJourneyPanel,
ConsumeRecordPanel,
EndJourneyPanel,
ChartStatisticsPanel,
ConsumeInfoPanel,
UserManagePanel
,
name: "Main",
data ()
return
userName: "admin",
isShowSettingPanel: false,
isShowStartJourneyPanel: false,
isShowConsumeRecordPanel: false,
isShowEndJourneyPanel: false,
isShowConsumeInfoPanel: false,
isShowChartStatisticsPanel: true,
isShowUserManagePanel: false
,
methods:
handleOpen(key, keyPath)
,
handleClose(key, keyPath)
,
handleSelect(key, keyPath)
this.isShowSettingPanel=false;
this.isShowStartJourneyPanel=false;
this.isShowConsumeRecordPanel=false;
this.isShowEndJourneyPanel=false;
this.isShowChartStatisticsPanel=false;
this.isShowConsumeInfoPanel=false;
this.isShowUserManagePanel=false;
switch (keyPath[1])
case "1-1":
this.isShowStartJourneyPanel = true;
break;
case "1-2":
this.isShowConsumeRecordPanel = true;
break;
case "1-3":
this.isShowEndJourneyPanel = true;
break;
case "2-1":
this.isShowConsumeInfoPanel = true;
break;
case "2-2":
this.isShowChartStatisticsPanel = true;
break;
case "3-1":
this.isShowUserManagePanel = true;
break;
,
handleClick(evt)
this.isShowSettingPanel = this.isShowSettingPanel === false?true:false;
,
</script>
<style scoped>
.header
width: 100%;
height: calc(10vh);
background: #6a727a;
.body
width: 100%;
height: calc(90vh);
background: #545c64;
#system-logo
position: absolute;
top: 1.5%;
left: 1%;
width: 50px;
height: 50px;
background: url("..//assets/system-logo.png");
#system-label
position: absolute;
top: 2.5%;
left: 5%;
font-size: 32px;
font-family: 华光行楷_CNKI;
color: white;
#user-logo
position: absolute;
top: 3.5%;
left: 85%;
width: 25px;
height: 25px;
background: url("..//assets/user-small.png");
#user-name-label
position: absolute;
top: 4%;
left: 87.5%;
font-size: calc(2.5vh);
font-family: "Times New Roman";
color: #ffffff;
#setting-button
position: absolute;
top: 2%;
left: 95%;
.left-menu
position: absolute;
top: calc(10vh);
left: 0%;
width: 15%;
height: calc(90vh);
padding: 1px;
.right-content
position: absolute;
top: calc(10vh);
left: 15%;
width: 85%;
height: calc(90vh);
.setting-panel
position: absolute;
top: 33%;
left: 33%;
width: 50%;
height: 33%;
</style>
13.子页面代码如下:所有子页面都是这个格式,就改了颜色和名字。
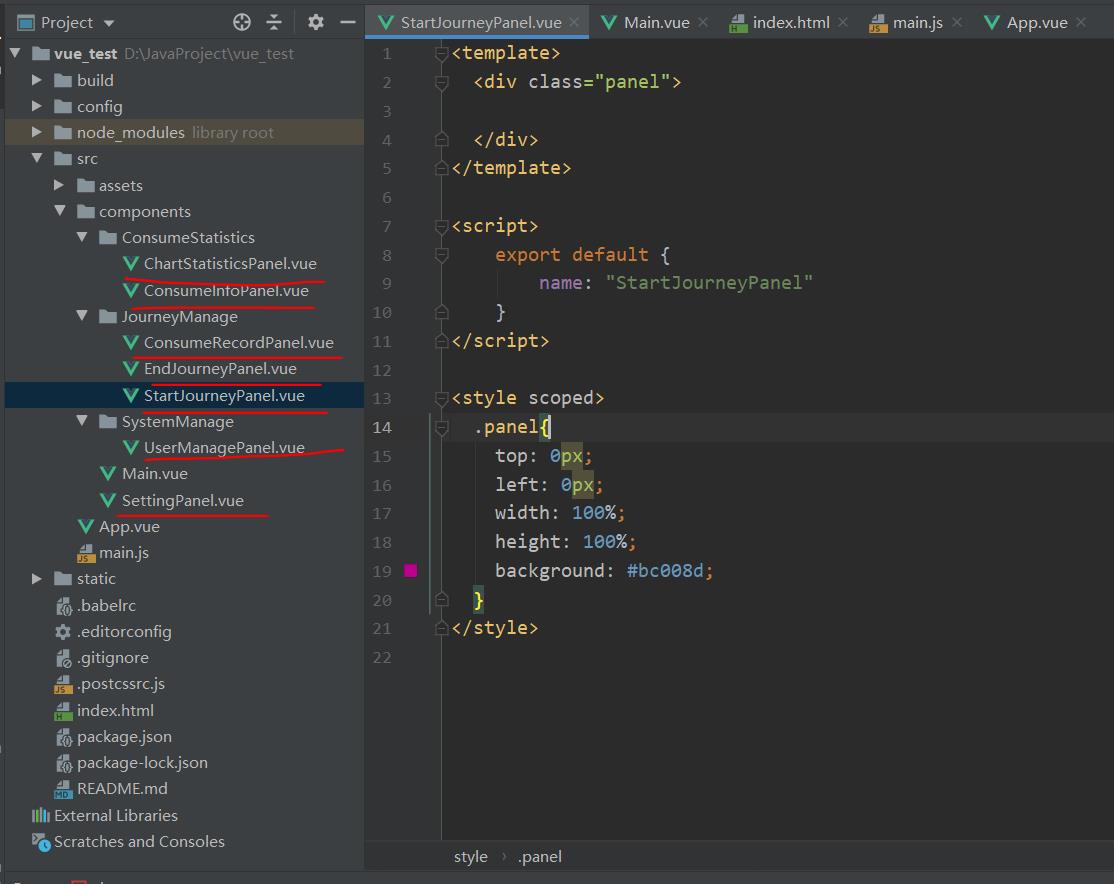
到此,一个简单的Vue程序Demo建立完成。
以上是关于跑通一篇博客代码假装自己会Vue的主要内容,如果未能解决你的问题,请参考以下文章