[JavaScript实例解析]js计算器
Posted 程序员云锦
tags:
篇首语:本文由小常识网(cha138.com)小编为大家整理,主要介绍了[JavaScript实例解析]js计算器相关的知识,希望对你有一定的参考价值。
本实例来自菜鸟教程
实例代码
HTML:
<!DOCTYPE html>
<html lang="en">
<head>
  <meta charset="UTF-8">
  <meta http-equiv="X-UA-Compatible" content="IE=edge">
  <meta name="viewport" content="width=device-width, initial-scale=1.0">
  <title>Document</title>
  <style>
    /* Basic Reset */

  </style>
</head>
<body>
  <div class="center">
		<h1>计算器</h1>
		<a href="https://github.com/guuibayer/simple-calculator" target="_blank"><i class="fa fa-github"></i></a>
		<form name="calculator">
			<input type="button" id="clear" class="btn other" value="C">
			<input type="text" id="display">
				<br>
			<input type="button" class="btn number" value="7" onclick="get(this.value);">
			<input type="button" class="btn number" value="8" onclick="get(this.value);">
			<input type="button" class="btn number" value="9" onclick="get(this.value);">
			<input type="button" class="btn operator" value="+" onclick="get(this.value);">
				<br>
			<input type="button" class="btn number" value="4" onclick="get(this.value);">
			<input type="button" class="btn number" value="5" onclick="get(this.value);">
			<input type="button" class="btn number" value="6" onclick="get(this.value);">
			<input type="button" class="btn operator" value="*" onclick="get(this.value);">
				<br>
			<input type="button" class="btn number" value="1" onclick="get(this.value);">
			<input type="button" class="btn number" value="2" onclick="get(this.value);">
			<input type="button" class="btn number" value="3" onclick="get(this.value);">
			<input type="button" class="btn operator" value="-" onclick="get(this.value);">
				<br>
			<input type="button" class="btn number" value="0" onclick="get(this.value);">
			<input type="button" class="btn operator" value="." onclick="get(this.value);">
			<input type="button" class="btn operator" value="/" onclick="get(this.value);">
			<input type="button" class="btn other" value="=" onclick="calculates();">
		</form>
	</div>
  <script>

  </script>
</body>
</html>
CSS:
*
	border: none;/*去除默认边框*/
	font-family: 'Open Sans', sans-serif;/*更改字体*/
	margin: 0;/*去除默认外边距*/
	padding: 0;/*去除默认内边距*/


 .center
	background-color: #fff;
	border-radius: 50%;/*圆角*/
	height: 600px;/*计算器总高度*/
	margin: auto;/*水平居中*/
	width: 600px;/*宽度*/


h1 /*修改标题样式*/
	color: #495678;/*字体颜色*/
	font-size: 30px;	/*字体大小*/
	margin-top: 20px;/*顶部外边距*/
	padding-top: 50px;/*顶部内边距*/
	display: block;/*修改为块级元素,独占一行*/
	text-align: center;/*文字居中*/
	text-decoration: none;/*去除默认文字样式*/


a /*这是标题下面一块位置,点击可以跳转到github的仓库地址*/
	color: #495678;
	font-size: 30px;
	display: block;
	text-align: center;
	text-decoration: none;
	padding-top: 20px;


form /*定义表单区域的样式*/
	background-color: #495678;/*背景颜色*/
	box-shadow: 4px 4px #3d4a65;/*阴影*/
	margin: 40px auto;/*定义外边距*/
	padding: 40px 0 30px 40px;	/*定义内边距*/
	width: 280px;/*宽度*/
	/*高度由内容撑起*/


.btn /*定义每个数字按钮的格式*/
	outline: none;/*清除默认边框样式*/
	cursor: pointer;/*定义鼠标移上时变成手的图案,使用户知道可点击*/
	font-size: 20px;/*字体大小*/
	height: 45px;/*按钮高度*/
	margin: 5px 0 5px 10px;/*外边距*/
	width: 45px;/*按钮宽度*/


.btn:first-child
	margin: 5px 0 5px 10px;/*第一个按钮特殊*/


.btn, #display, form /*按钮,文本输入框和整个表单区域*/
	border-radius: 25px;/*圆角*/


/*定义输入框*/
#display
	outline: none;/*清除默认边框样式*/
	background-color: #98d1dc;/*背景颜色*/
	box-shadow: inset 6px 6px 0px #3facc0;/*阴影*/
	color: #dededc;/*内部文本颜色*/
	font-size: 20px;/*文本大小*/
	height: 47px;/*输入框高度*/
	text-align: right;/*文本右对齐*/
	width: 165px;/*定义宽度*/
	padding-right: 10px;/*右内边距*/
	margin-left: 10px;/*左外边距*/


.number /*定义数字的按钮*/
	background-color: #72778b;/*背景颜色*/
	box-shadow: 0 5px #5f6680;/*阴影*/
	color: #dededc;/*数字颜色*/


.number:active /*选中数字样式,就是点击数字的动态效果*/
	box-shadow: 0 2px #5f6680;

  	-webkit-transform: translateY(2px);
  	-ms-transform: translateY(2px);
  	-moz-tranform: translateY(2px);
  	transform: translateY(2px);
		/*这四个其实是一样的,这是为了兼容不同的浏览器,效果就是向上移动2px距离
		需要配合js,点击时赋active,点击后抹掉
		*/


.operator /*定义运算符按钮*/
	background-color: #dededc;/*背景颜色*/
	box-shadow: 0 5px #bebebe;/*阴影*/
	color: #72778b;/*运算符颜色*/


.operator:active /*定义运算符点击时*/
	/*这个比数字点击多了一个,就是把下面的阴影减少了一点*/
	box-shadow: 0 2px #bebebe;
  	-webkit-transform: translateY(2px);
  	-ms-transform: translateY(2px);
  	-moz-tranform: translateY(2px);
  	transform: translateY(2px);


.other /*定义归零键和=键*/
	background-color: #e3844c;/*背景颜色*/
	box-shadow: 0 5px #e76a3d;/*阴影*/
	color: #dededc;/*符号颜色*/


.other:active /*点击效果和点击运算符一样*/
	box-shadow: 0 2px #e76a3d;
  	-webkit-transform: translateY(2px);
  	-ms-transform: translateY(2px);
  	-moz-tranform: translateY(2px);
  	transform: translateY(2px);
JavaScript:
 /* limpa o display */
		document.getElementById("clear").addEventListener("click", function()
			document.getElementById("display").value = "";
		);
/* recebe os valores */
		function get(value)
			document.getElementById("display").value += value;


/* calcula */
		function calculates()
			var result = 0;
			result = document.getElementById("display").value;
			document.getElementById("display").value = "";
			document.getElementById("display").value = eval(result);
		;
实例演示
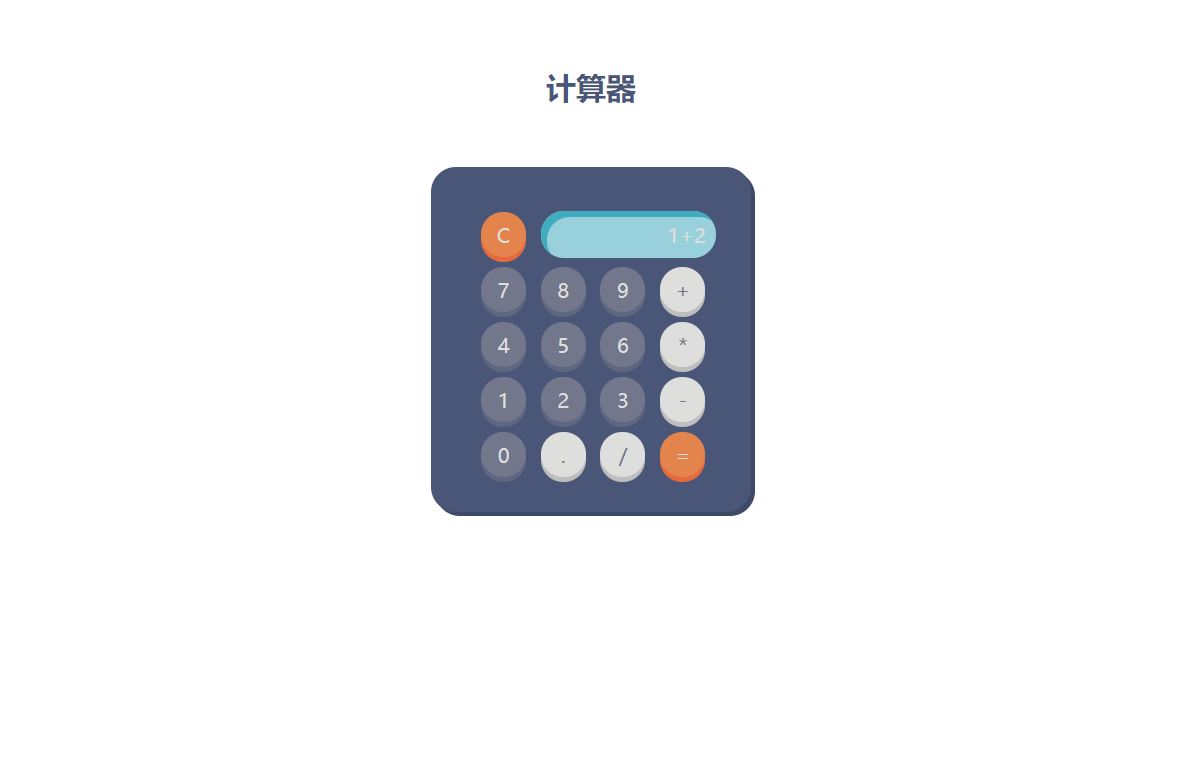
页面加载后,显示一个计算器的页面,可以进行正常的四则运算

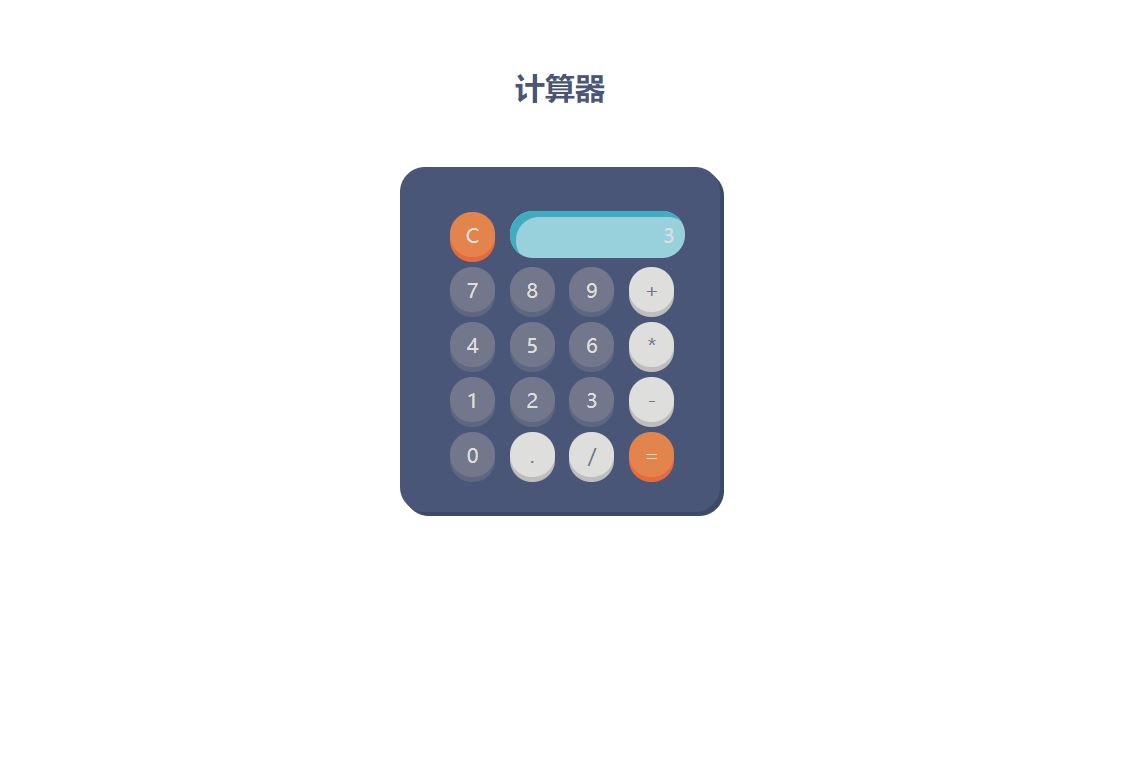
运算结果

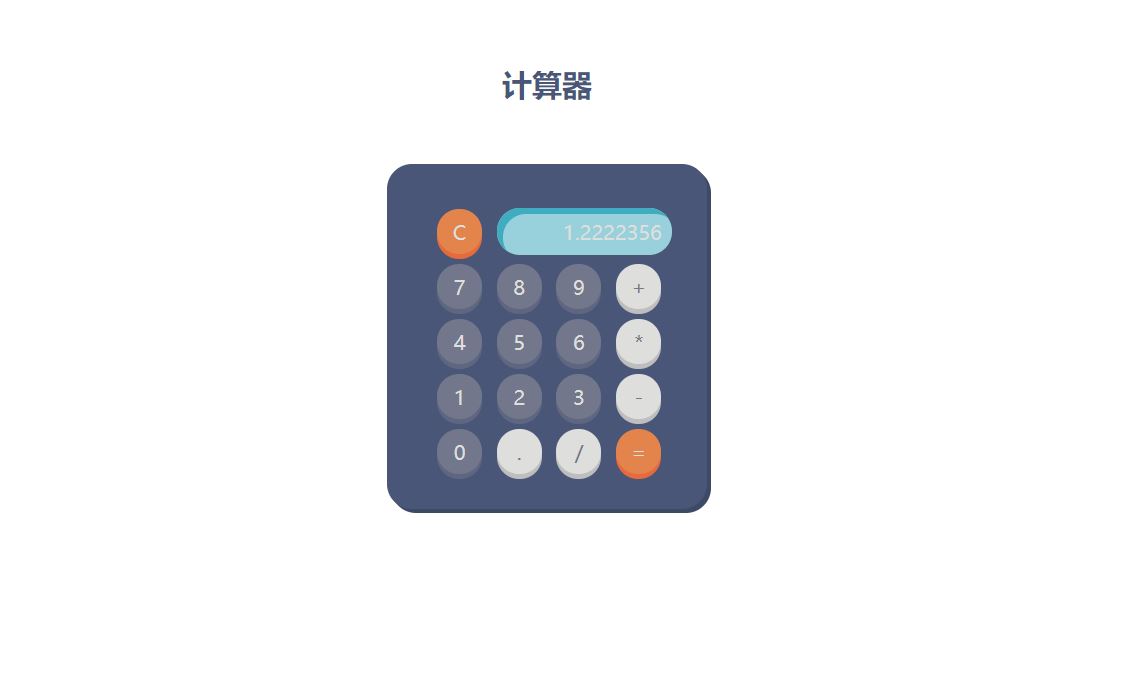
也可以归零,加小数等等操作

实例剖析
方法解析
document.getElementById("display").value = eval(result);
eval() 函数计算 javascript 字符串,并把它作为脚本代码来执行。
如果参数是一个表达式,eval() 函数将执行表达式。如果参数是Javascript语句,eval()将执行 Javascript 语句。
实例执行原理解析
document.getElementById("clear").addEventListener("click", function()
			document.getElementById("display").value = "";
);
监听归零键的click操作,点击则归零键则执行代码把display输入框清空
function get(value)
			document.getElementById("display").value += value;
每个键上onclick属性绑定函数get(),点击相应键则把相应键的值添加到display输入框中,直接做字符串的追加
function calculates()
			var result = 0;
			result = document.getElementById("display").value;
			document.getElementById("display").value = "";
			document.getElementById("display").value = eval(result);
;
核心计算函数,首先获取输入框display的字符串,然后清空输入框,调用eval()函数计算表达式的值后再赋给输入框display,实现计算器的简易功能
计算器的CSS代码在上面已经由注释解析了
以上是关于[JavaScript实例解析]js计算器的主要内容,如果未能解决你的问题,请参考以下文章