双目立体视觉PyTorch & ZED 3D人体识别与追踪 (上)
Posted Techblog of HaoWANG
tags:
篇首语:本文由小常识网(cha138.com)小编为大家整理,主要介绍了双目立体视觉PyTorch & ZED 3D人体识别与追踪 (上)相关的知识,希望对你有一定的参考价值。

项目地址:GitHub - stereolabs/zed-examples: ZED SDK Example projects
官方文档:Stereolabs Docs: API Reference, Tutorials, and Integration
How to Use PyTorch with ZED | Stereolabshttps://www.stereolabs.com/docs/pytorch/github项目地址:3D Mask R-CNN using the ZED and Pytorch
3D Mask R-CNN using the ZED and Pytorch
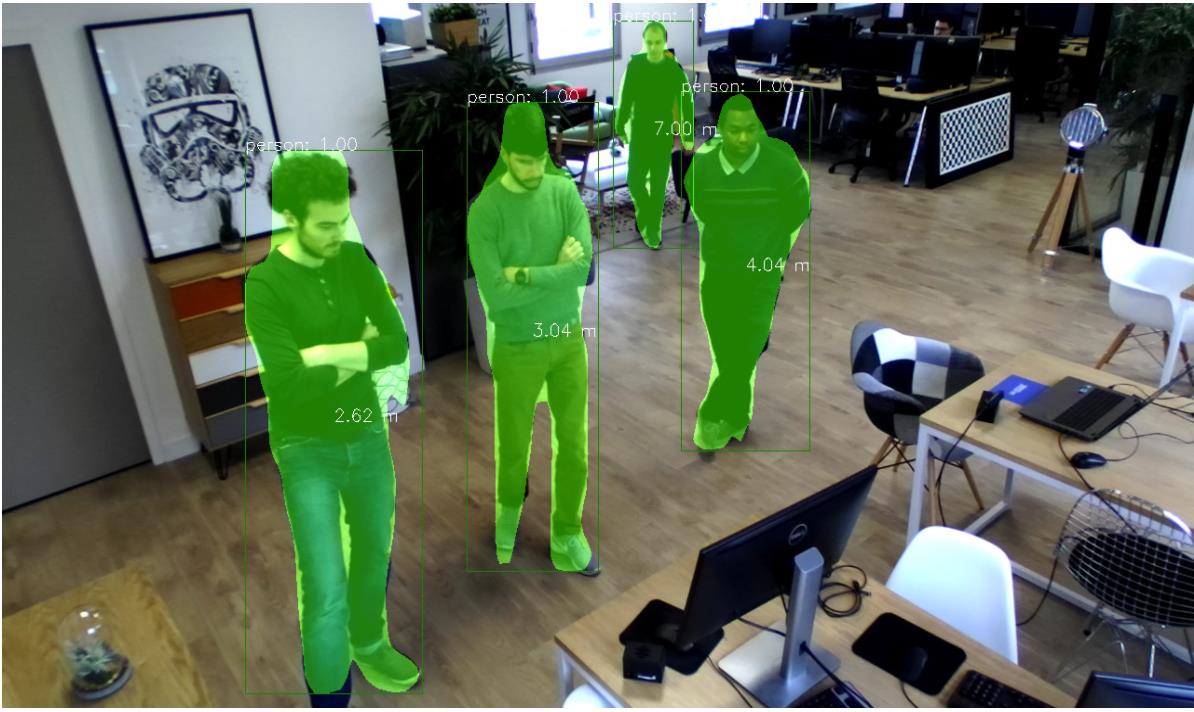
The ZED SDK can be interfaced with Pytorch for adding 3D localization of custom objects detected with Mask-RCNN. In this Python 3 sample, we will show you how to detect, segmente, classify and locate objects in 3D space using the ZED stereo camera and Pytorch.
ROS ZED SDK: Getting IMU and Sensor Data in ROS | Stereolabshttps://www.stereolabs.com/docs/ros/sensor-data/
1. 准备工作
- Python API默认安装与源码编译
安装ZED Python API
其实在执行ZED SDK install 代码中./ZED_SDK_Linux_*.run时,在安装的最后,安装会提醒你是否希望安装ZED Python API,选Y的话会发现可能安装不上。当然,如果你安装上了,恭喜你,安好了,在python3中import pyzed如果没问题那就真的安好了,下面的东西对你就没用了,享受你的ZED使用吧!
但是我是没有办法安装上的,主要原因讲过了,stereolabs下行带宽不行。
针对这种情形的同学,可以上github上下载zed-python-api,工程的位置是下面这个链接:
GitHub - stereolabs/zed-python-api: Python API for the ZED SDK
https://github.com/stereolabs/zed-python-api
下载之后,执行以下几句指令:cd <workspace>(这里填上你解压zed-python-api的路径,进入zed-python-api文件夹中包含requirements.txt的地方) pip3 install -r requirements.txt python3 setup.py build python3 setup.py install
执行之后,如果没有报错应该就没问题了,在python3下import pyzed没报错就是安装完成了。
- pip安装出错
pip install报错:Missing dependencies for SOCKS support解决方法:
在使用pip install -r requirements.txt命令时,报错:
InvalidSchema: Missing dependencies for SOCKS support.解决方法
依次输入下面命令:unset all_proxy unset ALL_PROXYInstall missing dependencies:
pip install pysocksReset proxy
source ~/.bashrc
- 安装CUDA与cuDNN
Linux查看 CUDA 版本
- 方法一:
nvcc --version或
nvcc -V如果 nvcc 没有安装,那么用方法二。
- 方法二:
去安装目录下查看:
cat /usr/local/cuda/version.txt查看 cuDNN 版本
cat /usr/local/cuda/include/cudnn.h | grep CUDNN_MAJOR -A 2如果没有,那么可能没有安装 cuDNN。
如果是为了使用 PyTorch/TensorFlow,在 Linux 服务器上推荐使用 conda 安装,使用 conda 可以很方便安装 PyTorch/TensorFlow 以及对应版本的 CUDA 和 cuDNN。
安装方法:
ZED SDK已经默认安装了CUDA10.2,安装cuDNN步骤如下:
CUDNN安装
切换到cudnn文件所在目录,通过tar -xzvf cudnn-10.2-linux-x64-v7.6.5.32.tgz命令解压文件,会得到一个cuda文件夹,逐一执行下面的命令进行cudnn的安装。sudo cp cuda/include/cudnn.h /usr/local/cuda/include/ sudo cp cuda/lib64/libcudnn* /usr/local/cuda/lib64/ sudo chmod a+r /usr/local/cuda/include/cudnn.h sudo chmod a+r /usr/local/cuda/lib64/libcudnn*
完成后,通过下面的命令查看安装情况,如果结果如下图逐行显示版本号,则安装成功。cat /usr/local/cuda/include/cudnn.h | grep CUDNN_MAJOR -A 2
至此,在Ubuntu18.04上CUDA和CUDNN安装完成。
按照官方教程,在虚拟环境中安装Pytorch1.5并进行GPU训练测试,结果如下,成功使用CUDA训练。
2. 基础环境配置
Dependencies
The 3D Object Detection project depends on the following libraries:
- Python 3
- CUDA
- ZED SDK (Python API)
- Pytorch
- OpenCV
- Apex
ZED SDK Installation
Install the ZED SDK https://www.stereolabs.com/developers/release/ and the ZED Python API
 https://www.stereolabs.com/docs/getting-started/python-development/
1. Pytorch Installation
Using Conda (recommended,推荐方法)
The CUDA version must match the one used for the ZED SDK, in that case CUDA 10.0. A dedicated environment can be created to setup Pytorch, but don't forget to activate it, especially when installing MaskRCNN.
conda create --name pytorch1 -y
conda activate pytorch1
conda install pytorch torchvision cudatoolkit=10.2 -c pytorch
conda install --yes --file requirements.txt
Note: Do not forget to install Python API inside your current environment.
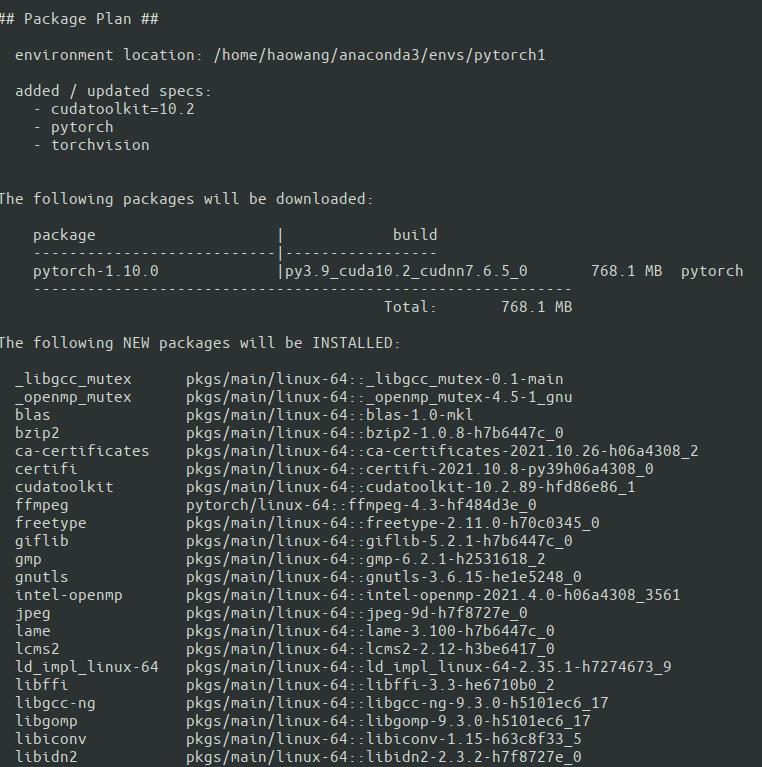
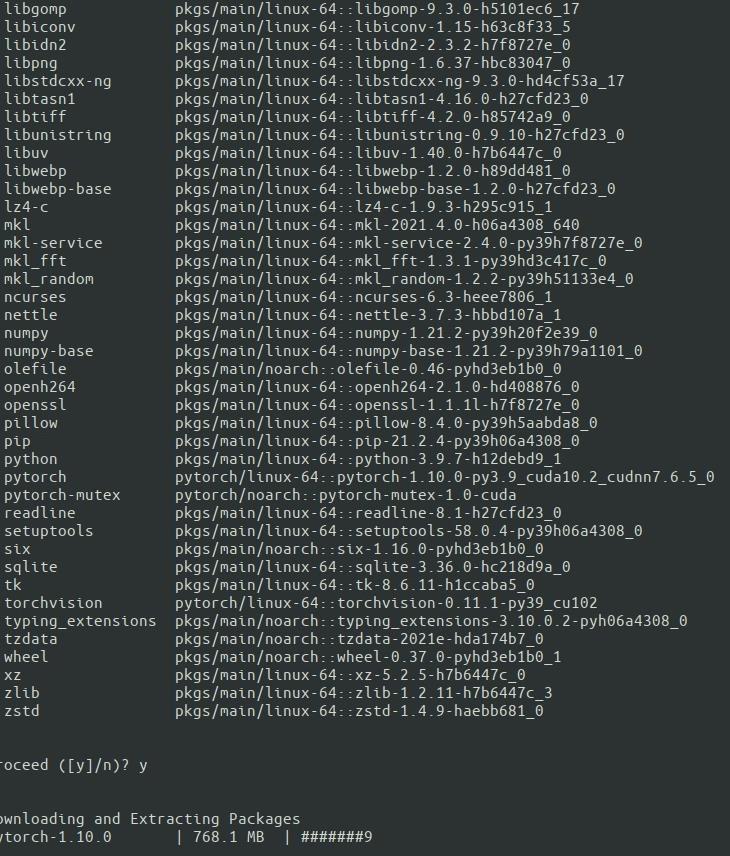
等待安装成功即可
Using Pip
pip3 install torch==1.4.0+cu100 torchvision==0.5.0+cu100 -f https://download.pytorch.org/whl/torch_stable.html
pip3 install -r requirements.txt
For more information please refer to this page Start Locally | PyTorch.
2. Apex Installation
We make use of NVIDIA's Apex API. To install it, run the following:
$ git clone https://github.com/NVIDIA/apex
$ cd apex
$ python setup.py install
3. Mask R-CNN Installation
Setup Mask R-CNN. If you're using a conda environment, make sure it is still active before running the following commands.
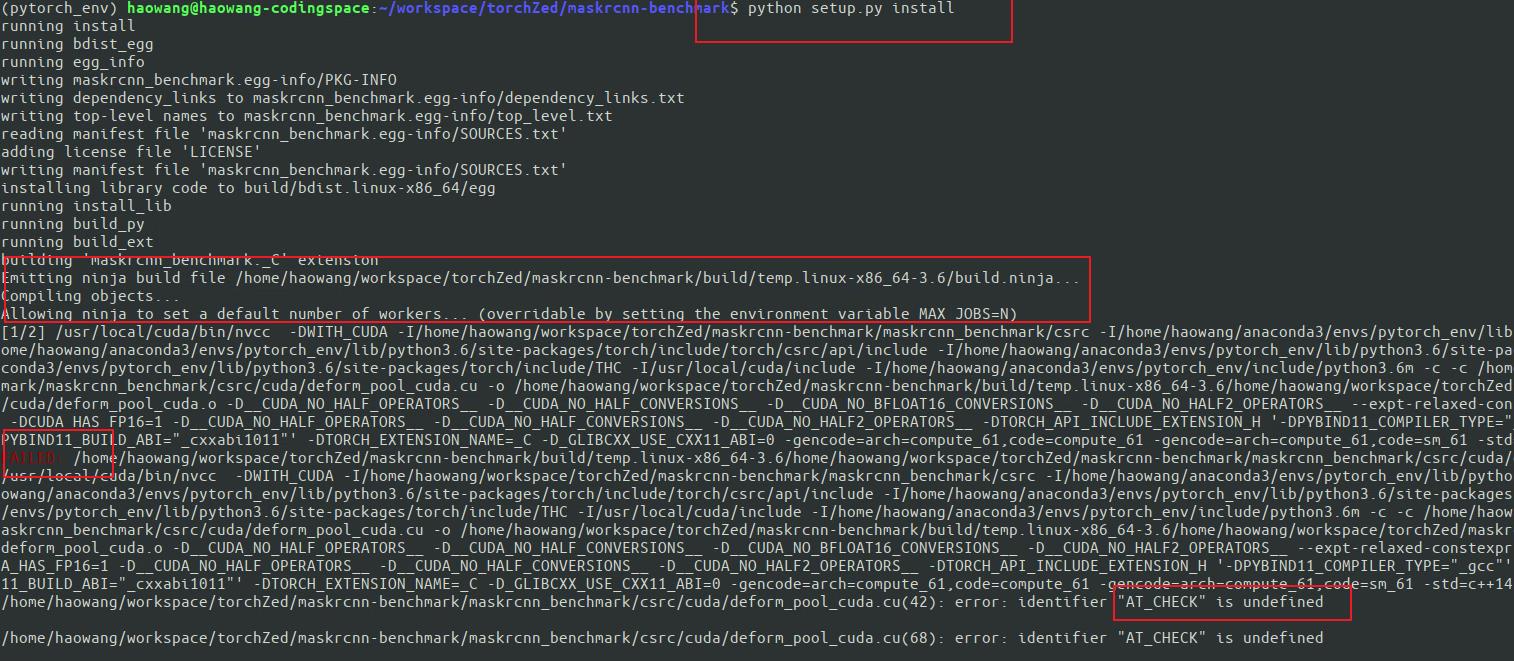
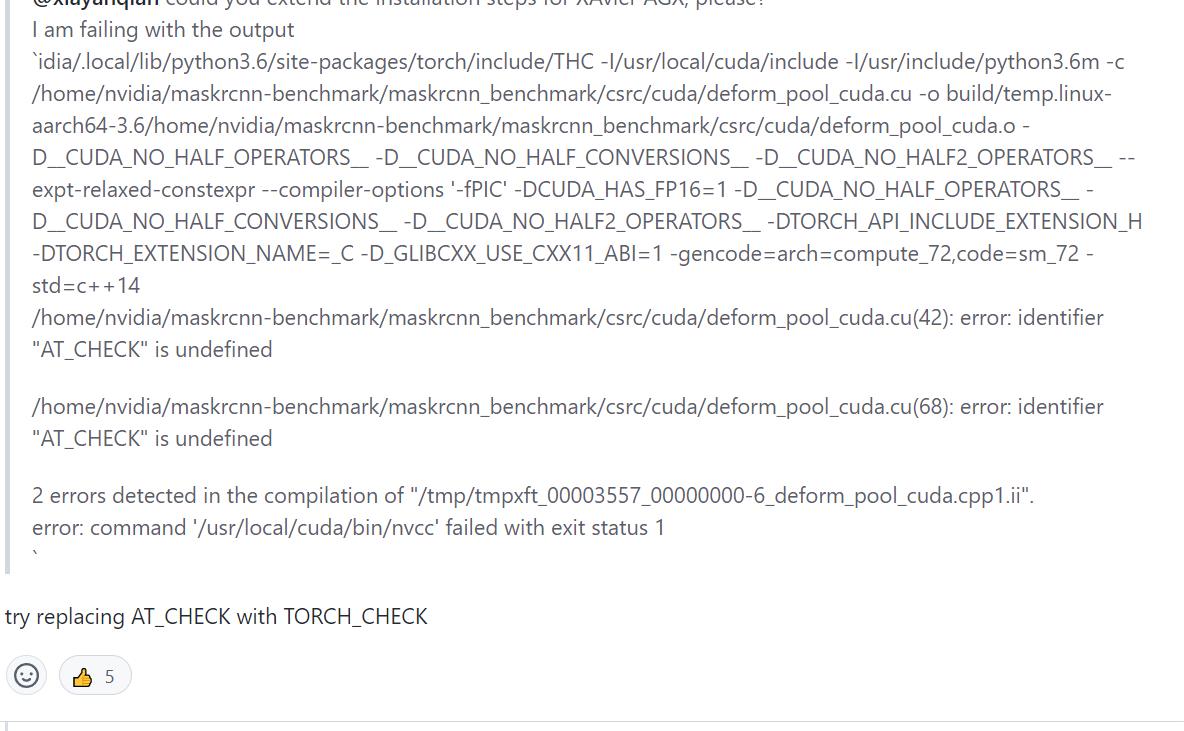
安装时报错: error: identifier “AT_CHECK“ is undefined
解决办法
将报错行中的
AT_CHECK替换为TORCH_CHECK即可参考:https://github.com/facebookresearch/maskrcnn-benchmark/issues/1248
重新编译安装即可
$ git clone https://github.com/facebookresearch/maskrcnn-benchmark.git
$ cd maskrcnn-benchmark
$ python setup.py installHighlights
maskrcnn-benchmark has been deprecated. Please see detectron2, which includes implementations for all models in maskrcnn-benchmark
This project aims at providing the necessary building blocks for easily creating detection and segmentation models using PyTorch 1.0.
- PyTorch 1.0: RPN, Faster R-CNN and Mask R-CNN implementations that matches or exceeds Detectron accuracies
- Very fast: up to 2x faster than Detectron and 30% faster than mmdetection during training. See MODEL_ZOO.md for more details.
- Memory efficient: uses roughly 500MB less GPU memory than mmdetection during training
- Multi-GPU training and inference
- Mixed precision training: trains faster with less GPU memory on NVIDIA tensor cores.
- Batched inference: can perform inference using multiple images per batch per GPU
- CPU support for inference: runs on CPU in inference time. See our webcam demo for an example
- Provides pre-trained models for almost all reference Mask R-CNN and Faster R-CNN configurations with 1x schedule.
以上是关于双目立体视觉PyTorch & ZED 3D人体识别与追踪 (上)的主要内容,如果未能解决你的问题,请参考以下文章
