(十三)ATP应用测试平台——springboot集成kafka案例实战
Posted 北溟溟
tags:
篇首语:本文由小常识网(cha138.com)小编为大家整理,主要介绍了(十三)ATP应用测试平台——springboot集成kafka案例实战相关的知识,希望对你有一定的参考价值。
前言
kafka消息中间键也是我们经常要用到的功能,尤其是在大数据、高并发的项目中,如日志收集、业务数据分发等等。其最核心的俩大功能作用是:①削峰填谷②异步解耦。本节我们主要介绍一下如何在springboot项目中集成kafka消息中间键,实现简单的数据分发以及消费的案例。
正文
-
kafka集群搭建
快速搭建一个kafka集群,我们这里以docker环境为例,搭建一个kafka集群,具体搭建过程请参考以下博客,这里不再赘述。
-
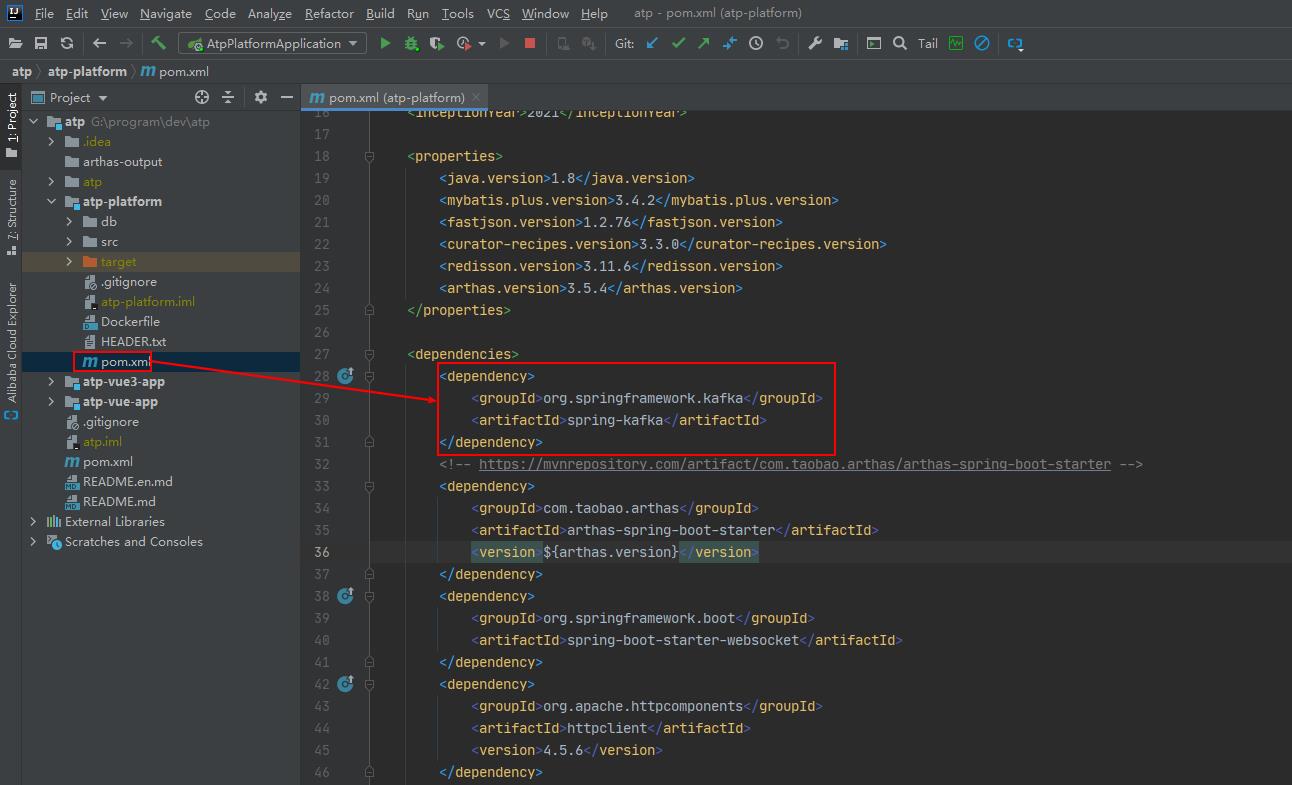
springboot项目引入kafka依赖
<dependency>
	<groupId>org.springframework.kafka</groupId>
	<artifactId>spring-kafka</artifactId>
</dependency>
-
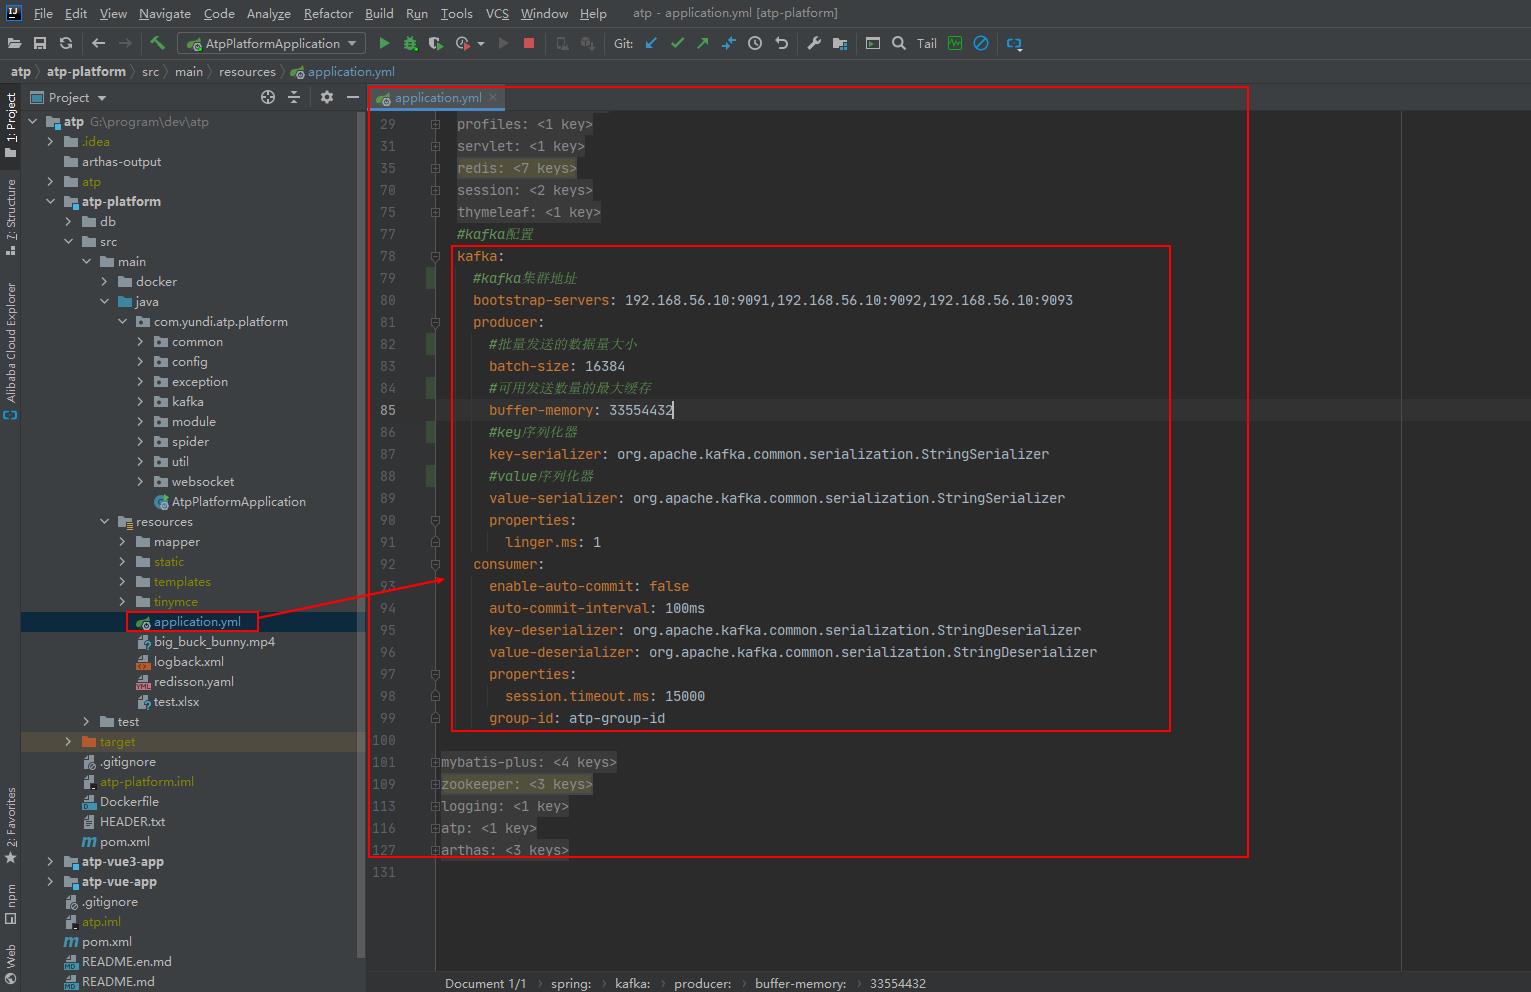
引入kafka配置
spring:
  #kafka配置
  kafka:
    #kafka集群地址
    bootstrap-servers: 192.168.56.10:9091,192.168.56.10:9092,192.168.56.10:9093
    producer:
      #批量发送的数据量大小
      batch-size: 16384
      #可用发送数量的最大缓存
      buffer-memory: 33554432
      #key序列化器
      key-serializer: org.apache.kafka.common.serialization.StringSerializer
      #value序列化器
      value-serializer: org.apache.kafka.common.serialization.StringSerializer
      properties:
        linger.ms: 1
    consumer:
      enable-auto-commit: false
      auto-commit-interval: 100ms
      key-deserializer: org.apache.kafka.common.serialization.StringDeserializer
      value-deserializer: org.apache.kafka.common.serialization.StringDeserializer
      properties:
        session.timeout.ms: 15000
      group-id: atp-group-id
-
创建一个kafka生产者生产消息
①创建一个kafka生产者类KafkaProducer生产消息
package com.yundi.atp.platform.kafka;

import lombok.extern.slf4j.Slf4j;
import org.springframework.beans.factory.annotation.Autowired;
import org.springframework.kafka.core.KafkaTemplate;
import org.springframework.kafka.support.SendResult;
import org.springframework.stereotype.Component;
import org.springframework.util.concurrent.ListenableFuture;
import org.springframework.util.concurrent.ListenableFutureCallback;

/**
 * @Author: yanp
 * @Description: kafka生产者
 * @Date: 2021/11/3 18:31
 * @Version: 1.0.0
 */
@Component
@Slf4j
public class KafkaProducer {
    @Autowired
    private KafkaTemplate<Integer, String> kafkaTemplate;

    public void sendMsg(String topic, String msg) {
        log.info("开始发送kafka消息:[topic:{},msg:{}]", topic, msg);
        ListenableFuture<SendResult<Integer, String>> sendMsg = kafkaTemplate.send(topic, msg);
        //消息确认
        sendMsg.addCallback(new ListenableFutureCallback<SendResult<Integer, String>>() {
            @Override
            public void onFailure(Throwable throwable) {
                log.error("send error:[ex:{},topic:{},msg:{}]", throwable, topic, msg);
            }

            @Override
            public void onSuccess(SendResult<Integer, String> stringStringSendResult) {
                log.info("send success:[topic:{},msg:{}]", topic, msg);
            }
        });
    }
}
②通过web服务发送生产消息测试
package com.yundi.atp.platform.module.test.controller;

import com.yundi.atp.platform.common.Result;
import com.yundi.atp.platform.kafka.KafkaProducer;
import io.swagger.annotations.Api;
import org.springframework.beans.factory.annotation.Autowired;
import org.springframework.web.bind.annotation.GetMapping;
import org.springframework.web.bind.annotation.PathVariable;
import org.springframework.web.bind.annotation.RequestMapping;
import org.springframework.web.bind.annotation.RestController;

/**
 * @Author: yanp
 * @Description:
 * @Date: 2021/11/4 17:32
 * @Version: 1.0.0
 */
@Api(tags = {"Springboot集成Kafka测试"})
@RestController
@RequestMapping(value = "/kafka")
public class KafkaContoller {
    @Autowired
    private KafkaProducer kafkaProducer;

    @GetMapping(value = "/sendKafkaTestMsg/{topic}/{msg}")
    public Result sendKafkaTestMsg(@PathVariable(value = "topic")String topic,@PathVariable(value = "msg")String msg){
        kafkaProducer.sendMsg(topic,msg);
        return Result.success();
    }
}
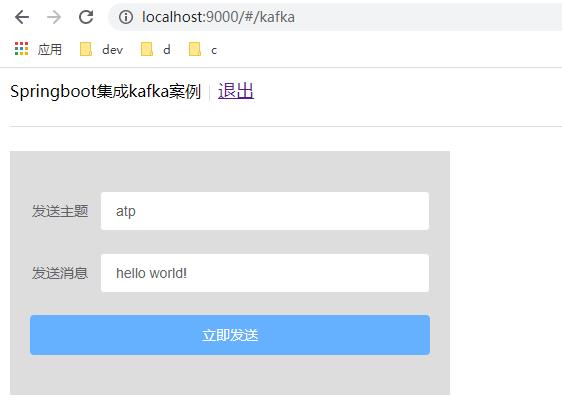
③通过测试页面发送生产者消息
<template>
  <div class="container">
    <div class="title">
      <span>Springboot集成kafka案例</span>
      <el-divider direction="vertical"></el-divider>
      <router-link to="home">
        <span style="font-size: 18px;">退出</span>
      </router-link>
    </div>
    <el-divider>Test Staring</el-divider>
    <div style="width: 400px;background: #ddd;padding: 40px 20px;">
      <el-form ref="form" :model="form" label-width="70px" class="login">
        <el-form-item label="发送主题" prop="topic">
          <el-input v-model="form.topic"></el-input>
        </el-form-item>
        <el-form-item label="发送消息" prop="name">
          <el-input v-model="form.msg"></el-input>
        </el-form-item>
        <el-button type="primary" @click="sengMsg" style="width: 100%;margin: 0;">立即发送</el-button>
      </el-form>
    </div>
  </div>
</template>

<script>
export default {
  name: "Kafka",
  data() {
    return {
      form: {
        topic: 'atp',
        msg: 'hello world!',
      }
    }
  },
  methods: {
    sengMsg() {
      this.$http.get('/kafka/sendKafkaTestMsg/'+this.form.topic+"/"+this.form.msg,).then(res => {
        if (res.data.code === 1) {
          this.$refs.form.resetFields();
          this.$message.success(res.data.msg);
        } else {
          this.$refs.form.resetFields();
          this.$message.warning(res.data.msg);
        }
      }).catch(error => {
        this.$message.error(error);
      });
    }
  }
}
</script>

<style scoped lang="scss">
.container {
  padding: 10px;
}
</style>
-
创建kafka消费者消费消息
package com.yundi.atp.platform.kafka;

import lombok.extern.slf4j.Slf4j;
import org.apache.kafka.clients.consumer.ConsumerRecord;
import org.springframework.kafka.annotation.KafkaListener;
import org.springframework.stereotype.Component;

/**
 * @Author: yanp
 * @Description: kafka消费者
 * @Date: 2021/11/3 18:32
 * @Version: 1.0.0
 */
@Component
@Slf4j
public class KafkaConsumer {

    /**
     * 消费者:监听test主题,分组:groupId1
     */
    @KafkaListener(topics = {"test"}, groupId = "groupId1")
    public void consumer1(ConsumerRecord<Integer, String> record) {
        log.info("consumer1 start consume message:[topic:{},msg:{}]", record.topic(), record.value());
    }

    /**
     * 消费者:监听atp主题,分组:groupId1
     */
    @KafkaListener(topics = {"atp"}, groupId = "groupId1")
    public void consumer2(ConsumerRecord<Integer, String> record) {
        log.info("consumer2 start consume message:[topic:{},msg:{}]", record.topic(), record.value());
    }

    /**
     * 消费者:监听atp主题,分组:groupId3
     */
    @KafkaListener(topics = {"atp"}, groupId = "groupId2")
    public void consumer3(ConsumerRecord<Integer, String> record) {
        log.info("consumer3 start consume message:[topic:{},msg:{}]", record.topic(), record.value());
    }


}
-
结果测试
①发送生产者消息
②消费者消费消息
结语
ok,到这里关于springboot集成kafka案例实战就结束了,我们下期见。。。
以上是关于(十三)ATP应用测试平台——springboot集成kafka案例实战的主要内容,如果未能解决你的问题,请参考以下文章


