点云发布(pointcloud_publisher)之ROS2案例
Posted zhangrelay
tags:
篇首语:本文由小常识网(cha138.com)小编为大家整理,主要介绍了点云发布(pointcloud_publisher)之ROS2案例相关的知识,希望对你有一定的参考价值。
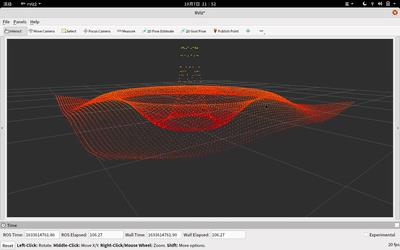
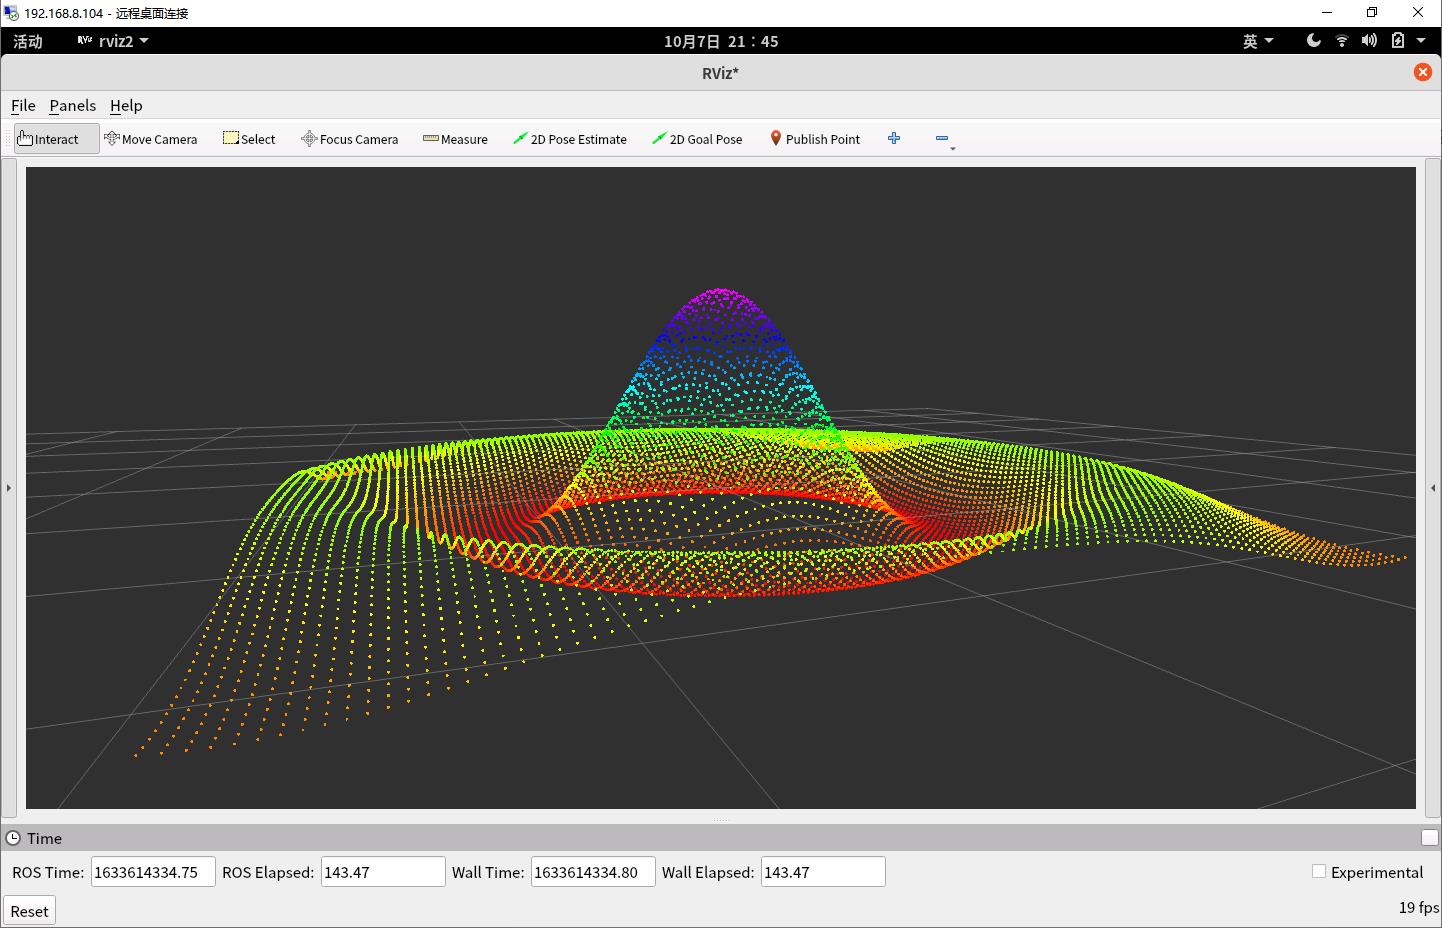
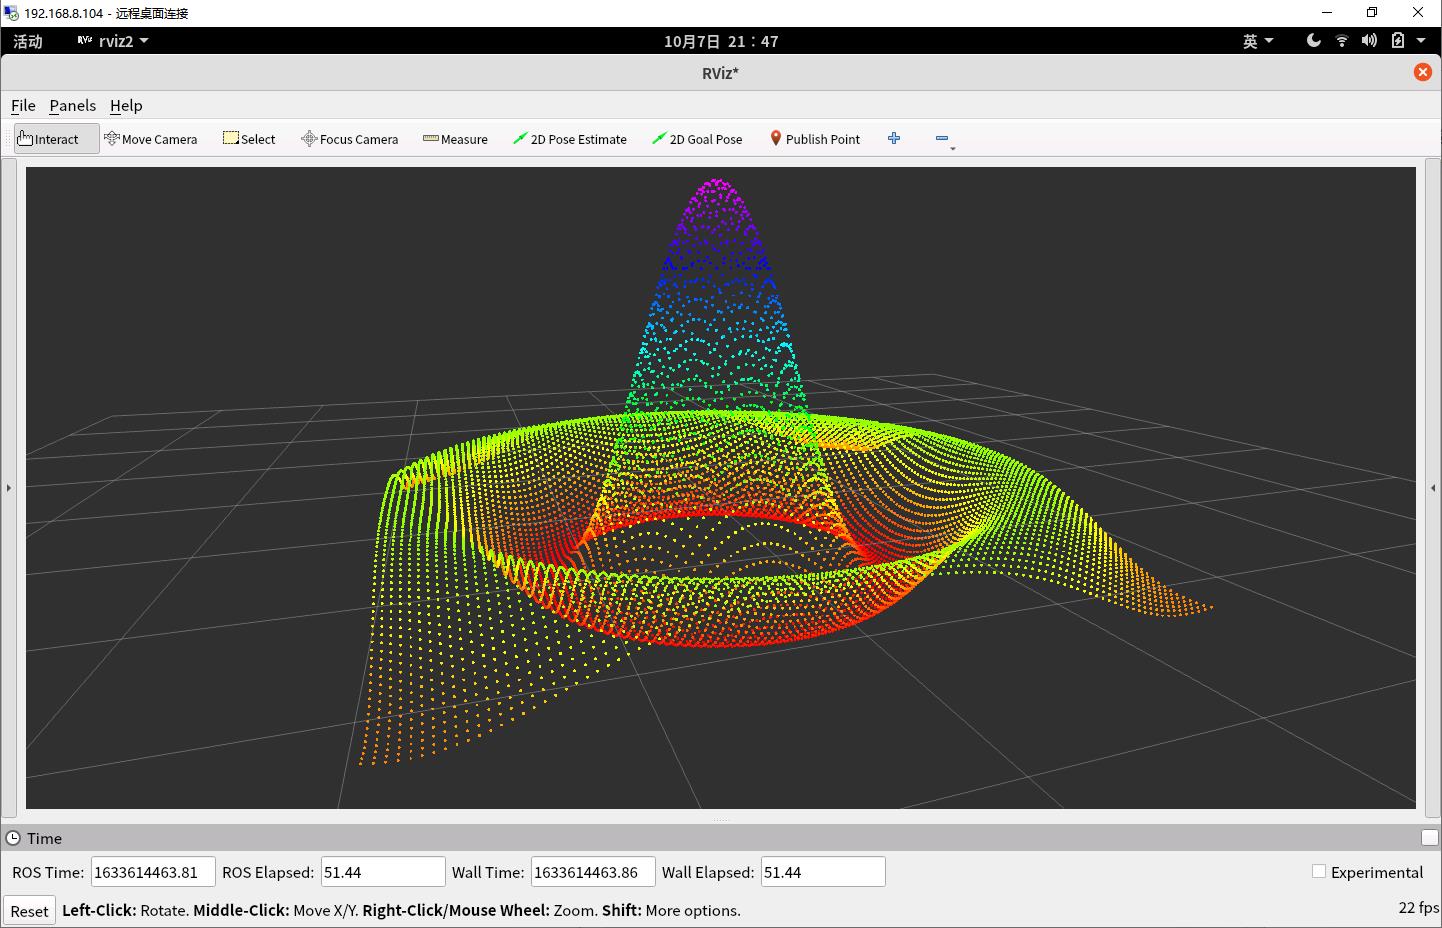
二维曲线绘制玩腻了,可以来搞一搞三维点云了,效果更棒哦。
官方示例给出了点云发布案例效果很好。
源代码如下:
# Copyright 2020 Evan Flynn
#
# Licensed under the Apache License, Version 2.0 (the "License");
# you may not use this file except in compliance with the License.
# You may obtain a copy of the License at
#
# http://www.apache.org/licenses/LICENSE-2.0
#
# Unless required by applicable law or agreed to in writing, software
# distributed under the License is distributed on an "AS IS" BASIS,
# WITHOUT WARRANTIES OR CONDITIONS OF ANY KIND, either express or implied.
# See the License for the specific language governing permissions and
# limitations under the License.
import numpy as np
import rclpy
from rclpy.node import Node
from sensor_msgs.msg import PointCloud2
from sensor_msgs.msg import PointField
from sensor_msgs_py import point_cloud2
from std_msgs.msg import Header
class PointCloudPublisher(Node):
rate = 30
moving = True
width = 100
height = 100
header = Header()
header.frame_id = 'map'
dtype = PointField.FLOAT32
point_step = 16
fields = [PointField(name='x', offset=0, datatype=dtype, count=1),
PointField(name='y', offset=4, datatype=dtype, count=1),
PointField(name='z', offset=8, datatype=dtype, count=1),
PointField(name='intensity', offset=12, datatype=dtype, count=1)]
def __init__(self):
super().__init__('pc_publisher')
self.publisher_ = self.create_publisher(PointCloud2, 'test_cloud', 10)
timer_period = 1 / self.rate
self.timer = self.create_timer(timer_period, self.timer_callback)
self.counter = 0
def timer_callback(self):
self.header.stamp = self.get_clock().now().to_msg()
x, y = np.meshgrid(np.linspace(-2, 2, self.width), np.linspace(-2, 2, self.height))
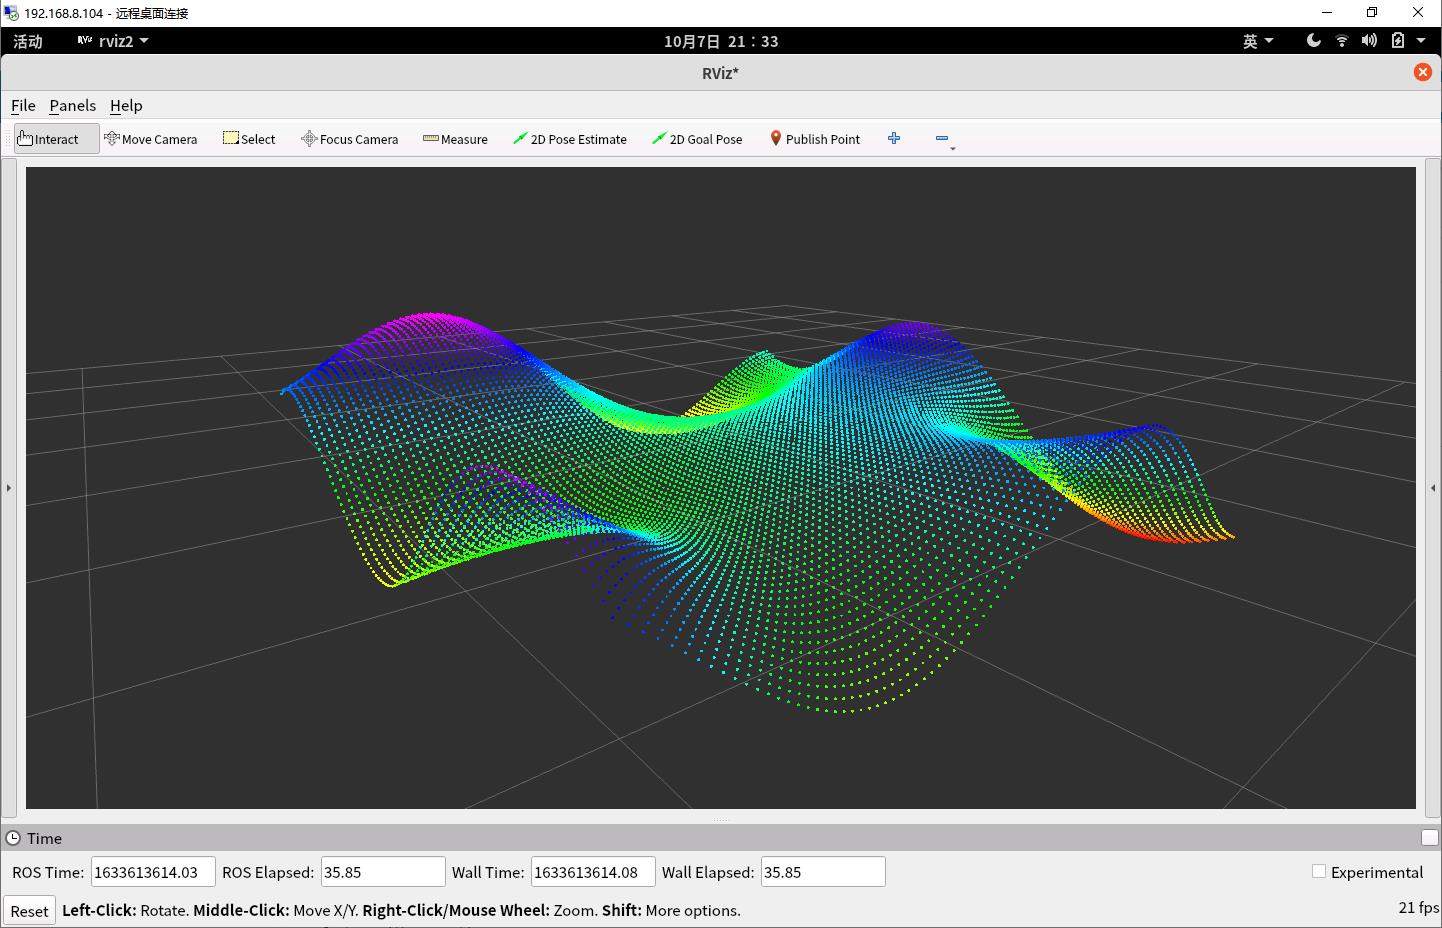
z = 0.5 * np.sin(2*x-self.counter/10.0) * np.sin(2*y)
points = np.array([x, y, z, z]).reshape(4, -1).T
pc2_msg = point_cloud2.create_cloud(self.header, self.fields, points)
self.publisher_.publish(pc2_msg)
if self.moving:
self.counter += 1
def main(args=None):
rclpy.init(args=args)
pc_publisher = PointCloudPublisher()
rclpy.spin(pc_publisher)
pc_publisher.destroy_node()
rclpy.shutdown()
if __name__ == '__main__':
main()参考如上代码可以给出很多点云效果的。

z = np.sin(x)供参考
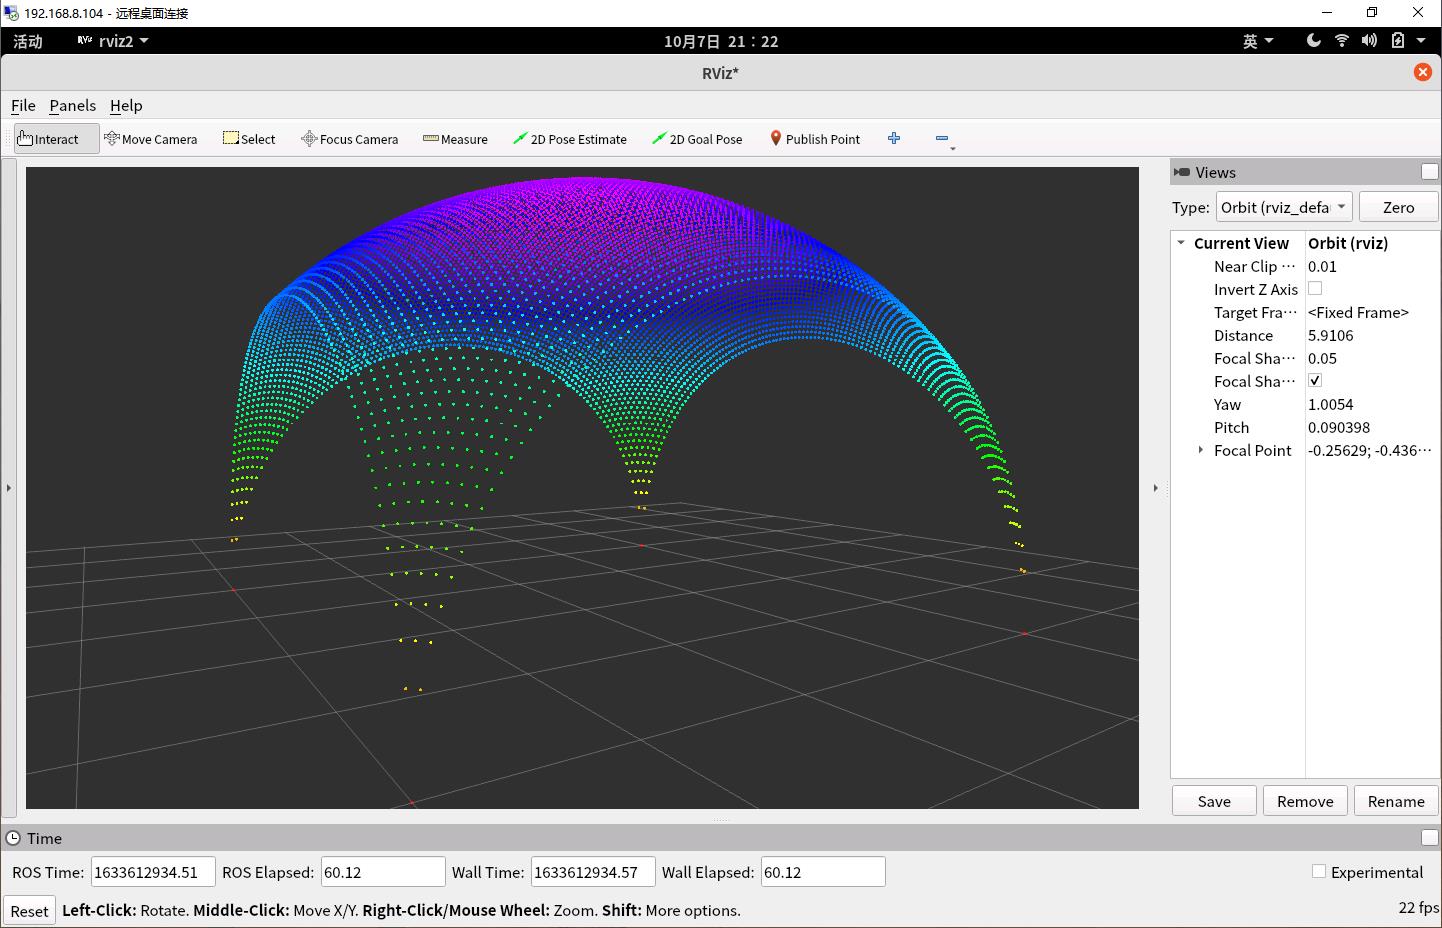
z = np.sqrt(8-x*x-y*y)供参考
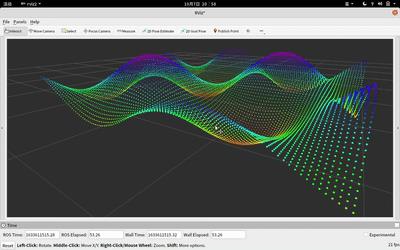
z = 0.2*y * np.sin(2*x-self.counter/10.0) + 0.2*x * np.cos(2*y+self.counter/10.0)供参考
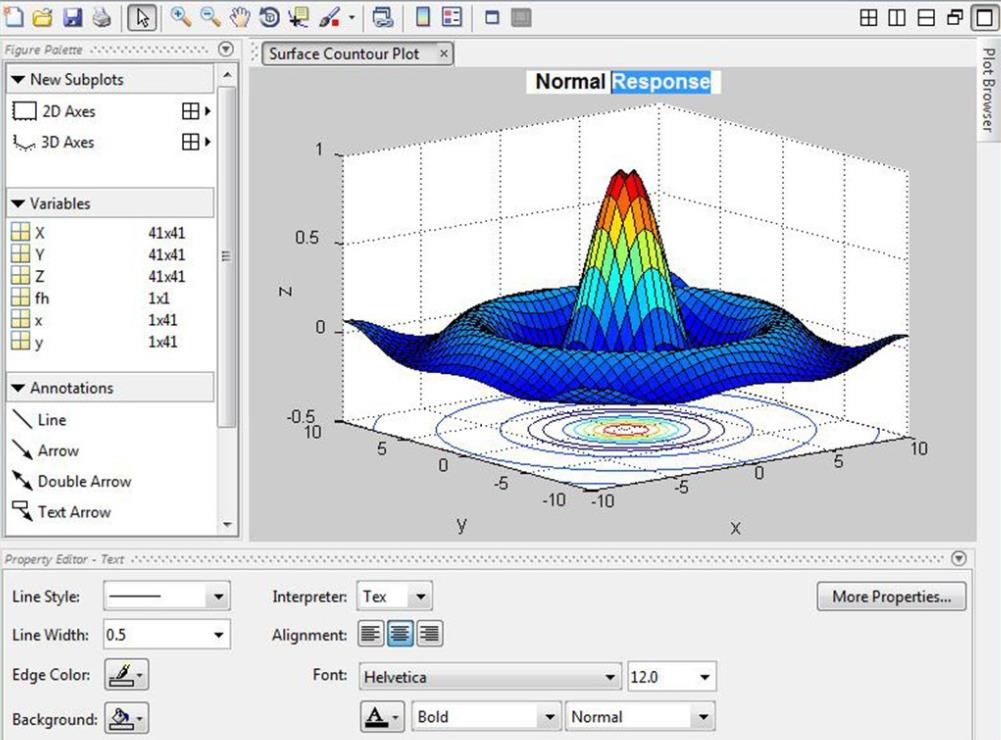
思考题:

r = np.sqrt(4*x*x+4*y*y)
z = np.sin(r)/r
致敬matlab
-Fin-
以上是关于点云发布(pointcloud_publisher)之ROS2案例的主要内容,如果未能解决你的问题,请参考以下文章